
Effective cleaning tips are the secret weapon every homeowner needs in their arsenal! Let’s face it, nobody *loves* cleaning, but a sparkling clean home is a happy home, right? I’m here to share some game-changing DIY tricks that will transform your cleaning routine from a dreaded chore into a manageable, even (dare I say?) enjoyable task.
For centuries, people have sought out clever ways to keep their homes clean and tidy. From ancient civilizations using natural remedies like vinegar and baking soda to modern innovations in cleaning technology, the quest for a spotless space is a timeless pursuit. But let’s be honest, sometimes the best solutions are the simplest and most cost-effective. That’s where these DIY hacks come in!
Why do you need these effective cleaning tips? Because life is too short to spend all your time scrubbing! These DIY solutions are designed to save you time, money, and energy. I’ll show you how to tackle tough stains, eliminate odors, and keep your home looking its best using ingredients you probably already have in your pantry. Get ready to ditch those harsh chemicals and embrace a cleaner, greener, and more efficient way to clean!
DIY Cleaning Hacks: Sparkling Clean Home on a Budget
Okay, let’s dive into some of my favorite DIY cleaning hacks that will leave your home sparkling without breaking the bank. I’ve tested these out myself, and trust me, they work wonders!
Cleaning with Vinegar: The All-Purpose Wonder
Vinegar is my go-to cleaning agent. It’s cheap, effective, and environmentally friendly. Plus, that vinegar smell dissipates quickly, leaving behind a fresh, clean scent (or no scent at all!).
What you’ll need:
* White vinegar
* Spray bottles
* Microfiber cloths
* Water
* Essential oils (optional, for scent)
Step-by-step instructions:
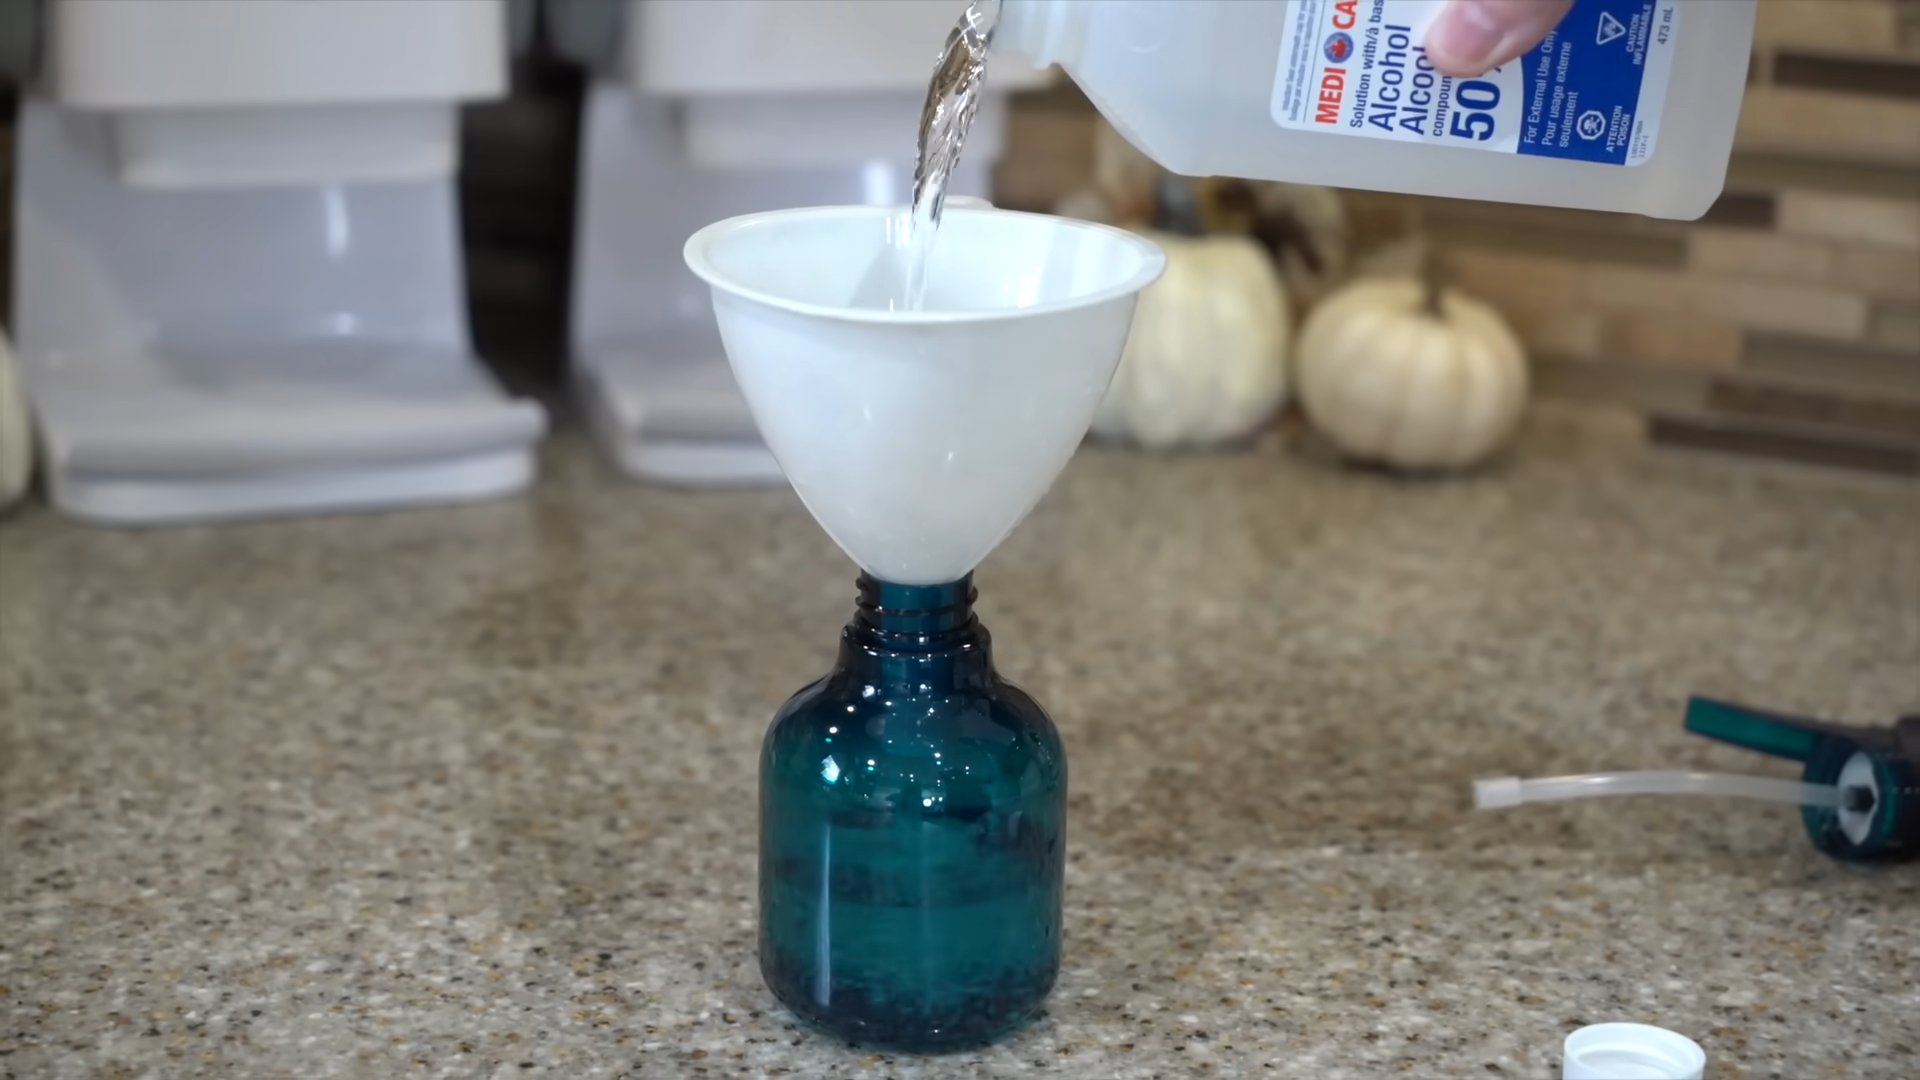
1. Prepare your vinegar solution: For an all-purpose cleaner, mix equal parts white vinegar and water in a spray bottle. I usually start with a 50/50 mix, but you can adjust the ratio depending on the task. For tougher stains, you can use vinegar undiluted.
2. Add essential oils (optional): If you’re not a fan of the vinegar smell, add a few drops of your favorite essential oil to the spray bottle. Lemon, lavender, and tea tree oil are great choices for their cleaning and disinfecting properties. I usually add about 10-15 drops per bottle.
3. Spray and wipe: Spray the vinegar solution onto the surface you want to clean. Let it sit for a few minutes to loosen dirt and grime.
4. Wipe clean: Use a microfiber cloth to wipe the surface clean. For stubborn stains, you might need to scrub a little harder.
5. Rinse (if necessary): If you’re cleaning a surface that comes into contact with food, rinse it with water after wiping with the vinegar solution.
Where to use vinegar:
* Countertops (except granite and marble – vinegar can etch these surfaces)
* Sinks
* Showers and bathtubs
* Toilets
* Floors (except hardwood – vinegar can damage the finish)
* Windows and mirrors
Baking Soda: The Gentle Abrasive
Baking soda is another cleaning superstar. It’s a mild abrasive that’s perfect for scrubbing away stubborn stains without scratching surfaces.
What you’ll need:
* Baking soda
* Water
* Spray bottle (optional)
* Microfiber cloths
* Old toothbrush
Step-by-step instructions:
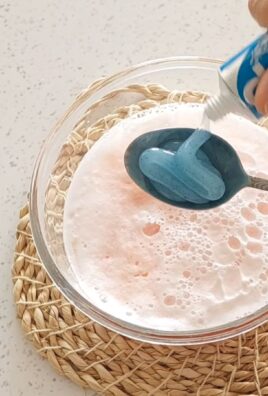
1. Make a baking soda paste: Mix baking soda with a small amount of water to form a paste. The consistency should be thick enough to spread easily.
2. Apply the paste: Apply the baking soda paste to the surface you want to clean.
3. Let it sit: Let the paste sit for 5-10 minutes to loosen dirt and grime. For tougher stains, you can let it sit longer.
4. Scrub: Use a microfiber cloth or an old toothbrush to scrub the surface.
5. Rinse: Rinse the surface thoroughly with water.
Where to use baking soda:
* Sinks
* Bathtubs and showers
* Ovens
* Microwaves
* Stovetops
* Grout
* Toilet bowls
Lemon Juice: The Natural Disinfectant and Deodorizer
Lemon juice is a natural disinfectant and deodorizer. It’s also great for removing stains and brightening surfaces.
What you’ll need:
* Lemon juice
* Spray bottle
* Microfiber cloths
* Salt (optional, for extra scrubbing power)
Step-by-step instructions:
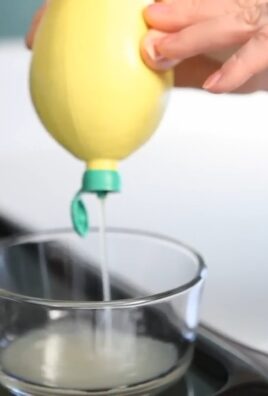
1. Prepare your lemon juice solution: Pour lemon juice into a spray bottle. You can use it undiluted or mix it with a small amount of water.
2. Add salt (optional): For extra scrubbing power, add a tablespoon of salt to the spray bottle.
3. Spray and wipe: Spray the lemon juice solution onto the surface you want to clean. Let it sit for a few minutes.
4. Wipe clean: Use a microfiber cloth to wipe the surface clean.
5. Rinse (if necessary): Rinse the surface with water if needed.
Where to use lemon juice:
* Cutting boards
* Microwaves
* Sinks
* Chrome fixtures
* Laundry stains
* Garbage disposals
Cleaning Specific Areas: My Go-To Methods
Now, let’s get into some specific areas of the house and how I tackle them with these DIY cleaning solutions.
Cleaning the Microwave
Microwaves can get pretty gross, pretty quickly. Here’s my easy method for cleaning them:
1. Vinegar Steam Clean: Mix 1 cup of water and 2 tablespoons of vinegar in a microwave-safe bowl.
2. Microwave for 5 minutes: Microwave the mixture on high for 5 minutes. This will create steam that loosens the grime.
3. Let it sit: Let the bowl sit in the microwave for another 5 minutes without opening the door.
4. Wipe clean: Carefully remove the bowl (it will be hot!) and wipe down the inside of the microwave with a damp cloth. The grime should come off easily.
Cleaning the Oven
Oven cleaning is the worst, but this method makes it a little less painful:
1. Baking Soda Paste: Make a paste of baking soda and water.
2. Coat the Oven: Spread the paste all over the inside of the oven, avoiding the heating elements.
3. Let it sit overnight: Let the paste sit overnight (or for at least 12 hours).
4. Scrub and Wipe: The next day, scrub the oven with a damp cloth or sponge. The grime should come off easily. You might need to use a scraper for stubborn spots.
5. Rinse: Rinse the oven thoroughly with water.
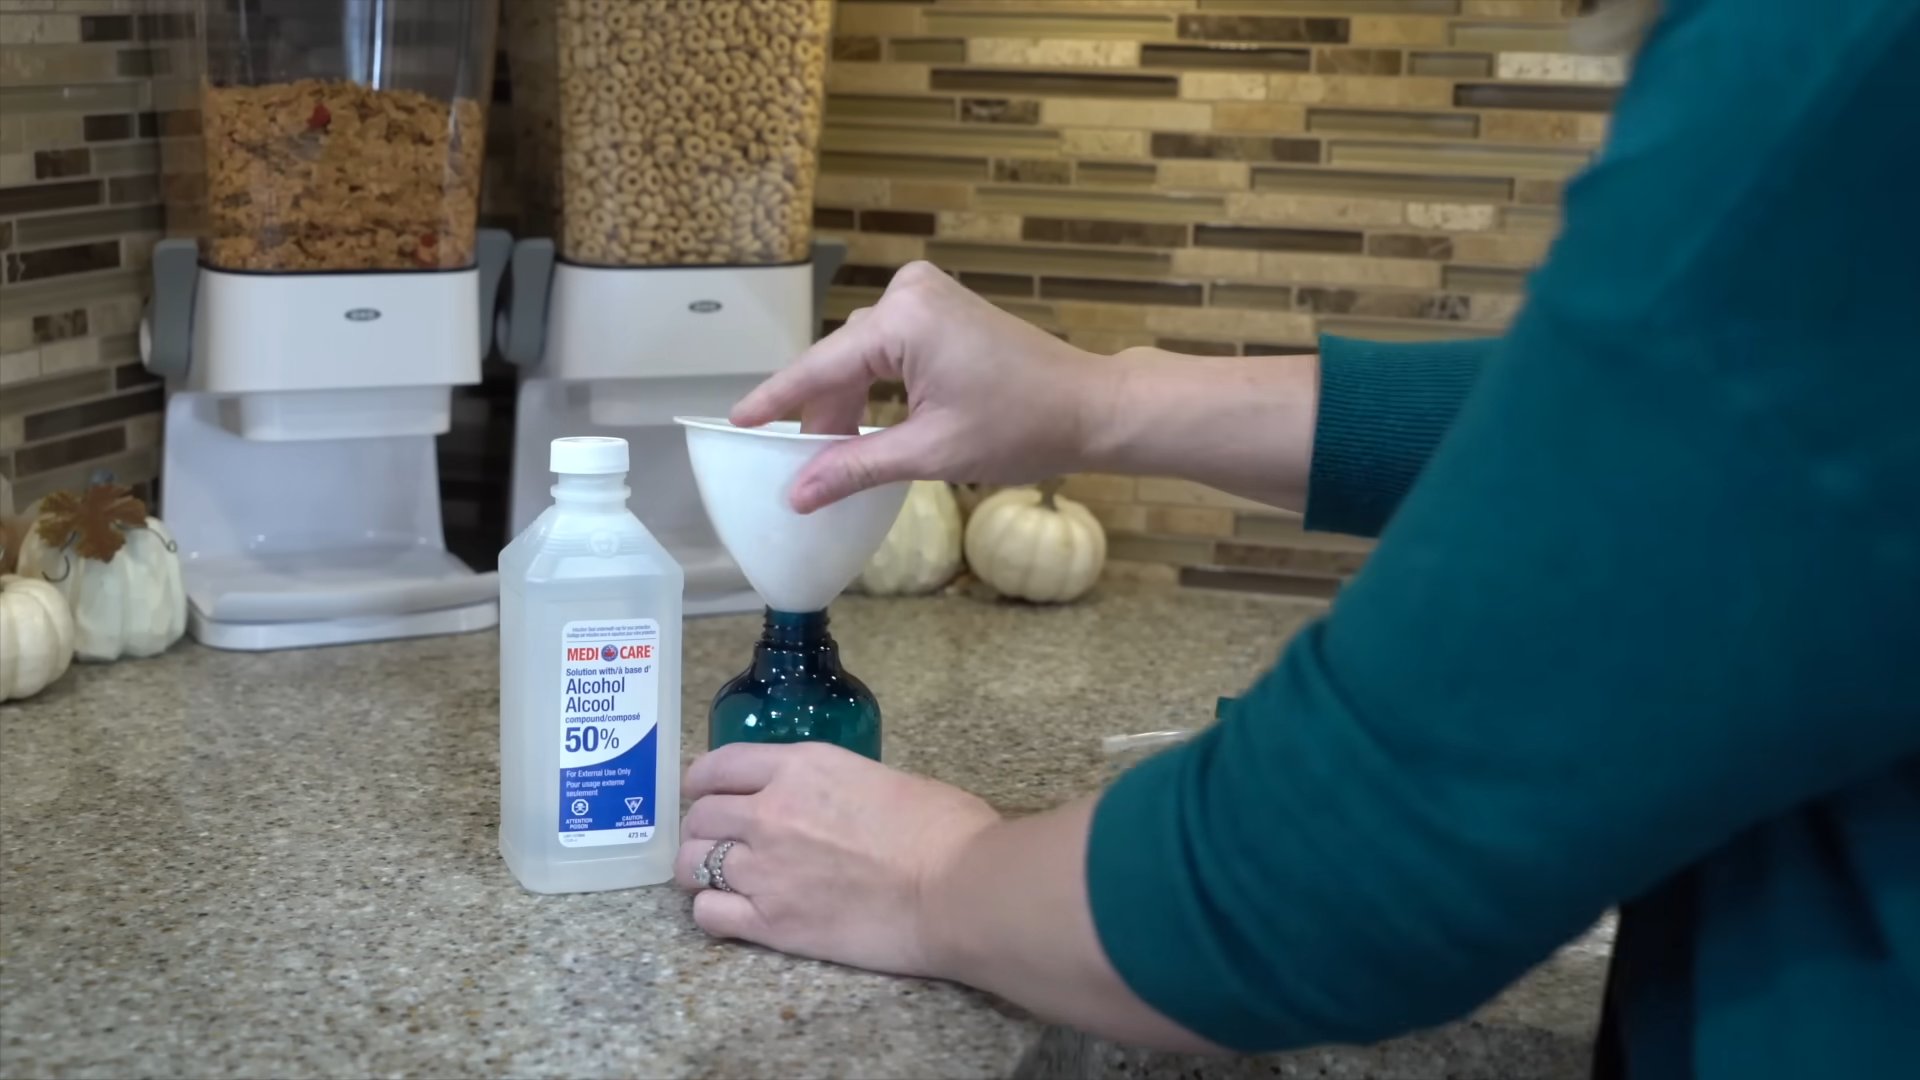
Cleaning the Shower Head
Hard water can leave mineral deposits on your shower head, reducing water pressure. Here’s how to clean it:
1. Vinegar Soak: Fill a plastic bag with white vinegar.
2. Attach to Shower Head: Secure the bag around the shower head with a rubber band, making sure the shower head is submerged in the vinegar.
3. Soak Overnight: Let it soak overnight.
4. Remove and Rinse: Remove the bag and run the shower for a few minutes to flush out any remaining vinegar and mineral deposits.
Cleaning Grout
Grout can get stained and dirty over time. Here’s how to clean it:
1. Baking Soda Paste: Make a paste of baking soda and water.
2. Apply to Grout: Apply the paste to the grout lines.
3. Scrub: Scrub the grout with an old toothbrush.
4. Rinse: Rinse the grout with water.
5. Vinegar Rinse (Optional): For extra cleaning power, you can spray the grout with vinegar after scrubbing and rinsing. Let it sit for a few minutes, then rinse again.
Cleaning Windows and Mirrors
Streak-free windows and mirrors are a must! Here’s my secret:
1. Vinegar Solution: Mix equal parts white vinegar and water in a spray bottle.
2. Spray and Wipe: Spray the solution onto the window or mirror and wipe clean with a microfiber cloth.
3. Dry with Newspaper (Optional): For an extra streak-free finish, you can dry the surface with crumpled newspaper.
Cleaning the Toilet
Let’s face it, cleaning the toilet isn’t fun, but it’s necessary.
1. Vinegar Flush: Pour 1 cup of white vinegar into the toilet bowl.
2. Let it sit: Let it sit for at least 30 minutes (or overnight for a deeper clean).
3. Scrub: Scrub the bowl with a toilet brush.
4. Flush: Flush the toilet.
5. Baking Soda Boost (Optional): For extra cleaning power, you can add 1/2 cup of baking soda to the bowl before adding the vinegar. Let it fizz for a few minutes, then scrub and flush.
Important Considerations
* Always test in an inconspicuous area first: Before using any cleaning solution on a large surface, test it in a small, hidden area to make sure it doesn’t damage the material.
* Don’t mix vinegar and bleach: Mixing vinegar and bleach can create toxic fumes.
* Wear gloves: Protect your hands by wearing gloves when cleaning.
* Ventilate the area: Open windows or turn on a fan to ventilate the area while cleaning.
* Store cleaning solutions safely: Keep cleaning solutions out
Conclusion
So, there you have it! This simple yet incredibly effective cleaning trick is more than just a shortcut; it’s a game-changer for anyone looking to maintain a sparkling clean home without breaking the bank or spending hours scrubbing. We’ve shown you how to harness the power of readily available ingredients to create a potent cleaning solution that tackles grime, grease, and everyday messes with ease.
Why is this DIY approach a must-try? Because it’s economical, eco-friendly, and, most importantly, it works! You’re not only saving money by avoiding expensive commercial cleaners, but you’re also reducing your exposure to harsh chemicals and minimizing your environmental impact. Plus, the satisfaction of creating something effective yourself is an added bonus.
But the beauty of this cleaning method lies in its adaptability. Feel free to experiment with variations to suit your specific needs and preferences. For instance, if you’re dealing with particularly stubborn stains, consider adding a tablespoon of borax to the mixture for an extra boost of cleaning power. Or, if you prefer a more fragrant cleaning experience, incorporate a few drops of your favorite essential oil, such as lemon, lavender, or tea tree, for their antibacterial and aromatic properties. Remember to always test any new variation on an inconspicuous area first to ensure it doesn’t damage the surface.
Another fantastic variation involves using vinegar infused with citrus peels. Simply save the peels from your oranges, lemons, or grapefruits, and soak them in vinegar for a few weeks. The resulting citrus-infused vinegar will not only have a pleasant scent but will also possess enhanced cleaning properties due to the natural oils in the peels. This is a great way to reduce waste and create an even more eco-friendly cleaning solution.
This effective cleaning tip is a true testament to the power of simple, natural ingredients. It’s a practical solution for busy individuals, families, and anyone who values a clean and healthy living environment.
We wholeheartedly encourage you to give this DIY cleaning trick a try. We’re confident that you’ll be amazed by the results. And once you’ve experienced the magic for yourself, we’d love to hear about it! Share your experiences, variations, and any tips you’ve discovered in the comments section below. Let’s build a community of clean-home enthusiasts who are passionate about sustainable and effective cleaning practices. Your feedback will not only help others but will also inspire us to continue sharing valuable cleaning tips and tricks. So, grab your ingredients, get mixing, and prepare to be amazed by the transformative power of this simple yet effective cleaning solution! Happy cleaning!
Frequently Asked Questions
What types of surfaces can I use this DIY cleaner on?
This DIY cleaner is generally safe for use on a wide variety of surfaces, including countertops (granite, quartz, laminate), sinks (stainless steel, porcelain), tiles (ceramic, porcelain), floors (hardwood, tile, laminate), and appliances (stainless steel, enamel). However, it’s always best to test the cleaner on an inconspicuous area first, especially on delicate or sensitive surfaces like marble, painted wood, or fabrics. Avoid using it on surfaces that are known to be damaged by acidic solutions, such as natural stone that isn’t sealed properly. When in doubt, consult the manufacturer’s instructions for the specific surface you’re cleaning.
How do I store the DIY cleaning solution?
Store your DIY cleaning solution in a clean, airtight spray bottle or container. Label the bottle clearly with the contents and date of preparation. Keep it in a cool, dark place away from direct sunlight and heat, as these can degrade the ingredients over time. Properly stored, the solution should remain effective for several weeks. If you notice any changes in color, odor, or consistency, it’s best to discard the solution and make a fresh batch.
Can I use this cleaner to disinfect surfaces?
While this DIY cleaner is effective at removing dirt, grime, and some bacteria, it’s not a substitute for a disinfectant. To properly disinfect surfaces, you’ll need to use a product specifically labeled as a disinfectant and follow the manufacturer’s instructions for contact time. However, you can use this DIY cleaner as a pre-cleaning step before disinfecting to remove any visible dirt and debris, which can interfere with the effectiveness of the disinfectant. For example, you can use this cleaner to wipe down kitchen counters and then follow up with a disinfectant spray to kill any remaining germs.
Is this cleaner safe to use around pets and children?
While the ingredients in this DIY cleaner are generally considered safe, it’s still important to exercise caution when using it around pets and children. Keep the solution out of their reach and avoid spraying it directly on them. If your pet or child accidentally ingests the cleaner, contact a poison control center or veterinarian immediately. When cleaning floors, make sure they are completely dry before allowing pets or children to walk on them to prevent slips and falls. As with any cleaning product, it’s always best to err on the side of caution and take necessary precautions to ensure the safety of your loved ones.
How often should I use this DIY cleaner?
The frequency of use will depend on your cleaning needs and the level of dirt and grime in your home. For everyday cleaning, you can use this solution as often as needed to wipe down surfaces, clean spills, and maintain a tidy environment. For deeper cleaning tasks, such as cleaning bathrooms or kitchens, you may want to use it once or twice a week. Pay attention to areas that tend to accumulate dirt and grime, such as countertops, sinks, and floors, and clean them regularly to prevent buildup. Remember, consistency is key to maintaining a clean and healthy home.
Can I use different types of vinegar in this recipe?
While white vinegar is the most commonly used type of vinegar for cleaning due to its high acidity and lack of color, you can experiment with other types of vinegar, such as apple cider vinegar or cleaning vinegar. Apple cider vinegar has a milder scent than white vinegar and may be a good option if you’re sensitive to strong odors. Cleaning vinegar is specifically formulated for cleaning purposes and has a higher acidity level than regular white vinegar, making it even more effective at removing dirt and grime. However, avoid using balsamic vinegar or red wine vinegar, as they can stain surfaces due to their dark color.
What if I don’t have all the ingredients listed in the recipe?
The beauty of this DIY cleaner is that it’s very flexible and can be adapted to what you have on hand. If you’re missing one of the ingredients, you can try substituting it with something else or simply omitting it altogether. For example, if you don’t have baking soda, you can still use the vinegar and water solution to clean surfaces. If you don’t have essential oils, you can leave them out or use a different type of essential oil that you have on hand. The key is to experiment and find what works best for you and your cleaning needs.

Leave a Comment