
Shaving Foam Cleaning Hacks: Who knew that fluffy can of shaving cream hiding in your bathroom could be your secret weapon against household grime? I certainly didn’t, until I stumbled upon a treasure trove of surprisingly effective cleaning tips! For generations, shaving foam has been primarily associated with grooming rituals, a far cry from sparkling countertops and spotless mirrors. But trust me, this isn’t your grandpa’s shaving routine anymore.
The beauty of these shaving foam cleaning hacks lies in their simplicity and accessibility. We all crave a clean and tidy home, but the sheer volume of specialized cleaning products can be overwhelming and expensive. That’s where shaving foam steps in as a budget-friendly, multi-purpose marvel. Think about it: a single can can tackle everything from stubborn stains on carpets to grimy bathroom fixtures.
In this article, I’m going to share my favorite DIY shaving foam cleaning tricks that will not only save you money but also make your cleaning routine a whole lot easier and, dare I say, even a little bit fun! Get ready to unlock the cleaning potential hidden within that unassuming can – you’ll be amazed at what it can do!
Shaving Foam: Your Unexpected Cleaning Superhero!
Okay, friends, let’s talk about something amazing: shaving foam. Yes, the stuff you (or someone you know!) uses to get a smooth shave. Turns out, it’s not just for your face! It’s a surprisingly effective and affordable cleaning agent for all sorts of things around the house. I’ve been experimenting with it for a while now, and I’m excited to share my favorite shaving foam cleaning hacks with you. Get ready to be amazed!
Why Shaving Foam?
Before we dive in, you might be wondering, “Why shaving foam? What makes it so special?” Well, it’s all about the ingredients. Most shaving foams contain:
* Surfactants: These are the key players. They help to loosen dirt and grime, allowing them to be easily wiped away.
* Soaps: These contribute to the cleaning power and help create a lather.
* Humectants: These help to moisturize, which can be beneficial for certain surfaces.
* Propellants: These create the foam itself.
The combination of these ingredients makes shaving foam a gentle yet effective cleaner for a variety of surfaces. Plus, it’s readily available and relatively inexpensive!
Hack #1: Sparkling Clean Mirrors and Windows
Tired of streaks on your mirrors and windows? Shaving foam to the rescue! This is one of my absolute favorite uses.
What you’ll need:
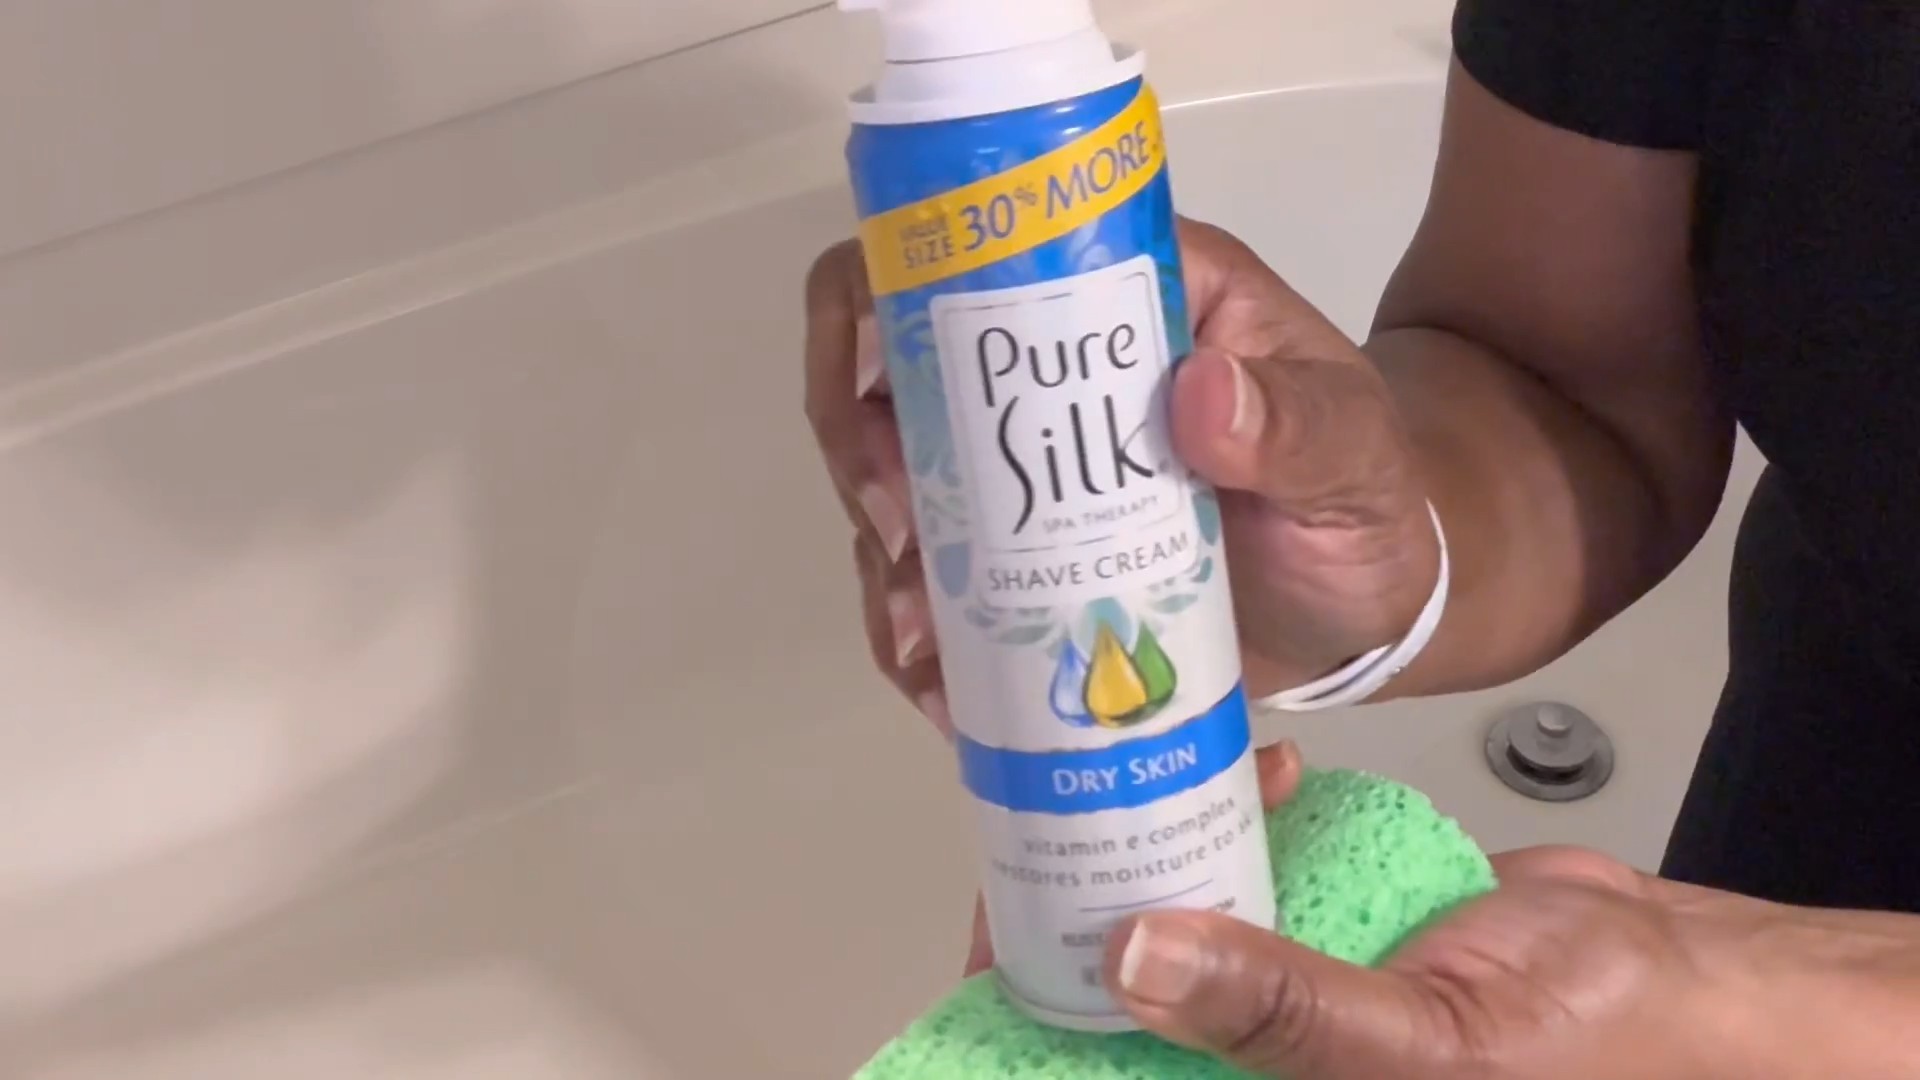
* Shaving foam (any kind will do, but I prefer the foamy kind, not gel)
* A clean, dry cloth (microfiber is best)
* A spray bottle with water (optional)
Step-by-step instructions:
1. Apply the shaving foam: Squirt a generous amount of shaving foam directly onto the mirror or window. Don’t be shy!
2. Spread it around: Use your hand or the cloth to spread the foam evenly over the entire surface. Make sure to cover every inch.
3. Let it sit: Allow the shaving foam to sit for a minute or two. This gives the surfactants time to work their magic and loosen any dirt or grime.
4. Wipe it away: Using a clean, dry cloth, wipe away the shaving foam in a circular motion. You’ll start to see the streaks disappear almost immediately.
5. Buff to a shine: If you notice any lingering streaks, use a fresh, dry section of the cloth to buff the surface to a sparkling shine.
6. Optional: For extra clarity, you can lightly mist the surface with water and then buff it dry.
Pro Tip: This works wonders on bathroom mirrors that tend to get foggy after a shower. The shaving foam actually helps to prevent fogging!
Hack #2: Stain Remover for Carpets and Upholstery
Spilled something on your carpet or upholstery? Don’t panic! Shaving foam can often lift the stain before it sets in.
What you’ll need:
* Shaving foam (again, the foamy kind is best)
* A clean, damp cloth
* A vacuum cleaner
Step-by-step instructions:
1. Act fast: The sooner you treat the stain, the better your chances of removing it completely.
2. Apply the shaving foam: Apply a generous amount of shaving foam directly onto the stain.
3. Let it sit: Allow the shaving foam to sit for 10-15 minutes. This gives it time to penetrate the stain and break it down.
4. Blot, don’t rub: Using a clean, damp cloth, gently blot the stain. Avoid rubbing, as this can spread the stain and damage the fibers.
5. Repeat if necessary: If the stain is still visible, repeat steps 2-4.
6. Rinse with water: Once the stain is gone, rinse the area with a small amount of clean water.
7. Blot dry: Use a clean, dry cloth to blot the area dry.
8. Vacuum: Once the area is completely dry, vacuum it to restore the texture of the carpet or upholstery.
Important Note: Always test the shaving foam on an inconspicuous area of the carpet or upholstery first to make sure it doesn’t cause any discoloration.
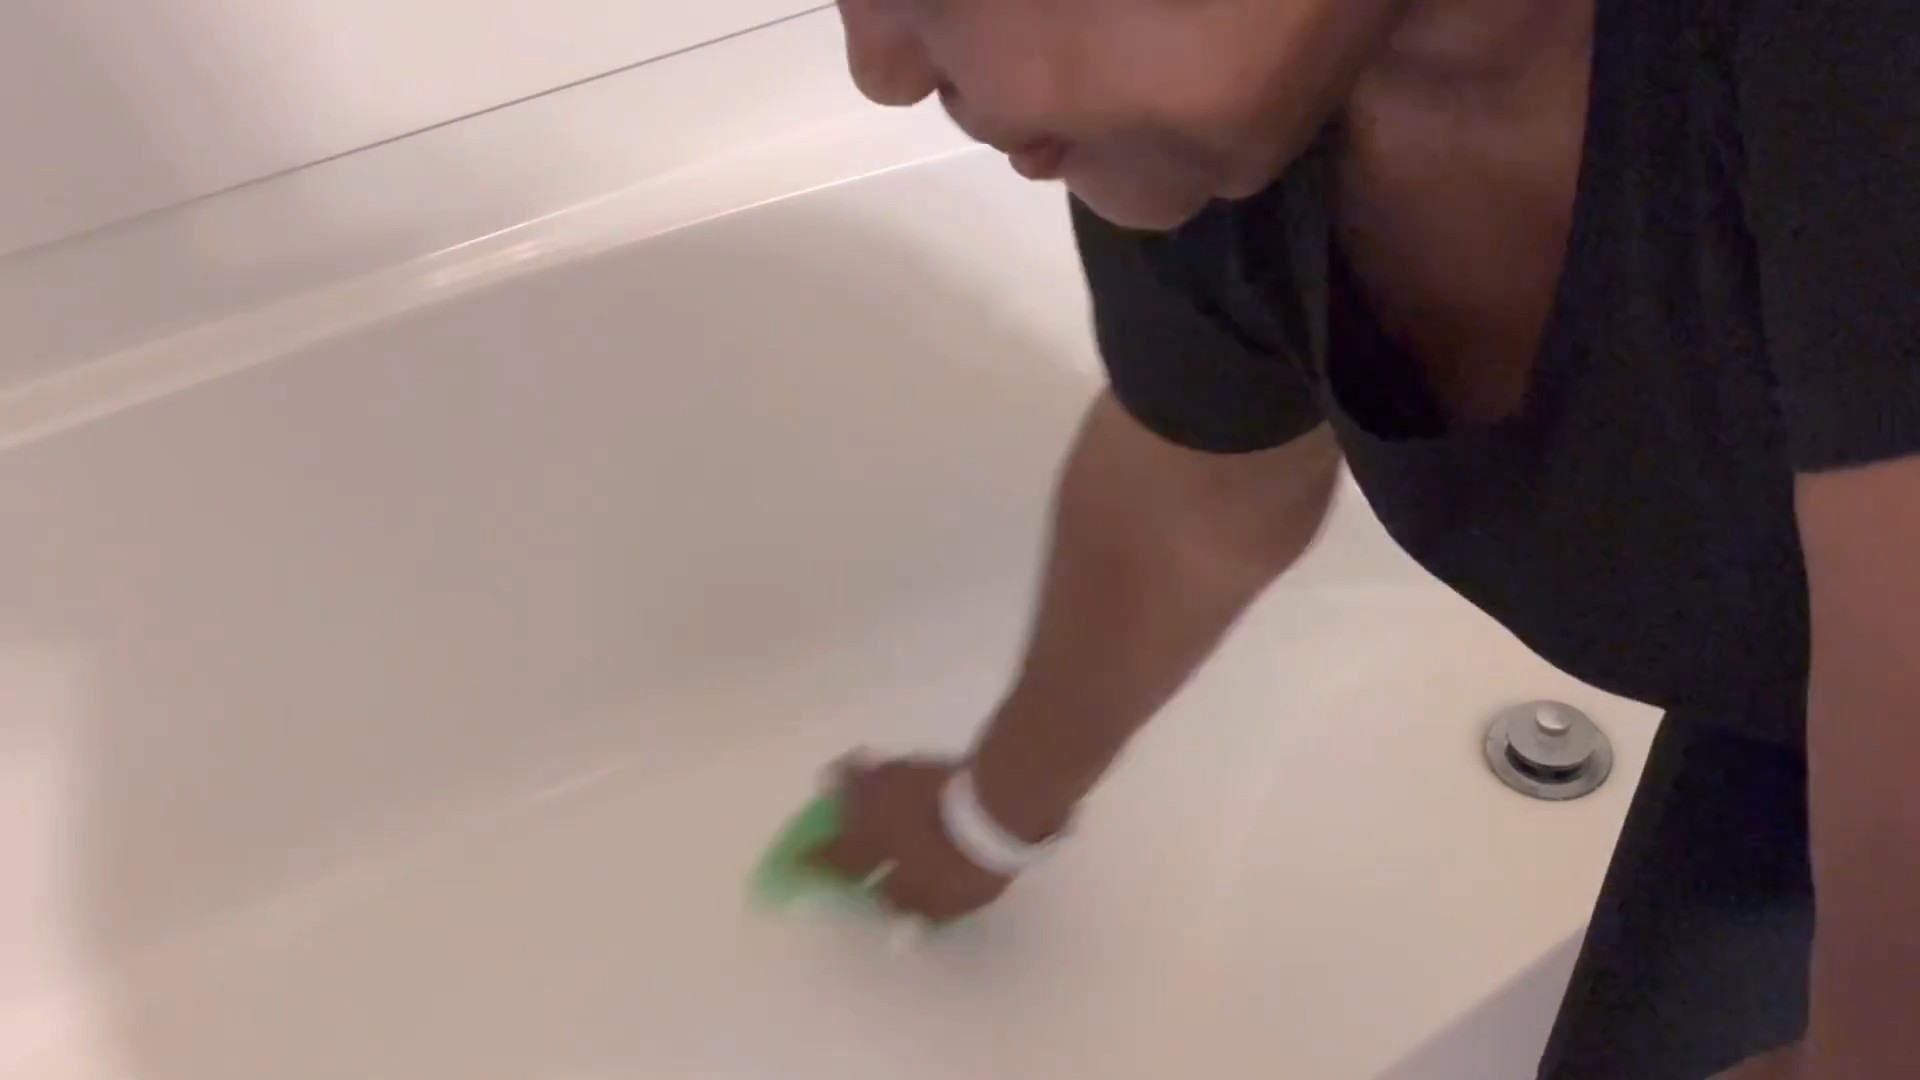
Hack #3: Cleaning Stainless Steel Appliances
Stainless steel appliances can be a pain to keep clean. Fingerprints, smudges, and water spots seem to appear out of nowhere. But guess what? Shaving foam can help!
What you’ll need:
* Shaving foam
* A clean, dry cloth (microfiber is ideal)
Step-by-step instructions:
1. Apply the shaving foam: Squirt a small amount of shaving foam onto a clean, dry cloth.
2. Wipe the appliance: Gently wipe the stainless steel appliance with the cloth, following the grain of the metal.
3. Buff to a shine: Use a clean, dry section of the cloth to buff the appliance to a shine.
Pro Tip: This works great on refrigerators, dishwashers, ovens, and even stainless steel sinks!
Hack #4: Polishing Chrome Fixtures
Chrome fixtures in your bathroom and kitchen can lose their shine over time. Shaving foam can help restore their luster.
What you’ll need:
* Shaving foam
* A clean, dry cloth
Step-by-step instructions:
1. Apply the shaving foam: Apply a small amount of shaving foam directly onto the chrome fixture.
2. Rub it in: Use a clean, dry cloth to rub the shaving foam into the fixture in a circular motion.
3. Rinse with water: Rinse the fixture with clean water.
4. Dry and buff: Use a clean, dry cloth to dry the fixture and buff it to a shine.
Pro Tip: This works wonders on faucets, showerheads, and towel racks!
Hack #5: Cleaning Jewelry
Believe it or not, shaving foam can even be used to clean some types of jewelry! It’s gentle enough to remove dirt and grime without damaging delicate stones or metals.
What you’ll need:
* Shaving foam
* A soft-bristled toothbrush
* Warm water
* A clean, dry cloth
Step-by-step instructions:
1. Apply the shaving foam: Apply a small amount of shaving foam to the jewelry.
2. Gently scrub: Use a soft-bristled toothbrush to gently scrub the jewelry, paying attention to any crevices or hard-to-reach areas.
3. Rinse with warm water: Rinse the jewelry thoroughly with warm water.
4. Dry and polish: Use a clean, dry cloth to dry the jewelry and polish it to a shine.
Important Note: This method is best for cleaning jewelry made of gold, silver, or platinum. Avoid using it on delicate stones like pearls or opals, as the shaving foam could damage them. Always test on a small, inconspicuous area first.
Hack #6: Preventing Bathroom Mirror Fog
As I mentioned earlier, shaving foam is fantastic for preventing bathroom mirrors from fogging up after a hot shower. This is a game-changer, especially if you like to get ready in the bathroom right after showering!
What you’ll need:
* Shaving foam
* A clean, dry cloth
Step-by-step instructions:
1. Apply the shaving foam: Apply a thin layer of shaving foam to the entire surface of the mirror.
2. Spread it around: Use a clean, dry cloth to spread the foam evenly over the mirror.
3. Wipe it away: Wipe away the shaving foam with a clean, dry cloth until the mirror is clear.
That’s it! Your mirror should now be fog-free for several days. You may need to reapply the shaving foam every week or so, depending on how often you shower.
Hack #7: Cleaning the Toilet Bowl
Yes, you read that right! Shaving foam can even help clean your toilet bowl. It’s not a replacement for your regular toilet bowl cleaner, but it can be a quick and easy way to freshen things up.
What you’ll need:
* Shaving foam
* A toilet brush
Step-by-step instructions:
1. Apply the shaving foam: Squirt a generous amount of shaving foam into the toilet bowl.
2. Let it sit: Allow the shaving foam to sit for 15-20 minutes.
3. Scrub the bowl: Use a toilet brush to scrub the bowl, paying attention to any stains or buildup.
4. Flush: Flush the toilet to rinse away the shaving foam and any dirt or grime.
Pro Tip:
Conclusion
So, there you have it! Shaving foam isn’t just for a smooth shave; it’s a surprisingly versatile cleaning powerhouse hiding in plain sight. From banishing stubborn stains on carpets and upholstery to giving your bathroom mirrors a streak-free shine and even tackling grimy ovens, this simple DIY trick offers a cost-effective and surprisingly effective solution for a multitude of household cleaning challenges.
Why is this a must-try? Because it simplifies your cleaning routine, reduces your reliance on harsh chemicals, and saves you money. Think about it: one can of shaving foam can replace several specialized cleaning products, decluttering your cabinets and lightening your wallet. Plus, the gentle nature of shaving foam makes it safe for use on a variety of surfaces, minimizing the risk of damage or discoloration.
But the magic doesn’t stop there. Feel free to experiment with variations to tailor the cleaning power to your specific needs. For instance, for extra-tough stains, try adding a few drops of lemon essential oil to the shaving foam for its natural degreasing and brightening properties. Or, if you’re dealing with mildew in the bathroom, a dash of tea tree oil can provide an added boost of antibacterial power. For delicate fabrics, always test a small, inconspicuous area first to ensure colorfastness. You can also try using different types of shaving foam – gel, cream, or even sensitive skin formulas – to see which works best for your particular cleaning tasks. Remember, the key is to find what works best for you and your home.
We’re confident that once you experience the cleaning wonders of shaving foam, you’ll be hooked. It’s a game-changer for anyone looking for a simple, effective, and budget-friendly way to keep their home sparkling clean.
Now it’s your turn! We encourage you to give these shaving foam cleaning hacks a try. Don’t be afraid to experiment and discover new ways to harness its cleaning potential. And most importantly, share your experiences with us! Let us know in the comments below which hacks worked best for you, any variations you tried, and any other creative uses you’ve discovered for this unexpected cleaning hero. Your insights could help others discover the amazing versatility of shaving foam and revolutionize their cleaning routines. We can’t wait to hear your stories and learn from your experiences. So go ahead, grab a can of shaving foam, and get ready to be amazed! The power of a clean home is now in your hands, thanks to this simple yet effective cleaning solution.
Frequently Asked Questions (FAQ)
1. What kind of shaving foam should I use for cleaning?
Generally, any type of shaving foam will work, but the classic, white, foamy kind tends to be the most effective and versatile. Avoid using shaving gels that are heavily colored or contain glitter, as these could potentially stain surfaces. Sensitive skin formulas are also a good option, especially for delicate fabrics or surfaces. Experiment to see what works best for your specific cleaning needs.
2. Is shaving foam safe to use on all surfaces?
While shaving foam is generally gentle, it’s always a good idea to test it on a small, inconspicuous area first, especially when cleaning delicate fabrics, painted surfaces, or wood. This will help you ensure that it doesn’t cause any discoloration or damage. Avoid using shaving foam on surfaces that are known to be sensitive to moisture, such as unfinished wood or electronics.
3. Can I use shaving foam to clean leather?
Yes, shaving foam can be used to clean leather, but with caution. Apply a small amount to a soft cloth and gently rub it onto the leather surface. Wipe away any excess foam with a clean, damp cloth and allow the leather to air dry. It’s crucial to test a small, hidden area first to ensure that the shaving foam doesn’t damage or discolor the leather. Afterwards, consider conditioning the leather to restore its moisture and suppleness.
4. How do I remove shaving foam residue after cleaning?
After applying shaving foam to a surface, allow it to sit for the recommended time (usually a few minutes). Then, wipe away the foam with a clean, damp cloth. For stubborn residue, you may need to rinse the area with water and dry it thoroughly. Make sure to remove all traces of shaving foam to prevent any sticky or soapy buildup.
5. Can shaving foam remove tough stains from carpets?
Yes, shaving foam can be surprisingly effective at removing tough stains from carpets. Apply a generous amount of shaving foam to the stain, let it sit for 15-20 minutes, and then blot it up with a clean, damp cloth. Repeat as needed until the stain is gone. For particularly stubborn stains, you can try adding a small amount of white vinegar to the shaving foam. Always test a small, inconspicuous area of the carpet first to ensure colorfastness.
6. Is shaving foam a good alternative to traditional oven cleaners?
Shaving foam can be a gentler alternative to harsh oven cleaners. Apply a thick layer of shaving foam to the interior of your oven, avoiding the heating elements. Let it sit for several hours or overnight. Then, wipe away the foam with a damp cloth. You may need to scrub lightly to remove any remaining grime. This method is best for ovens that are not heavily soiled. For heavily soiled ovens, you may still need to use a traditional oven cleaner.
7. Can I use shaving foam to clean bathroom mirrors and shower doors?
Absolutely! Shaving foam is excellent for cleaning bathroom mirrors and shower doors. Apply a thin layer of shaving foam to the surface, let it sit for a few minutes, and then wipe it away with a clean, dry cloth. This will leave your mirrors and shower doors streak-free and sparkling clean. The shaving foam also helps to prevent fogging.
8. How often should I use shaving foam for cleaning?
The frequency of using shaving foam for cleaning depends on your individual needs and the specific area you’re cleaning. For high-traffic areas or surfaces that get dirty quickly, you may need to clean them more frequently. For less frequently used areas, you can clean them less often. As a general rule, it’s best to clean surfaces as needed to prevent dirt and grime from building up.
9. Are there any surfaces I should avoid cleaning with shaving foam?
Avoid using shaving foam on surfaces that are known to be sensitive to moisture, such as unfinished wood, electronics, or certain types of natural stone. Also, avoid using shaving foam on surfaces that are easily damaged by abrasive cleaners. Always test a small, inconspicuous area first to ensure that the shaving foam doesn’t cause any damage or discoloration.
10. Can I add essential oils to shaving foam for cleaning?
Yes, you can add essential oils to shaving foam for cleaning, but use them sparingly. Essential oils can add a pleasant scent and enhance the cleaning power of the shaving foam. Lemon essential oil is great for degreasing, tea tree oil is effective for killing bacteria and mold, and lavender essential oil can add a calming scent. Add just a few drops of essential oil to the shaving foam and mix well before applying it to the surface you’re cleaning.

Leave a Comment