
Cleaning tricks – we all need them, right? Let’s be honest, who actually enjoys spending hours scrubbing and scouring? I know I don’t! But what if I told you that sparkling clean home was achievable with less effort and more fun? That’s where these top 10 DIY cleaning tricks come in.
For centuries, people have been devising clever ways to keep their homes clean. From ancient Egyptians using natron (a naturally occurring salt mixture) to clean their homes, to Victorian housewives relying on elbow grease and homemade concoctions, the quest for a spotless space is a timeless one. But thankfully, we’ve come a long way since then! We now have access to a wealth of knowledge and readily available ingredients to make cleaning easier and more effective.
In today’s busy world, time is precious. Spending hours on cleaning is simply not an option for many of us. That’s why these cleaning tricks are so essential. They’re designed to save you time, money, and energy, while still achieving amazing results. Imagine having more free time to spend with family, pursue hobbies, or simply relax in a clean and comfortable home. Sounds good, doesn’t it? So, let’s dive into these top 10 DIY cleaning hacks that will transform your cleaning routine and leave your home sparkling!
Top 10 DIY Cleaning Hacks That Will Blow Your Mind!
Okay, friends, let’s dive into the wonderful world of DIY cleaning! I’m going to share my absolute favorite cleaning hacks that are not only super effective but also save you a ton of money. Forget those expensive store-bought cleaners; we’re going natural and getting amazing results!
1. Sparkling Clean Microwave with Lemon Power
Is your microwave looking a little… exploded? Don’t worry, mine does too sometimes! This hack is a lifesaver.
What You’ll Need:
* 1 Lemon
* Microwave-safe bowl
* Water
* Sponge or cloth
Step-by-Step Instructions:
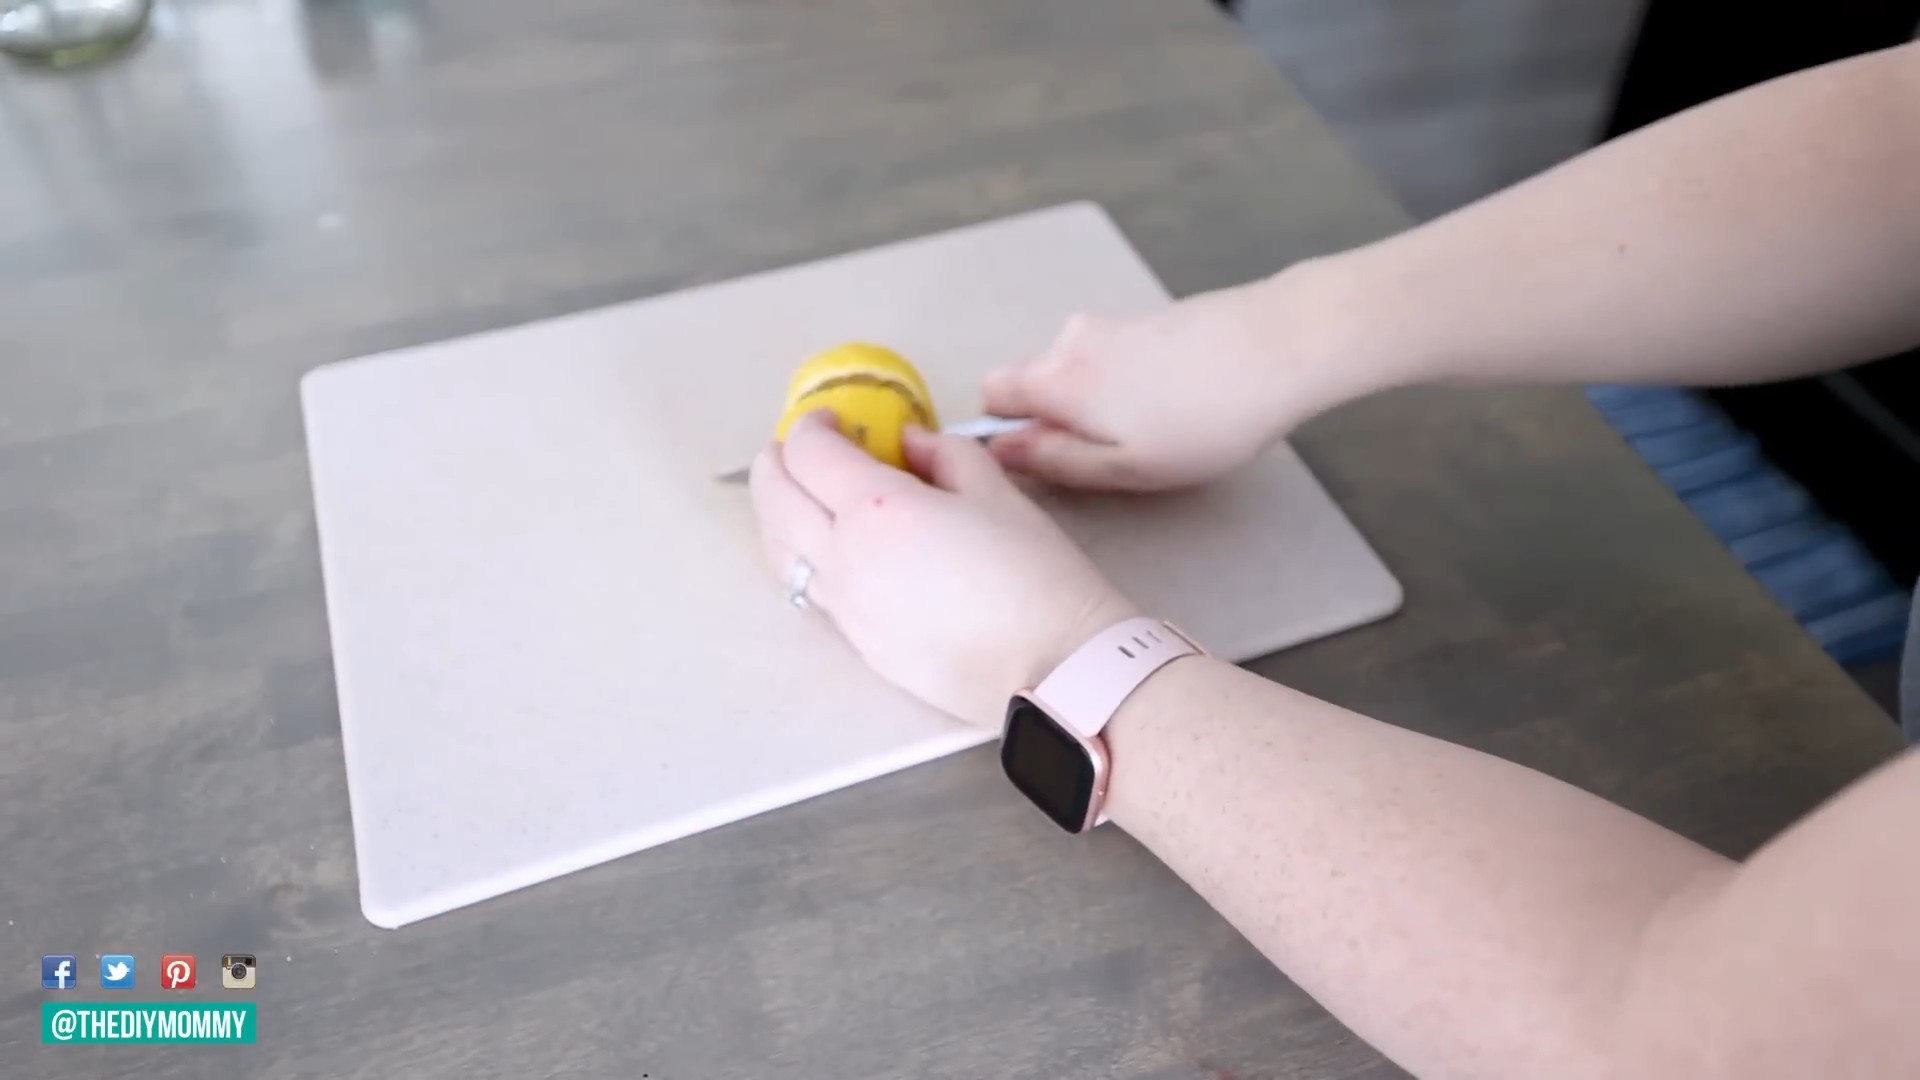
1. Prepare the Lemon Solution: Cut the lemon in half. Squeeze the juice from both halves into the microwave-safe bowl. Then, toss the lemon halves into the bowl as well.
2. Add Water: Fill the bowl about halfway with water.
3. Microwave Magic: Place the bowl in the microwave and heat on high for 3-5 minutes. You want the water to boil and create steam.
4. Let it Steam: Don’t open the microwave immediately! Let the steam work its magic for another 5-10 minutes. This will loosen all the grime and splatters.
5. Wipe it Down: Carefully remove the bowl (it will be hot!). Use a sponge or cloth to easily wipe away all the loosened food particles. The lemon scent will leave your microwave smelling fresh and clean!
2. Grout Cleaning Powerhouse: Baking Soda and Vinegar
Grimey grout can make your whole bathroom look dingy. This simple paste will brighten it right up!
What You’ll Need:
* Baking Soda
* White Vinegar
* Old toothbrush or grout brush
* Spray bottle (optional)
* Water
Step-by-Step Instructions:
1. Create the Paste: In a small bowl, mix baking soda and vinegar until you form a paste. It will fizz – that’s perfectly normal!
2. Apply the Paste: Using an old toothbrush or grout brush, apply the paste generously to the grout lines.
3. Let it Sit: Allow the paste to sit on the grout for at least 5-10 minutes. For really tough stains, you can let it sit for up to 30 minutes.
4. Scrub-a-dub-dub: Scrub the grout lines with the toothbrush or grout brush. You’ll see the grime start to lift away.
5. Rinse and Repeat (if needed): Rinse the area with water. If some stains persist, repeat the process. For easier rinsing, you can spray the area with water from a spray bottle.
3. Shine Your Stainless Steel with Olive Oil
Say goodbye to fingerprints and streaks on your stainless steel appliances! This hack is surprisingly effective.
What You’ll Need:
* Olive Oil
* Soft cloth (microfiber is best)
Step-by-Step Instructions:
1. Clean the Surface: First, wipe down your stainless steel appliance with a damp cloth to remove any loose dirt or debris.
2. Apply Olive Oil: Pour a small amount of olive oil onto a soft cloth.
3. Buff it In: Rub the olive oil onto the stainless steel, following the grain of the metal.
4. Buff to Shine: Use a clean part of the cloth to buff the surface until it shines. You’ll be amazed at how easily the fingerprints disappear!
4. Unclog Drains with Baking Soda and Vinegar (Again!)
This is my go-to method for unclogging drains without harsh chemicals.
What You’ll Need:
* Baking Soda
* White Vinegar
* Hot Water
Step-by-Step Instructions:
1. Pour in Baking Soda: Pour about 1 cup of baking soda down the drain.
2. Follow with Vinegar: Immediately follow with 1 cup of white vinegar.
3. Let it Fizz: Let the mixture fizz and bubble for about 30 minutes.
4. Flush with Hot Water: After 30 minutes, flush the drain with a pot of boiling water.
5. Repeat if Necessary: If the drain is still clogged, repeat the process.
5. Freshen Your Garbage Disposal with Citrus Peels
No more stinky garbage disposal! This hack is quick, easy, and smells amazing.
What You’ll Need:
* Citrus Peels (lemon, orange, grapefruit, etc.)
* Ice Cubes
* Water
Step-by-Step Instructions:
1. Gather Citrus Peels: Save your citrus peels after you’ve eaten the fruit.
2. Add Ice and Peels: Toss a handful of ice cubes and a handful of citrus peels into the garbage disposal.
3. Run the Disposal: Turn on the cold water and run the garbage disposal for about 30 seconds. The ice helps to scrub the disposal blades, and the citrus peels freshen the smell.
6. Clean Your Showerhead with Vinegar
Hard water buildup can clog your showerhead and reduce water pressure. This hack will restore it to its former glory.
What You’ll Need:
* White Vinegar
* Plastic Bag
* Rubber Band or Twist Tie
Step-by-Step Instructions:
1. Fill the Bag with Vinegar: Fill a plastic bag with enough white vinegar to completely submerge the showerhead.
2. Secure the Bag: Attach the bag to the showerhead using a rubber band or twist tie. Make sure the showerhead is fully immersed in the vinegar.
3. Soak Overnight: Let the showerhead soak in the vinegar overnight.
4. Remove and Rinse: Remove the bag and run the shower for a few minutes to flush out any remaining vinegar and loosened mineral deposits.
7. Deodorize Your Mattress with Baking Soda
Mattresses can harbor odors and moisture. This hack will freshen it up and help absorb any lingering smells.
What You’ll Need:
* Baking Soda
* Vacuum Cleaner
* Optional: Essential Oils (lavender, tea tree, etc.)
Step-by-Step Instructions:
1. Sprinkle Baking Soda: Sprinkle a generous layer of baking soda over the entire surface of your mattress.
2. Optional: Add Essential Oils: If you want to add a pleasant scent, mix a few drops of your favorite essential oil with the baking soda before sprinkling it on the mattress.
3. Let it Sit: Let the baking soda sit on the mattress for at least 30 minutes, or even better, for a few hours. The longer it sits, the more odors it will absorb.
4. Vacuum Thoroughly: Vacuum the mattress thoroughly to remove all the baking soda.
8. Remove Water Stains from Wood Furniture with a Hair Dryer
Those pesky white rings from water glasses can be so annoying! This hack is surprisingly effective.
What You’ll Need:
* Hair Dryer
* Soft Cloth
Step-by-Step Instructions:
1. Position the Hair Dryer: Set your hair dryer to a low or medium heat setting.
2. Apply Heat: Hold the hair dryer a few inches away from the water stain and move it back and forth over the stain.
3. Watch the Stain Disappear: As you apply heat, you should see the water stain start to fade away.
4. Buff with a Cloth: Once the stain is gone, buff the area with a soft cloth.
9. Clean Your Blinds with a Sock
Dusty blinds can be a pain to clean. This hack makes it quick and easy.
What You’ll Need:
* Old Sock
* White Vinegar (optional)
* Water (optional)
Step-by-Step Instructions:
1. Prepare the Sock: Dampen the sock slightly with water. For extra cleaning power, you can mix equal parts water and white vinegar in a bowl and dampen the sock with that solution.
2. Slip the Sock On: Slip the sock over your hand, like a puppet.
3. Wipe the Blinds: Use the sock-covered hand to wipe each slat of the blinds. The sock will trap the dust and dirt.
4. Wash the Sock: When the sock gets dirty, remove it and wash it. Then, repeat the process until all the blinds are clean.
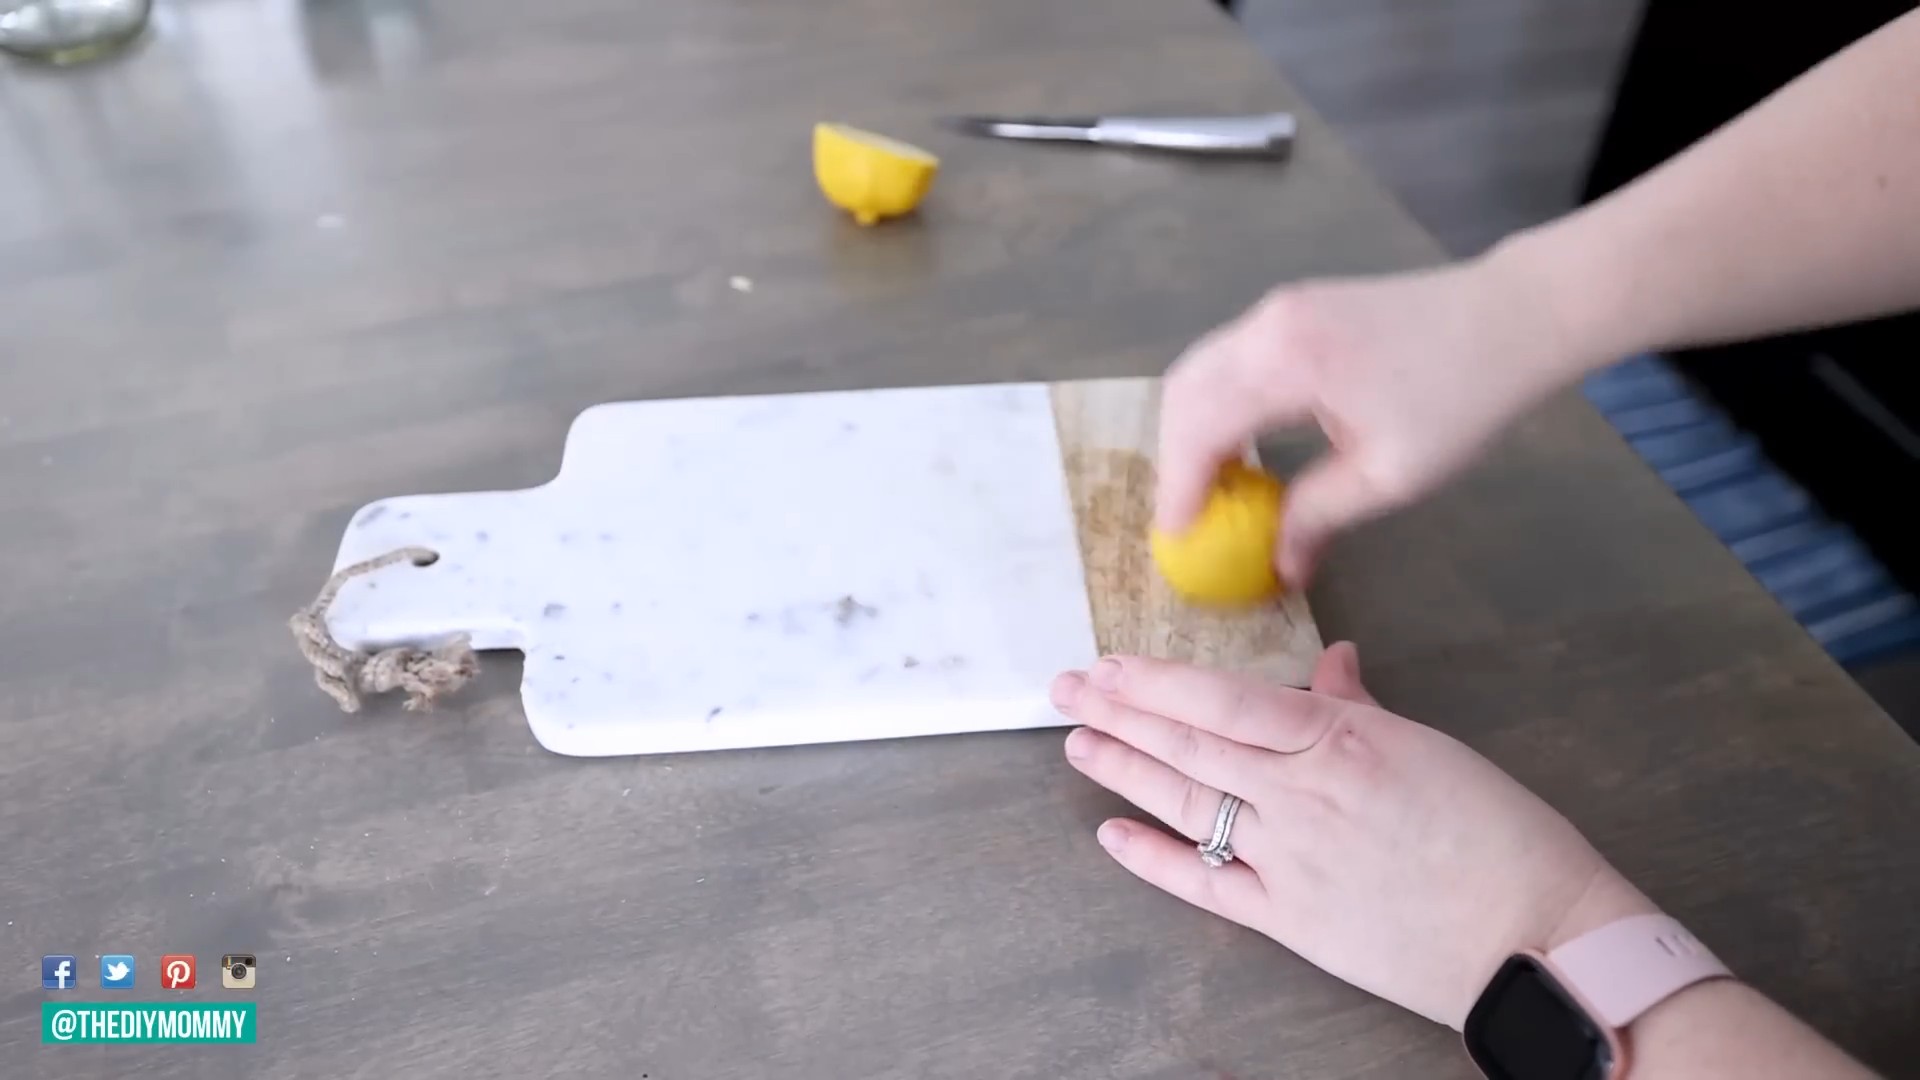
10. Freshen Your Cutting Boards with Lemon and Salt
Cutting boards can absorb odors and stains. This hack will clean and deodorize them naturally.
What You’ll Need:
* Lemon
* Coarse Salt (sea salt
Conclusion
So, there you have it! This DIY cleaning trick isn’t just another addition to the endless stream of online cleaning hacks; it’s a game-changer. We’ve explored how simple ingredients, likely already in your pantry, can create a powerful and effective cleaning solution that rivals expensive store-bought products. The beauty of this method lies not only in its cost-effectiveness but also in its eco-friendliness. By ditching harsh chemicals, you’re contributing to a healthier home environment and a more sustainable planet.
But the benefits extend beyond just saving money and being green. This DIY cleaning solution is incredibly versatile. It can tackle a wide range of cleaning tasks, from wiping down countertops and scrubbing sinks to mopping floors and even pre-treating laundry stains. Its gentle yet effective formula makes it safe for use on most surfaces, giving you peace of mind knowing you’re not damaging your belongings.
Why is this DIY cleaning trick a must-try? Because it’s simple, affordable, effective, and environmentally friendly. It empowers you to take control of your cleaning routine and create a healthier, happier home.
Looking for variations? Absolutely!
* For a citrus boost: Add a few drops of your favorite citrus essential oil, like lemon, orange, or grapefruit, to the mixture. This will not only enhance the cleaning power but also leave your home smelling fresh and invigorating.
* For extra scrubbing power: Sprinkle a bit of baking soda onto the surface you’re cleaning before applying the solution. The baking soda will act as a gentle abrasive, helping to remove stubborn stains and grime.
* For a disinfectant boost: Add a few drops of tea tree oil to the solution. Tea tree oil is a natural disinfectant with antibacterial and antifungal properties.
We’re confident that once you try this DIY cleaning trick, you’ll be amazed by the results. It’s a simple yet powerful way to transform your cleaning routine and create a healthier, more sustainable home.
Now, we want to hear from you! Give this DIY cleaning trick a try and share your experience with us. Did it work wonders on your stubborn stains? Did you customize the recipe with your own unique twist? Let us know in the comments below! Your feedback will not only help us improve this recipe but also inspire others to embrace the power of DIY cleaning. We believe that together, we can create a cleaner, healthier, and more sustainable world, one cleaning trick at a time. So, go ahead, give it a try, and let us know what you think! We can’t wait to hear your success stories!
Frequently Asked Questions (FAQ)
Is this DIY cleaning solution safe for all surfaces?
While this DIY cleaning solution is generally safe for most surfaces, it’s always a good idea to test it in an inconspicuous area first, especially on delicate or sensitive materials like wood, leather, or natural stone. Avoid using it on surfaces that are known to be damaged by acidic solutions, such as marble. If you’re unsure, consult the manufacturer’s instructions for the surface you’re cleaning.
How long does the DIY cleaning solution last?
This DIY cleaning solution is best used within a week or two for optimal effectiveness. Since it doesn’t contain any preservatives, it may start to lose its potency over time. To ensure the best results, make a fresh batch every couple of weeks. Store the solution in a clean, airtight container in a cool, dark place.
Can I use this DIY cleaning solution on my clothes?
Yes, this DIY cleaning solution can be used as a pre-treatment for laundry stains. Simply apply a small amount of the solution directly to the stain and let it sit for 15-30 minutes before washing as usual. However, always test the solution on a hidden area of the fabric first to ensure it doesn’t cause any discoloration or damage. Avoid using it on delicate fabrics like silk or wool.
What if I don’t have all the ingredients listed in the recipe?
The beauty of this DIY cleaning trick is that it’s highly adaptable. While the core ingredients are essential for its effectiveness, you can easily substitute or omit certain ingredients based on your preferences and what you have on hand. For example, if you don’t have white vinegar, you can use lemon juice instead. If you don’t have essential oils, you can simply leave them out. The key is to experiment and find what works best for you.
Can I use this DIY cleaning solution to clean my bathroom?
Absolutely! This DIY cleaning solution is excellent for cleaning bathrooms. It can effectively remove soap scum, hard water stains, and mildew from surfaces like tiles, sinks, and toilets. For tough stains, you can combine the solution with baking soda to create a powerful scrubbing paste. Just be sure to rinse thoroughly after cleaning.
Is this DIY cleaning solution safe for pets and children?
While this DIY cleaning solution is made with natural ingredients, it’s still important to keep it out of reach of pets and children. Although the ingredients are generally considered safe, ingestion can cause stomach upset. If your pet or child accidentally ingests the solution, contact your veterinarian or a medical professional immediately.
Can I use this DIY cleaning solution to clean my oven?
This DIY cleaning solution can be used to clean your oven, but it may require a bit more effort than using a commercial oven cleaner. To clean your oven with this solution, first, remove any loose debris. Then, spray the solution liberally onto the interior surfaces of the oven. Let it sit for several hours or overnight. Finally, scrub the oven with a sponge or brush and wipe clean with a damp cloth. For stubborn baked-on food, you can create a paste of baking soda and water and apply it to the affected areas before spraying with the cleaning solution.
How does this DIY cleaning trick compare to commercial cleaning products?
This DIY cleaning trick offers several advantages over commercial cleaning products. It’s more affordable, environmentally friendly, and often safer for your health. Commercial cleaning products often contain harsh chemicals that can irritate your skin, eyes, and respiratory system. They can also contribute to indoor air pollution. This DIY solution, on the other hand, is made with natural ingredients that are less likely to cause these problems. While commercial cleaning products may be more convenient, this DIY option allows you to control what goes into your cleaning routine and create a healthier home environment. Plus, you get the satisfaction of knowing you made it yourself!


Leave a Comment