
Easy house cleaning hacks – who doesn’t need them? Let’s be honest, between work, family, and trying to squeeze in some semblance of a social life, keeping a sparkling clean home can feel like an impossible dream. But what if I told you that you could reclaim your weekends (and your sanity!) with a few clever tricks and DIY solutions?
For centuries, people have been devising ingenious ways to maintain their homes with minimal effort. Think about it – our grandmothers weren’t running to the store for a different cleaning product for every surface! They relied on simple, effective methods passed down through generations. These time-tested techniques, often using readily available ingredients, are the foundation of many of the easy house cleaning hacks we’ll explore today.
In today’s fast-paced world, time is our most precious commodity. Spending hours scrubbing and scouring is simply not an option for most of us. That’s where these DIY cleaning hacks come in. They’re designed to save you time, money, and energy, allowing you to enjoy a cleaner, healthier home without sacrificing your precious free time. So, ditch the harsh chemicals and embrace these simple, yet effective, solutions that will transform your cleaning routine from a chore into a breeze! Get ready to discover how to make your home shine with minimal effort – I promise, you’ll thank me later!
Easy House Cleaning Hacks That Will Save You Time and Sanity!
Okay, let’s be honest, cleaning isn’t exactly anyone’s favorite pastime. But a clean house is a happy house, right? So, I’m going to share some of my favorite DIY cleaning hacks that are super easy, use stuff you probably already have, and will seriously cut down on your cleaning time. Get ready to say goodbye to endless scrubbing and hello to a sparkling home!
Cleaning Your Microwave Like a Pro
Microwaves are notorious for splatters and stuck-on food. But don’t worry, you don’t need harsh chemicals or hours of scrubbing to get it clean. This steam cleaning method is a game-changer!
What You’ll Need:
* 1 cup of water
* 1/4 cup of white vinegar (or lemon juice)
* Microwave-safe bowl
* Sponge or cloth
Step-by-Step Instructions:
1. Mix the Cleaning Solution: In your microwave-safe bowl, combine the water and vinegar (or lemon juice). The vinegar helps to loosen grime, and the lemon juice adds a fresh scent.
2. Microwave the Solution: Place the bowl in the microwave and heat it on high for 5-7 minutes. You want the solution to boil and create steam inside the microwave.
3. Let it Sit: Once the timer goes off, don’t open the microwave door immediately! Let the steam work its magic for another 3-5 minutes. This will loosen all the stuck-on food particles.
4. Wipe it Clean: Carefully remove the bowl (it will be hot!). Use a sponge or cloth to wipe down the inside of the microwave. You’ll be amazed at how easily the grime comes off. For stubborn spots, you might need a little extra elbow grease, but it should be minimal.
5. Clean the Turntable: Remove the turntable and wash it with warm, soapy water. Dry it thoroughly before placing it back in the microwave.
De-Gunking Your Showerhead for Better Water Pressure
Hard water can wreak havoc on your showerhead, causing mineral buildup that reduces water pressure. This simple hack will have your showerhead flowing like new in no time!
What You’ll Need:
* White vinegar
* Plastic bag (sandwich bag or larger, depending on the size of your showerhead)
* Rubber band or twist tie
* Old toothbrush
Step-by-Step Instructions:
1. Fill the Bag with Vinegar: Pour enough white vinegar into the plastic bag to completely submerge the showerhead.
2. Secure the Bag: Carefully attach the bag to the showerhead, making sure the showerhead is fully immersed in the vinegar. Use a rubber band or twist tie to secure the bag tightly around the showerhead neck.
3. Soak Overnight: Let the showerhead soak in the vinegar overnight (or for at least a few hours). This will allow the vinegar to dissolve the mineral buildup.
4. Remove and Scrub: Remove the bag and discard the vinegar. Use an old toothbrush to scrub away any remaining mineral deposits. You might need to rinse and repeat this step if there’s a lot of buildup.
5. Rinse and Test: Turn on the shower and let the water run for a few minutes to flush out any remaining vinegar and debris. Check the water pressure – it should be significantly improved!
Cleaning Your Blender Like a Pro
Blenders can be a pain to clean, especially after making smoothies with sticky ingredients. This hack makes cleaning a breeze!
What You’ll Need:
* Warm water
* Dish soap
Step-by-Step Instructions:
1. Rinse the Blender: Immediately after using your blender, rinse out any remaining food particles with warm water.
2. Fill with Water and Soap: Fill the blender jar about halfway with warm water and add a squirt of dish soap.
3. Blend: Secure the lid and blend on high speed for about 30-60 seconds. This will create a soapy vortex that cleans the inside of the jar and the blades.
4. Rinse Thoroughly: Pour out the soapy water and rinse the blender jar thoroughly with clean water.
5. Air Dry: Allow the blender jar and lid to air dry completely before storing.
Freshening Up Your Mattress Without Harsh Chemicals
Mattresses can harbor dust mites and odors over time. This natural cleaning method will freshen up your mattress and help you sleep better.
What You’ll Need:
* Baking soda
* Essential oil (optional, like lavender or tea tree)
* Vacuum cleaner with upholstery attachment
* Sieve or strainer (optional, for even distribution of baking soda)
Step-by-Step Instructions:
1. Strip the Bed: Remove all bedding, including sheets, blankets, and mattress protectors. Wash them in hot water to kill any dust mites.
2. Sprinkle Baking Soda: Generously sprinkle baking soda over the entire surface of the mattress. If you’re using essential oil, add a few drops to the baking soda and mix well before sprinkling. The baking soda will absorb odors and moisture, while the essential oil will add a fresh scent.
3. Let it Sit: Allow the baking soda to sit on the mattress for at least 30 minutes, or even better, for a few hours. The longer it sits, the more effective it will be at absorbing odors and moisture.
4. Vacuum Thoroughly: Use the upholstery attachment on your vacuum cleaner to thoroughly vacuum the entire surface of the mattress. Make sure to get into all the nooks and crannies.
5. Flip and Repeat: Flip the mattress over and repeat steps 2-4 on the other side.
6. Air Out: Allow the mattress to air out for a few hours before making the bed with fresh linens.
Cleaning Grout with Baking Soda and Vinegar
Dirty grout can make your entire bathroom look dingy. This simple cleaning solution will brighten your grout and make your tiles sparkle.
What You’ll Need:
* Baking soda
* White vinegar
* Spray bottle
* Old toothbrush or grout brush
* Water
Step-by-Step Instructions:
1. Make a Baking Soda Paste: Mix baking soda with a little water to create a thick paste.
2. Apply the Paste: Apply the baking soda paste to the grout lines. You can use your fingers or a small spatula to spread it evenly.
3. Spray with Vinegar: Fill a spray bottle with white vinegar and spray it onto the baking soda paste. The vinegar will react with the baking soda, creating a fizzing action that helps to loosen dirt and grime.
4. Let it Sit: Allow the mixture to sit for about 5-10 minutes.
5. Scrub the Grout: Use an old toothbrush or grout brush to scrub the grout lines. The fizzing action should have loosened the dirt, making it easier to scrub away.
6. Rinse Thoroughly: Rinse the grout with clean water to remove any remaining baking soda and vinegar residue. You can use a sponge or cloth to wipe down the tiles.
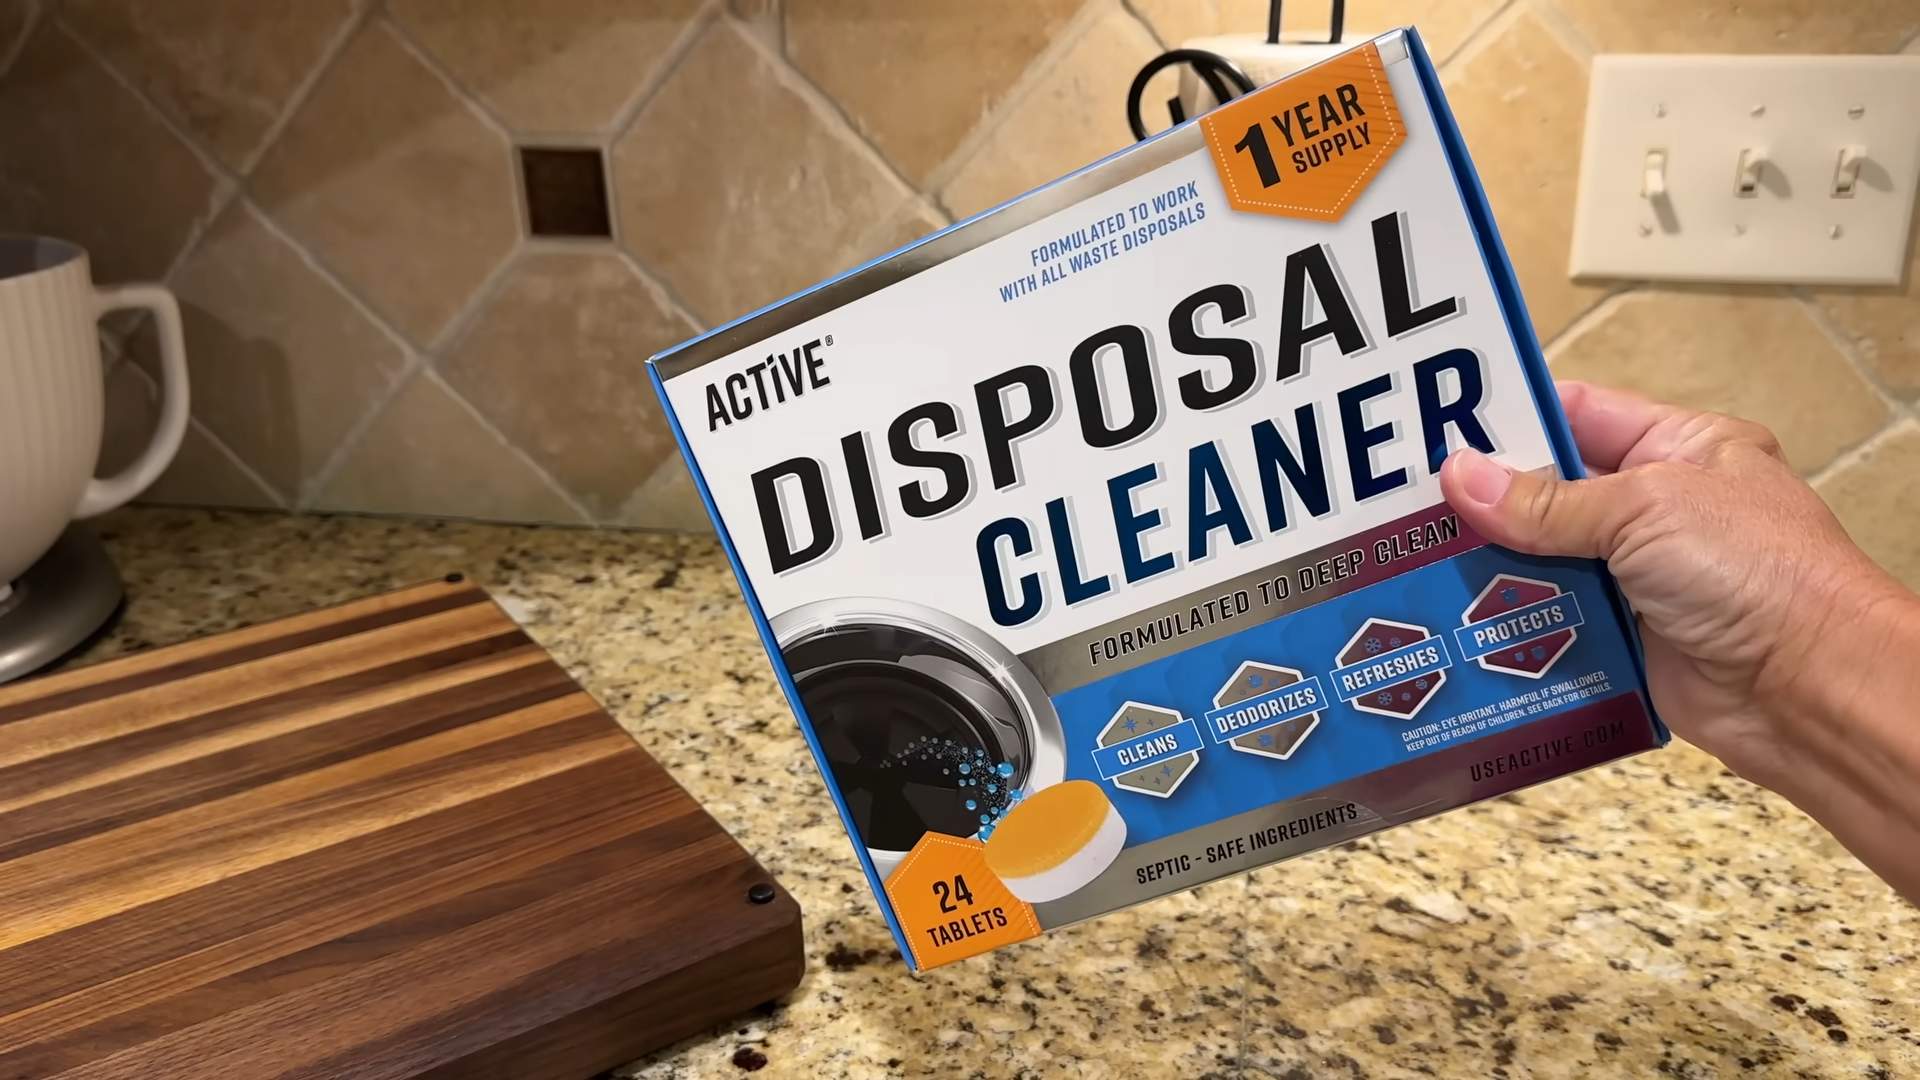
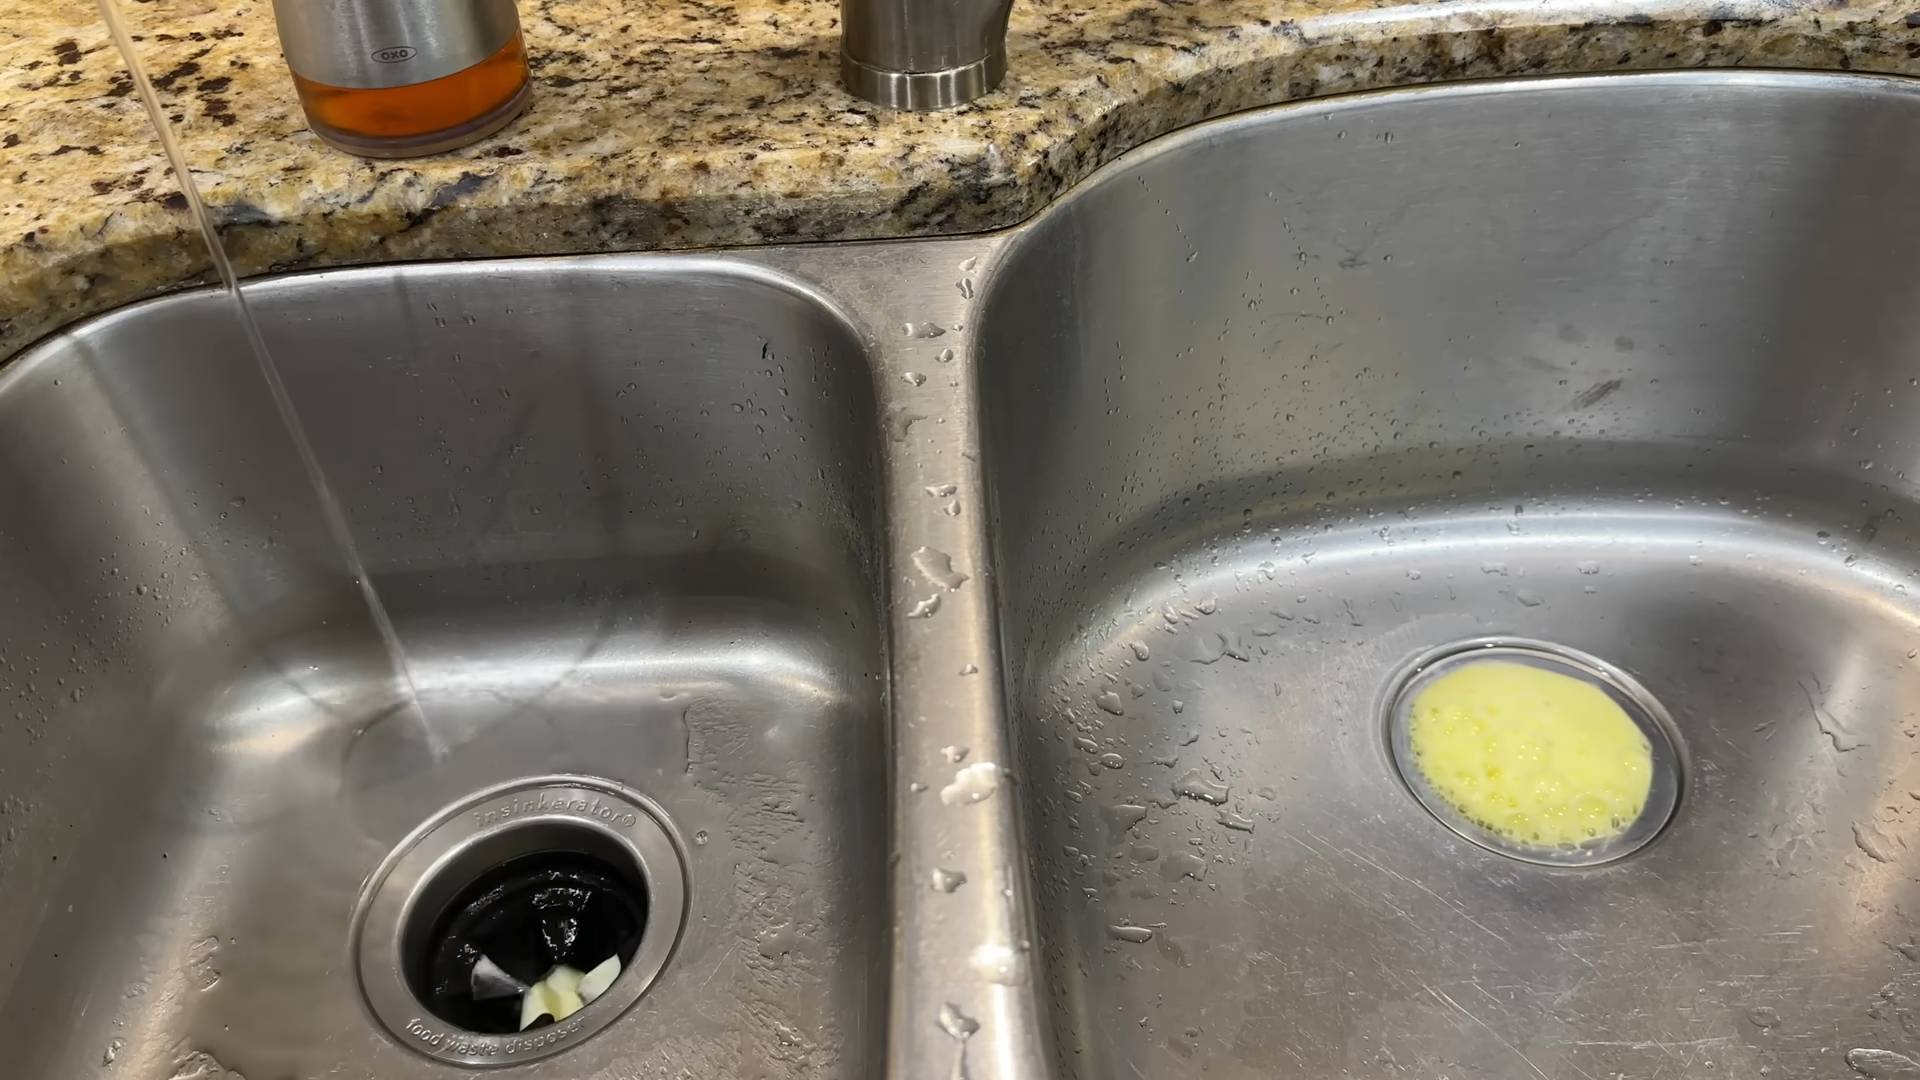
Unclogging Drains Naturally
Chemical drain cleaners can be harsh and damaging to your pipes. This natural method is a safer and more eco-friendly way to unclog drains.
What You’ll Need:
* 1 cup baking soda
* 2 cups boiling water
* 1 cup white vinegar
Step-by-Step Instructions:
1. Pour Baking Soda: Pour one cup of baking soda down the drain.
2. Pour Boiling Water: Slowly pour two cups of boiling water down the drain. Let it sit for a few minutes.
3. Add Vinegar: Pour one cup of white vinegar down the drain. It will fizz.
4. Cover and Wait: Cover the drain with a plug or cloth and let it sit for 25-30 minutes.
5. Flush with Hot Water: After the waiting period, flush the drain with hot tap water for several minutes to clear any remaining debris.
Cleaning Burnt Pots and Pans
Burnt food stuck to the bottom of pots and pans can seem impossible to remove. This simple trick will save your cookware!
What You’ll Need:
* Water
* Baking soda
* Dish soap
* Scrubbing pad or sponge
Step-by-Step Instructions:
1. Cover the Burnt Area: Fill the pot or pan with enough water to cover the burnt area.
2. Add Baking Soda: Add a generous amount of baking soda (about 2-3 tablespoons) to the water.
3. Boil the Mixture: Bring the water to a boil and let it simmer for about 10-15 minutes.
4
Conclusion
So, there you have it! These easy house cleaning hacks are more than just shortcuts; they’re game-changers that can transform your cleaning routine from a dreaded chore into a manageable, even enjoyable, task. We’ve covered everything from tackling stubborn stains with everyday ingredients to creating your own powerful cleaning solutions that are both effective and eco-friendly. The beauty of these hacks lies in their simplicity and accessibility. You likely already have most, if not all, of the necessary ingredients lurking in your pantry or bathroom cabinet.
Why is this DIY approach a must-try? Because it empowers you to take control of your cleaning process. You know exactly what’s going into your cleaning solutions, avoiding harsh chemicals and unnecessary additives. This is especially beneficial for those with sensitivities or allergies, or for families with young children and pets. Plus, it’s incredibly cost-effective! Think about how much you spend on commercial cleaning products each year. By embracing these hacks, you can significantly reduce your expenses while achieving sparkling clean results.
But the benefits extend beyond just saving money and avoiding chemicals. These hacks are also incredibly versatile. For example, the vinegar and baking soda solution isn’t just for unclogging drains; it can also be used to clean your oven, freshen up your garbage disposal, and even remove hard water stains from your showerhead. The possibilities are endless!
Ready to take your cleaning game to the next level? We encourage you to try these easy house cleaning hacks and see the difference they can make in your home. Don’t be afraid to experiment and adapt the recipes to suit your specific needs and preferences. Perhaps you want to add a few drops of your favorite essential oil to your all-purpose cleaner for a refreshing scent. Or maybe you want to try using lemon juice instead of vinegar for a gentler cleaning solution. The key is to find what works best for you and your home.
And most importantly, we want to hear about your experience! Share your successes, your challenges, and any variations you’ve discovered in the comments below. Let’s create a community of cleaning enthusiasts who are passionate about making their homes cleaner, healthier, and more sustainable. Your insights could help others discover new and innovative ways to tackle their cleaning challenges. So, go ahead, give these hacks a try and let us know what you think! You might be surprised at how much you enjoy the process and how much time and money you save. Happy cleaning!
Frequently Asked Questions (FAQs)
Q: Are these easy house cleaning hacks safe for all surfaces?
A: While most of these hacks are generally safe for a wide range of surfaces, it’s always a good idea to test them in an inconspicuous area first, especially on delicate or sensitive materials like wood, marble, or granite. For example, vinegar, while a fantastic cleaner, can etch certain types of stone. Similarly, abrasive cleaners like baking soda should be used with caution on easily scratched surfaces. When in doubt, consult the manufacturer’s instructions for your specific surface or appliance. If you’re unsure, a diluted solution is always a safer starting point.
Q: Can I use these hacks if I have allergies or sensitivities?
A: One of the biggest advantages of these DIY cleaning hacks is that you have complete control over the ingredients. This makes them a great option for people with allergies or sensitivities to common chemicals found in commercial cleaning products. However, it’s still important to be mindful of potential allergens. For example, if you’re allergic to citrus, you’ll want to avoid using lemon juice as a cleaning agent. Always read the ingredient list carefully and choose alternatives that are safe for you. If you’re unsure about a particular ingredient, consult with your doctor or allergist. You can also substitute ingredients. For example, if you are allergic to vinegar, you can use citric acid as a substitute in many cleaning recipes.
Q: How long do these DIY cleaning solutions last?
A: The shelf life of your DIY cleaning solutions will depend on the ingredients used. Solutions containing water are more prone to bacterial growth and should be used within a week or two. Solutions made with vinegar, alcohol, or essential oils tend to have a longer shelf life, typically lasting for several months. To maximize the shelf life of your solutions, store them in airtight containers in a cool, dark place. Always label your containers clearly with the date and ingredients. If you notice any changes in color, odor, or consistency, discard the solution immediately.
Q: Are these hacks environmentally friendly?
A: Yes, these easy house cleaning hacks are generally much more environmentally friendly than using commercial cleaning products. By using natural ingredients like vinegar, baking soda, and lemon juice, you’re reducing your reliance on harsh chemicals that can pollute waterways and harm the environment. Additionally, you’re reducing plastic waste by making your own cleaning solutions instead of buying pre-packaged products. To further minimize your environmental impact, consider using reusable spray bottles and cleaning cloths. You can also compost any leftover food scraps used in your cleaning solutions, such as lemon peels.
Q: Can I use essential oils in these cleaning hacks?
A: Absolutely! Essential oils can be a wonderful addition to your DIY cleaning solutions, adding a pleasant scent and providing additional cleaning benefits. Many essential oils, such as tea tree, lavender, and eucalyptus, have antibacterial, antifungal, and antiviral properties. When using essential oils, be sure to choose high-quality, pure oils. Add a few drops to your cleaning solution and shake well before each use. Be mindful of the potential for allergic reactions and avoid using essential oils around pets or young children. Some essential oils are toxic to pets, so always do your research before using them in your home.
Q: What are some variations I can try with these hacks?
A: The possibilities are endless! Here are a few ideas to get you started:
* **All-Purpose Cleaner:** Add a few drops of your favorite essential oil (like lavender or lemon) to your vinegar and water solution for a refreshing scent.
* **Oven Cleaner:** Mix baking soda with water to create a paste and apply it to the inside of your oven. Let it sit overnight and then scrub clean.
* **Drain Cleaner:** Pour baking soda down the drain, followed by vinegar. Let it fizz for 30 minutes and then flush with hot water.
* **Furniture Polish:** Mix olive oil with lemon juice for a natural furniture polish. Apply a small amount to a soft cloth and buff the furniture.
* **Window Cleaner:** Mix vinegar with water in a spray bottle and use it to clean your windows and mirrors.
Don’t be afraid to experiment and find what works best for you!
Q: What if a cleaning hack doesn’t work for me?
A: Not every cleaning hack will work perfectly in every situation. Factors like the type of stain, the surface being cleaned, and the water hardness can all affect the results. If a hack doesn’t work the first time, try adjusting the recipe or technique. You may need to use a stronger concentration of the cleaning solution or scrub harder. If you’re still having trouble, try a different hack or consult a professional cleaner. Remember, cleaning is often a process of trial and error. Don’t get discouraged if you don’t see results immediately.
Q: Where can I find more information about natural cleaning?
A: There are many resources available online and in libraries that can provide you with more information about natural cleaning. Search for articles, blog posts, and books on topics like DIY cleaning solutions, eco-friendly cleaning products, and non-toxic cleaning methods. You can also find helpful tips and advice from online communities and forums dedicated to natural cleaning. Look for reputable sources that provide accurate and evidence-based information.

Leave a Comment