
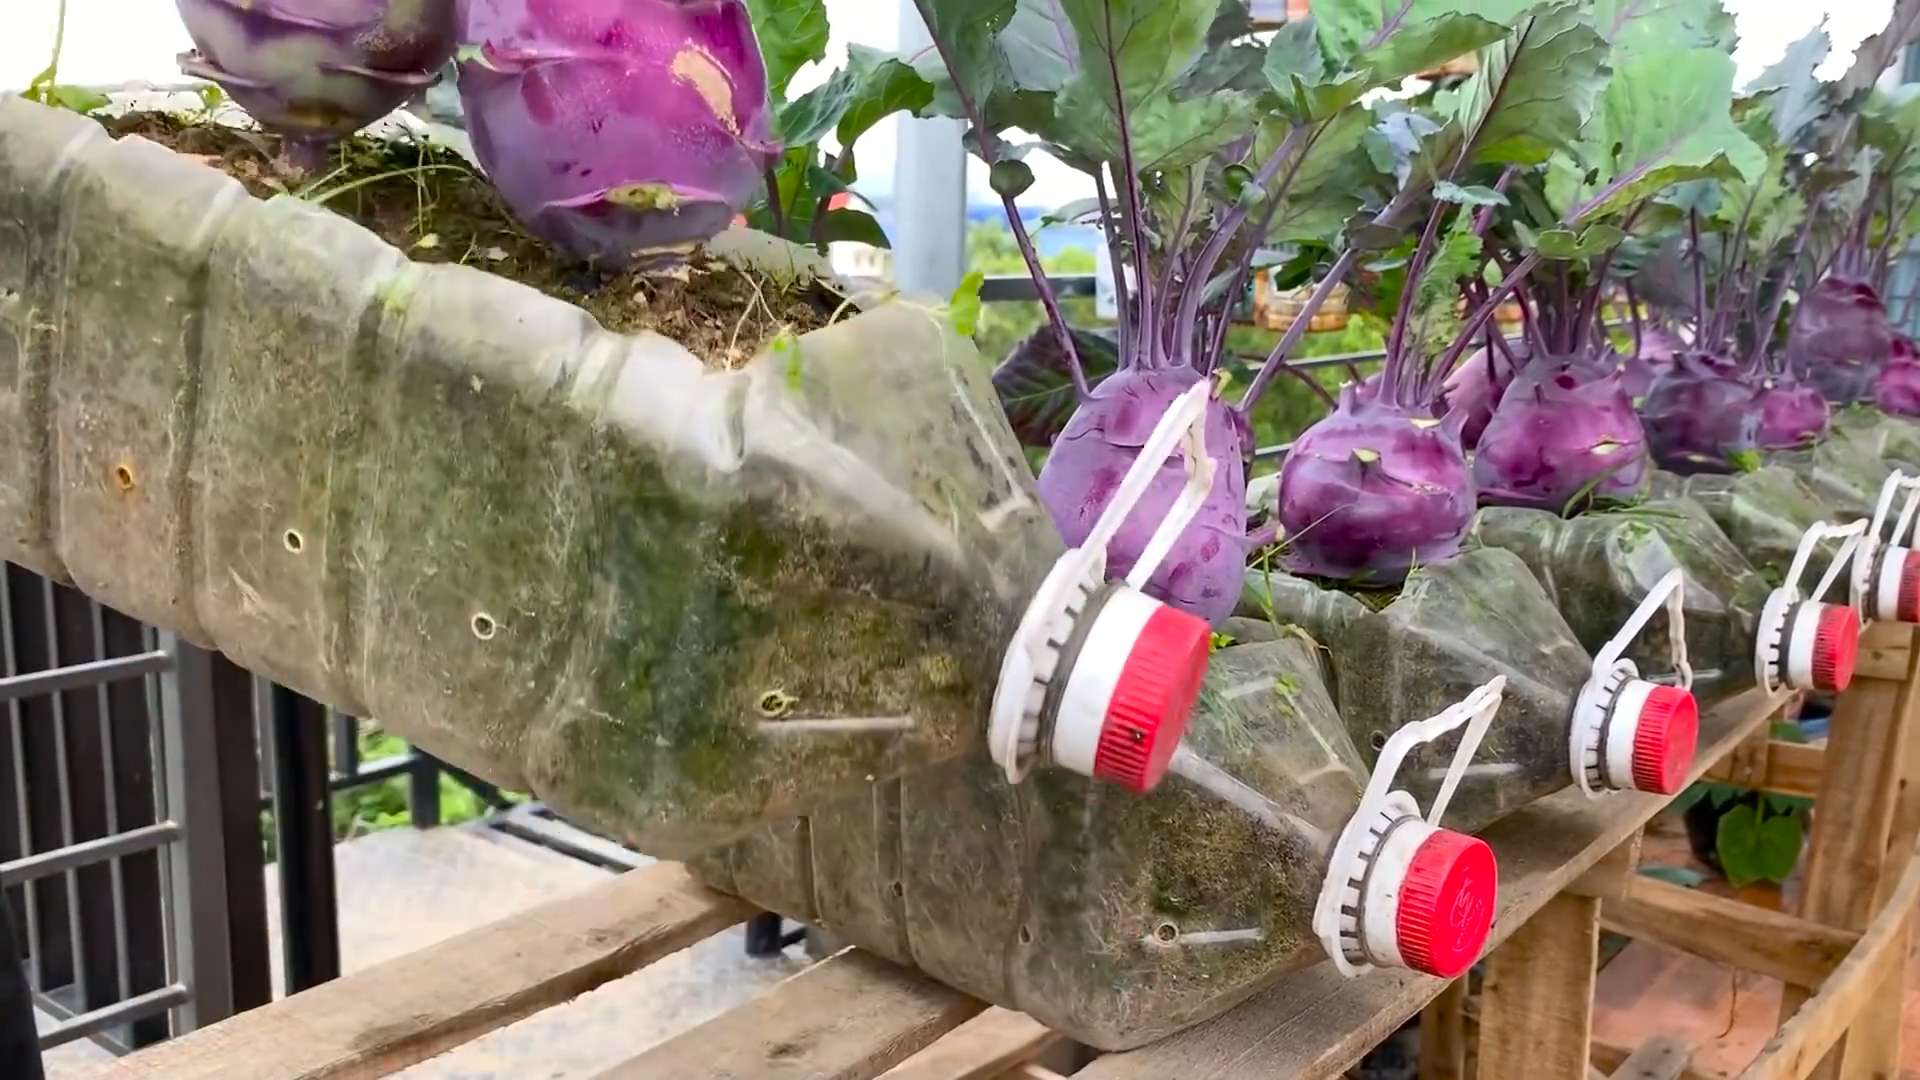
Kohlrabi terrace planter system: Ever dreamed of a garden overflowing with fresh, crisp kohlrabi, even if you’re short on space? I know I have! Forget sprawling fields; we’re talking vertical victory! This DIY project isn’t just about growing vegetables; it’s about creating a beautiful, functional piece of art that brings the joy of gardening right to your doorstep.
Terrace gardening, in general, has a rich history, dating back to ancient civilizations who ingeniously carved steps into hillsides to cultivate crops. Think of the Hanging Gardens of Babylon – a testament to human ingenuity and our enduring connection to the earth. While we might not be building wonders of the ancient world, we are tapping into that same spirit of innovation to maximize our growing potential.
Why do you need this kohlrabi terrace planter system in your life? Well, imagine this: fresh, organic kohlrabi readily available for salads, slaws, or even a quick, healthy snack. No more trips to the grocery store, no more questionable pesticides. Plus, let’s be honest, it’s incredibly satisfying to nurture something from seed to table. This DIY project is perfect for apartment dwellers, balcony gardeners, or anyone looking to add a touch of green to their lives. I’m going to show you how to build your own stunning kohlrabi terrace planter, step-by-step, making fresh, homegrown goodness accessible to everyone!
DIY Kohlrabi Terrace Planter System: Grow Your Own Delicious Greens!
Hey there, fellow gardening enthusiasts! I’m so excited to share this project with you. If you’re like me, you love fresh, homegrown veggies, but maybe you’re short on space. Or perhaps you just want a visually appealing and efficient way to grow your own kohlrabi (or any other leafy greens, really!). That’s where this DIY kohlrabi terrace planter system comes in. It’s a tiered garden that maximizes space, looks fantastic, and is surprisingly easy to build. Let’s get started!
Materials You’ll Need
Before we dive in, let’s gather our supplies. This list might seem long, but don’t worry, most of these items are readily available at your local hardware store or garden center.
* Untreated Lumber: This is crucial! We don’t want any chemicals leaching into our soil. I recommend cedar or redwood for their natural rot resistance, but pine will work too if you treat it properly. You’ll need:
* (8) 2″ x 6″ x 8′ boards (for the main structure and tiers)
* (4) 4″ x 4″ x 8′ posts (for the corner supports)
* (1) 2″ x 4″ x 8′ board (for extra support, optional)
* Landscape Fabric: To line the planters and prevent soil erosion. Get a heavy-duty roll.
* Fasteners:
* 3″ exterior wood screws (lots of them!)
* 2″ exterior wood screws
* Galvanized nails (for extra reinforcement, optional)
* Soil: A good quality potting mix or garden soil blend. Calculate the volume you’ll need based on the size of your tiers.
* Kohlrabi Seeds or Seedlings: Of course! Choose your favorite variety.
* Wood Stain or Sealant (Optional): To protect the wood and enhance its appearance. Make sure it’s plant-safe!
* Tools:
* Measuring tape
* Pencil
* Circular saw or hand saw
* Drill with various drill bits
* Screwdriver
* Level
* Staple gun
* Gloves
* Safety glasses
* Shovel or trowel
Planning and Cutting the Wood
This is where we lay the groundwork (literally!) for our terrace planter. Accurate measurements are key to a sturdy and visually appealing structure.
1. Determine the Terrace Dimensions: I designed mine to be approximately 6 feet long, 4 feet wide, and 3 feet tall, with three tiers. But feel free to adjust these dimensions to fit your space and preferences. Remember to consider the slope of your yard if you have one.
2. Cut the Corner Posts: Cut the 4″ x 4″ posts into four equal lengths. For a 3-foot tall planter, each post should be 36 inches long.
3. Cut the Tier Boards: This is where the 2″ x 6″ boards come in. We’ll need to cut them to create the frames for each tier.
* Long Sides: Cut six boards to 72 inches (6 feet) each.
* Short Sides: Cut six boards to 45 inches each. This allows for the 4″x4″ corner posts to fit inside the frame.
4. Cut the Support Boards (Optional): If you want extra support for the tiers, especially if you plan to fill them with heavy soil, cut the 2″ x 4″ board into several pieces to fit inside the tier frames. I recommend cutting enough pieces to place one support every 18 inches or so.
Assembling the Tier Frames
Now we’re going to start building the individual tiers that will make up our terrace planter.
1. Assemble the First Tier Frame: Take two of the 72-inch long boards and two of the 45-inch short boards. Form a rectangle, ensuring the corners are square. Use the 3″ wood screws to attach the boards together. Pre-drilling pilot holes will prevent the wood from splitting.
2. Reinforce the Corners: For added strength, you can use galvanized nails to reinforce the corners. Hammer them in at an angle.
3. Add Support Boards (Optional): If you’re using support boards, place them inside the frame, evenly spaced, and screw them into the long sides of the frame.
4. Repeat for the Remaining Tiers: Repeat steps 1-3 to assemble the remaining two tier frames.
Attaching the Corner Posts and Stacking the Tiers
This is where our terrace planter really starts to take shape! We’ll attach the corner posts to the first tier and then stack the remaining tiers on top.
1. Attach the Corner Posts to the First Tier: Place the first tier frame on a level surface. Position the corner posts inside the corners of the frame, ensuring they are flush with the top edge. Use the 3″ wood screws to attach the posts to the frame. Again, pre-drilling is your friend!
2. Stack the Second Tier: Carefully place the second tier frame on top of the corner posts, aligning it with the first tier. Use the 3″ wood screws to attach the second tier frame to the corner posts.
3. Stack the Third Tier: Repeat step 2 to attach the third tier frame to the corner posts.
4. Ensure Stability: Double-check that all the connections are secure and that the structure is level. If necessary, add extra screws or nails for reinforcement.
Lining the Planters with Landscape Fabric
This step is crucial for preventing soil erosion and keeping your planter looking its best.
1. Cut the Landscape Fabric: Cut pieces of landscape fabric that are large enough to line each tier, with plenty of overlap.
2. Line the First Tier: Place a piece of landscape fabric inside the first tier, pressing it against the sides and bottom. Fold the excess fabric over the top edge of the frame.
3. Secure the Fabric: Use the staple gun to secure the fabric to the inside of the frame. Make sure the staples are close together to prevent the fabric from tearing.
4. Repeat for the Remaining Tiers: Repeat steps 2 and 3 to line the remaining two tiers.
Filling the Planters with Soil
Now for the fun part – adding the soil!
1. Choose Your Soil: I recommend using a good quality potting mix or a blend of garden soil and compost. This will provide your kohlrabi with the nutrients it needs to thrive.
2. Fill the First Tier: Carefully fill the first tier with soil, leaving a few inches of space at the top.
3. Fill the Remaining Tiers: Repeat step 2 to fill the remaining two tiers.
4. Water the Soil: Gently water the soil to help it settle.
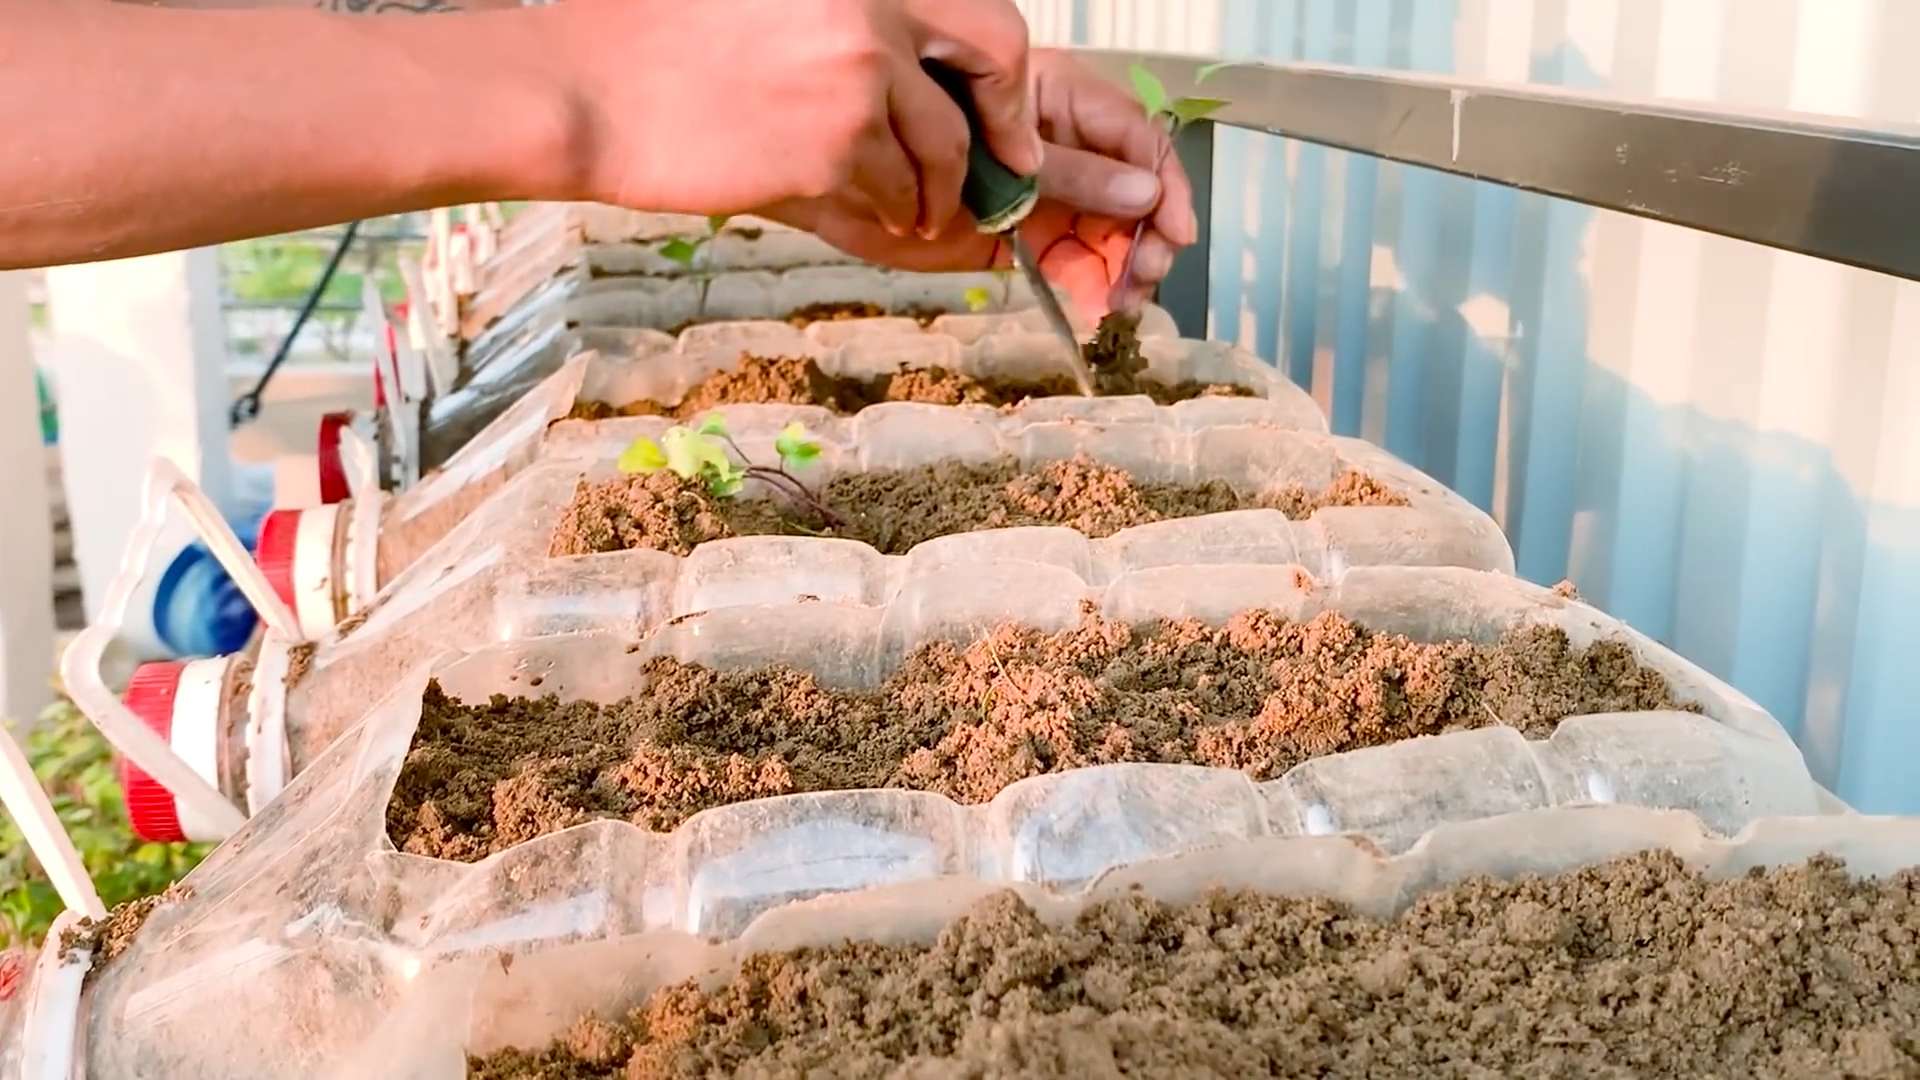
Planting Your Kohlrabi
Finally, it’s time to plant your kohlrabi!
1. Prepare the Soil: Use a trowel to create small holes in the soil, spaced according to the instructions on your seed packet or seedling container.
2. Plant the Seeds or Seedlings: Plant the kohlrabi seeds or seedlings in the holes, gently covering them with soil.
3. Water Thoroughly: Water the newly planted kohlrabi thoroughly.
4. Mulch (Optional): Add a layer of mulch around the plants to help retain moisture and suppress weeds.
Finishing Touches (Optional)
These steps are optional, but they can really enhance the look and longevity of your terrace planter.
1. Stain or Seal the Wood: If you want to protect the wood from the elements and enhance its appearance, apply a plant-safe wood stain or sealant. Follow the manufacturer’s instructions carefully.
2. Add Decorative Elements: Get creative! Add decorative stones, pebbles, or other elements to personalize your terrace planter.
3. Consider Drainage: While the landscape fabric helps retain soil, ensure adequate drainage. You can drill small holes in the bottom of each tier before lining with fabric if you live in a very wet climate.
Caring for Your Kohlrabi
Now that your kohlrabi is planted, it’s important to provide it with the care it needs to thrive.
1. Water Regularly: Kohlrabi needs consistent moisture, so water regularly, especially during dry periods.
2. Fertilize: Fertilize your kohlrabi every few weeks with a balanced fertilizer.
3. Weed Regularly: Keep the area around your kohlrabi free of weeds.
4. Pest Control: Watch out for pests such as aphids and cabbage worms
Conclusion
So, there you have it! Building your own kohlrabi terrace planter system isn’t just a fun weekend project; it’s a game-changer for anyone looking to maximize their garden space and enjoy a bountiful harvest of this unique vegetable. We’ve walked you through the process, highlighting the benefits of vertical gardening and the specific advantages of a terraced system for kohlrabi cultivation.
Why is this a must-try? Because it’s efficient, aesthetically pleasing, and incredibly rewarding. Imagine stepping out into your garden and seeing rows of vibrant kohlrabi, thriving in a space that would otherwise be underutilized. The terraced design ensures optimal sunlight exposure and drainage for each plant, leading to healthier, more productive kohlrabi. Plus, the tiered structure makes harvesting a breeze – no more bending and straining!
But the beauty of this DIY project lies in its adaptability. Feel free to experiment with different materials. Reclaimed wood pallets can add a rustic charm, while concrete blocks offer a more modern, industrial look. You can also adjust the size and number of tiers to fit your specific space and kohlrabi ambitions. Consider adding companion plants like marigolds or nasturtiums to deter pests and attract beneficial insects. Another variation could involve incorporating a simple irrigation system to automate watering, especially useful during hot summer months. Think about adding a small trellis to the back of each tier to support climbing herbs or flowers, further maximizing your vertical space and adding visual interest.
Don’t be afraid to get creative with the soil mix, too. While we recommended a standard blend, you can tailor it to your specific kohlrabi variety. Some varieties thrive in slightly more acidic soil, while others prefer a more alkaline environment. Research your chosen kohlrabi and adjust the soil accordingly. You could also incorporate compost tea or other organic fertilizers to boost growth and flavor.
The possibilities are truly endless! This kohlrabi terrace planter system is more than just a gardening structure; it’s a blank canvas for your horticultural creativity.
We wholeheartedly encourage you to give this DIY project a try. It’s a fantastic way to connect with nature, learn new skills, and enjoy the satisfaction of growing your own food. And most importantly, it’s a fantastic way to get the most out of your kohlrabi.
Once you’ve built your kohlrabi terrace planter system, we’d love to hear about your experience! Share your photos, tips, and variations in the comments below. Let’s build a community of kohlrabi enthusiasts and inspire others to embrace the joys of vertical gardening. Happy planting!
Frequently Asked Questions (FAQ)
What are the benefits of using a terraced planter system for kohlrabi compared to traditional gardening methods?
Terraced planter systems offer several advantages over traditional gardening, especially for kohlrabi. First and foremost, they maximize space utilization. If you have a small yard or balcony, a terraced system allows you to grow a significant amount of kohlrabi in a limited area. Secondly, the tiered structure improves drainage and aeration, preventing waterlogging and promoting healthy root development. This is crucial for kohlrabi, which prefers well-drained soil. Thirdly, the elevated tiers provide better sunlight exposure to each plant, ensuring even growth and preventing shading. Finally, terraced systems make harvesting easier and more accessible, reducing back strain and making the gardening process more enjoyable.
What type of soil is best for growing kohlrabi in a terraced planter?
Kohlrabi thrives in well-drained, fertile soil that is rich in organic matter. A good soil mix for your kohlrabi terrace planter would consist of equal parts garden soil, compost, and peat moss or coco coir. The garden soil provides essential minerals, the compost adds nutrients and improves drainage, and the peat moss or coco coir helps retain moisture. You can also add a slow-release fertilizer to the soil mix to provide a steady supply of nutrients throughout the growing season. Before planting, it’s a good idea to test the soil pH and adjust it to a range of 6.0 to 7.5, which is ideal for kohlrabi.
How often should I water my kohlrabi plants in a terraced planter?
Watering frequency depends on several factors, including the weather, the type of soil, and the size of the plants. As a general rule, kohlrabi plants in a terraced planter should be watered deeply whenever the top inch of soil feels dry to the touch. Avoid overwatering, as this can lead to root rot. During hot, dry weather, you may need to water daily, while during cooler, wetter periods, you may only need to water every few days. A good way to check if your kohlrabi plants need water is to stick your finger into the soil near the base of the plant. If the soil feels dry, it’s time to water.
What are some common pests and diseases that affect kohlrabi, and how can I prevent them in my terraced planter?
Kohlrabi is susceptible to several pests and diseases, including aphids, cabbage worms, flea beetles, and clubroot. To prevent these problems in your terraced planter, start by using healthy, disease-free seedlings. Regularly inspect your plants for signs of pests or diseases, and take action immediately if you notice any problems. You can use organic pest control methods, such as insecticidal soap or neem oil, to control aphids, cabbage worms, and flea beetles. To prevent clubroot, ensure that your soil is well-drained and has a pH of 6.0 to 7.5. Crop rotation can also help prevent clubroot from building up in the soil. Consider using companion planting with herbs like rosemary or thyme to naturally deter pests.
Can I grow other vegetables or herbs alongside kohlrabi in my terraced planter?
Yes, companion planting can be beneficial for kohlrabi. Good companion plants for kohlrabi include marigolds, nasturtiums, rosemary, thyme, and dill. Marigolds and nasturtiums deter pests, while rosemary and thyme repel cabbage moths. Dill attracts beneficial insects that prey on aphids and other pests. Avoid planting kohlrabi near other members of the brassica family, such as broccoli, cauliflower, and cabbage, as they can attract the same pests and diseases. When choosing companion plants, consider their size and growth habits to ensure that they don’t overcrowd or shade the kohlrabi plants.
How much sunlight does kohlrabi need to grow well in a terraced planter?
Kohlrabi needs at least six hours of direct sunlight per day to grow well. When positioning your terraced planter, choose a location that receives full sun. If you live in a hot climate, you may need to provide some afternoon shade to prevent the plants from overheating. The terraced design helps ensure that all plants get adequate sunlight.
When is the best time to harvest kohlrabi from my terraced planter?
Kohlrabi is typically ready to harvest 50-60 days after planting. The ideal size for harvesting kohlrabi is when the bulb is about 2-3 inches in diameter. Larger bulbs can become tough and woody. To harvest, simply cut the bulb from the stem just above the soil line. The leaves are also edible and can be used in salads or stir-fries. Regular harvesting encourages continued production.
How can I adapt the kohlrabi terrace planter system for other vegetables?
The basic principles of the kohlrabi terrace planter system can be adapted for growing a variety of other vegetables. Leafy greens like lettuce, spinach, and kale thrive in terraced planters, as do herbs like basil, parsley, and cilantro. Smaller root vegetables like radishes and carrots can also be grown successfully in a terraced system. When adapting the system for other vegetables, consider their specific needs for sunlight, water, and soil. You may need to adjust the spacing between plants or the depth of the tiers to accommodate different root systems.
What materials are most cost-effective and durable for building a kohlrabi terrace planter system?
The most cost-effective and durable materials for building a kohlrabi terrace planter system often depend on what you have readily available or can source affordably. Reclaimed wood pallets are a popular choice for their rustic aesthetic and low cost. However, ensure the wood is untreated and safe for gardening. Concrete blocks are another durable option, providing a sturdy and long-lasting structure. Plastic containers or bins can also be used, especially if you’re on a tight budget. Regardless of the material you choose, make sure it’s weather-resistant and can withstand the weight of the soil and plants. Lining the tiers with landscape fabric can also help protect the material from moisture damage and extend its lifespan.
How do I ensure proper drainage in my kohlrabi terrace planter system to prevent root rot?
Proper drainage is crucial for preventing root rot in your kohlrabi terrace planter system. Start by using a well-draining soil mix, as mentioned earlier. Make sure each tier has drainage holes at the bottom to allow excess water to escape. You can also add a layer of gravel or pebbles to the bottom of each tier to improve drainage. Avoid overwatering, and monitor the soil moisture regularly. If you notice that the soil is consistently waterlogged, you may need to add more drainage holes or
Leave a Comment