
Fast bathroom cleaning tips are a lifesaver, aren’t they? Let’s be honest, nobody *loves* cleaning the bathroom. It’s often the most dreaded chore on the list. But what if I told you that you could reclaim your weekends and spend less time scrubbing? Imagine having a sparkling clean bathroom without sacrificing your precious free time. That’s what this article is all about!
Bathrooms, in their modern form, are a relatively recent invention. While ancient civilizations had elaborate bathing rituals, the concept of a dedicated room for hygiene within the home didn’t truly take off until the 19th century. Now, they’re an essential part of our daily lives, and keeping them clean is crucial for hygiene and well-being. But with busy schedules, who has hours to dedicate to deep cleaning?
That’s where these fast bathroom cleaning tips come in. We’ll explore some clever DIY hacks and time-saving strategies that will transform your cleaning routine. From tackling stubborn stains to preventing future build-up, I’ll share my favorite secrets for a sparkling clean bathroom in a fraction of the time. Get ready to say goodbye to bathroom cleaning dread and hello to a fresh, clean space you can be proud of!
DIY Fast Bathroom Cleaning: Conquer the Clutter and Grime!
Okay, let’s be honest. Cleaning the bathroom is nobody’s favorite chore. But it *has* to be done, right? And wouldn’t it be amazing if you could get it sparkling clean in a fraction of the time? Well, my friend, you’ve come to the right place! I’m going to share my tried-and-true methods for a super-speedy bathroom clean that will leave you feeling accomplished and ready to relax.
Gather Your Arsenal: Essential Cleaning Supplies
Before we dive in, let’s make sure you have everything you need. Trust me, having all your supplies within arm’s reach will save you tons of time and frustration. Here’s my go-to list:
* All-Purpose Cleaner: I prefer a spray bottle for easy application. Choose one you love the scent of!
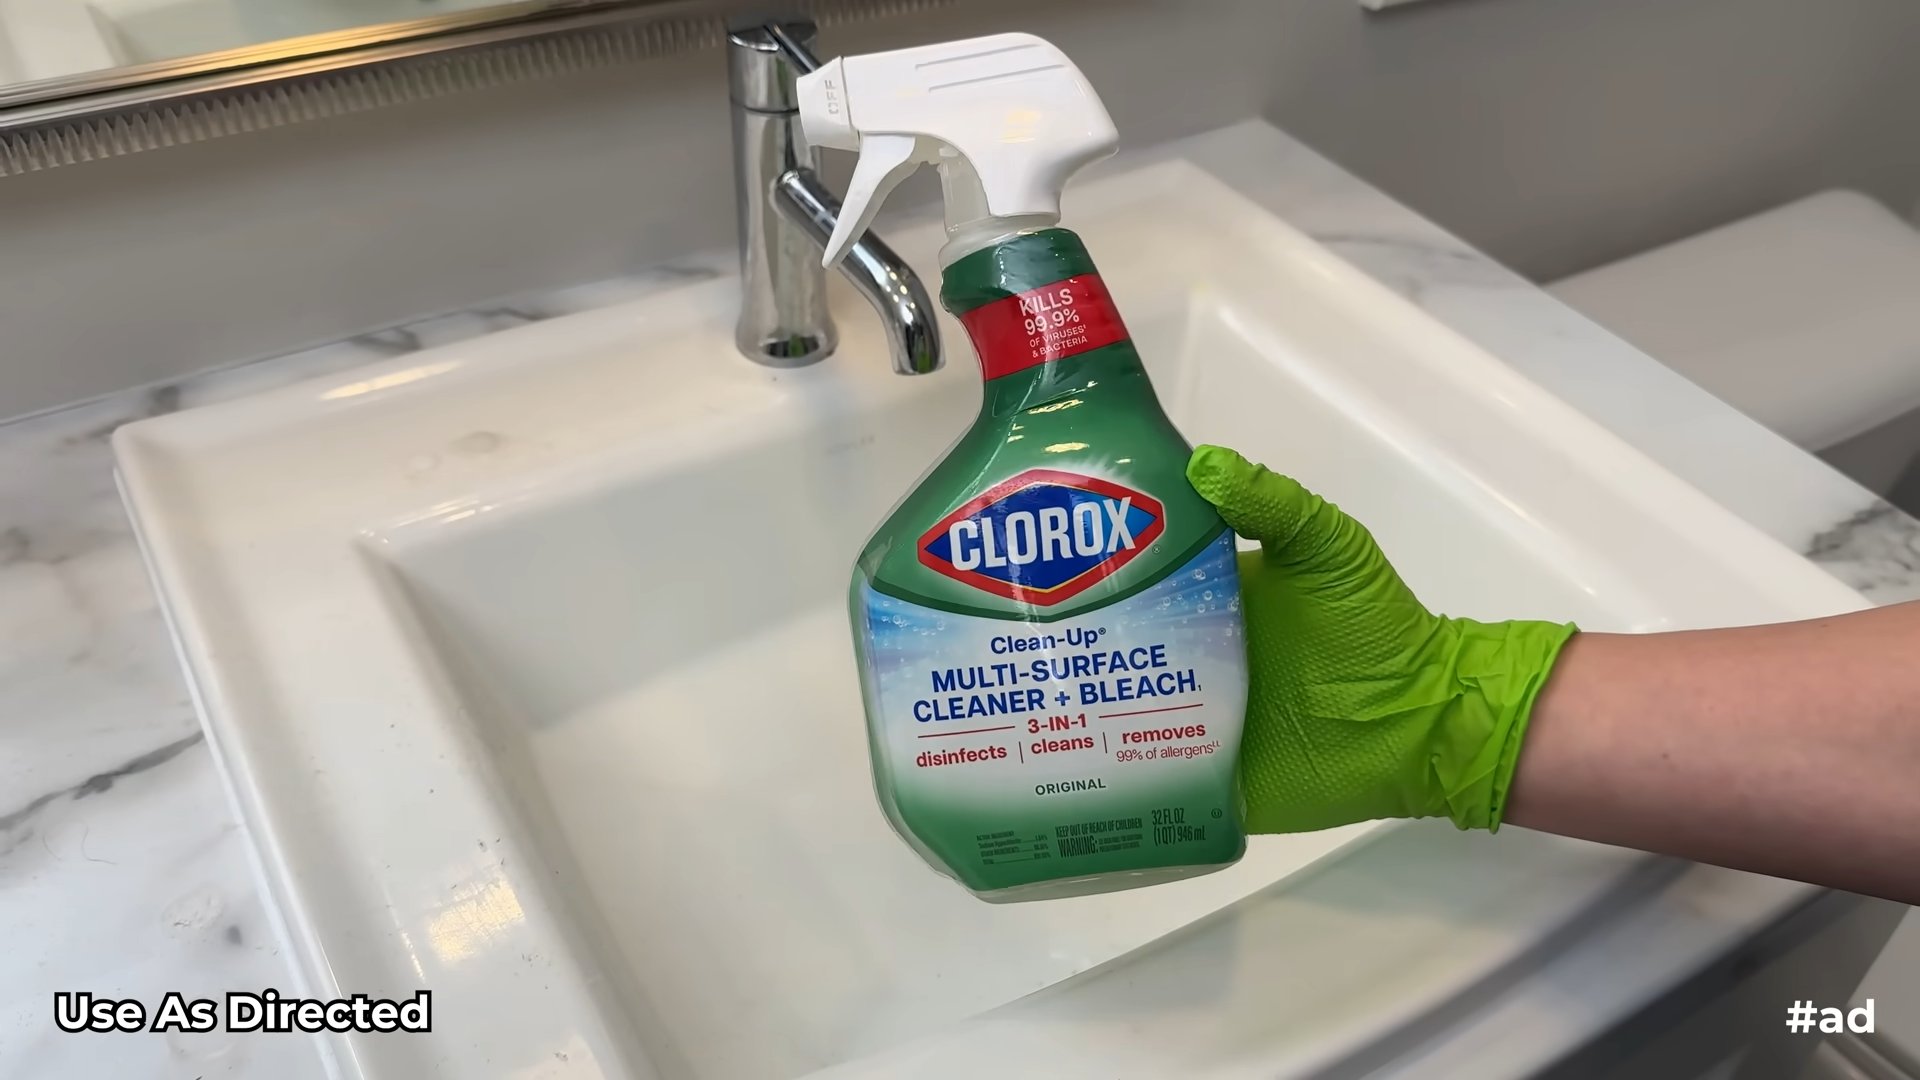
* Bathroom Cleaner: Specifically for tackling soap scum and hard water stains.
* Toilet Bowl Cleaner: The kind with the angled nozzle is perfect for getting under the rim.
* Glass Cleaner: For mirrors and shower doors.
* Microfiber Cloths: These are amazing for everything! They pick up dirt and grime like a magnet and are reusable.
* Scrub Brush: A sturdy brush for scrubbing grout and stubborn stains.
* Toilet Brush: Essential for obvious reasons!
* Squeegee: For keeping your shower doors streak-free.
* Rubber Gloves: Protect your hands from harsh chemicals.
* Trash Bags: For quick disposal of trash and used cleaning supplies.
* Old Toothbrush: Perfect for getting into those tiny, hard-to-reach places.
* Baking Soda: A natural abrasive for tough stains.
* White Vinegar: Another natural cleaning powerhouse!
* Spray Bottle (for Vinegar): If you’re using vinegar, keep it separate from your other cleaners.
* Magic Eraser: These are lifesavers for removing scuff marks and stubborn stains.
Phase 1: Pre-Cleaning Blitz – Declutter and Prep
This is where we set the stage for a super-efficient clean. Don’t skip this step! It makes a huge difference.
1. Clear the Counters: Remove everything from your countertops – toiletries, makeup, hair products, everything! Place it all in a basket or box to keep it organized and out of the way. This gives you a clear surface to work with and prevents you from having to clean around a bunch of clutter.
2. Empty the Trash: Take out the trash bag and replace it with a fresh one. This is a small step, but it makes a big difference in the overall cleanliness of the room.
3. Gather Dirty Laundry: Toss any dirty towels, bath mats, or clothing into the laundry basket.
4. Dry Dusting: Before you start spraying and scrubbing, give everything a quick dry dusting. This will remove loose dust and dirt, making the wet cleaning process much more effective. Use a microfiber cloth or a duster to wipe down surfaces like countertops, shelves, and the toilet tank.
5. Ventilate the Room: Open a window or turn on the exhaust fan to ensure proper ventilation. This is especially important when using strong cleaning products.
Phase 2: The Cleaning Powerhouse – Tackling the Big Stuff
Now for the real cleaning! We’ll start with the areas that tend to be the dirtiest and most time-consuming.
1. Toilet Bowl Treatment: Squirt toilet bowl cleaner under the rim and let it sit for at least 10 minutes (or longer, depending on the cleaner’s instructions). This will give the cleaner time to break down stains and grime.
2. Shower/Tub Soak: Spray your shower or tub with bathroom cleaner. Pay special attention to areas with soap scum or mildew. Let it sit for a few minutes to loosen the grime.
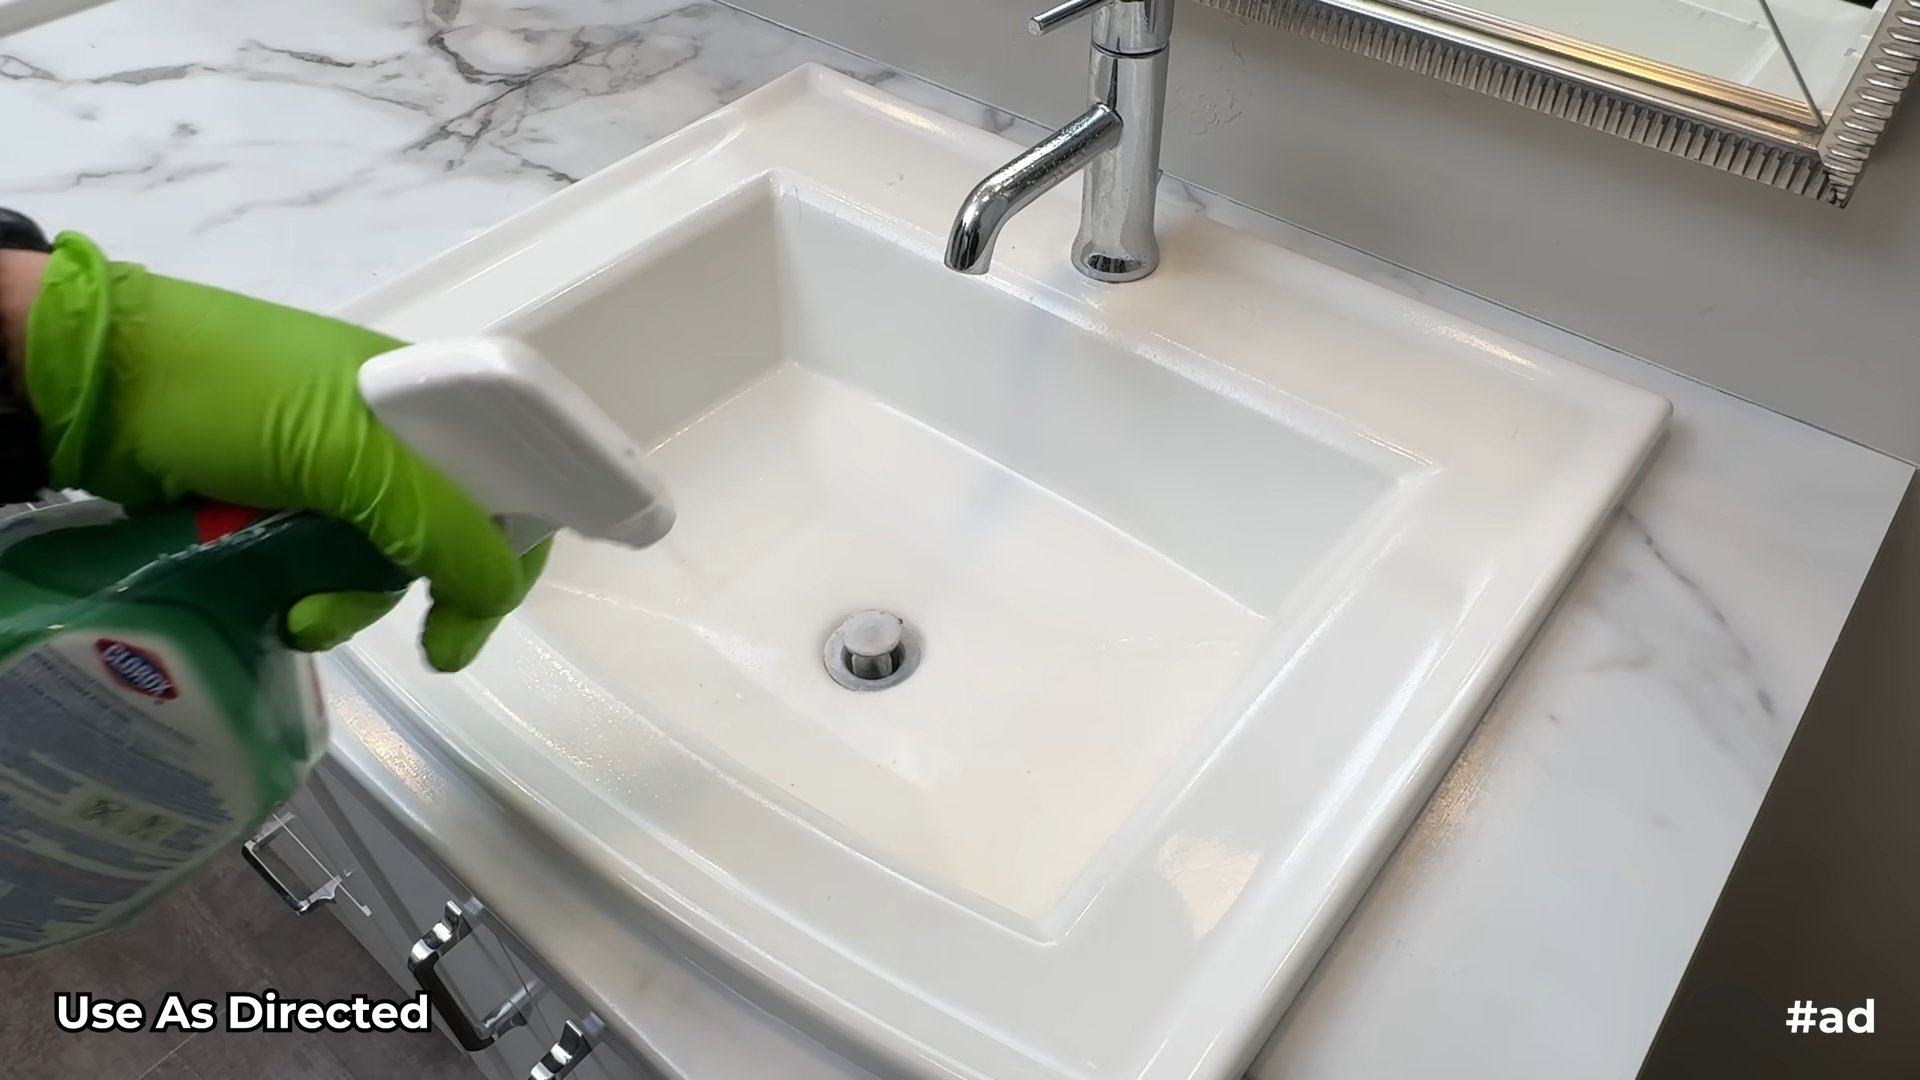
3. Countertop and Sink Attack: Spray your countertops and sink with all-purpose cleaner. Let it sit for a minute or two to soften any stuck-on messes.
4. Mirror and Glass Prep: Spray your mirrors and shower doors with glass cleaner.
Phase 3: Scrub-a-Dub-Dub – Getting Down and Dirty
Time to put those muscles to work!
1. Toilet Bowl Scrubbing: Using your toilet brush, scrub the inside of the toilet bowl thoroughly, paying attention to the waterline and any stained areas. Flush the toilet to rinse.
2. Shower/Tub Scrubbing: Using your scrub brush or a sponge, scrub the shower or tub, focusing on areas with soap scum, mildew, or hard water stains. For stubborn stains, try a paste of baking soda and water. Let it sit for a few minutes before scrubbing. Rinse thoroughly with water.
3. Countertop and Sink Cleaning: Wipe down your countertops and sink with a microfiber cloth. For stubborn stains, use a magic eraser or a paste of baking soda and water. Rinse thoroughly with water.
4. Faucet and Fixture Shine: Use a clean microfiber cloth to polish your faucets and fixtures. This will remove water spots and leave them sparkling.
5. Mirror and Glass Wiping: Wipe down your mirrors and shower doors with a clean microfiber cloth. For streak-free results, use a squeegee on the shower doors after each use.
Phase 4: The Finishing Touches – Details Matter!
These little details can make a big difference in the overall cleanliness of your bathroom.
1. Grout Cleaning: Use an old toothbrush and a grout cleaner (or a paste of baking soda and water) to scrub the grout lines in your shower or on your floor. Rinse thoroughly with water.
2. Floor Cleaning: Sweep or vacuum the floor to remove any loose dirt or debris. Then, mop the floor with a bathroom cleaner or all-purpose cleaner.
3. Baseboard Wipe Down: Wipe down your baseboards with a damp microfiber cloth to remove dust and dirt.
4. Organize and Restock: Put everything back on your countertops in an organized manner. Restock any toiletries or supplies that are running low.
5. Final Check: Take a step back and admire your work! Make sure you haven’t missed any spots.
Bonus Tips for Lightning-Fast Cleaning:
* Shower Power: Keep a squeegee in your shower and use it after each shower to prevent water spots and soap scum buildup. This will significantly reduce the amount of time you spend cleaning your shower later.
* Vinegar Victory: For hard water stains on showerheads, fill a plastic bag with white vinegar and secure it around the showerhead with a rubber band. Let it soak for a few hours or overnight, then remove the bag and rinse the showerhead thoroughly.
* Toilet Tank Tablets: Use toilet tank tablets to help keep your toilet bowl clean between cleanings.
* Regular Maintenance: The key to a fast bathroom clean is to maintain it regularly. Wipe down surfaces after each use, and do a quick clean once a week to prevent dirt and grime from building up.
* Delegate (If Possible!): If you have family members, assign them small bathroom cleaning tasks to share the workload.
Dealing with Specific Bathroom Challenges:
* Mildew: For mildew, mix equal parts bleach and water in a spray bottle. Spray the affected area and let it sit for 10-15 minutes. Rinse thoroughly with water. Important: Always wear gloves and eye protection when working with bleach, and ensure proper ventilation. Never mix bleach with ammonia, as this can create toxic fumes.
* Hard Water Stains: White vinegar is your best friend for hard water stains. Spray the affected area with vinegar and let it sit for a few minutes before scrubbing.
* Clogged Drains: Pour baking soda down the drain, followed by vinegar. Let it fizz for 30 minutes, then flush with hot water. If the clog persists, you may need to use a drain snake or call a plumber.
By following these steps and incorporating these tips into your routine, you can conquer the bathroom cleaning beast in no time! Happy cleaning!
Conclusion
So, there you have it! These fast bathroom cleaning tips aren’t just about saving time; they’re about reclaiming your weekends and enjoying a sparkling clean bathroom without the dreaded all-day scrubbing marathon. We’ve armed you with simple, effective strategies that utilize everyday items and minimal effort to achieve maximum cleanliness.
Why is this DIY approach a must-try? Because it’s efficient, cost-effective, and empowering. You’re not relying on harsh chemicals or expensive cleaning services. You’re taking control of your cleaning routine and creating a healthier, more pleasant environment for yourself and your family. Think of the satisfaction of seeing that grime disappear with just a few swipes of your homemade cleaner or the relief of knowing you can tackle that stubborn soap scum in minutes.
But the beauty of these fast bathroom cleaning tips lies in their adaptability. Feel free to experiment with variations to suit your specific needs and preferences. For instance, if you’re not a fan of vinegar’s scent, try adding a few drops of your favorite essential oil, like lemon or eucalyptus, to your cleaning solution. These oils not only mask the vinegar smell but also offer additional antibacterial properties.
If you have particularly tough stains or mildew, consider creating a paste of baking soda and water. Apply it to the affected area, let it sit for a few minutes, and then scrub gently with a brush. For showerheads clogged with mineral deposits, soak them in a bag filled with vinegar overnight. You’ll be amazed at how easily the deposits dissolve, restoring your showerhead to its former glory.
Don’t be afraid to tweak these methods to fit your bathroom’s unique challenges. Maybe you have a specific type of tile that requires a gentler approach, or perhaps you’re dealing with hard water stains that need extra attention. The key is to be observant, experiment, and find what works best for you.
We genuinely believe that these fast bathroom cleaning tips will revolutionize your cleaning routine. They’re designed to be simple, sustainable, and, most importantly, effective. No more excuses for putting off that bathroom cleaning chore!
Now, it’s your turn. We encourage you to try these tips and share your experience with us. Did you find a particular method especially helpful? Did you discover a new variation that worked wonders? We’d love to hear your stories and learn from your insights. Share your tips, tricks, and before-and-after photos on our social media channels or in the comments section below. Let’s create a community of clean bathroom enthusiasts who are passionate about saving time and enjoying a sparkling space.
Remember, a clean bathroom is a happy bathroom, and with these fast bathroom cleaning tips, you’re well on your way to achieving just that. So, grab your supplies, put on some music, and get ready to transform your bathroom into a pristine oasis in no time!
Frequently Asked Questions (FAQ)
Q: How often should I be cleaning my bathroom using these fast cleaning tips?
A: The frequency of cleaning depends on how heavily your bathroom is used. For a single-person household, a quick clean once a week might suffice. However, for families with multiple members, a more frequent schedule, perhaps every 2-3 days, might be necessary to prevent grime and buildup. The key is to stay on top of it. Regular, quick cleans are much easier than tackling a heavily soiled bathroom after weeks of neglect. Focus on high-touch areas like the sink, toilet, and shower surfaces. A quick wipe-down after each shower can also significantly reduce soap scum buildup.
Q: Are these cleaning methods safe for all bathroom surfaces?
A: While most of these methods are generally safe, it’s always a good idea to test them on an inconspicuous area first, especially if you have delicate surfaces like marble or natural stone. Vinegar, while effective, can be acidic and may etch certain materials. Baking soda, while generally gentle, can be abrasive if used too vigorously on sensitive surfaces. Always dilute cleaning solutions appropriately and use soft cloths or sponges to avoid scratching. If you’re unsure about a particular surface, consult the manufacturer’s recommendations or a professional cleaner.
Q: Can I use these cleaning solutions on mold and mildew?
A: Yes, some of these solutions can be effective against mold and mildew, especially in the early stages. Vinegar, in particular, is a natural fungicide and can help kill mold spores. However, for severe mold infestations, it’s best to consult a professional mold remediation service. When cleaning mold, always wear gloves and a mask to protect yourself from inhaling spores. Ensure proper ventilation by opening windows or using a fan. After cleaning, dry the area thoroughly to prevent mold from returning.
Q: What if I don’t like the smell of vinegar?
A: The smell of vinegar can be off-putting to some people. Fortunately, there are several ways to mitigate it. As mentioned earlier, adding a few drops of your favorite essential oil, such as lemon, lavender, or eucalyptus, can help mask the vinegar scent. You can also try using a scented vinegar, which is available in some stores. Another option is to simply rinse the cleaned surfaces with water after applying the vinegar solution. The vinegar smell will dissipate quickly, leaving your bathroom fresh and clean.
Q: How can I prevent soap scum buildup in my shower?
A: Preventing soap scum buildup is much easier than removing it once it’s hardened. One of the best ways to prevent soap scum is to switch to liquid soap or shower gel, as bar soaps tend to leave more residue. After each shower, use a squeegee to remove excess water from the shower walls and door. This simple step can significantly reduce soap scum buildup. You can also try using a shower spray that’s designed to prevent soap scum. These sprays typically contain ingredients that repel water and prevent soap from sticking to surfaces.
Q: What’s the best way to clean a toilet quickly?
A: For a quick toilet clean, start by flushing the toilet. Then, pour a cup of vinegar or a toilet bowl cleaner into the bowl and let it sit for a few minutes. Use a toilet brush to scrub the bowl thoroughly, paying attention to the rim and the waterline. Flush the toilet again to rinse. For the exterior of the toilet, use a disinfectant wipe or a spray cleaner and a cloth to wipe down the seat, lid, and base. Don’t forget to clean the handle, as it’s a high-touch area.
Q: How can I keep my bathroom smelling fresh?
A: There are several ways to keep your bathroom smelling fresh. You can use air fresheners, scented candles, or essential oil diffusers. However, for a more natural and sustainable approach, try placing a small bowl of baking soda in the bathroom to absorb odors. You can also add a few drops of essential oil to the baking soda for a pleasant scent. Another option is to place a few sprigs of fresh herbs, such as lavender or rosemary, in a vase of water. These herbs will not only add a touch of greenery to your bathroom but also release a subtle fragrance.
Q: Are these fast bathroom cleaning tips environmentally friendly?
A: Yes, many of these tips utilize natural and readily available ingredients like vinegar, baking soda, and lemon juice, making them a more environmentally friendly alternative to harsh chemical cleaners. By reducing your reliance on commercial cleaning products, you’re minimizing your exposure to potentially harmful chemicals and reducing plastic waste. You can further enhance the eco-friendliness of your cleaning routine by using reusable cloths and sponges instead of disposable wipes.

Leave a Comment