
Growing Purple Bush Beans can be a rewarding and visually stunning addition to any home garden! Imagine rows of vibrant purple pods, adding a pop of color to your vegetable patch and a unique twist to your dinner plate. But let’s be honest, sometimes getting those beautiful beans to thrive can feel a little tricky. That’s where this DIY guide comes in – I’m going to share some simple yet effective tricks and hacks to help you cultivate a bountiful harvest of purple bush beans, even if you’re a beginner gardener.
Beans, in general, have a rich history, dating back thousands of years and playing a crucial role in diets across the globe. While the purple variety might not have the same ancient roots as some of its green cousins, its popularity is definitely on the rise! People are increasingly drawn to the unique color and nutritional benefits of purple vegetables.
Why do you need these DIY tricks? Well, growing purple bush beans successfully requires understanding their specific needs. From choosing the right soil and providing adequate sunlight to protecting them from pests and diseases, there are a few key factors that can make or break your harvest. This article will break down these factors into easy-to-follow steps, empowering you to create the ideal environment for your purple beans to flourish. I’ll share my favorite tips for maximizing yield, preventing common problems, and even preserving your harvest so you can enjoy those beautiful purple beans long after the growing season is over. Let’s get started!
Growing Purple Bush Beans: A DIY Guide from Seed to Table
Okay, so you want to grow purple bush beans? Awesome! They’re not only delicious but also add a vibrant splash of color to your garden. I’ve grown these beauties for years, and I’m excited to share my secrets with you. This guide will walk you through every step, from choosing the right seeds to harvesting your bountiful crop. Let’s get started!
Choosing Your Seeds and Preparing the Soil
First things first, let’s talk about seeds and soil. This is the foundation for a successful bean harvest.
* Seed Selection: Look for reputable seed companies that offer purple bush bean varieties. Some popular choices include ‘Royal Burgundy’ (a classic!), ‘Purple Queen,’ and ‘Amethyst.’ Read the seed packet descriptions carefully to understand the plant’s size, days to maturity, and disease resistance. I personally love ‘Royal Burgundy’ because they’re super productive and have a great flavor.
* Soil Preparation: Beans thrive in well-drained soil that’s rich in organic matter. Before planting, amend your soil with compost or well-rotted manure. This will improve drainage, add nutrients, and help retain moisture. Avoid using soil that’s overly acidic; a pH of 6.0 to 7.0 is ideal. You can test your soil’s pH with a simple soil testing kit from your local garden center.
* Sunlight: Purple bush beans need at least 6-8 hours of direct sunlight per day. Choose a sunny spot in your garden where they’ll get plenty of light.
* Timing is Key: Don’t rush into planting! Beans are sensitive to frost. Wait until the danger of frost has passed in your area before sowing your seeds directly into the garden. Soil temperature should be at least 60°F (15°C). You can start seeds indoors a few weeks before the last frost, but I find that direct sowing works just as well and avoids transplant shock.
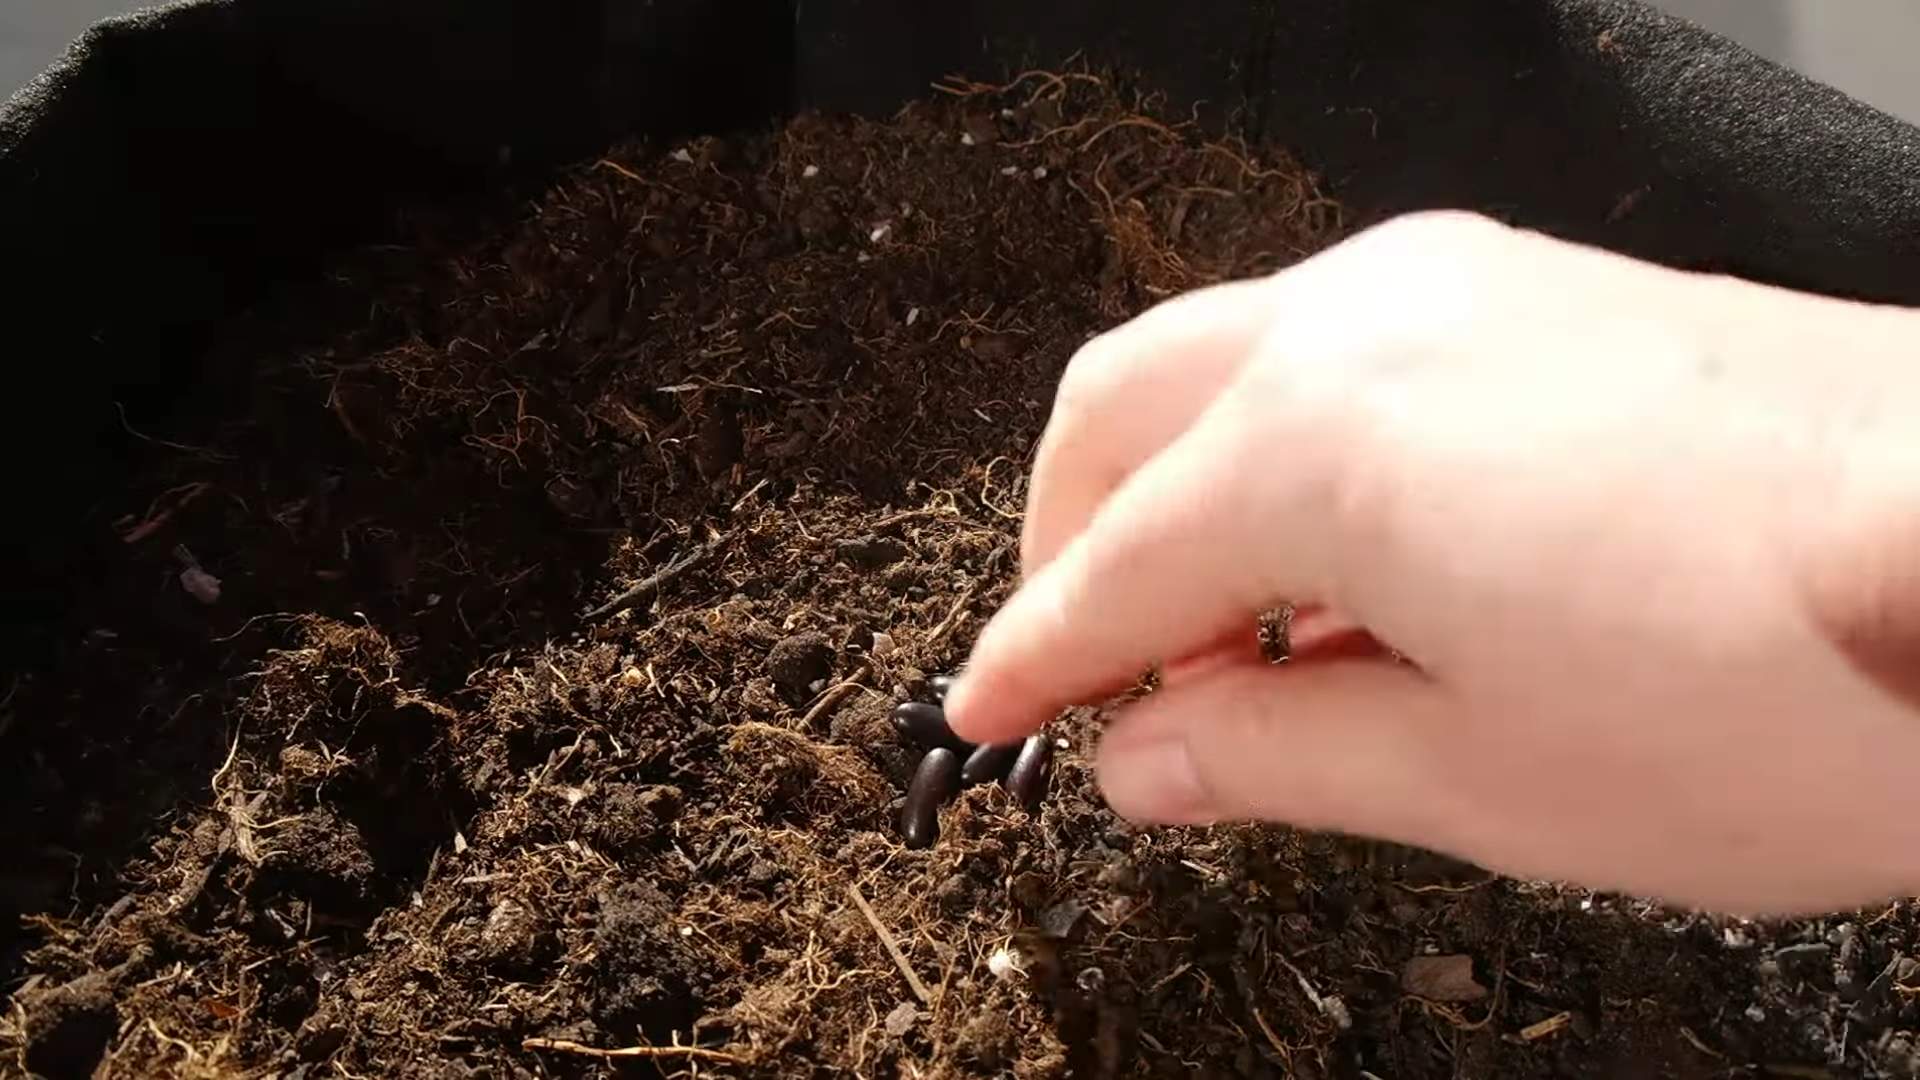
Planting Your Purple Bush Beans
Now for the fun part – getting those seeds in the ground!
1. Prepare the Planting Area: Rake the soil smooth and remove any rocks or debris. This will make it easier to plant the seeds and ensure good root development.
2. Sowing the Seeds: Sow the seeds directly into the garden, about 1 inch deep and 2-3 inches apart. Plant in rows that are 18-24 inches apart. I like to use a garden trowel to create small furrows for the seeds.
3. Watering: Gently water the soil after planting. Keep the soil consistently moist, but not waterlogged, until the seeds germinate.
4. Marking Your Rows: Use plant markers or labels to identify your rows of purple bush beans. This will help you keep track of what you’ve planted and avoid accidentally weeding them out later.
5. Thinning (If Necessary): Once the seedlings emerge, thin them to about 4-6 inches apart if they’re too crowded. This will give them enough space to grow and develop properly.
Caring for Your Growing Beans
Once your beans are up and growing, here’s how to keep them happy and healthy:
* Watering: Water regularly, especially during dry spells. Beans need consistent moisture to produce a good crop. Water deeply at the base of the plants, avoiding wetting the foliage, which can encourage fungal diseases.
* Weeding: Keep the area around your bean plants free of weeds. Weeds compete with the beans for water, nutrients, and sunlight. Hand-pull weeds carefully to avoid disturbing the bean plants’ roots.
* Fertilizing: Beans are relatively light feeders, but you can give them a boost with a side dressing of compost or a balanced organic fertilizer a few weeks after they emerge. Avoid using fertilizers that are high in nitrogen, as this can promote leafy growth at the expense of bean production.
* Pest Control: Keep an eye out for common bean pests like aphids, bean beetles, and spider mites. You can control these pests with insecticidal soap, neem oil, or by hand-picking them off the plants. I prefer using organic methods whenever possible to protect beneficial insects.
* Supporting the Plants (Optional): Bush beans are generally self-supporting, but if you live in a windy area, you may want to provide some support to prevent them from falling over. You can use stakes or a low fence to support the plants.
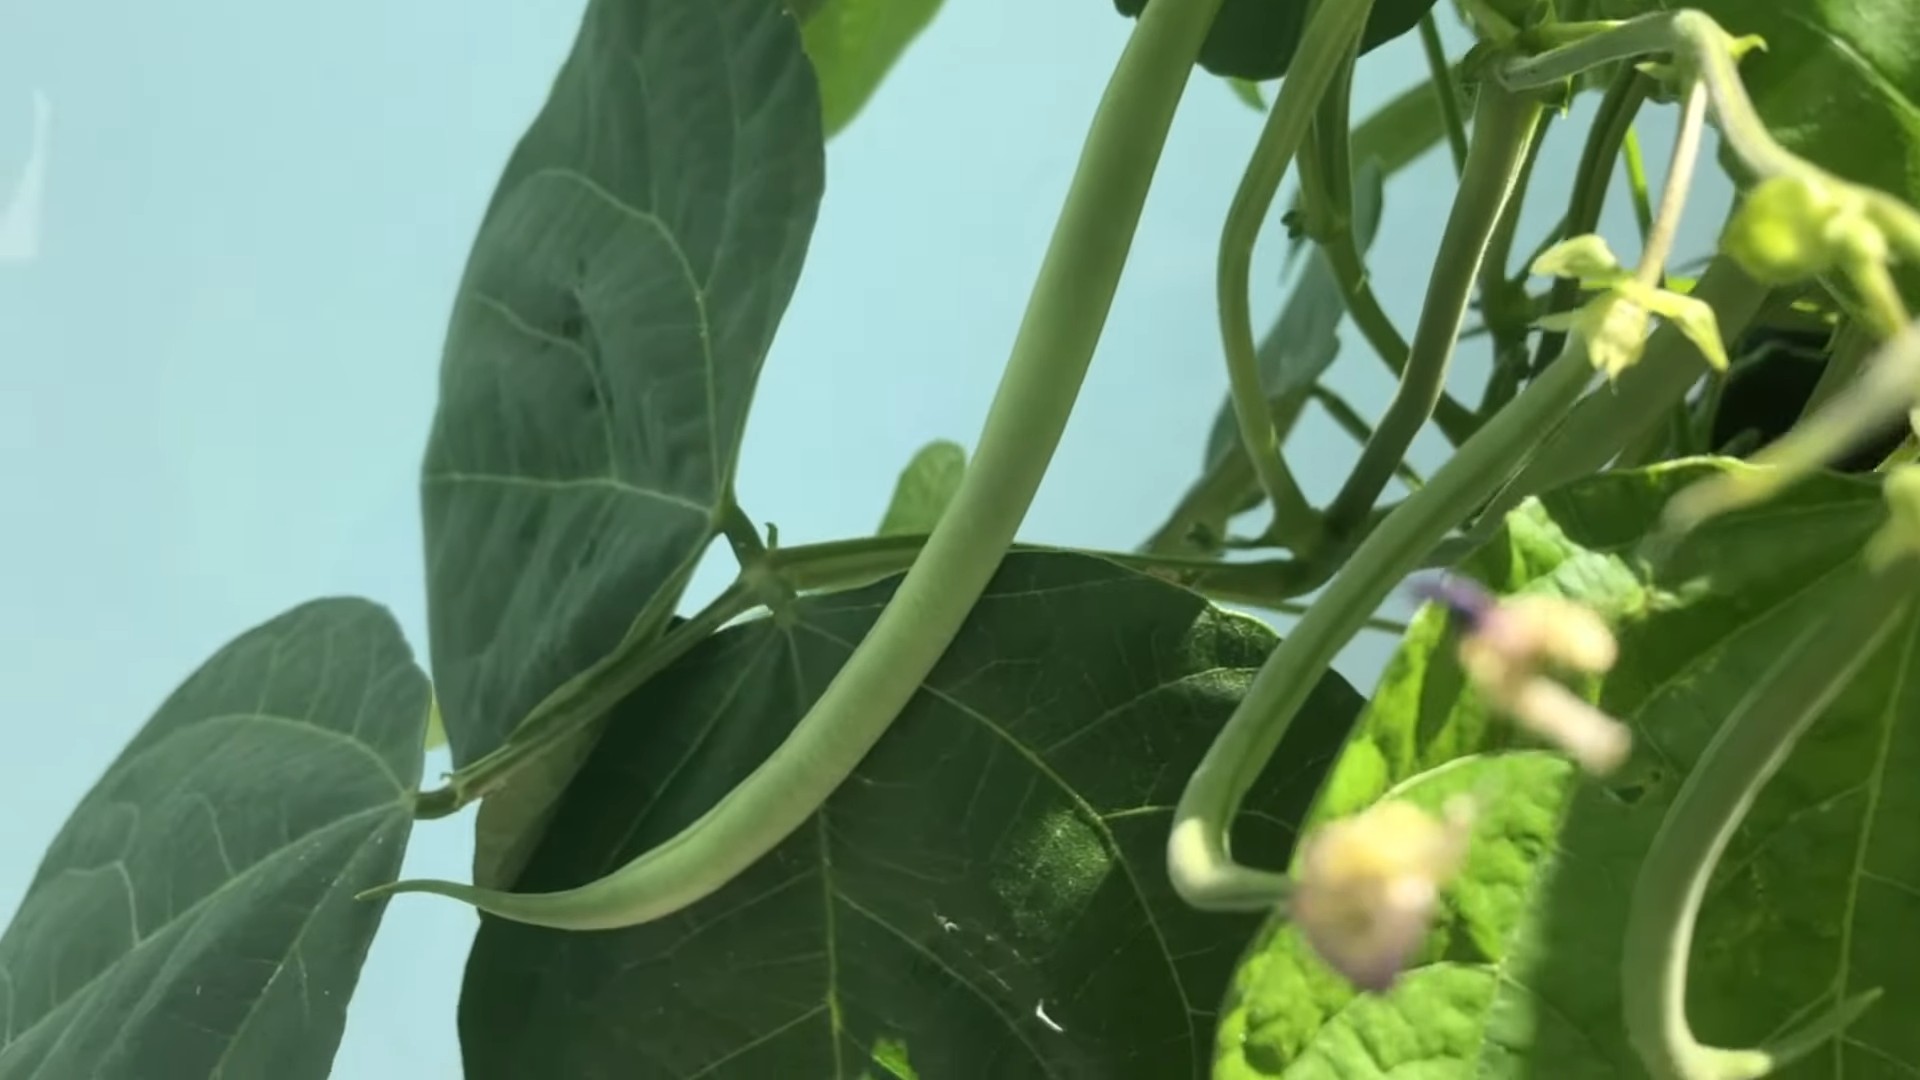
Harvesting Your Purple Bush Beans
The moment you’ve been waiting for! Harvesting your beautiful purple beans.
1. Timing is Everything: Harvest your purple bush beans when the pods are firm, plump, and about the size of your finger. They should snap easily when bent. Don’t let the pods get too large or the beans inside will become tough and stringy.
2. Harvesting Technique: Gently snap the beans off the plant, being careful not to damage the stems or leaves. Harvest regularly, every few days, to encourage continued production.
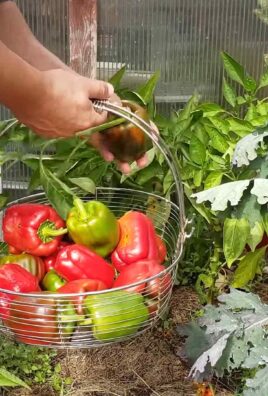
3. Enjoying Your Harvest: Purple bush beans are delicious steamed, sautéed, or added to salads. They’re also great for canning or freezing. One of my favorite ways to enjoy them is simply steamed with a little butter and salt.
4. Successive Planting: To extend your harvest, consider planting a new batch of seeds every few weeks. This will ensure a continuous supply of fresh purple bush beans throughout the growing season.
Troubleshooting Common Problems
Even with the best care, you might encounter a few challenges along the way. Here are some common problems and how to deal with them:
* Poor Germination: If your seeds aren’t germinating, it could be due to cold soil, poor-quality seeds, or overwatering. Make sure the soil temperature is at least 60°F (15°C) before planting. Use fresh seeds from a reputable source. Avoid overwatering, which can cause the seeds to rot.
* Yellowing Leaves: Yellowing leaves can be a sign of nutrient deficiency, overwatering, or disease. Check the soil drainage and adjust your watering accordingly. Fertilize with a balanced organic fertilizer. If you suspect disease, consult a local garden center or extension service for advice.
* Pest Infestations: As mentioned earlier, keep an eye out for common bean pests. Treat infestations promptly with insecticidal soap, neem oil, or by hand-picking the pests off the plants.
* Disease: Beans can be susceptible to fungal diseases like powdery mildew and bean rust. Prevent these diseases by providing good air circulation, avoiding overhead watering, and using disease-resistant varieties. If you spot signs of disease, treat with a fungicide according to the product instructions.
Saving Seeds for Next Year
If you want to save seeds from your purple bush beans for next year, here’s how:
1. Select Healthy Plants: Choose healthy, vigorous plants that produce high-quality beans.
2. Allow Pods to Mature: Allow some of the pods to mature fully on the plant. They should turn brown and dry.
3. Harvest the Pods: Harvest the dry pods and shell the beans.
4. Dry the Seeds: Spread the seeds out on a tray and allow them to dry completely in a cool, dry place for several weeks.
5. Store the Seeds: Store the dried seeds in an airtight container in a cool, dark place. They should remain viable for several years.
Extra Tips for a Bountiful Harvest
Here are a few extra tips that I’ve learned over the years:
* Companion Planting: Plant beans with other beneficial plants like carrots, cucumbers, and marigolds. These plants can help deter pests and improve soil health. Avoid planting beans near onions or garlic, as they can inhibit bean growth.
* Crop Rotation: Rotate your bean crops each year to prevent soilborne diseases from building up.
* Mulching: Mulch around your bean plants with straw, wood chips, or other organic materials. This will help retain moisture, suppress weeds, and regulate soil temperature.
* Observe Your Plants: Pay close attention to your bean plants and learn to recognize the signs of stress or disease. The sooner you identify a problem, the easier it will be to fix it.
Enjoying the Fruits (or Beans!) of Your Labor
Growing purple bush beans is a rewarding experience. Not only will you have a delicious and nutritious crop to enjoy, but you’ll also have the satisfaction of knowing that you grew it yourself. So, get out there, get your hands dirty, and start planting! I promise, you won’t regret it. Happy gardening!
Conclusion
So, there you have it! Growing your own purple bush beans isn’t just a fun gardening project; it’s a gateway to incredibly flavorful and visually stunning meals. We’ve walked through the simple steps, from selecting the right seeds and preparing your garden bed to nurturing your plants and harvesting those vibrant pods. The beauty of this DIY trick lies in its accessibility. Even if you’re a beginner gardener, you can absolutely achieve success with purple bush beans.
But why is this a must-try? Beyond the satisfaction of growing your own food, purple bush beans offer a unique culinary experience. Their striking color adds a pop to any dish, making them a conversation starter at dinner parties. And let’s not forget the taste! They boast a slightly sweeter and more tender flavor compared to their green counterparts, making them a delightful addition to salads, stir-fries, or simply steamed as a side dish. Plus, growing your own ensures you’re getting the freshest, most nutritious beans possible, free from harmful pesticides.
Don’t be afraid to experiment! Try different companion planting techniques. Marigolds, for example, are known to deter bean beetles. You could also explore different varieties of purple bush beans. Some are bushier, some have longer pods, and some have slightly different shades of purple. The possibilities are endless! Consider succession planting, sowing new seeds every few weeks, to ensure a continuous harvest throughout the growing season. If you find yourself with an abundance of beans, blanch and freeze them for later use, preserving their vibrant color and flavor. You can also pickle them for a tangy treat.
Growing purple bush beans is a rewarding experience that connects you to nature and provides you with delicious, healthy food. It’s a simple yet impactful way to enhance your culinary creations and enjoy the fruits (or rather, vegetables) of your labor.
We wholeheartedly encourage you to give this DIY trick a try. It’s easier than you think, and the rewards are well worth the effort. Once you’ve harvested your first batch of purple beauties, we’d love to hear about your experience! Share your photos, tips, and recipes in the comments below. Let’s build a community of purple bush bean enthusiasts and inspire others to embrace the joy of homegrown goodness. Happy gardening!
Frequently Asked Questions (FAQ)
What are the best conditions for growing purple bush beans?
Purple bush beans thrive in well-drained soil with a pH between 6.0 and 7.5. They need at least 6-8 hours of sunlight per day. Consistent moisture is crucial, especially during flowering and pod development. Avoid overwatering, as this can lead to root rot. Adding compost to the soil before planting will improve drainage and provide essential nutrients.
How long does it take for purple bush beans to mature?
Generally, purple bush beans are ready for harvest about 50-60 days after planting. However, this can vary depending on the specific variety and growing conditions. Keep an eye on the pods; they should be firm and plump but not overly large or bulging. Overripe beans can become tough and less flavorful.
What are some common pests and diseases that affect purple bush beans, and how can I prevent them?
Common pests include bean beetles, aphids, and spider mites. Diseases can include bean rust and powdery mildew. To prevent these issues, practice good garden hygiene. Remove any weeds or debris that can harbor pests or diseases. Ensure good air circulation around the plants by spacing them properly. Companion planting with marigolds can help deter bean beetles. If you notice any pests or diseases, treat them promptly with organic insecticides or fungicides. Crop rotation is also an effective way to prevent soilborne diseases.
Can I grow purple bush beans in containers?
Yes, you can absolutely grow purple bush beans in containers! Choose a container that is at least 12 inches deep and wide to provide enough room for the roots to grow. Use a well-draining potting mix and ensure the container has drainage holes. Water regularly and fertilize every few weeks with a balanced fertilizer. Place the container in a sunny location that receives at least 6-8 hours of sunlight per day. Container gardening is a great option for those with limited space or poor soil conditions.
How often should I water my purple bush beans?
Water your purple bush beans deeply and regularly, especially during hot, dry weather. Aim to keep the soil consistently moist but not waterlogged. A good rule of thumb is to water when the top inch of soil feels dry to the touch. Mulching around the plants can help retain moisture and suppress weeds. Avoid overhead watering, as this can increase the risk of fungal diseases. Drip irrigation or soaker hoses are ideal for delivering water directly to the roots.
Are purple bush beans more nutritious than green beans?
While both purple and green bush beans are nutritious, purple bush beans often contain higher levels of antioxidants, particularly anthocyanins, which give them their vibrant color. Anthocyanins have been linked to various health benefits, including reducing inflammation and protecting against chronic diseases. Both types of beans are excellent sources of fiber, vitamins, and minerals.
How do I know when my purple bush beans are ready to harvest?
The best time to harvest purple bush beans is when the pods are firm, plump, and about the size of your finger. They should snap easily off the plant. Avoid harvesting beans that are overly large or bulging, as they may be tough and less flavorful. Regular harvesting encourages the plant to produce more beans.
Why are my purple bush beans turning green when I cook them?
The purple color of purple bush beans is due to anthocyanins, which are heat-sensitive pigments. When cooked, these pigments can break down, causing the beans to turn green. To minimize color loss, cook the beans quickly and avoid overcooking them. Steaming or stir-frying are good options. You can also add a splash of vinegar or lemon juice to the cooking water, which can help preserve the color.
Can I save seeds from my purple bush beans to plant next year?
Yes, you can save seeds from your purple bush beans, but keep in mind that they may not come true to type if they have been cross-pollinated with other bean varieties. To save seeds, allow some of the pods to dry completely on the plant. Once the pods are dry and brittle, shell the beans and store them in an airtight container in a cool, dry place. Be sure to label the container with the variety and date.
What are some creative ways to use purple bush beans in recipes?
Purple bush beans are incredibly versatile and can be used in a variety of dishes. They’re delicious steamed, stir-fried, sautéed, or added to salads, soups, and stews. Try them in a colorful bean salad with other vegetables and a vinaigrette dressing. Add them to a stir-fry with tofu or chicken and your favorite sauce. Sauté them with garlic and olive oil for a simple and flavorful side dish. You can even pickle them for a tangy treat. Their vibrant color and unique flavor will elevate any dish.


Leave a Comment