
Microwave Hacks and Tips: Unlock the full potential of your microwave and revolutionize your kitchen routine! Let’s face it, the microwave is often relegated to reheating leftovers, but what if I told you it’s a powerhouse of culinary possibilities just waiting to be unleashed?
From its accidental discovery during radar research in the 1940s to becoming a staple in homes worldwide, the microwave has dramatically changed how we prepare food. But beyond the basics, there’s a whole world of clever microwave hacks and tips that can save you time, money, and even improve the taste of your meals.
Are you tired of dried-out leftovers? Do you wish you could steam vegetables in minutes without dirtying a bunch of pots? Or maybe you’re just looking for a quick and easy way to make a single-serving dessert. Whatever your kitchen woes, I’m here to share some game-changing microwave tricks that will make your life easier. This article is packed with simple, effective techniques that will transform your microwave from a simple reheating device into a versatile cooking tool. Get ready to discover the hidden talents of your microwave and become a kitchen whiz!
Microwave Magic: Level Up Your Kitchen Game with These DIY Hacks
Hey there, fellow kitchen adventurers! I’m so excited to share some of my favorite microwave hacks that have seriously changed the way I cook and clean. Microwaves are often underestimated, but with a little creativity, they can be absolute powerhouses in the kitchen. Get ready to unlock the full potential of your microwave!
Cleaning Your Microwave Like a Pro
Let’s be honest, cleaning the microwave is nobody’s favorite chore. But with these simple hacks, you can say goodbye to stubborn splatters and hello to a sparkling clean interior.
What You’ll Need:
* Lemon (or vinegar)
* Microwave-safe bowl
* Water
* Sponge or cloth
Step-by-Step Instructions:
1. Prepare the Cleaning Solution: Fill your microwave-safe bowl with about 1 cup of water. Slice a lemon in half and squeeze the juice into the water. Then, drop the lemon halves into the bowl as well. If you don’t have a lemon, you can substitute it with 2 tablespoons of white vinegar. Vinegar works just as well at loosening grime and deodorizing.
2. Microwave the Solution: Place the bowl in the microwave and heat it on high for 3-5 minutes. The goal is to get the water boiling and create steam inside the microwave. This steam will help loosen all the stuck-on food particles.
3. Let it Sit: Once the timer goes off, don’t open the microwave door immediately! Let the bowl sit inside for another 5-10 minutes. This allows the steam to continue working its magic.
4. Wipe it Clean: Carefully remove the bowl (it will be hot!). Use a sponge or cloth to wipe down the interior of the microwave. You’ll be amazed at how easily the grime comes off. For stubborn spots, you might need to scrub a little, but the steam should have done most of the work.
5. Clean the Turntable: Don’t forget to remove the turntable and wash it separately with soap and water. This will ensure that your entire microwave is squeaky clean.
Reheating Pizza Like a Boss
Reheated pizza can be a sad, soggy mess. But fear not! This hack will give you pizza that’s almost as good as fresh.
What You’ll Need:
* Your leftover pizza slice
* Microwave-safe plate
* Glass of water
Step-by-Step Instructions:
1. Place the Pizza: Put your pizza slice on a microwave-safe plate.
2. Add the Water: Place a glass of water next to the pizza on the plate. The water will help to keep the crust from becoming too dry and chewy.
3. Microwave it Right: Microwave the pizza on medium power for 30-60 seconds, depending on the thickness of the crust and the power of your microwave. Keep an eye on it to prevent it from overheating.
4. Enjoy! The pizza should be heated through, and the crust should be surprisingly crispy (or at least not soggy!).
Steaming Vegetables in a Flash
Steaming vegetables in the microwave is a quick and easy way to get your daily dose of nutrients.
What You’ll Need:
* Your favorite vegetables (broccoli, carrots, green beans, etc.)
* Microwave-safe bowl
* Water
* Microwave-safe plate or lid (optional)
Step-by-Step Instructions:
1. Prepare the Vegetables: Wash and chop your vegetables into bite-sized pieces.
2. Place in Bowl: Put the chopped vegetables in a microwave-safe bowl.
3. Add Water: Add about 2-3 tablespoons of water to the bowl. The amount of water will depend on the type and quantity of vegetables you’re steaming.
4. Cover (Optional): Cover the bowl with a microwave-safe plate or lid. This will help to trap the steam and cook the vegetables more evenly. If you don’t have a lid, you can use microwave-safe plastic wrap, but make sure to vent it slightly to allow steam to escape.
5. Microwave it: Microwave on high for 2-5 minutes, depending on the type and quantity of vegetables. Check the vegetables for doneness after 2 minutes and continue microwaving in 30-second intervals until they are tender-crisp.
6. Drain and Season: Carefully drain any excess water from the bowl. Season the vegetables with salt, pepper, and any other desired seasonings.
Making Mug Cakes for a Quick Treat
Craving something sweet but don’t want to bake an entire cake? Mug cakes are the answer! They’re quick, easy, and perfect for satisfying your sweet tooth.
What You’ll Need:
* Microwave-safe mug
* 4 tablespoons all-purpose flour
* 4 tablespoons sugar
* 2 tablespoons unsweetened cocoa powder
* 1/4 teaspoon baking powder
* Pinch of salt
* 3 tablespoons milk
* 1 tablespoon vegetable oil
* 1/2 teaspoon vanilla extract
* Optional: Chocolate chips, sprinkles, nuts
Step-by-Step Instructions:
1. Combine Dry Ingredients: In your microwave-safe mug, combine the flour, sugar, cocoa powder, baking powder, and salt. Mix well with a fork.
2. Add Wet Ingredients: Add the milk, vegetable oil, and vanilla extract to the mug. Mix until everything is well combined and there are no lumps.
3. Add Optional Ingredients: If you’re feeling fancy, add chocolate chips, sprinkles, or nuts to the mug.
4. Microwave it: Microwave on high for 60-90 seconds, depending on your microwave. The cake should be cooked through but still slightly moist.
5. Let it Cool (Slightly): Let the mug cake cool for a minute or two before digging in. Be careful, it will be hot!
Peeling Garlic in Seconds
Peeling garlic can be a tedious task. This microwave hack makes it a breeze!
What You’ll Need:
* Garlic bulb
* Microwave-safe plate
Step-by-Step Instructions:
1. Place the Garlic: Place the entire garlic bulb on a microwave-safe plate.
2. Microwave it: Microwave on high for 15-20 seconds.
3. Peel with Ease: Let the garlic cool slightly, then simply squeeze the cloves out of their skins. The skins should slip right off!
Reviving Stale Bread
Don’t throw away that stale bread! You can revive it in the microwave.
What You’ll Need:
* Stale bread
* Paper towel
* Water
Step-by-Step Instructions:
1. Dampen the Paper Towel: Lightly dampen a paper towel with water. Make sure it’s not dripping wet, just damp.
2. Wrap the Bread: Wrap the stale bread in the damp paper towel.
3. Microwave it: Microwave on high for 10-20 seconds, depending on the size and staleness of the bread.
4. Check and Repeat: Check the bread. It should be softer and more pliable. If it’s still too stale, microwave for another 5-10 seconds.
5. Enjoy Immediately: Eat the revived bread immediately, as it will become stale again quickly.
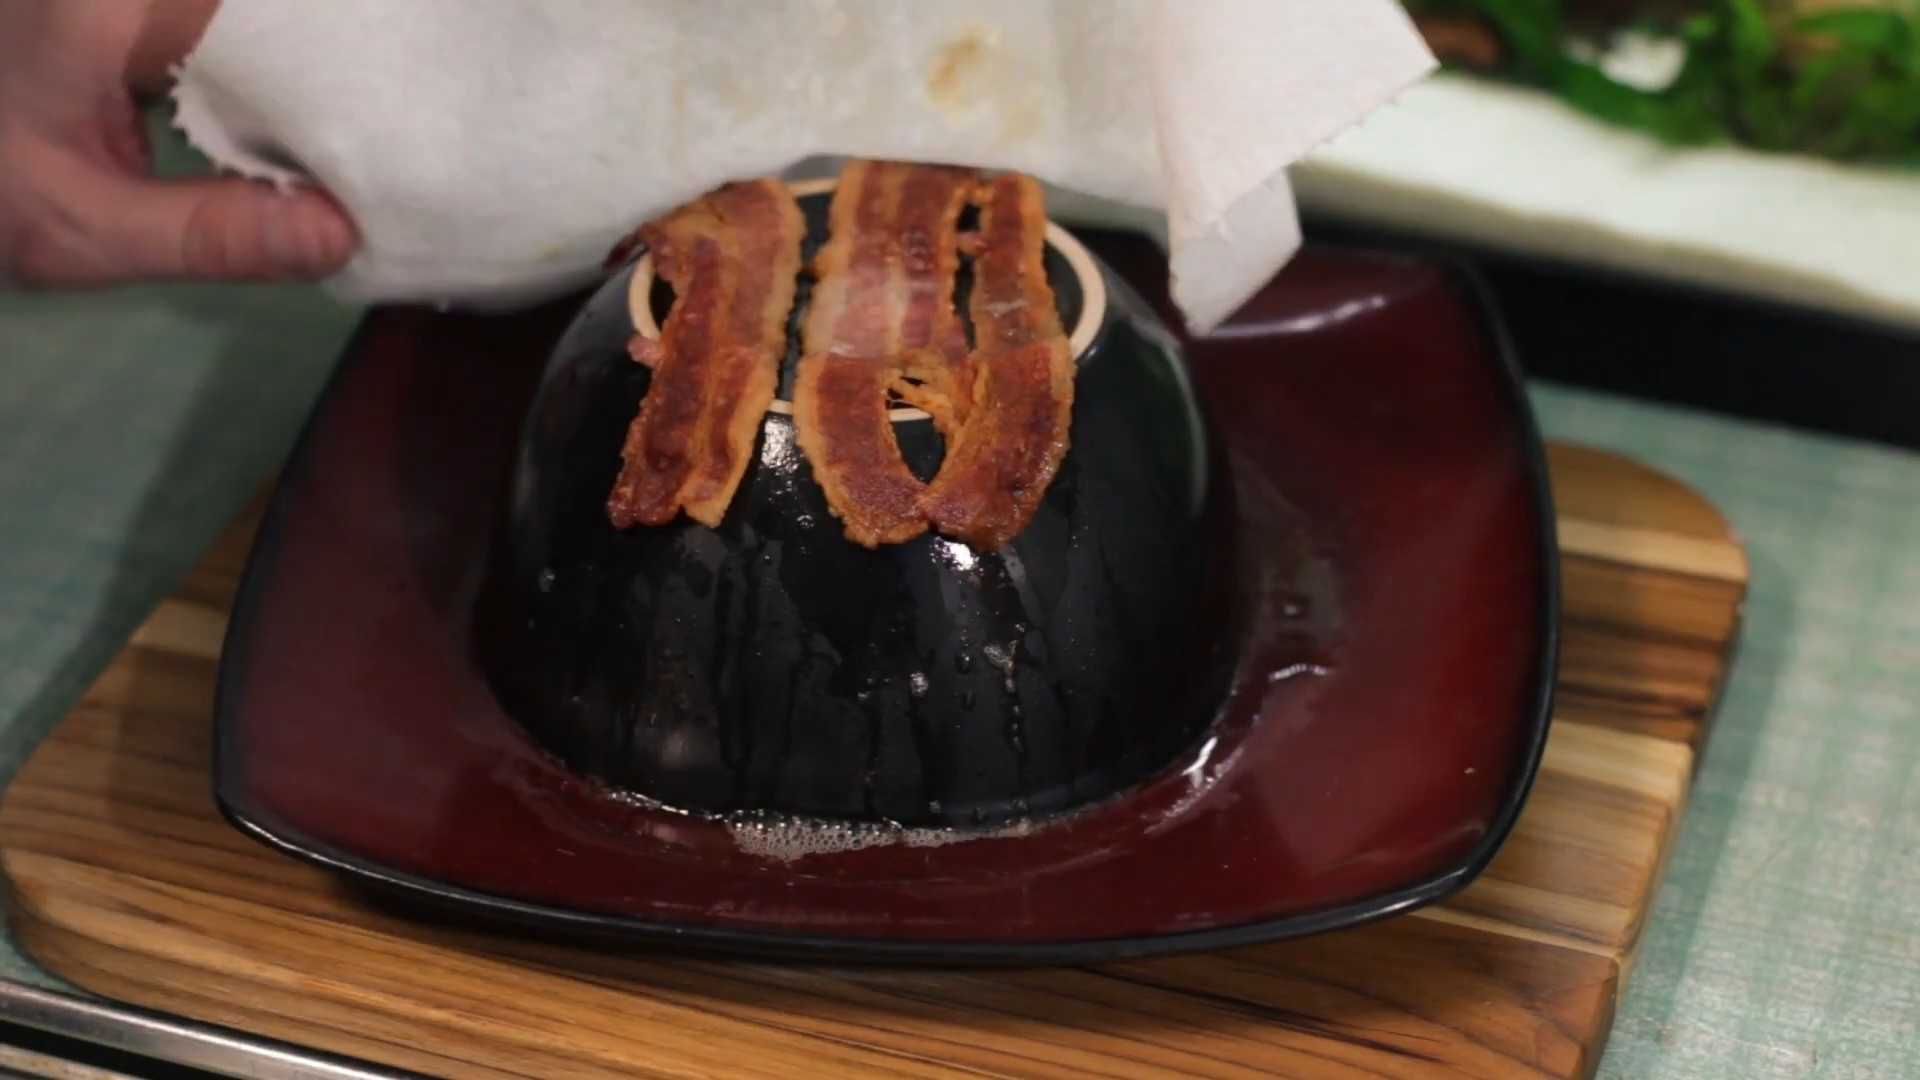
Making Crispy Bacon in Minutes
Cooking bacon in the microwave is a surprisingly effective way to get crispy bacon without the mess of frying.
What You’ll Need:
* Bacon slices
* Microwave-safe plate
* Paper towels
Step-by-Step Instructions:
1. Prepare the Plate: Line a microwave-safe plate with 2-3 layers of paper towels.
2. Arrange the Bacon: Lay the bacon slices on the paper towels, making sure they don’t overlap.
3. Cover with Paper Towels: Cover the bacon with another 2-3 layers of paper towels. This will help to absorb the grease and prevent splattering.
4. Microwave it: Microwave on high for 1-2 minutes per slice, depending on the thickness of the bacon and the power of your microwave. Check the bacon for doneness after 1 minute and continue microwaving in 30-second intervals until it’s crispy.
5. Drain and Enjoy: Carefully remove the bacon from the microwave and place it on a clean paper towel to drain any excess grease. Enjoy your crispy microwave bacon!
Poaching Eggs Like a Pro
Poaching eggs can be intimidating, but the microwave makes it surprisingly easy.
What You’ll Need:
* Microwave-safe mug or

Conclusion
So, there you have it! These microwave hacks and tips are more than just shortcuts; they’re game-changers that can transform your kitchen experience. From reviving stale bread to perfectly steaming vegetables, the humble microwave is capable of so much more than just reheating leftovers. We’ve shown you how to unlock its full potential, saving you time, effort, and even money in the process.
Why is this DIY approach a must-try? Because it empowers you to take control of your cooking, even when you’re short on time. Imagine effortlessly creating fluffy scrambled eggs in minutes, or quickly sanitizing your sponges to keep your kitchen sparkling clean. These are just a few examples of how these microwave hacks can simplify your life and elevate your culinary skills.
But don’t stop there! Experiment with these techniques and discover your own variations. For example, when steaming vegetables, try adding a squeeze of lemon juice or a sprinkle of herbs for extra flavor. If you’re reviving stale bread, consider wrapping it in a damp paper towel infused with a hint of cinnamon for a warm, comforting aroma. The possibilities are endless!
We especially encourage you to explore the hack for making single-serving desserts. Think mug cakes, quick custards, or even mini cheesecakes – all ready in a matter of minutes. This is a fantastic way to satisfy your sweet cravings without the guilt of baking an entire cake. You can customize these desserts with your favorite toppings, such as chocolate chips, nuts, or fresh fruit.
Remember, the key to mastering these microwave hacks is practice. Don’t be afraid to experiment and adjust the timings and techniques to suit your specific microwave and preferences. Every microwave is different, so what works perfectly for one person might need a slight tweak for another.
Ultimately, these microwave hacks are about making your life easier and more enjoyable. They’re about embracing the convenience of modern technology while still maintaining control over the quality and taste of your food. So, ditch the takeout menus and embrace the power of your microwave!
We’re confident that once you try these DIY tricks, you’ll wonder how you ever lived without them. So, go ahead, give them a try! And most importantly, we want to hear about your experience. Share your successes, your failures, and your own creative variations in the comments below. Let’s build a community of microwave masters and unlock the full potential of this amazing kitchen appliance together. Your feedback will help others learn and grow, and it will inspire us to create even more helpful and innovative content in the future. Let’s revolutionize the way we use our microwaves, one hack at a time!
Frequently Asked Questions (FAQs)
Q: Are these microwave hacks safe?
A: Yes, when performed correctly, these microwave hacks are generally safe. However, it’s crucial to follow the instructions carefully and use microwave-safe containers. Avoid using metal containers or utensils in the microwave, as they can cause sparks and damage the appliance. Always be cautious when handling hot items removed from the microwave, and use oven mitts or pot holders to protect your hands. When sanitizing sponges, ensure they are thoroughly rinsed after microwaving to remove any residual cleaning agents. If you are unsure about the safety of a particular hack, it’s always best to err on the side of caution and avoid it.
Q: Can I use any type of container in the microwave?
A: No, it’s essential to use microwave-safe containers. These containers are specifically designed to withstand the heat generated by microwaves without melting or leaching harmful chemicals into your food. Look for containers labeled “microwave-safe” or made from materials like glass, ceramic, or certain types of plastic. Avoid using metal containers, aluminum foil, or containers with metallic trim, as they can cause sparks and damage the microwave. Also, be cautious with plastic containers, as some may not be microwave-safe and can melt or warp under high heat.
Q: How do I know if a container is microwave-safe?
A: The easiest way to determine if a container is microwave-safe is to look for a symbol on the bottom of the container. This symbol typically consists of a microwave oven with wavy lines inside. If you don’t see this symbol, check the manufacturer’s instructions or website for more information. If you’re still unsure, it’s best to err on the side of caution and use a container that you know is microwave-safe. You can also perform a simple test: place the container in the microwave with a cup of water for one minute. If the container remains cool to the touch while the water heats up, it’s likely microwave-safe.
Q: What if my microwave doesn’t have a turntable?
A: If your microwave doesn’t have a turntable, it’s even more important to rotate the food manually during cooking. This will ensure that the food is heated evenly and prevent hot spots. Stop the microwave periodically and rotate the dish 90 or 180 degrees. You may also need to adjust the cooking time slightly, as microwaves without turntables may not distribute heat as efficiently.
Q: How do I prevent food from splattering in the microwave?
A: To prevent food from splattering in the microwave, cover the dish with a microwave-safe lid or plastic wrap. If using plastic wrap, be sure to leave a small vent to allow steam to escape. You can also use a microwave splatter guard, which is a mesh cover that allows steam to escape while preventing splatters. Another trick is to place a microwave-safe plate or bowl upside down over the dish.
Q: Can I microwave eggs in their shells?
A: No, microwaving eggs in their shells is not recommended, as they can explode due to the buildup of steam inside the shell. If you want to cook eggs in the microwave, crack them into a microwave-safe bowl or container and whisk them before cooking. You can also find microwave egg cookers specifically designed for this purpose.
Q: How do I revive stale bread in the microwave?
A: To revive stale bread in the microwave, wrap it in a slightly damp paper towel and microwave for 10-20 seconds, depending on the size and dryness of the bread. The moisture from the paper towel will help to rehydrate the bread and make it soft again. Be careful not to microwave it for too long, as it can become tough and rubbery.
Q: Can I sanitize sponges in the microwave?
A: Yes, you can sanitize sponges in the microwave. First, thoroughly wet the sponge and place it in the microwave. Microwave on high for 1-2 minutes. Be careful when removing the sponge, as it will be very hot. Allow it to cool slightly before squeezing out the excess water. This method can kill up to 99.9% of bacteria on the sponge. However, it’s important to note that this method is not a substitute for regularly replacing your sponges.
Q: How do I steam vegetables in the microwave?
A: To steam vegetables in the microwave, place them in a microwave-safe bowl with a few tablespoons of water. Cover the bowl with a microwave-safe lid or plastic wrap, leaving a small vent for steam to escape. Microwave on high for 2-5 minutes, depending on the type and quantity of vegetables. Check for doneness and adjust the cooking time as needed.
Q: What if my microwave smells bad?
A: If your microwave smells bad, you can easily freshen it up by microwaving a cup of water with a few slices of lemon or a tablespoon of vinegar for 2-3 minutes. The steam will help to loosen any food particles and the lemon or vinegar will neutralize odors. After microwaving, let the mixture sit in the microwave for a few minutes before wiping it clean with a damp cloth. This is a simple and effective way to keep your microwave smelling fresh and clean.


Leave a Comment