
Grow Dill Indoors? Absolutely! Imagine having fresh, fragrant dill readily available, even when the snow is falling outside. No more sad, wilted bunches from the grocery store – just vibrant, flavorful dill whenever you need it. For centuries, dill has been cherished not only for its culinary uses but also for its medicinal properties. Ancient Egyptians used it for soothing digestion, and Romans believed it brought good fortune.
But let’s be honest, sometimes life gets in the way of a thriving outdoor garden. That’s where the magic of indoor gardening comes in! I’m here to show you how easy and rewarding it can be to grow dill indoors. Whether you’re a seasoned gardener or a complete beginner, these simple DIY tricks and hacks will have you harvesting your own dill in no time. Think of the fresh dill pickles, creamy dill sauces, and flavorful dill-infused oils you can create! Plus, bringing a little bit of nature indoors is a fantastic way to boost your mood and add a touch of green to your living space. So, grab your pots, soil, and seeds, and let’s get started on this exciting indoor gardening adventure!
Growing Swiss Chard at Home: A Beginner’s Guide
Hey there, fellow gardening enthusiasts! I’m so excited to share my experience with growing Swiss chard. It’s a fantastic leafy green that’s not only packed with nutrients but also incredibly easy to grow, even if you’re a complete beginner like I was! Plus, the vibrant colors of some varieties add a beautiful touch to your garden. Let’s dive in!
Choosing Your Swiss Chard Variety
Before we get our hands dirty, let’s talk about the different types of Swiss chard you can grow. This is important because it affects the look of your garden and, to a lesser extent, the taste.
* ‘Bright Lights’: This is probably the most popular variety, and for good reason! It boasts a stunning array of stem colors – red, yellow, orange, pink, and white. It’s a real showstopper!
* ‘Fordhook Giant’: If you’re looking for a more traditional, reliable variety, ‘Fordhook Giant’ is a great choice. It has dark green, heavily crumpled leaves and thick, white stalks. It’s known for its excellent flavor and productivity.
* ‘Lucullus’: This variety offers a milder flavor than some others, making it a good option if you’re not a huge fan of strong greens. It has light green, slightly savoyed leaves and pale green stalks.
* ‘Ruby Red’: As the name suggests, this variety features vibrant red stalks and dark green leaves with red veins. It’s a beautiful and flavorful option.
I personally love growing ‘Bright Lights’ because it adds so much color to my garden, but any of these varieties will work well.
Getting Started: Seeds or Seedlings?
You have two options when it comes to starting your Swiss chard: seeds or seedlings.
* Seeds: Starting from seed is the most economical option, and it allows you to choose from a wider variety of cultivars. However, it requires a bit more patience and attention.
* Seedlings: Buying seedlings from a local nursery is a quicker and easier option, especially if you’re short on time or space. Just make sure the seedlings look healthy and vibrant.
I usually start my Swiss chard from seed indoors to get a head start on the growing season, but you can also direct sow them in your garden if the weather is warm enough.
Preparing the Soil
Swiss chard thrives in well-drained, fertile soil with a pH between 6.0 and 7.0. Before planting, it’s important to amend your soil with organic matter, such as compost or well-rotted manure. This will improve drainage, fertility, and water retention.
Here’s what I do to prepare my soil:
1. Clear the area: Remove any weeds, rocks, or debris from the planting area.
2. Amend the soil: Spread a 2-3 inch layer of compost or well-rotted manure over the soil surface.
3. Incorporate the amendments: Use a garden fork or tiller to mix the compost or manure into the soil to a depth of 6-8 inches.
4. Smooth the surface: Rake the soil smooth and level.
Planting Your Swiss Chard
Now for the fun part – planting! Whether you’re starting from seed or seedlings, the planting process is pretty straightforward.
Planting from Seed
1. Sow the seeds: Sow the seeds about ½ inch deep and 1 inch apart in rows that are 12-18 inches apart.
2. Water gently: Water the soil gently to avoid disturbing the seeds.
3. Keep the soil moist: Keep the soil consistently moist until the seeds germinate, which usually takes 5-10 days.
4. Thin the seedlings: Once the seedlings have a few true leaves, thin them to 6-12 inches apart. This will give them enough space to grow and develop.
Planting Seedlings
1. Dig holes: Dig holes that are slightly larger than the root ball of the seedlings. Space the holes 6-12 inches apart in rows that are 12-18 inches apart.
2. Remove the seedlings from their containers: Gently remove the seedlings from their containers, being careful not to damage the roots.
3. Place the seedlings in the holes: Place the seedlings in the holes, making sure the top of the root ball is level with the soil surface.
4. Fill the holes: Fill the holes with soil and gently firm the soil around the seedlings.
5. Water thoroughly: Water the seedlings thoroughly after planting.
Caring for Your Swiss Chard
Swiss chard is relatively low-maintenance, but there are a few things you can do to ensure a healthy and productive crop.
* Watering: Water your Swiss chard regularly, especially during dry periods. Aim to keep the soil consistently moist but not waterlogged. I usually water deeply once or twice a week, depending on the weather.
* Fertilizing: Swiss chard benefits from regular fertilization. You can use a balanced organic fertilizer or side-dress with compost every few weeks.
* Weeding: Keep the area around your Swiss chard free of weeds. Weeds compete with your plants for nutrients and water.
* Mulching: Apply a layer of mulch around your Swiss chard plants to help retain moisture, suppress weeds, and regulate soil temperature. I like to use straw or wood chips.
* Pest and Disease Control: Swiss chard is generally resistant to pests and diseases, but it can occasionally be affected by aphids, slugs, or leaf miners. If you notice any pests or diseases, take action promptly. You can usually control aphids with a strong spray of water or insecticidal soap. Slugs can be controlled with slug bait or by handpicking them off the plants. Leaf miners can be controlled by removing and destroying affected leaves.
Harvesting Your Swiss Chard
You can start harvesting your Swiss chard as soon as the leaves are large enough to eat, usually about 6-8 weeks after planting.
* Cut the outer leaves: Harvest the outer leaves first, leaving the inner leaves to continue growing. This is known as the “cut-and-come-again” method, and it allows you to harvest your Swiss chard continuously throughout the growing season.
* Cut near the base: Cut the leaves near the base of the plant, using a sharp knife or scissors.
* Wash and store: Wash the harvested leaves thoroughly and store them in the refrigerator for up to a week.
Enjoying Your Harvest
Swiss chard is incredibly versatile and can be used in a variety of dishes. You can sauté it, steam it, add it to soups and stews, or even eat it raw in salads. The stalks are also edible and can be cooked like asparagus.
Here are a few of my favorite ways to enjoy Swiss chard:
* Sautéed with garlic and olive oil: This is a simple and delicious way to enjoy Swiss chard. Just sauté the leaves with garlic and olive oil until they are tender.
* Added to soups and stews: Swiss chard adds a boost of nutrients and flavor to soups and stews.
* Used in salads: Young, tender Swiss chard leaves can be used in salads.
* Made into a gratin: Swiss chard gratin is a creamy and comforting dish that’s perfect for a cold winter day.
* Stuffed into pasta shells: Swiss chard can be used as a filling for pasta shells, along with ricotta cheese and other vegetables.
Troubleshooting
Even with the best care, you might encounter a few problems while growing Swiss chard. Here are some common issues and how to address them:
* Bolting: Bolting is when the plant prematurely sends up a flower stalk, which can make the leaves bitter. This is often caused by hot weather or stress. To prevent bolting, try to plant your Swiss chard in a location that gets some afternoon shade, and make sure to water it regularly. If your plant does bolt, you can still harvest the leaves, but they may not taste as good.
* Yellowing leaves: Yellowing leaves can be a sign of nutrient deficiency, overwatering, or underwatering. Check the soil moisture and adjust your watering accordingly. You can also fertilize your plants with a balanced organic fertilizer.
* Pest infestations: As mentioned earlier, Swiss chard can be affected by aphids, slugs, or leaf miners. Take action promptly to control these pests.
Extending the Harvest
Swiss chard is a cool-season crop, which means it grows best in the spring and fall. However, with a little bit of planning, you can extend your harvest into the summer and winter.
* Succession planting: Sow seeds every few weeks to ensure a continuous supply of Swiss chard throughout the growing season.
* Cold frames or row covers: Use cold frames or row

Conclusion
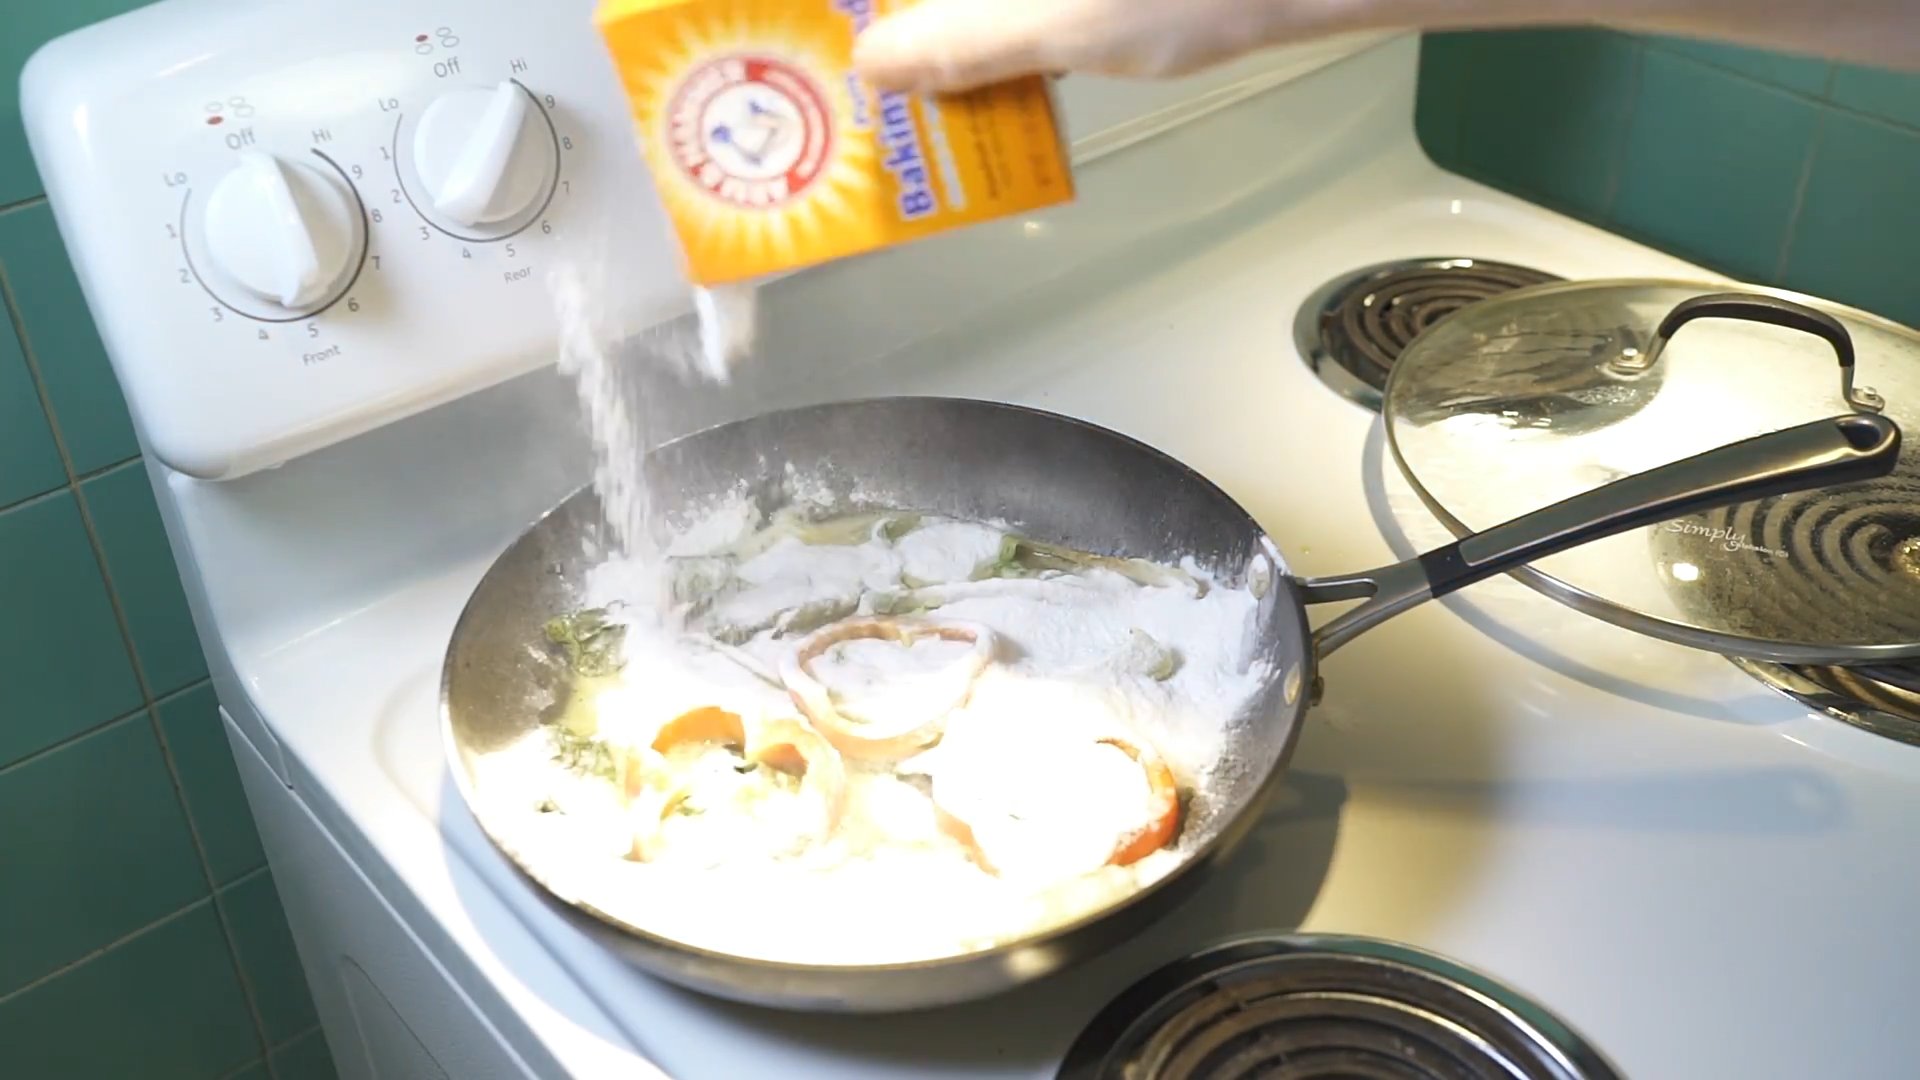
So, there you have it! Unlocking the power of baking soda goes far beyond just leavening your cakes. From tackling stubborn stains to creating a spa-like experience at home, this humble ingredient is a true multi-tasker. We’ve explored just a fraction of its potential, focusing on some of the most common household headaches it can solve.
Why is this DIY approach a must-try? Simply put, it’s effective, affordable, and eco-friendly. Many commercial cleaning products are packed with harsh chemicals that can be harmful to your health and the environment. Baking soda offers a gentler, safer alternative that gets the job done without the added risks. Plus, you likely already have a box sitting in your pantry, making it incredibly convenient.
But don’t stop there! The beauty of baking soda lies in its versatility. Experiment with different combinations and applications to discover even more uses. For instance, try adding a few drops of your favorite essential oil to your baking soda scrub for a refreshing scent. Or, create a paste of baking soda and water to soothe minor skin irritations. You can even use it to deodorize your refrigerator or freshen up your carpets.
Consider these variations to elevate your baking soda game:
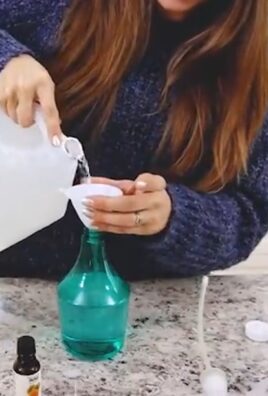
* Baking Soda and Vinegar Power Duo: While not for use in closed containers (remember the volcano science project?), combining baking soda and vinegar creates a powerful fizzing action that can dislodge stubborn grime in drains and on surfaces. Use with caution and always in a well-ventilated area.
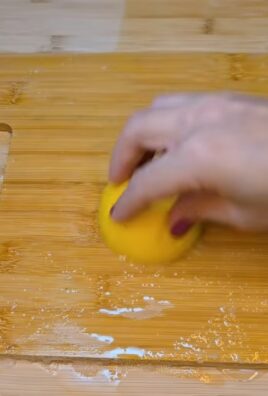
* Baking Soda and Lemon Juice Brightener: Lemon juice adds a natural bleaching effect, making it ideal for whitening grout or removing stains from light-colored fabrics. Test on an inconspicuous area first to ensure colorfastness.
* Baking Soda and Coconut Oil Moisturizer: For a gentle exfoliating scrub, mix baking soda with coconut oil. The coconut oil provides moisture, while the baking soda gently buffs away dead skin cells.
We’re confident that once you experience the magic of baking soda for yourself, you’ll be hooked. It’s a simple, sustainable, and surprisingly effective way to tackle a wide range of household challenges.
Now, it’s your turn! We encourage you to try these DIY tricks and share your experiences with us. What unexpected uses have you discovered for baking soda? What variations have you found most effective? Let us know in the comments below! We’re eager to learn from your insights and build a community of baking soda enthusiasts. Don’t be shy – share your tips, tricks, and triumphs! Together, we can unlock the full potential of this amazing ingredient and create a cleaner, healthier, and more sustainable home.
Frequently Asked Questions (FAQs)
Is baking soda safe to use on all surfaces?
While baking soda is generally considered safe, it’s always a good idea to test it on an inconspicuous area first, especially on delicate or painted surfaces. Baking soda is mildly abrasive, so excessive scrubbing could potentially scratch some materials. Avoid using it on polished gold, as it can scratch the surface. Also, avoid using it on aluminum, as it can cause discoloration. When in doubt, consult the manufacturer’s instructions for the surface you’re cleaning.
Can I use baking soda to clean my oven?
Yes, baking soda is an excellent natural oven cleaner. To clean your oven with baking soda, make a paste of baking soda and water and spread it all over the interior surfaces, avoiding the heating elements. Let it sit overnight, then scrub away the grime with a damp sponge or cloth. For stubborn stains, you can add a little vinegar to the baking soda paste.
How can I use baking soda to freshen my refrigerator?
Baking soda is a well-known odor absorber. To freshen your refrigerator, simply place an open box of baking soda on a shelf. Replace the box every three months or sooner if you notice any lingering odors. You can also sprinkle baking soda on a damp sponge and wipe down the interior surfaces of your refrigerator to remove spills and odors.
Is there a difference between baking soda and baking powder?
Yes, baking soda and baking powder are not the same thing. Baking soda (sodium bicarbonate) is a single ingredient that requires an acidic ingredient (like vinegar or lemon juice) to activate its leavening power. Baking powder, on the other hand, contains baking soda plus an acidifying agent and a drying agent. It’s a complete leavening agent that only needs moisture to activate. Using them interchangeably will not produce the desired results in baking.
Can I use baking soda to whiten my teeth?
Baking soda has mild abrasive properties that can help remove surface stains from teeth. However, it’s important to use it sparingly, as excessive use can erode tooth enamel. Consult with your dentist before using baking soda as a teeth whitener. You can create a paste of baking soda and water and gently brush your teeth with it once or twice a week.
How can I use baking soda to relieve heartburn?
Baking soda can provide temporary relief from heartburn by neutralizing stomach acid. Dissolve 1/2 teaspoon of baking soda in a glass of water and drink it slowly. However, it’s important to note that baking soda is high in sodium and should not be used regularly or in large doses. If you experience frequent heartburn, consult with your doctor.
Can baking soda be used to clean carpets?
Yes, baking soda is a great natural carpet cleaner and deodorizer. Sprinkle baking soda liberally over your carpet and let it sit for at least 30 minutes, or even overnight. Then, vacuum thoroughly. The baking soda will absorb odors and help loosen dirt and debris. For a deeper clean, you can mix baking soda with a few drops of essential oil for a pleasant scent.
How do I unclog a drain with baking soda?
For a clogged drain, pour about a cup of baking soda down the drain, followed by a cup of vinegar. Let it fizz for about 30 minutes, then flush with hot water. This combination can help break down grease and debris that are clogging the drain. If the clog persists, you may need to repeat the process or use a drain snake.
Is baking soda safe for septic systems?
Yes, baking soda is generally considered safe for septic systems. It’s a natural substance that won’t harm the beneficial bacteria in your septic tank. In fact, it can even help balance the pH levels in your septic system.
How long does baking soda last?
An unopened box of baking soda can last for several years. Once opened, it’s best to use it within six months to a year for optimal leavening power. To test if your baking soda is still active, add a teaspoon of baking soda to a small amount of vinegar. If it fizzes vigorously, it’s still good to use. If not, it’s time to replace it.
Leave a Comment