
Grow Bush Beans in Pots? Absolutely! Imagine stepping onto your balcony or into your small backyard and harvesting a handful of fresh, crisp bush beans, ready to be tossed into a salad or steamed for a delicious side dish. It’s easier than you think, and this DIY guide will show you exactly how to make it happen, even if you’re short on space.
Growing beans, in general, has a rich history, dating back thousands of years. They’ve been a staple food source for cultures worldwide, providing essential nutrients and playing a vital role in sustainable agriculture. While traditionally grown in sprawling fields, the beauty of modern gardening lies in its adaptability. We can now bring the bounty of the farm to our own homes, regardless of our living situation.
In today’s fast-paced world, many of us crave a connection to nature. We want fresh, healthy food, but we don’t always have the time or space for a traditional garden. That’s where this DIY trick comes in! Learning how to grow bush beans in pots is the perfect solution. It’s a rewarding and accessible way to enjoy homegrown produce, reduce your carbon footprint, and add a touch of green to your living space. Plus, who doesn’t love the satisfaction of nurturing a plant from seed to harvest? Let’s get started and unlock the secrets to a thriving container garden!

Grow Bush Beans in Pots: A Complete DIY Guide
Hey there, fellow gardening enthusiasts! I’m so excited to share my tried-and-true method for growing bush beans in pots. It’s easier than you might think, and the reward of fresh, homegrown beans is absolutely worth it. Let’s get started!
Choosing the Right Pot and Soil
Before we even think about seeds, we need to set the stage for success. The right pot and soil are crucial for healthy, happy bean plants.
* Pot Size: Bush beans don’t need a ton of space, but they do need enough room for their roots to spread. I recommend a pot that’s at least 12 inches in diameter and 12 inches deep. This gives them plenty of room to grow without becoming root-bound.
* Drainage: This is non-negotiable! Make sure your pot has drainage holes. Beans hate sitting in soggy soil, which can lead to root rot. If your pot doesn’t have drainage holes, you can drill some yourself.
* Pot Material: Plastic, terracotta, or even fabric pots will work. I personally prefer terracotta because it’s breathable and helps prevent overwatering. However, plastic pots retain moisture better, which can be helpful in hot, dry climates.
* Soil: Don’t use garden soil! It’s often too heavy and doesn’t drain well in containers. Instead, opt for a high-quality potting mix. Look for a mix that’s specifically formulated for vegetables. I like to amend my potting mix with compost for added nutrients and drainage.
Selecting Your Bush Bean Variety
There are tons of bush bean varieties to choose from, so pick one that suits your taste and climate. Here are a few of my favorites:
* Blue Lake Bush: A classic variety with excellent flavor and high yields.
* Contender: An early-maturing variety that’s perfect for shorter growing seasons.
* Provider: Another early-maturing variety that’s known for its disease resistance.
* Roma II: A flat-podded Italian bean with a delicious, slightly nutty flavor.
* Royal Burgundy: A beautiful purple bean that turns green when cooked.
Consider your local climate and growing season when making your selection. Some varieties are more heat-tolerant than others, while others are better suited for cooler temperatures.
Planting Your Bush Bean Seeds
Now for the fun part – planting!
1. Prepare the Pot: Fill your pot with potting mix, leaving about an inch or two of space at the top. Gently pat down the soil to remove any air pockets.
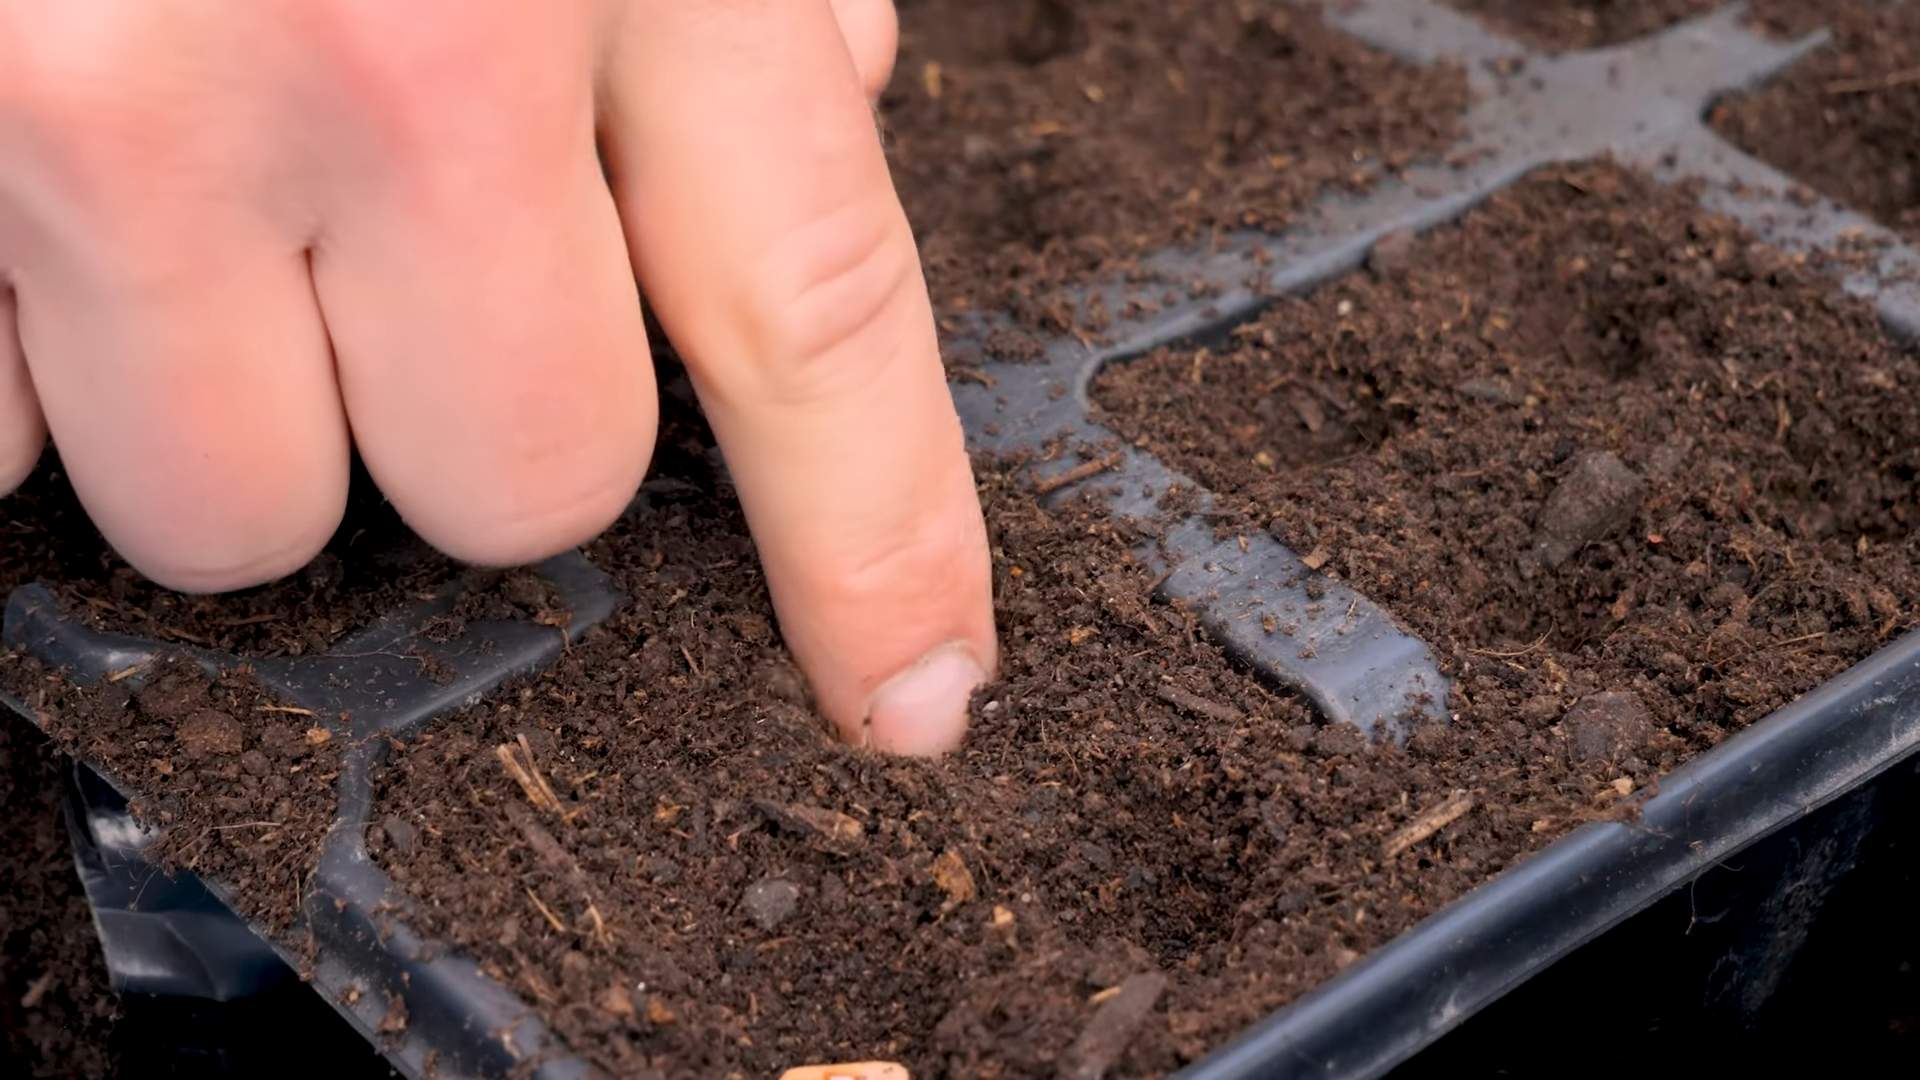
2. Sow the Seeds: Bush beans are typically planted directly in the pot, rather than starting them indoors. Sow the seeds about 1 inch deep and 2-3 inches apart. I usually plant 4-5 seeds per pot, depending on the size of the pot.
3. Water Thoroughly: After planting, water the soil thoroughly until it’s evenly moist. Be careful not to overwater, as this can cause the seeds to rot.
4. Find a Sunny Spot: Bush beans need at least 6-8 hours of sunlight per day. Place your pot in a sunny location where it will receive plenty of light.
5. Be Patient: Bush bean seeds typically germinate in 5-10 days, depending on the temperature and moisture levels. Keep the soil consistently moist during this time.
Caring for Your Bush Bean Plants
Once your bean plants have sprouted, it’s important to provide them with the care they need to thrive.
* Watering: Water your bean plants regularly, especially during hot, dry weather. The soil should be consistently moist, but not soggy. Check the soil moisture by sticking your finger into the soil. If the top inch feels dry, it’s time to water.
* Fertilizing: Bush beans are relatively light feeders, but they will benefit from occasional fertilization. I like to use a balanced liquid fertilizer, such as a 10-10-10, diluted to half strength. Fertilize every 2-3 weeks during the growing season.
* Support: Bush beans don’t typically need staking, but if your plants are getting tall and leggy, you can provide them with some support. A small tomato cage or a few bamboo stakes will do the trick.
* Pest Control: Keep an eye out for common bean pests, such as aphids, bean beetles, and spider mites. If you notice any pests, you can treat them with insecticidal soap or neem oil. I prefer to use organic pest control methods whenever possible.
* Weeding: Keep the pot free of weeds, as they can compete with your bean plants for nutrients and water. Gently pull out any weeds that you see.
Harvesting Your Bush Beans
This is the moment we’ve been waiting for! Harvesting your bush beans at the right time is crucial for optimal flavor and texture.
1. Timing: Bush beans are typically ready to harvest about 50-60 days after planting. The pods should be firm, plump, and snap easily when bent.
2. Technique: Gently snap the bean pods off the plant, being careful not to damage the stems or leaves.
3. Frequency: Harvest your beans regularly, every 2-3 days, to encourage continued production. Overripe beans will become tough and stringy.
4. Storage: Freshly harvested bush beans are best eaten right away. However, you can store them in the refrigerator for up to a week. To store them, place them in a plastic bag or container and keep them in the crisper drawer.
Troubleshooting Common Problems
Even with the best care, you may encounter some problems while growing bush beans in pots. Here are a few common issues and how to address them:
* Yellowing Leaves: This can be caused by a variety of factors, including overwatering, underwatering, nutrient deficiencies, or pests. Check the soil moisture and adjust your watering accordingly. Fertilize with a balanced fertilizer to address any nutrient deficiencies. Inspect the plants for pests and treat them as needed.
* Lack of Flowers: This can be caused by insufficient sunlight, excessive nitrogen fertilization, or high temperatures. Make sure your plants are getting at least 6-8 hours of sunlight per day. Avoid using fertilizers that are high in nitrogen, as this can promote leafy growth at the expense of flowers. If the weather is too hot, try moving your plants to a shadier location.
* Bean Pods Not Filling Out: This can be caused by poor pollination, insufficient watering, or nutrient deficiencies. Make sure your plants are getting enough water and fertilizer. You can also try hand-pollinating the flowers by gently shaking the plants or using a small paintbrush to transfer pollen from one flower to another.
* Root Rot: This is caused by overwatering and poor drainage. Make sure your pot has drainage holes and that you’re not overwatering your plants. If you suspect root rot, you can try repotting your plants in fresh potting mix.
Extending Your Harvest
Want to keep those beans coming? Here are a few tips for extending your bush bean harvest:
* Succession Planting: Plant a new batch of seeds every 2-3 weeks to ensure a continuous harvest throughout the growing season.
* Deadheading: Remove any spent flowers or bean pods to encourage the plant to produce more.
* Proper Watering and Fertilizing: Consistent watering and fertilization will help keep your plants healthy and productive.
Enjoying Your Homegrown Bush Beans
Now that you’ve harvested your delicious bush beans, it’s time to enjoy them! There are endless ways to prepare and enjoy these versatile vegetables.
* Steamed or Boiled: A simple and classic way to enjoy fresh bush beans.
* Sautéed: Sautéed with garlic and olive oil for a flavorful side dish.
* Roasted: Roasted with other vegetables for a hearty and satisfying meal.
* In Salads: Add blanched or raw bush beans to salads for a crunchy and nutritious boost.
* Pickled: Pickle your bush beans for a tangy and flavorful snack or condiment.
Growing bush beans in pots is a rewarding and enjoyable experience. With a little bit of care and attention, you can enjoy a bountiful harvest of fresh, homegrown beans all season long. Happy gardening!
Conclusion
So, there you have it! Growing bush beans in pots is not only achievable, but it’s also a remarkably rewarding experience. We’ve walked you through the process, from selecting the right pot and soil to nurturing your plants and harvesting your bountiful crop. But why should you take the plunge and try this DIY gardening trick?
Firstly, it’s incredibly accessible. Whether you have a sprawling garden or just a small balcony, growing bush beans in pots allows you to enjoy fresh, homegrown produce regardless of your space constraints. It’s a fantastic way to connect with nature, even in the heart of the city.
Secondly, it’s a cost-effective way to enjoy delicious, healthy food. Think about it: a packet of bush bean seeds is relatively inexpensive, and with a little care, you can yield a substantial harvest. You’ll be saving money at the grocery store while enjoying the superior flavor and nutritional value of homegrown beans.
Thirdly, it’s a learning experience. Gardening is a journey of discovery, and growing bush beans in pots is a great way to learn about plant life cycles, soil science, and the importance of sustainable food practices. It’s an educational activity that can be enjoyed by people of all ages.
But the benefits don’t stop there. Growing your own food can be incredibly therapeutic. The simple act of tending to your plants, watching them grow, and harvesting your own produce can be a powerful stress reliever. It’s a way to slow down, connect with the earth, and appreciate the simple things in life.
Ready to take your bush bean growing to the next level? Consider experimenting with different varieties of bush beans. There are green beans, yellow wax beans, purple beans, and even beans with unique flavor profiles. Try growing a few different varieties side-by-side to see which ones you prefer.
You can also experiment with companion planting. Marigolds, for example, are known to deter pests, while basil can improve the flavor of your beans. Planting these companion plants alongside your bush beans can help to protect your crop and enhance its flavor.
Another variation to consider is vertical gardening. If you’re short on space, you can train your bush beans to grow up a trellis or other support structure. This will not only save space but also create a beautiful and eye-catching display.
Finally, don’t be afraid to get creative with your containers. While a standard pot will work just fine, you can also use repurposed items like old buckets, tires, or even wooden crates. Just make sure that your container has adequate drainage holes.
We’re confident that you’ll find growing bush beans in pots to be a rewarding and enjoyable experience. So, grab a packet of seeds, get your hands dirty, and start growing!
We encourage you to try this DIY trick and share your experience with us. Post photos of your potted bush beans on social media using #PottedBushBeans and let us know what you’ve learned. We can’t wait to see your beautiful bean plants! Happy gardening!
Frequently Asked Questions (FAQ)
What is the best time of year to plant bush beans in pots?
The ideal time to plant bush beans is after the last frost in spring, when the soil has warmed up to at least 60°F (15°C). Bush beans are sensitive to cold temperatures, so planting them too early can stunt their growth or even kill them. In warmer climates, you can plant a second crop of bush beans in late summer for a fall harvest. Check your local frost dates to determine the best planting time for your region.
What size pot is best for growing bush beans?
A pot that is at least 12 inches in diameter and 12 inches deep is generally recommended for growing bush beans. This will provide enough space for the roots to grow and develop properly. You can plant multiple bush bean plants in a larger pot, but be sure to space them at least 4-6 inches apart to allow for adequate air circulation and sunlight penetration.
What type of soil should I use for growing bush beans in pots?
Use a well-draining potting mix that is rich in organic matter. Avoid using garden soil, as it can become compacted in pots and restrict root growth. You can amend your potting mix with compost or other organic materials to improve its fertility and drainage. A slightly acidic to neutral pH (around 6.0 to 7.0) is ideal for growing bush beans.
How often should I water my bush beans in pots?
Water your bush beans regularly, especially during hot, dry weather. The soil should be kept consistently moist, but not waterlogged. Check the soil moisture by sticking your finger into the soil about an inch deep. If the soil feels dry, it’s time to water. Water deeply, until water drains out of the bottom of the pot. Avoid watering the foliage, as this can promote fungal diseases.
How much sunlight do bush beans need?
Bush beans need at least 6-8 hours of direct sunlight per day to thrive. Choose a sunny location for your potted bush beans, such as a south-facing balcony or patio. If you don’t have a sunny spot, you can supplement with artificial light.
Do I need to fertilize my bush beans?
Bush beans are relatively light feeders, but they will benefit from regular fertilization. Use a balanced fertilizer (such as 10-10-10) or a fertilizer specifically formulated for vegetables. Fertilize every 2-3 weeks, following the instructions on the fertilizer label. Avoid over-fertilizing, as this can lead to excessive foliage growth and reduced bean production.
What are some common pests and diseases that affect bush beans?
Common pests that affect bush beans include aphids, bean beetles, and spider mites. These pests can be controlled with insecticidal soap, neem oil, or other organic pesticides. Common diseases that affect bush beans include powdery mildew, rust, and bean mosaic virus. These diseases can be prevented by providing good air circulation, avoiding overhead watering, and using disease-resistant varieties.
When should I harvest my bush beans?
Bush beans are typically ready to harvest about 50-60 days after planting. The beans should be firm, plump, and snap easily when bent. Harvest the beans regularly to encourage continued production. Overripe beans will become tough and stringy.
Can I grow bush beans indoors?
While it’s possible to grow bush beans indoors, it can be challenging to provide them with the amount of sunlight they need. If you want to try growing bush beans indoors, choose a sunny window or use grow lights. You’ll also need to provide good air circulation and humidity.
What are some good companion plants for bush beans?
Good companion plants for bush beans include marigolds, basil, carrots, cucumbers, and rosemary. Marigolds deter pests, basil improves the flavor of the beans, carrots repel bean beetles, cucumbers provide shade, and rosemary attracts beneficial insects. Avoid planting bush beans near onions or garlic, as these can inhibit their growth.
Leave a Comment