
Snap Peas Indoor Gardening: Craving the sweet crunch of fresh snap peas but don’t have a sprawling garden? I get it! Imagine plucking plump, juicy snap peas right from your windowsill, even in the dead of winter. Sounds like a dream, right? Well, it doesn’t have to be! This DIY guide will unlock the secrets to successfully growing snap peas indoors, bringing a taste of spring to your home year-round.
The humble snap pea, a delightful cross between garden peas and snow peas, has a surprisingly rich history. Originating in the 1970s, it quickly became a culinary favorite, prized for its edible pod and satisfying snap. But you don’t need a farm to enjoy this delicious treat.
In today’s busy world, finding time and space for traditional gardening can be a challenge. That’s where indoor gardening comes in! Growing snap peas indoor gardening is not only a fun and rewarding hobby, but it also provides you with fresh, healthy produce right at your fingertips. Plus, it’s a fantastic way to add a touch of greenery to your living space and boost your mood. Ready to ditch the store-bought veggies and embark on your indoor snap pea adventure? Let’s get started!
Growing Snap Peas Indoors: A Complete DIY Guide
Hey there, fellow gardening enthusiasts! Ever dreamt of enjoying fresh, crisp snap peas even when the weather outside is frightful? Well, dream no more! I’m going to walk you through a super fun and rewarding DIY project: growing snap peas indoors. It’s easier than you think, and the taste of homegrown snap peas is simply unbeatable. Let’s get started!
What You’ll Need
Before we dive into the nitty-gritty, let’s gather our supplies. Here’s a checklist of everything you’ll need to successfully grow snap peas indoors:
* **Snap Pea Seeds:** Choose a bush variety specifically bred for smaller spaces. I personally love ‘Sugar Ann’ or ‘Bush Champion’ for indoor growing.
* **Containers:** You’ll need containers that are at least 6-8 inches deep and wide. I recommend using pots made of plastic or terracotta with drainage holes.
* **Potting Mix:** Use a high-quality, well-draining potting mix. Avoid using garden soil, as it can compact and hinder drainage.
* **Grow Lights:** Snap peas need plenty of light, so invest in a good set of grow lights. LED grow lights are energy-efficient and work wonders.
* **Trellis or Support System:** Snap peas are climbers, so you’ll need a trellis, stakes, or netting to support their growth.
* **Watering Can or Spray Bottle:** For gentle watering.
* **Optional: Seed Starting Tray:** If you prefer to start your seeds indoors before transplanting.
* **Optional: Liquid Fertilizer:** A balanced liquid fertilizer to feed your plants.
Choosing the Right Snap Pea Variety
This is crucial! Not all snap peas are created equal, especially when it comes to indoor growing. You want to choose a bush variety, which is more compact and doesn’t require as much vertical space as vining varieties.
* **Bush Varieties:** These are your best bet for indoor growing. They typically grow to about 2-3 feet tall and are more manageable in containers. ‘Sugar Ann’, ‘Bush Champion’, and ‘Snowbird’ are excellent choices.
* **Vining Varieties:** These can grow quite tall (6-8 feet or more) and require a lot of support. While you *could* grow them indoors, it’s much more challenging and requires a larger setup. I wouldn’t recommend them for beginners.
Step-by-Step Planting Guide
Okay, now for the fun part! Let’s get those snap pea seeds in the soil.
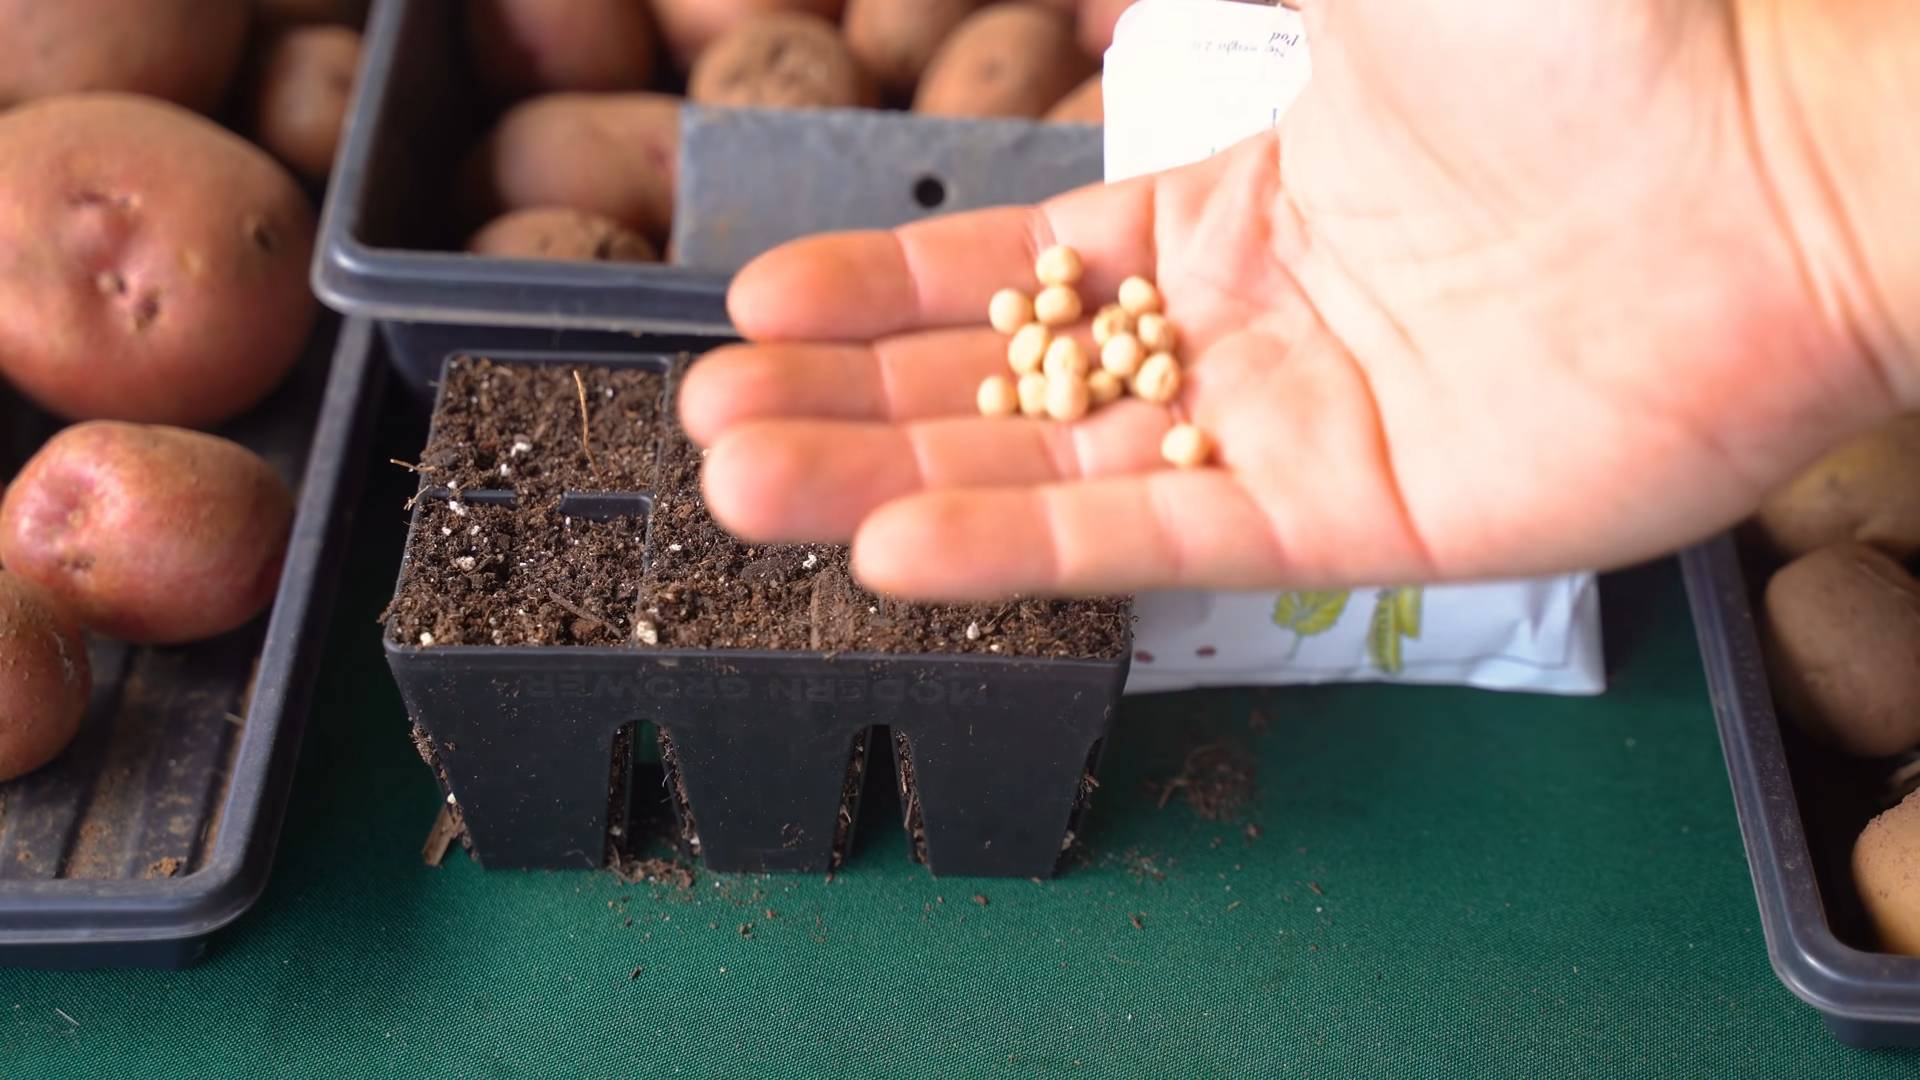
1. **Soaking the Seeds (Optional):** I like to soak my snap pea seeds in water for 24 hours before planting. This helps to soften the seed coat and speeds up germination. Just place the seeds in a small bowl of water and let them sit overnight.
2. **Preparing the Containers:** Fill your containers with the potting mix, leaving about an inch of space at the top. Gently pat down the soil to remove any air pockets.
3. **Sowing the Seeds:** Sow the snap pea seeds about 1 inch deep and 2-3 inches apart. You can plant multiple seeds in each container, but make sure they have enough space to grow.
4. **Watering:** Water the soil thoroughly after planting. You want the soil to be moist but not soggy.
5. **Placement:** Place the containers in a warm location with plenty of light. If you’re using grow lights, position them about 6-12 inches above the soil surface.
6. **Germination:** Snap pea seeds typically germinate in 7-14 days. Keep the soil consistently moist during this time.
Setting Up Your Grow Lights
Proper lighting is essential for growing healthy snap peas indoors. Here’s what you need to know about setting up your grow lights:
* **Type of Grow Lights:** LED grow lights are the most energy-efficient and produce very little heat. Fluorescent grow lights are also a good option, but they tend to generate more heat.
* **Light Spectrum:** Snap peas need a full-spectrum light, which includes both blue and red wavelengths. Blue light promotes vegetative growth (leaves and stems), while red light promotes flowering and fruiting.
* **Light Intensity:** The intensity of the light is also important. You want to provide enough light to support healthy growth, but not so much that it burns the plants.
* **Light Duration:** Snap peas need about 12-16 hours of light per day. You can use a timer to automate the lighting schedule.
* **Placement:** Position the grow lights about 6-12 inches above the soil surface. As the plants grow, you may need to adjust the height of the lights to maintain the proper distance.
Providing Support for Your Snap Peas
As your snap peas grow, they’ll need something to climb on. Here are a few options for providing support:
* **Trellis:** A trellis is a great option for indoor snap peas. You can find small trellises at most garden centers.
* **Stakes:** You can also use stakes to support your snap peas. Simply insert the stakes into the soil near the plants and tie the stems to the stakes with twine.
* **Netting:** Netting is another good option for providing support. You can attach the netting to a frame or hang it from the ceiling.
Caring for Your Indoor Snap Peas
Once your snap peas have germinated and started to grow, it’s important to provide them with proper care. Here are a few tips:
* **Watering:** Water your snap peas regularly, keeping the soil consistently moist but not soggy. Avoid overwatering, as this can lead to root rot.
* **Fertilizing:** Feed your snap peas with a balanced liquid fertilizer every 2-3 weeks. Follow the instructions on the fertilizer label.
* **Pruning:** Prune your snap peas regularly to encourage bushier growth. Pinch off the tips of the stems to promote branching.
* **Pest Control:** Keep an eye out for pests, such as aphids and spider mites. If you notice any pests, treat them with an insecticidal soap or neem oil.
* **Air Circulation:** Good air circulation is important for preventing fungal diseases. Make sure your plants have plenty of space around them and that the air is circulating freely. A small fan can help with this.
Troubleshooting Common Problems
Even with the best care, you may encounter some problems when growing snap peas indoors. Here are a few common issues and how to address them:
* **Yellowing Leaves:** This can be caused by overwatering, underwatering, or nutrient deficiencies. Check the soil moisture and adjust your watering schedule accordingly. If the leaves are yellowing due to nutrient deficiencies, fertilize your plants with a balanced liquid fertilizer.
* **Leggy Growth:** This is usually caused by insufficient light. Make sure your plants are getting enough light, either from grow lights or natural sunlight.
* **Lack of Flowers:** This can be caused by insufficient light, nutrient deficiencies, or improper temperature. Make sure your plants are getting enough light and that they are properly fertilized. Snap peas prefer cooler temperatures, so avoid placing them in a location that is too warm.
* **Pests:** Keep an eye out for pests, such as aphids and spider mites. If you notice any pests, treat them with an insecticidal soap or neem oil.
Harvesting Your Snap Peas
The moment you’ve been waiting for! Harvesting your homegrown snap peas is incredibly rewarding.
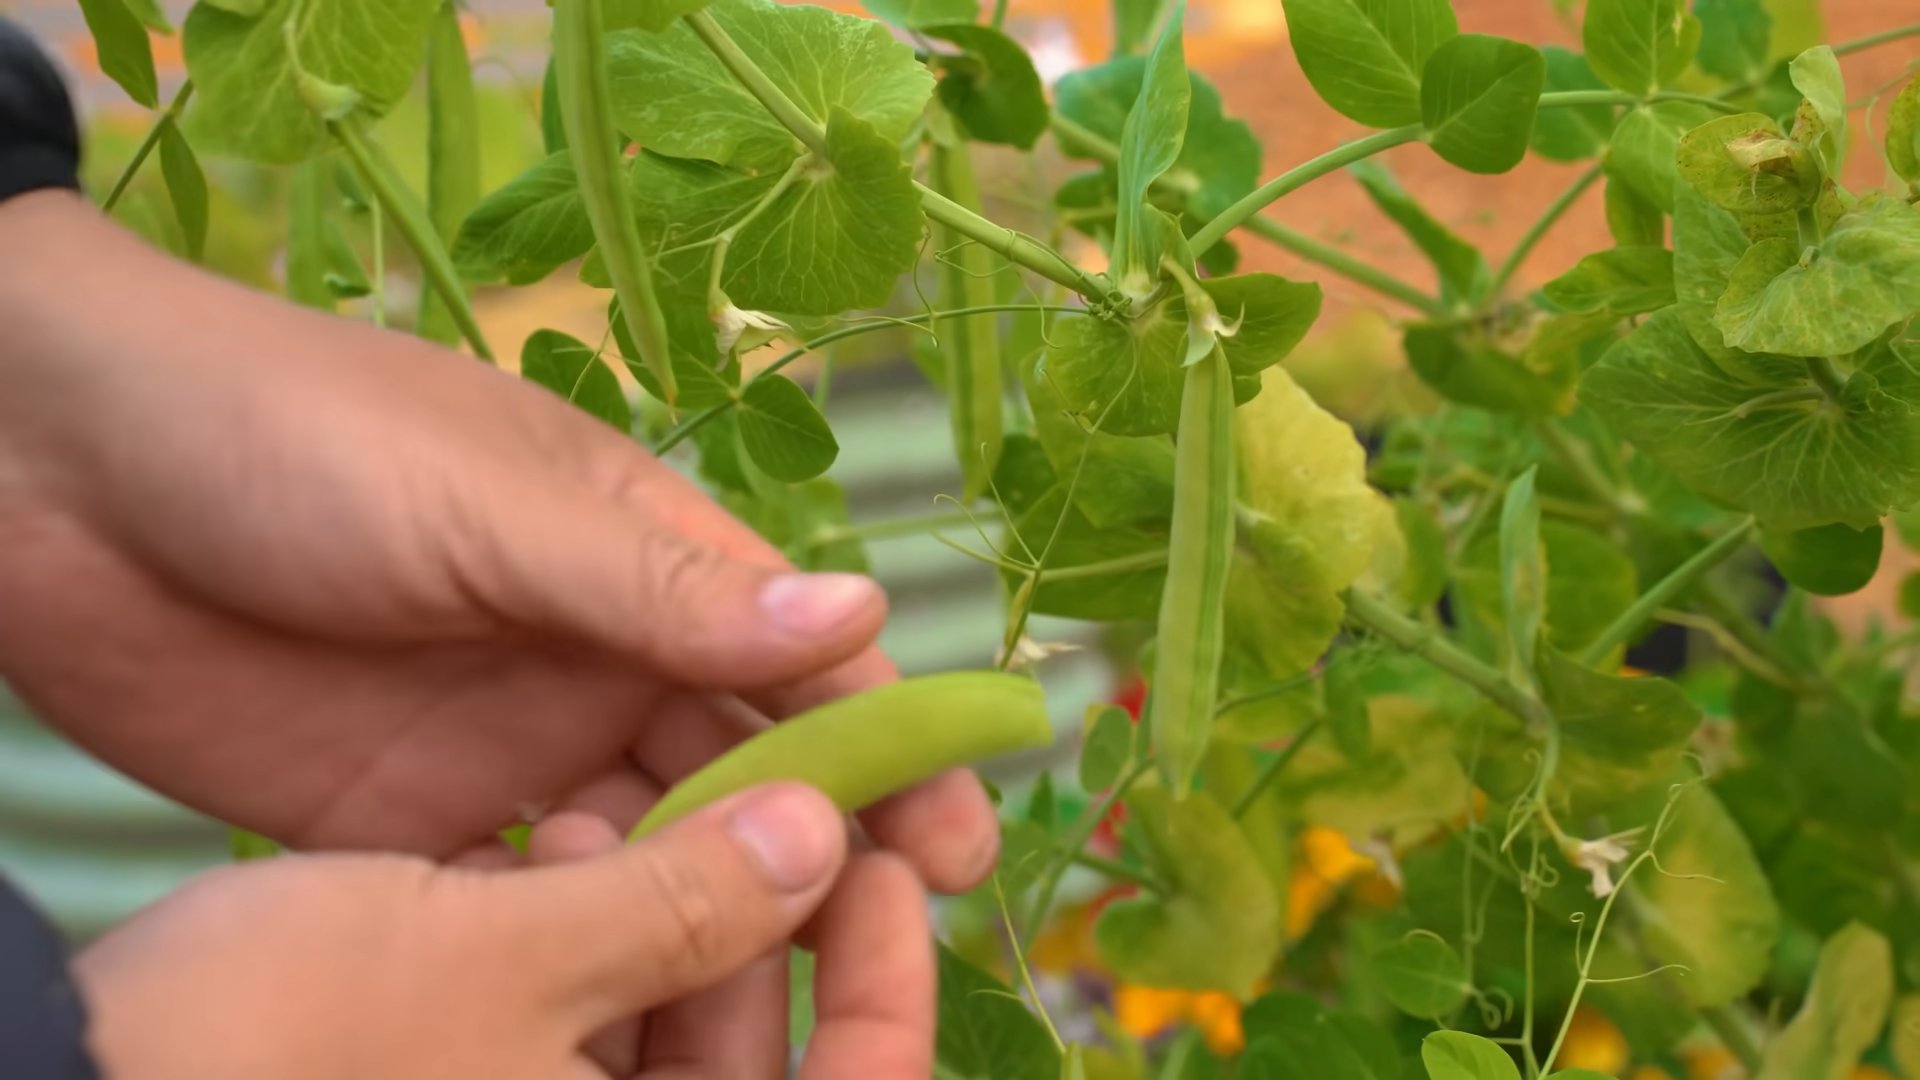
* **When to Harvest:** Snap peas are typically ready to harvest about 60-70 days after planting. The pods should be plump and filled with peas, but still tender.
* **How to Harvest:** Gently snap the pods off the plant. Avoid pulling on the plant, as this can damage it.
* **Enjoy!** Eat your snap peas fresh, or use them in salads, stir-fries, or other dishes. They’re also delicious steamed or blanched.
Extending Your Harvest
To enjoy a continuous harvest of snap peas, you can succession plant. This means planting new seeds every 2-3 weeks. This will ensure that you always have a supply of fresh snap peas.
Additional Tips for Success
* **Rotate Your Crops:** If you’re growing snap peas in the same containers year after year, it’s a good idea to rotate your crops. This helps to prevent soilborne diseases and nutrient depletion.
* **Use Organic Practices:** Whenever possible, use organic practices when growing snap peas indoors. This means using organic potting mix, organic fertilizer, and organic pest control methods.
* **Have Fun!** Growing snap peas indoors should be a fun and rewarding experience. Don’t be afraid to experiment and try new things.
Growing snap peas indoors is a fantastic way to enjoy fresh, delicious vegetables year-round. With a little bit of planning and care, you can have a thriving indoor garden that provides you with a bountiful harvest. Happy gardening!
Conclusion
So, there you have it! Cultivating your own snap peas indoors is not just a fun project; it’s a gateway to fresh, crisp, and utterly delicious produce right at your fingertips, regardless of the season. We’ve walked you through the simple steps, from selecting the right variety to providing the optimal growing environment. The beauty of this DIY trick lies in its accessibility. You don’t need acres of land or a green thumb passed down through generations. All you need is a sunny windowsill, a little patience, and the desire to enjoy the unparalleled flavor of homegrown snap peas.
Why is this a must-try? Because store-bought snap peas, while convenient, often lack the vibrant sweetness and satisfying crunch of those picked fresh from the vine. Imagine adding these homegrown gems to your salads, stir-fries, or simply enjoying them as a healthy and satisfying snack. The difference is truly remarkable. Plus, there’s an undeniable satisfaction in nurturing a plant from seed to harvest, a connection to nature that can be incredibly rewarding.
But don’t stop there! Feel free to experiment with different varieties of snap peas. ‘Sugar Ann’ is a classic choice, known for its early maturity, while ‘Super Sugar Snap’ offers larger pods and exceptional sweetness. You can also try growing them in different containers, from traditional pots to hanging baskets, to add a touch of greenery to your indoor space. Consider companion planting with herbs like basil or mint to deter pests and enhance the flavor of your snap peas. Another variation is to explore different trellising methods. While we suggested a simple bamboo stake trellis, you could also use netting or even repurpose an old ladder for a rustic, charming look.
This indoor gardening project is more than just growing vegetables; it’s about bringing a little bit of the outdoors in, fostering a connection with nature, and enjoying the unparalleled taste of fresh, homegrown produce.
We wholeheartedly encourage you to give this DIY trick a try. It’s a simple, rewarding, and delicious way to enhance your culinary experience and connect with the natural world. And most importantly, we want to hear about your experiences! Share your photos, tips, and challenges in the comments below. Let’s create a community of indoor gardeners, sharing our knowledge and inspiring each other to grow our own food, one snap pea at a time. What are you waiting for? Get planting!
Frequently Asked Questions (FAQs)
What are the best snap pea varieties for indoor growing?
Choosing the right variety is crucial for success when growing snap peas indoors. Compact, bush-type varieties are generally better suited for containers than vining types, which require extensive support. Some excellent choices include:
* **Sugar Ann:** This is a very early-maturing variety, perfect for those who want to see results quickly. It produces small, sweet pods and is well-suited for smaller containers.
* **Super Sugar Snap:** A popular choice known for its large, thick-walled pods and exceptional sweetness. It requires a bit more space than ‘Sugar Ann’ but is still manageable indoors.
* **Bush Sugar Baby:** As the name suggests, this is a compact, bush-type variety that doesn’t require trellising. It’s a great option for those with limited space.
* **Snowbird:** This is a snow pea variety, not a snap pea, but it’s often grown similarly. It produces flat, edible pods and is a good choice for those who prefer snow peas.
When selecting your seeds, be sure to check the seed packet for information on plant size, maturity time, and any specific growing requirements.
How much sunlight do indoor snap peas need?
Snap peas require at least 6-8 hours of direct sunlight per day to thrive. A south-facing window is ideal, but an east- or west-facing window can also work if supplemented with artificial light. If you don’t have access to enough natural light, consider using a grow light. Fluorescent or LED grow lights are both good options. Position the light about 6-12 inches above the plants and keep it on for 12-16 hours per day. Rotate your plants regularly to ensure that all sides receive adequate light. Lack of sufficient light can lead to leggy growth, reduced flowering, and smaller, less flavorful pods.
What type of soil is best for growing snap peas in containers?
Snap peas need well-draining soil that is rich in organic matter. A good potting mix specifically formulated for vegetables is ideal. Avoid using garden soil, as it can be too heavy and may not drain well in containers. You can also create your own potting mix by combining equal parts of:
* Peat moss or coco coir: These provide good water retention and aeration.
* Perlite or vermiculite: These improve drainage and prevent the soil from becoming compacted.
* Compost: This adds nutrients and improves soil structure.
Ensure your container has drainage holes to prevent waterlogging, which can lead to root rot.
How often should I water my indoor snap peas?
Water your snap peas regularly, keeping the soil consistently moist but not waterlogged. Check the soil moisture by sticking your finger about an inch into the soil. If it feels dry, it’s time to water. Water deeply, allowing the excess water to drain out of the bottom of the container. Avoid watering the foliage, as this can promote fungal diseases. The frequency of watering will depend on factors such as the size of the container, the type of soil, and the temperature and humidity of your home. In general, you may need to water more frequently during warmer months or when the plants are actively growing.
Do I need to fertilize my indoor snap peas?
Yes, snap peas benefit from regular fertilization, especially when grown in containers. Use a balanced, water-soluble fertilizer specifically formulated for vegetables. Follow the instructions on the fertilizer package for application rates and frequency. You can also use organic fertilizers, such as compost tea or fish emulsion. Fertilize every 2-3 weeks, starting when the plants are about 4-6 inches tall. Avoid over-fertilizing, as this can lead to excessive foliage growth and reduced pod production.
How do I support my indoor snap peas?
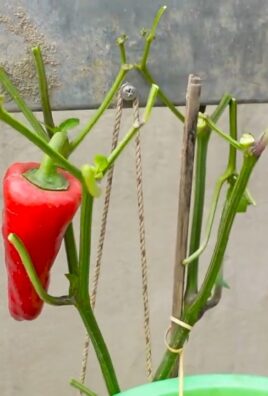
Most snap pea varieties require some form of support to climb. A simple trellis made from bamboo stakes or netting is a good option. You can also use a tomato cage or even repurpose an old ladder. Install the support system when the plants are young, so they can easily attach themselves as they grow. Gently guide the vines onto the support system and tie them loosely with twine if needed.
How long does it take to harvest snap peas?
Snap peas typically take 60-70 days to mature from seed to harvest. However, the exact time will depend on the variety, growing conditions, and the amount of sunlight they receive. You can start harvesting when the pods are plump and the peas inside are well-developed but not too large. The pods should be firm and crisp, not soft or mushy. Harvest regularly to encourage continued production.
What are some common pests and diseases that affect indoor snap peas?
While indoor plants are generally less susceptible to pests and diseases than outdoor plants, they can still be affected. Some common pests that may attack indoor snap peas include aphids, spider mites, and whiteflies. Check your plants regularly for signs of infestation and take action promptly if you notice any problems. You can often control pests by handpicking them off the plants or spraying them with insecticidal soap or neem oil. Common diseases that can affect snap peas include powdery mildew and root rot. Ensure good air circulation and avoid overwatering to prevent these diseases. If you notice any signs of disease, remove the affected leaves or plants immediately.
Can I grow snap peas indoors year-round?
Yes, with proper care and attention, you can grow snap peas indoors year-round. However, you may need to adjust your growing practices depending on the season. During the winter months, you may need to supplement with artificial light to ensure that the plants receive enough sunlight. You may also need to adjust your watering schedule, as the soil may dry out more slowly during cooler months.
Leave a Comment