
Growing Lemons From Seed might seem like a daunting task reserved for seasoned horticulturalists, but I’m here to tell you it’s a surprisingly rewarding DIY project anyone can tackle! Forget those expensive supermarket lemons – imagine plucking your own sun-kissed citrus straight from your backyard.
Citrus fruits, including lemons, have a rich history, dating back thousands of years to Southeast Asia. They weren’t just prized for their tangy flavor; lemons were also valued for their medicinal properties and even used as symbols of wealth and status. Now, you can bring a piece of that history into your own home!
Why should you bother with this DIY adventure? Well, for starters, it’s incredibly satisfying to nurture a plant from its humble beginnings. Plus, growing your own lemons allows you to control the growing environment, ensuring they’re free from harmful pesticides. More importantly, learning how to successfully growing lemons from seed is a fantastic way to connect with nature, reduce your carbon footprint, and impress your friends with your green thumb. I’m going to show you some easy-to-follow tricks and hacks that will significantly increase your chances of success, even if you’ve never grown anything before. Let’s get started!
Growing Lemons From Seed: A Zesty DIY Adventure!
Okay, lemon lovers, gather ’round! I’m going to walk you through the surprisingly rewarding process of growing your own lemon tree from seed. It’s not a quick process – patience is key – but trust me, the feeling of nurturing a tiny seed into a thriving citrus tree is absolutely worth it. Plus, you’ll have bragging rights for years to come!
What You’ll Need
Before we dive in, let’s make sure you have everything you need. This is a pretty straightforward project, but having all your supplies ready will make things much smoother.
* Lemon Seeds: Obviously! You can get these from a store-bought lemon. Choose organic lemons if possible, as they are less likely to be treated with chemicals that could inhibit germination.
* Small Pots or Seed Trays: These will be your starting point. Make sure they have drainage holes!
* Seed Starting Mix: This is crucial. Regular potting soil can be too heavy for delicate seedlings. Seed starting mix is lighter and provides better drainage.
* Clear Plastic Wrap or a Plastic Bag: To create a mini-greenhouse effect.
* Spray Bottle: For misting the soil.
* Warm, Sunny Location: Lemons love sunshine!
* Larger Pot (Eventually): You’ll need a bigger pot once your seedling outgrows its initial home.
* Well-Draining Potting Mix (For Mature Plants): This is different from seed starting mix. It needs to be richer and provide nutrients for a growing tree.
* Optional: Heat Mat: This can speed up germination, especially in cooler climates.
* Optional: Grow Light: If you don’t have a sunny spot, a grow light can be a lifesaver.
Section 1: Extracting and Preparing the Seeds
This is the first, and arguably most important, step. You want to give your seeds the best possible start.
1. Choose Your Lemon Wisely: Select a ripe, healthy-looking lemon. Organic is best to avoid any chemical treatments that might hinder germination. Look for lemons that are firm and heavy for their size.
2. Cut Open the Lemon: Carefully slice the lemon open. I prefer to cut it lengthwise, but you can cut it however you find easiest.
3. Extract the Seeds: Gently remove the seeds from the lemon. You’ll likely find a mix of plump, healthy-looking seeds and some that are smaller or shriveled. We want the plump ones!
4. Clean the Seeds: This is a crucial step! The seeds are covered in a sugary coating that can attract mold and inhibit germination. Rinse the seeds thoroughly under running water. Gently rub them between your fingers to remove any remaining pulp.
5. The Paper Towel Method (Optional, but Recommended): This step helps to pre-germinate the seeds and gives you a head start. Place the cleaned seeds on a damp (not soaking wet) paper towel. Fold the paper towel over the seeds and place it in a plastic bag or container. Seal the bag or container and place it in a warm location. Check the paper towel every day to make sure it stays damp. You should see tiny roots emerging from the seeds within a week or two.
Section 2: Planting the Seeds
Now for the fun part – getting those seeds into the soil!
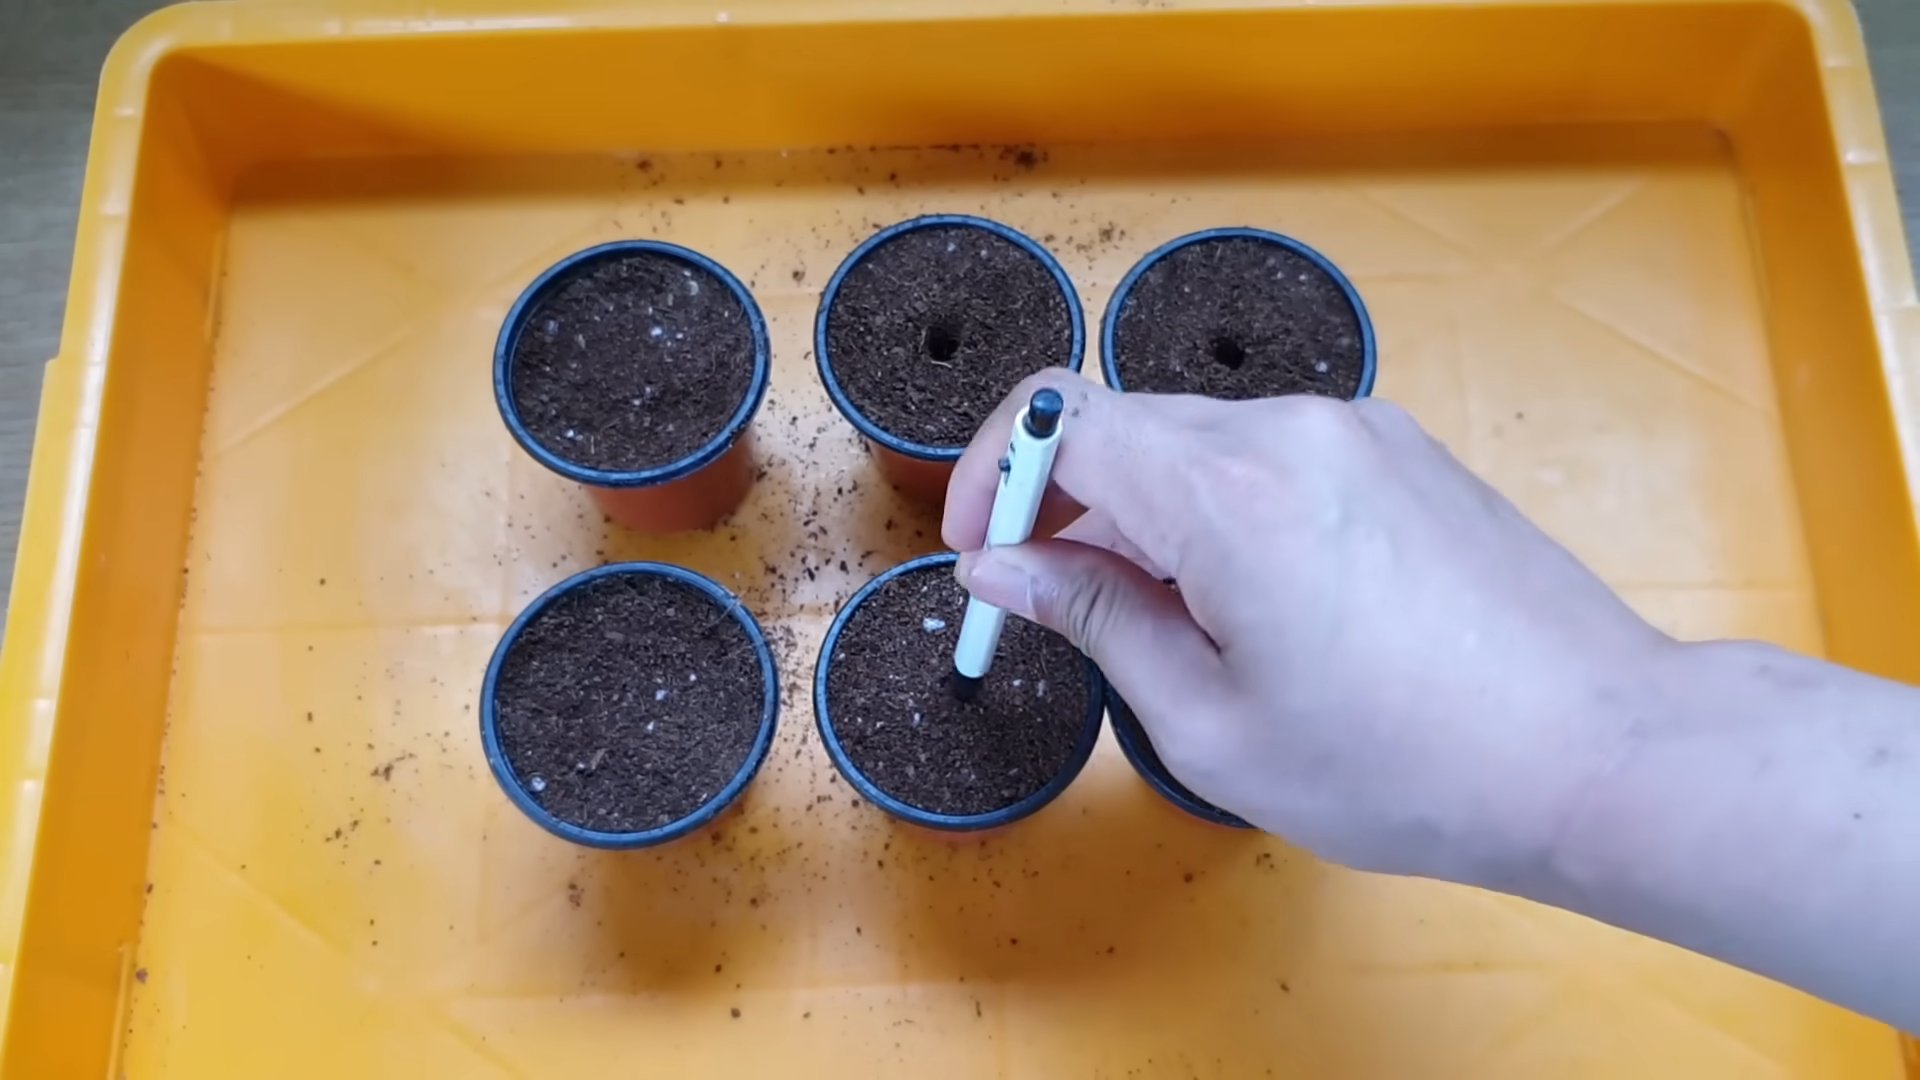
1. Prepare Your Pots or Seed Trays: Fill your small pots or seed trays with seed starting mix. Gently tap the pots to settle the mix.
2. Moisten the Soil: Use your spray bottle to thoroughly moisten the seed starting mix. You want it to be damp, but not soggy.
3. Plant the Seeds: If you pre-germinated your seeds, carefully plant them with the root facing down. If you didn’t pre-germinate, plant the seeds about ½ inch deep. I usually plant 2-3 seeds per pot to increase my chances of success.
4. Cover the Seeds: Gently cover the seeds with a thin layer of seed starting mix.
5. Create a Mini-Greenhouse: Cover the pots or seed trays with clear plastic wrap or a plastic bag. This will help to retain moisture and create a warm, humid environment that’s perfect for germination.
6. Place in a Warm, Sunny Location: Place your pots or seed trays in a warm, sunny location. If you’re using a heat mat, place the pots on the mat. If you’re using a grow light, position the light a few inches above the pots.
Section 3: Caring for Your Seedlings
This is where the real commitment begins. Consistent care is essential for healthy seedlings.
1. Monitor Moisture Levels: Check the soil moisture every day. The soil should be consistently damp, but not soggy. Use your spray bottle to mist the soil as needed. If the plastic wrap is causing condensation to drip excessively, remove it for a few hours each day to allow for some air circulation.
2. Ventilation: After a week or so, start to ventilate the mini-greenhouse by opening the plastic wrap or bag for a few hours each day. This will help to prevent fungal diseases.
3. Patience is Key: Germination can take anywhere from a few weeks to a few months, so don’t get discouraged if you don’t see sprouts right away. Just keep the soil moist and be patient!
4. Thinning (If Necessary): Once your seedlings have sprouted and have a few sets of true leaves (the leaves that look like miniature lemon leaves), you may need to thin them out. If you planted multiple seeds per pot, choose the strongest seedling and carefully snip off the others at the soil line.
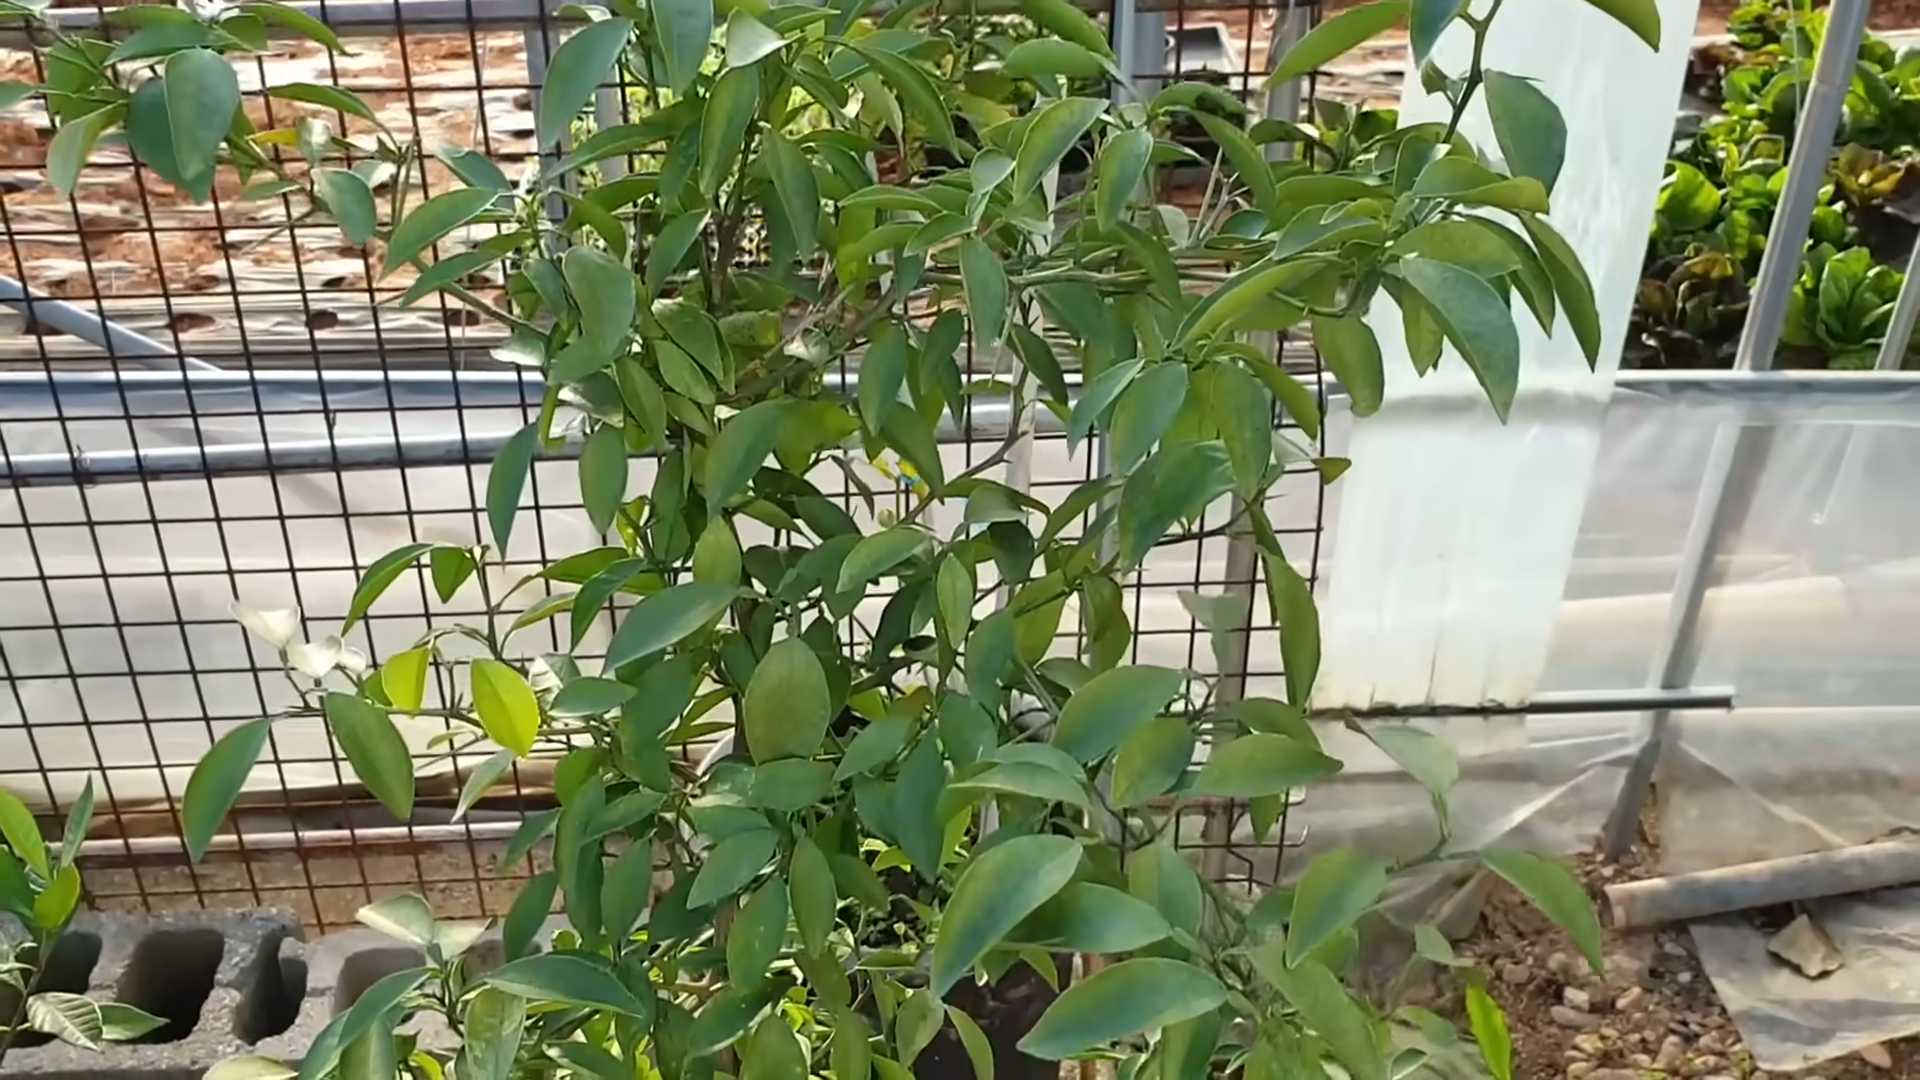
5. Gradually Acclimate to the Outdoors (If Applicable): If you’re planning to eventually plant your lemon tree outdoors, you’ll need to gradually acclimate it to the outdoor environment. Start by placing the seedlings outdoors for a few hours each day in a sheltered location. Gradually increase the amount of time they spend outdoors each day.
Section 4: Transplanting and Ongoing Care
Your seedlings are growing! Now it’s time to give them more space to thrive.
1. When to Transplant: Once your seedlings have outgrown their small pots or seed trays (usually when they’re a few inches tall and have a well-developed root system), it’s time to transplant them into larger pots.
2. Choose a Larger Pot: Select a pot that’s a few inches larger in diameter than the current pot. Make sure the pot has drainage holes!
3. Prepare the Potting Mix: Fill the larger pot with well-draining potting mix. This is different from seed starting mix. It needs to be richer and provide nutrients for a growing tree.
4. Carefully Remove the Seedling: Gently loosen the soil around the seedling and carefully remove it from its current pot. Try to avoid damaging the roots.
5. Plant the Seedling: Place the seedling in the center of the larger pot and fill in around it with potting mix. Gently pat down the soil.
6. Water Thoroughly: Water the seedling thoroughly after transplanting.
7. Ongoing Care:
* Watering: Water your lemon tree regularly, especially during hot, dry weather. Allow the soil to dry out slightly between waterings. Overwatering can lead to root rot.
* Fertilizing: Feed your lemon tree with a citrus fertilizer every few months during the growing season (spring and summer). Follow the instructions on the fertilizer label.
* Sunlight: Lemon trees need at least 6-8 hours of sunlight per day. Place your tree in a sunny location.
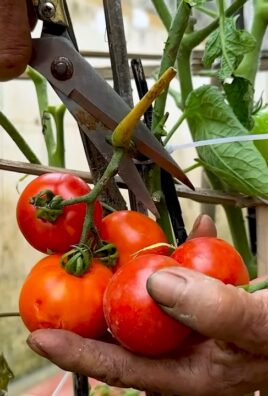
* Pruning: Prune your lemon tree to maintain its shape and remove any dead or diseased branches.
* Pest Control: Keep an eye out for pests such as aphids, scale, and spider mites. Treat any infestations promptly with an appropriate insecticide.
* Overwintering (If Applicable): If you live in a cold climate, you’ll need to bring your lemon tree indoors during the winter. Place it in a sunny location and water it sparingly.
Section 5: Important Considerations and Troubleshooting
Growing lemons from seed isn’t always a walk in the park. Here are some things to keep in mind and how to address potential problems.
* Genetic Variation: Keep in mind that lemon trees grown from seed may not produce fruit that is identical to the parent lemon. This is because seeds are a product of sexual reproduction, which introduces genetic variation. Your tree might produce lemons that are sweeter, more sour, or have a different rind texture. It’s part of the fun!
* Time to Fruiting: Lemon trees grown from seed can take several years (5-7 years or even longer) to produce fruit. Grafted lemon trees, on the other hand, typically produce fruit much sooner. Be patient!
* Lack of
Conclusion
So, there you have it! Growing lemons from seed might seem like a long game, and it is, but the rewards are well worth the wait. Not only will you have the satisfaction of nurturing a lemon tree from its very beginning, but you’ll also gain a deeper appreciation for the natural world and the incredible process of life. This DIY project is more than just planting a seed; it’s an investment in the future, a connection to nature, and a chance to cultivate something truly special.
Why is this a must-try? Because it’s accessible, educational, and ultimately, incredibly rewarding. You don’t need a sprawling orchard or a green thumb of steel to succeed. With a little patience, the right conditions, and this guide, you can embark on your own lemon-growing adventure. Imagine the pride you’ll feel when you finally harvest your first homegrown lemon, knowing you nurtured it from a tiny seed. The taste will be all the sweeter!
Consider these variations to personalize your lemon-growing journey. Experiment with different types of lemon seeds – Meyer lemons are known for their sweeter flavor, while Eureka lemons are a classic choice for their tartness. You can also explore different potting mixes to find what works best for your climate and growing conditions. Some gardeners swear by adding a bit of compost or aged manure to enrich the soil. Another fun variation is to try grafting a known lemon variety onto your seedling’s rootstock once it’s mature enough. This can speed up the fruiting process and ensure you get the specific type of lemon you desire.
Don’t be afraid to experiment and adapt the process to suit your needs and preferences. The beauty of DIY is that it’s all about learning and discovering what works best for you. Remember to document your progress, take pictures, and share your experiences with other gardening enthusiasts.
We wholeheartedly encourage you to give this DIY trick a try. It’s a fantastic project for individuals, families, and classrooms alike. It’s a hands-on way to learn about botany, patience, and the joys of gardening. Plus, you’ll be contributing to a greener planet, one lemon tree at a time.
Once you’ve embarked on your lemon-growing adventure, we’d love to hear about your experiences! Share your tips, challenges, and successes in the comments below. Let’s create a community of lemon-growing enthusiasts who can learn from each other and celebrate the fruits (pun intended!) of their labor. Remember, even if you encounter setbacks, don’t give up. Growing lemons from seed is a journey, not a race, and every step of the way is a learning opportunity. So, grab some seeds, get your hands dirty, and let’s grow some lemons together!
Frequently Asked Questions (FAQ)
How long does it take for a lemon seed to germinate?
Germination time can vary significantly depending on factors like seed viability, temperature, and moisture levels. Generally, you can expect to see sprouts emerge anywhere from two to six weeks after planting. However, some seeds may take even longer, so patience is key. Ensure the soil remains consistently moist but not waterlogged, and maintain a warm environment (around 70-75°F or 21-24°C) to encourage germination. If after eight weeks you see no signs of life, it might be worth starting with fresh seeds.
What kind of soil is best for growing lemon seedlings?
Lemon seedlings thrive in well-draining, slightly acidic soil. A good potting mix specifically formulated for citrus plants is ideal. Alternatively, you can create your own mix by combining equal parts of potting soil, perlite (or vermiculite for better water retention), and peat moss (or coconut coir as a sustainable alternative). This combination provides the necessary drainage, aeration, and nutrients for healthy root development. Avoid using heavy clay soils, as they can become waterlogged and suffocate the roots.
How much sunlight do lemon seedlings need?
Lemon seedlings require plenty of sunlight to thrive. Aim for at least six to eight hours of direct sunlight per day. If you’re growing your seedlings indoors, place them near a south-facing window where they can receive the most sunlight. You may also consider using a grow light to supplement natural light, especially during the winter months or in areas with limited sunlight. Insufficient sunlight can lead to weak, leggy growth.
How often should I water my lemon seedlings?
Water your lemon seedlings regularly, keeping the soil consistently moist but not waterlogged. The frequency of watering will depend on factors like temperature, humidity, and the type of potting mix you’re using. Check the soil moisture by inserting your finger about an inch deep. If the soil feels dry, it’s time to water. Water deeply until excess water drains out of the bottom of the pot. Avoid overwatering, as this can lead to root rot.
When should I transplant my lemon seedling to a larger pot?
Transplant your lemon seedling to a larger pot when it becomes root-bound, meaning the roots have filled the current container and are circling around the edges. This typically happens when the seedling is several inches tall and has developed a healthy root system. Gently remove the seedling from its current pot, loosen the roots slightly, and transplant it into a pot that is one or two sizes larger. Use fresh potting mix and water thoroughly after transplanting.
How long does it take for a lemon tree grown from seed to produce fruit?
This is the million-dollar question! Lemon trees grown from seed typically take anywhere from three to six years, or even longer, to produce fruit. This is because seedlings need to mature before they are capable of flowering and fruiting. Grafting a known lemon variety onto your seedling’s rootstock can significantly shorten this timeframe, potentially yielding fruit in as little as two to three years. Patience is key when growing lemons from seed, but the eventual reward of homegrown lemons is well worth the wait.
What are some common problems when growing lemon trees from seed, and how can I fix them?
Some common problems include:
* **Yellowing leaves:** This can be caused by nutrient deficiencies (especially nitrogen), overwatering, or underwatering. Ensure you’re using a balanced fertilizer and adjust your watering schedule accordingly.
* **Leaf drop:** This can be caused by sudden changes in temperature, humidity, or light levels. Try to maintain a stable environment for your seedlings.
* **Pests:** Common pests include aphids, spider mites, and scale. Inspect your seedlings regularly and treat any infestations promptly with insecticidal soap or neem oil.
* **Root rot:** This is caused by overwatering and poor drainage. Ensure your potting mix is well-draining and avoid letting the soil stay soggy.
Can I grow a lemon tree from seed indoors permanently?
Yes, you can grow a lemon tree from seed indoors permanently, but it requires careful attention to its needs. Ensure it receives adequate sunlight (or supplemental grow lights), maintain proper humidity levels, and provide regular fertilization. You may also need to prune the tree to control its size and shape. Keep in mind that indoor lemon trees may not produce as much fruit as those grown outdoors.
What kind of fertilizer should I use for my lemon seedlings?
Use a balanced citrus fertilizer that contains nitrogen, phosphorus, and potassium, as well as micronutrients like iron, zinc, and manganese. Follow the instructions on the fertilizer label for application rates and frequency. Fertilize your seedlings regularly during the growing season (spring and summer) and reduce or stop fertilizing during the dormant season (fall and winter).
Is it necessary to graft my lemon seedling?
Grafting is not strictly necessary, but it is highly recommended if you want to speed up the fruiting process and ensure you get a specific type of lemon. Grafting involves attaching a cutting (scion) from a known lemon variety onto the rootstock of your seedling. This allows the seedling to benefit from the established fruiting characteristics of the scion. If you choose not to graft, be prepared to wait several years for your seedling to produce fruit, and the fruit may not be exactly the same as the lemon you originally took the seeds from.

Leave a Comment