
Growing Potatoes in Bags: Imagine harvesting a bounty of fresh, homegrown potatoes right from your patio or balcony! It sounds like a dream, right? Well, it doesn’t have to be. Forget sprawling gardens and back-breaking digging. I’m here to show you a simple, space-saving, and incredibly rewarding method: growing potatoes in bags!
The history of potato cultivation is rich and fascinating, dating back thousands of years to the Andes Mountains. While our ancestors relied on traditional farming methods, we’re now embracing innovative techniques like bag gardening to make fresh produce accessible to everyone, regardless of their living situation. This DIY approach is a modern twist on an ancient staple.
Why should you try this? Well, for starters, it’s perfect for urban dwellers with limited space. Plus, it’s a fantastic way to control the soil quality and prevent common potato pests and diseases. But the real magic lies in the ease of harvesting. No more digging around in the dirt, hoping to unearth hidden treasures. With bag gardening, you simply tip the bag and collect your delicious, homegrown potatoes. I’m excited to share these simple steps with you, so you can start growing potatoes in bags and enjoy the taste of fresh, homegrown goodness!
Growing Potatoes in Bags: A Gardener’s Guide to Bountiful Harvests
Hey there, fellow gardening enthusiasts! I’m so excited to share one of my favorite gardening hacks with you: growing potatoes in bags! It’s a fantastic way to get a great potato harvest, even if you don’t have a lot of space. Plus, it’s super satisfying to watch those spuds grow and then easily harvest them. Let’s dive in!
Why Grow Potatoes in Bags?
Before we get started, let’s quickly cover why this method is so awesome:
* Space-Saving: Perfect for balconies, patios, or small gardens.
* Easy Harvesting: No more digging around in the dirt! Just tip the bag over.
* Control Over Soil: You can create the perfect growing environment.
* Reduced Pests and Diseases: Growing in bags can minimize soil-borne issues.
* Fun and Educational: A great project for kids and adults alike!
What You’ll Need
Alright, let’s gather our supplies. Here’s what you’ll need to get started:
* Large Bags: I recommend using heavy-duty gardening bags, burlap sacks, or even strong trash bags (make sure they’re dark-colored to block light). Aim for bags that are at least 2 feet wide and 2 feet tall. The bigger, the better!
* Seed Potatoes: These are potatoes specifically grown for planting. You can find them at your local garden center or online. Choose varieties that are suited to your climate.
* Potting Mix: A good quality potting mix is essential. Avoid using garden soil, as it can compact too much in the bags. I like to use a mix of compost, peat moss (or coconut coir), and perlite.
* Fertilizer: A slow-release fertilizer formulated for vegetables will give your potatoes a boost.
* Watering Can or Hose: For keeping your potatoes well-hydrated.
* Scissors or Knife: For cutting drainage holes in the bags.
* Optional: A trowel or small shovel for moving soil.
Step-by-Step Instructions: Planting Your Potatoes
Okay, let’s get our hands dirty! Here’s how to plant your seed potatoes in bags:
1. Prepare the Bags:
* First, grab your bags and carefully cut several drainage holes in the bottom. This is crucial to prevent waterlogging, which can rot your potatoes. I usually make about 6-8 holes, spaced evenly.
* Next, if you’re using a flimsy bag, consider placing it inside a sturdier container for extra support. This will prevent the bag from collapsing as the soil gets heavier.
2. Prepare the Seed Potatoes:
* A few weeks before planting, you’ll want to “chit” your seed potatoes. This means encouraging them to sprout. Place them in a cool, bright location (but not direct sunlight) for a week or two. You’ll see small green sprouts, called “eyes,” starting to emerge.
* If your seed potatoes are large (bigger than an egg), you can cut them into smaller pieces, making sure each piece has at least one or two “eyes.” Let the cut pieces dry for a day or two before planting to prevent rotting.
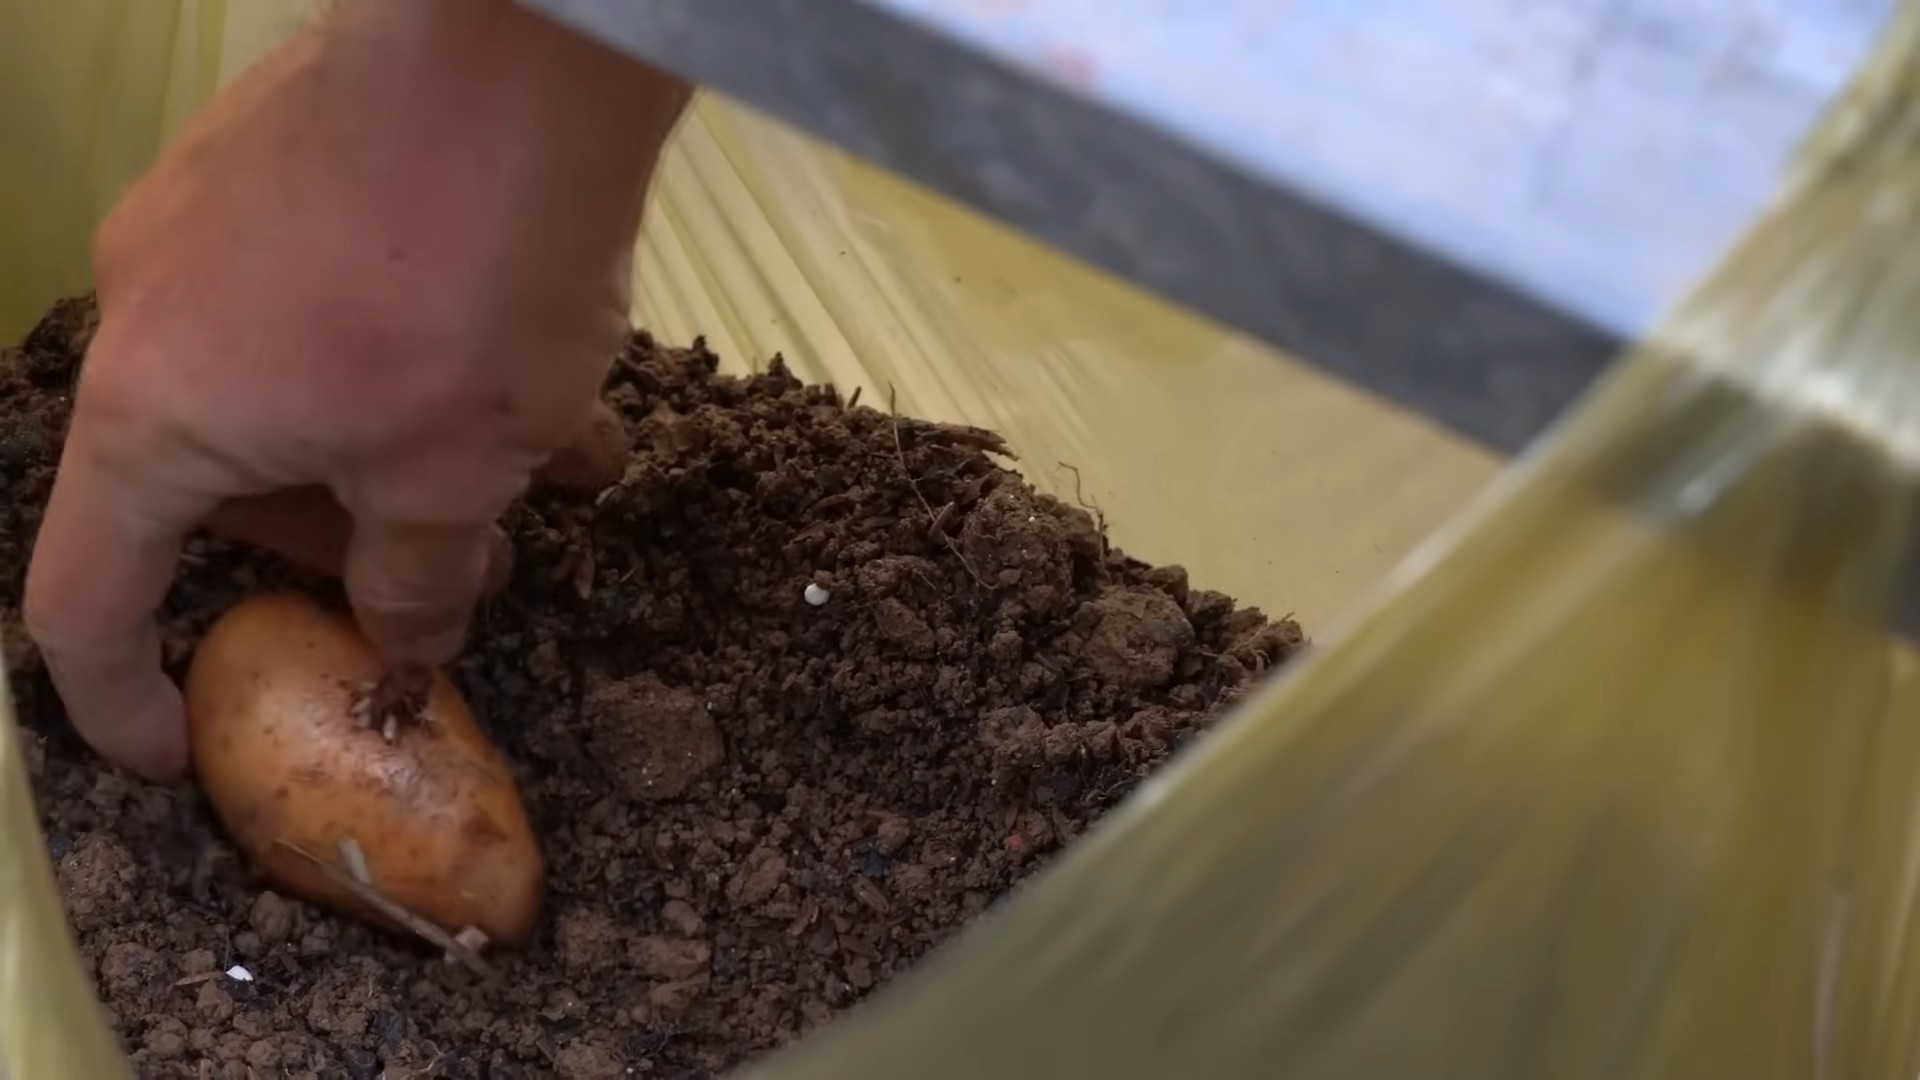
3. Initial Planting:
* Now, it’s time to add the soil. Pour about 4-6 inches of your potting mix into the bottom of each bag.
* Place 2-3 seed potato pieces (or whole small seed potatoes) on top of the soil, spacing them evenly.
* Cover the potatoes with another 4-6 inches of potting mix.
* Water the soil thoroughly until it’s moist but not soggy.
The Hilling Process: Encouraging More Potatoes
This is where the magic happens! “Hilling” is the process of adding more soil to the bag as the potato plants grow. This encourages the plants to produce more potatoes along the buried stem.
1. Wait for Growth:
* Be patient! It will take a few weeks for the potato plants to emerge from the soil. Once they reach about 6-8 inches tall, it’s time to start hilling.
2. Add More Soil:
* Carefully add more potting mix to the bag, covering the stems of the potato plants, leaving only the top few leaves exposed.
* Water the soil thoroughly after each hilling.
3. Repeat the Process:
* Continue hilling every 2-3 weeks as the plants grow taller. Keep adding soil until you reach the top of the bag.
* The more of the stem you bury, the more potatoes you’ll get!
Caring for Your Potato Plants
Now that your potatoes are planted and growing, here’s how to keep them happy and healthy:
1. Watering:
* Potatoes need consistent moisture, especially during flowering and tuber formation. Water deeply whenever the top inch of soil feels dry to the touch.
* Avoid overwatering, as this can lead to rot. Make sure the bags have good drainage.
2. Fertilizing:
* Feed your potato plants every 2-3 weeks with a balanced liquid fertilizer or a slow-release fertilizer. Follow the instructions on the fertilizer package.
* Potatoes are heavy feeders, so don’t be afraid to give them a good dose of nutrients.
3. Sunlight:
* Potatoes need at least 6-8 hours of sunlight per day. Place your bags in a sunny location.
4. Pest Control:
* Keep an eye out for pests like aphids, potato beetles, and flea beetles. If you spot any pests, treat them with an appropriate insecticide or organic pest control method.
* I like to use neem oil as a natural pest repellent.
5. Disease Prevention:
* Good air circulation can help prevent fungal diseases. Avoid overcrowding the bags and make sure the plants have plenty of space to breathe.
* If you notice any signs of disease, such as yellowing leaves or spots, treat them promptly with a fungicide.
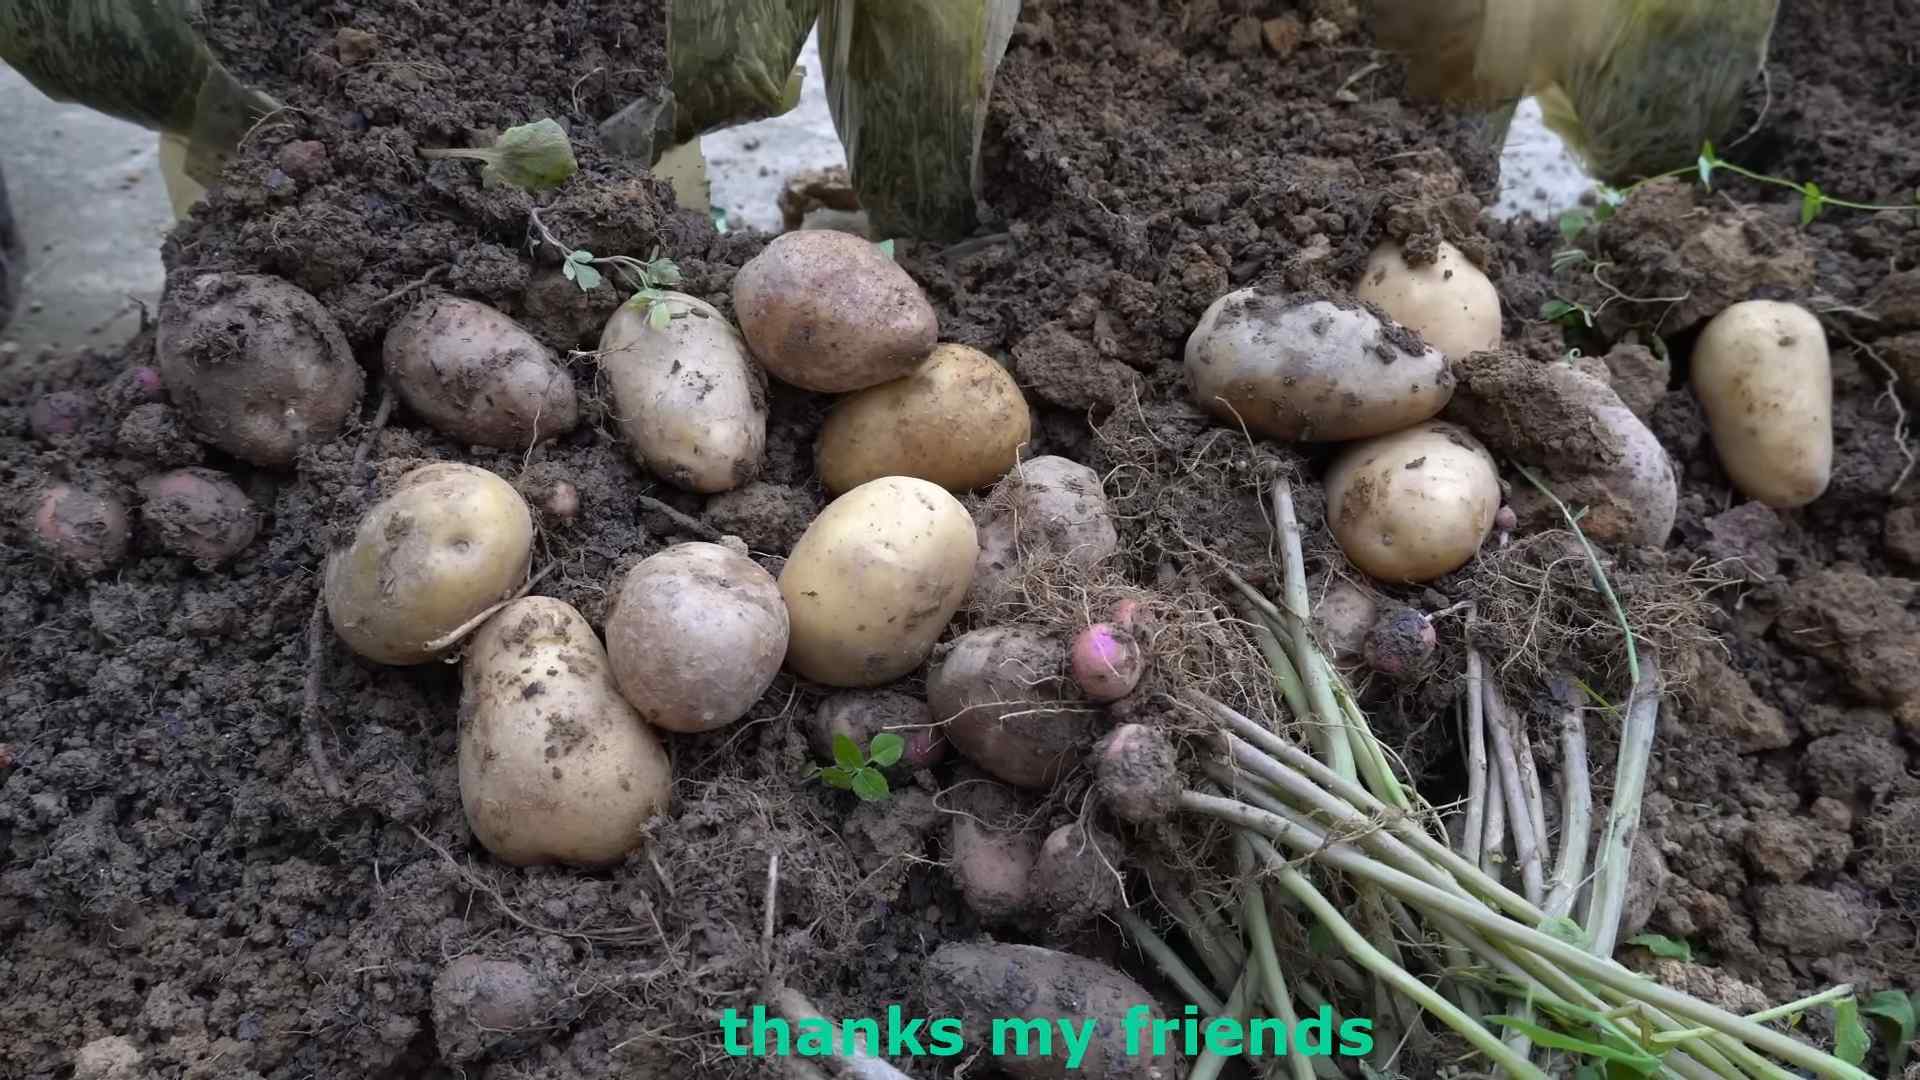
Harvesting Your Potatoes
The best part! Harvesting your homegrown potatoes is incredibly rewarding.
1. When to Harvest:
* You can harvest “new potatoes” (small, tender potatoes) about 2-3 weeks after the plants flower. These are delicious boiled or roasted.
* For mature potatoes, wait until the plants start to die back and the foliage turns yellow or brown. This usually takes about 80-100 days from planting.
2. Harvesting:
* The beauty of growing potatoes in bags is how easy it is to harvest! Simply tip the bag over and gently sift through the soil to find your potatoes.
* You can also reach into the bag and carefully pull out the potatoes, leaving the plant in place to continue producing.
3. Curing and Storing:
* After harvesting, let the potatoes dry in a cool, dark place for a few days to cure. This will help them develop a thicker skin and store longer.
* Store your cured potatoes in a cool, dark, and well-ventilated place, such as a root cellar or basement. Avoid storing them in the refrigerator, as this can cause them to turn sweet.
Troubleshooting
Even with the best planning, sometimes things don’t go exactly as expected. Here are a few common issues and how to address them:
* No Potatoes: This could be due to several factors, including poor soil, lack of sunlight, overwatering, or underwatering. Make sure you’re providing the right conditions for your potatoes to thrive.
* Small Potatoes: Small potatoes can be caused by overcrowding, lack of nutrients, or harvesting too early. Give your plants plenty of space, fertilize regularly, and wait until the plants are mature before harvesting.
* Rotting Potatoes: Rotting potatoes are usually caused by overwatering or poor drainage. Make sure your bags have good drainage and avoid overwatering.
* Pests and Diseases: As mentioned earlier, keep an eye out for pests and diseases and treat them promptly.
Potato Varieties to Consider
Choosing the right potato variety is crucial for success. Here are a few popular options:
* Yukon Gold: A classic all-purpose potato with a buttery flavor.
* Red Pontiac: A red-skinned potato that’s great for boiling and roasting.
* Kennebec: A versatile potato that’s good for baking, frying, and mashing.
* Fingerling Potatoes: These small, elongated potatoes have a unique flavor and texture.
Final Thoughts
Growing potatoes in bags is a rewarding and fun gardening project that anyone can do. With a little bit of care and attention,
Conclusion
So, there you have it! Growing potatoes in bags is not just a gardening trend; it’s a game-changer for anyone, regardless of space or experience. This method offers a surprisingly high yield from a small footprint, making it perfect for balconies, patios, or even just a sunny corner of your yard. Forget back-breaking digging and endless weeding – this approach simplifies the entire process, allowing you to enjoy the satisfaction of harvesting your own homegrown potatoes with minimal effort.
But why is this DIY trick a must-try? Beyond the convenience, growing potatoes in bags gives you unparalleled control over the growing environment. You can easily move your potato plants to chase the sun, protect them from unexpected frosts, and ensure they receive the perfect amount of water and nutrients. This level of control translates to healthier plants and a more abundant harvest. Plus, the thrill of unearthing those buried treasures – those delicious, freshly grown potatoes – is an experience that store-bought spuds simply can’t replicate.
Ready to take your potato game to the next level? Consider these variations to personalize your growing experience:
* Experiment with different potato varieties: From classic Russets to vibrant Yukon Golds or even fingerling potatoes, each variety offers a unique flavor and texture. Try a few different kinds to discover your favorites.
* Add companion plants: Marigolds can help deter pests, while basil can improve the flavor of your potatoes. Planting these alongside your potato plants can create a thriving and mutually beneficial ecosystem.
* Get creative with your containers: While burlap sacks are a popular choice, you can also use plastic grow bags, large buckets, or even repurposed containers like old tires (just be sure to drill drainage holes!).
* Try different soil mixes: While a standard potting mix works well, you can also experiment with adding compost, peat moss, or other amendments to create a custom blend that suits your specific potato variety.
Ultimately, the best way to discover the magic of growing potatoes in bags is to simply give it a try. It’s an incredibly rewarding experience that connects you to the food you eat and provides a delicious and sustainable source of fresh produce. We are confident that you will find this method to be both easy and productive.
Don’t be intimidated by the prospect of gardening. This is a simple and fun project that anyone can undertake. So, grab a bag, some seed potatoes, and get ready to experience the joy of harvesting your own homegrown goodness.
We’re eager to hear about your experiences! Share your photos, tips, and triumphs in the comments below. Let’s build a community of bag-grown potato enthusiasts and inspire others to discover the joys of this simple and rewarding gardening technique. Happy growing!
Frequently Asked Questions (FAQ)
What kind of potatoes should I use for growing potatoes in bags?
You’ll want to use seed potatoes, which are potatoes specifically grown for planting. These are different from the potatoes you buy at the grocery store, as they are certified disease-free and have multiple “eyes” (buds) from which new plants will sprout. You can find seed potatoes at most garden centers or online retailers. Popular varieties for bag growing include Yukon Gold, Russet, Red Pontiac, and fingerling potatoes. Experiment to find your favorite!
How big of a bag do I need for growing potatoes in bags?
A good rule of thumb is to use a bag that is at least 2 feet in diameter and 2 feet deep. This will provide enough space for the potato plants to grow and produce a decent yield. You can use burlap sacks, plastic grow bags, large buckets, or even repurposed containers like old tires (just be sure to drill drainage holes!). The larger the bag, the more potatoes you’ll likely harvest.
What kind of soil should I use for growing potatoes in bags?
A well-draining potting mix is ideal for growing potatoes in bags. You can use a commercially available potting mix or create your own by combining equal parts of compost, peat moss (or coconut coir), and perlite or vermiculite. Avoid using garden soil, as it can be too heavy and compact, which can hinder drainage and root growth. Good drainage is crucial to prevent the potatoes from rotting.
How often should I water my potato plants in bags?
Water your potato plants regularly, especially during hot and dry weather. The soil should be consistently moist but not waterlogged. Check the soil moisture by sticking your finger about an inch into the soil. If it feels dry, it’s time to water. Avoid overwatering, as this can lead to root rot.
How much sunlight do potato plants need when growing potatoes in bags?
Potato plants need at least 6-8 hours of direct sunlight per day to thrive. Choose a sunny location for your bags where they will receive plenty of sunlight. If you live in a particularly hot climate, you may want to provide some afternoon shade to prevent the plants from overheating.
How do I “hill” the potatoes in the bag?
“Hilling” is the process of adding more soil to the bag as the potato plants grow. This encourages the plants to produce more potatoes along the buried stem. When the potato plants are about 6 inches tall, add more soil to the bag, covering the lower portion of the stems, leaving only the top few leaves exposed. Repeat this process every few weeks as the plants grow, until the bag is almost full.
When do I harvest my potatoes from the bags?
You can start harvesting “new potatoes” (small, immature potatoes) about 2-3 weeks after the plants flower. To harvest new potatoes, simply reach into the bag and carefully remove a few potatoes without disturbing the rest of the plant. For a full harvest of mature potatoes, wait until the plants have flowered and the foliage begins to die back. This usually takes about 80-100 days from planting. Once the foliage has died back, stop watering the plants and let the potatoes cure in the soil for a week or two before harvesting.
How do I store my harvested potatoes?
Store your harvested potatoes in a cool, dark, and dry place. A root cellar is ideal, but a basement or garage can also work. Avoid storing potatoes in the refrigerator, as this can cause them to develop a sweet taste. Properly stored potatoes can last for several months.
What are some common problems when growing potatoes in bags and how do I fix them?
Some common problems include pests like aphids and potato beetles, diseases like blight, and nutrient deficiencies. Regularly inspect your plants for signs of pests or diseases and take appropriate action. You can use organic pesticides or fungicides to control pests and diseases. Ensure your plants are receiving adequate nutrients by fertilizing them regularly with a balanced fertilizer.
Can I reuse the soil from my potato bags?
It’s generally not recommended to reuse the soil from your potato bags for growing potatoes again, as it may contain disease pathogens or pests that could affect future crops. However, you can reuse the soil for other plants, such as flowers or vegetables that are not susceptible to the same diseases. Be sure to amend the soil with compost or other organic matter to replenish nutrients.

Leave a Comment