
Growing potatoes in bags is a game-changer for anyone dreaming of a bountiful harvest, regardless of garden size! Imagine plucking fresh, earthy potatoes straight from your patio or balcony – it’s easier than you think. Forget sprawling garden beds; this DIY method brings the farm to you.
For centuries, potatoes have been a staple food, nourishing communities worldwide. From the Andean highlands, where they were first cultivated, to the tables of Europe and beyond, potatoes have a rich history. Now, you can participate in this legacy, even without acres of land.
Why should you try growing potatoes in bags? Well, traditional potato farming can be labor-intensive and space-consuming. But this method is perfect for urban dwellers, apartment residents, or anyone with limited gardening space. Plus, it offers excellent drainage and temperature control, leading to healthier, more productive plants. I’m excited to share these simple yet effective tricks that will have you harvesting your own homegrown potatoes in no time. Let’s dive in and discover the secrets to successful growing potatoes in bags!
Growing Potatoes in Bags: A Gardener’s Guide
Hey there, fellow gardening enthusiasts! I’m so excited to share one of my favorite gardening hacks with you: growing potatoes in bags! It’s a fantastic way to cultivate a bountiful harvest, even if you’re short on space or have less-than-ideal soil. Plus, it’s incredibly rewarding to dig into a bag and unearth your own homegrown potatoes. Let’s get started!
Why Grow Potatoes in Bags?
Before we dive into the how-to, let’s talk about why this method is so awesome:
* Space-Saving: Perfect for balconies, patios, or small gardens.
* Control Over Soil: You can create the ideal growing environment.
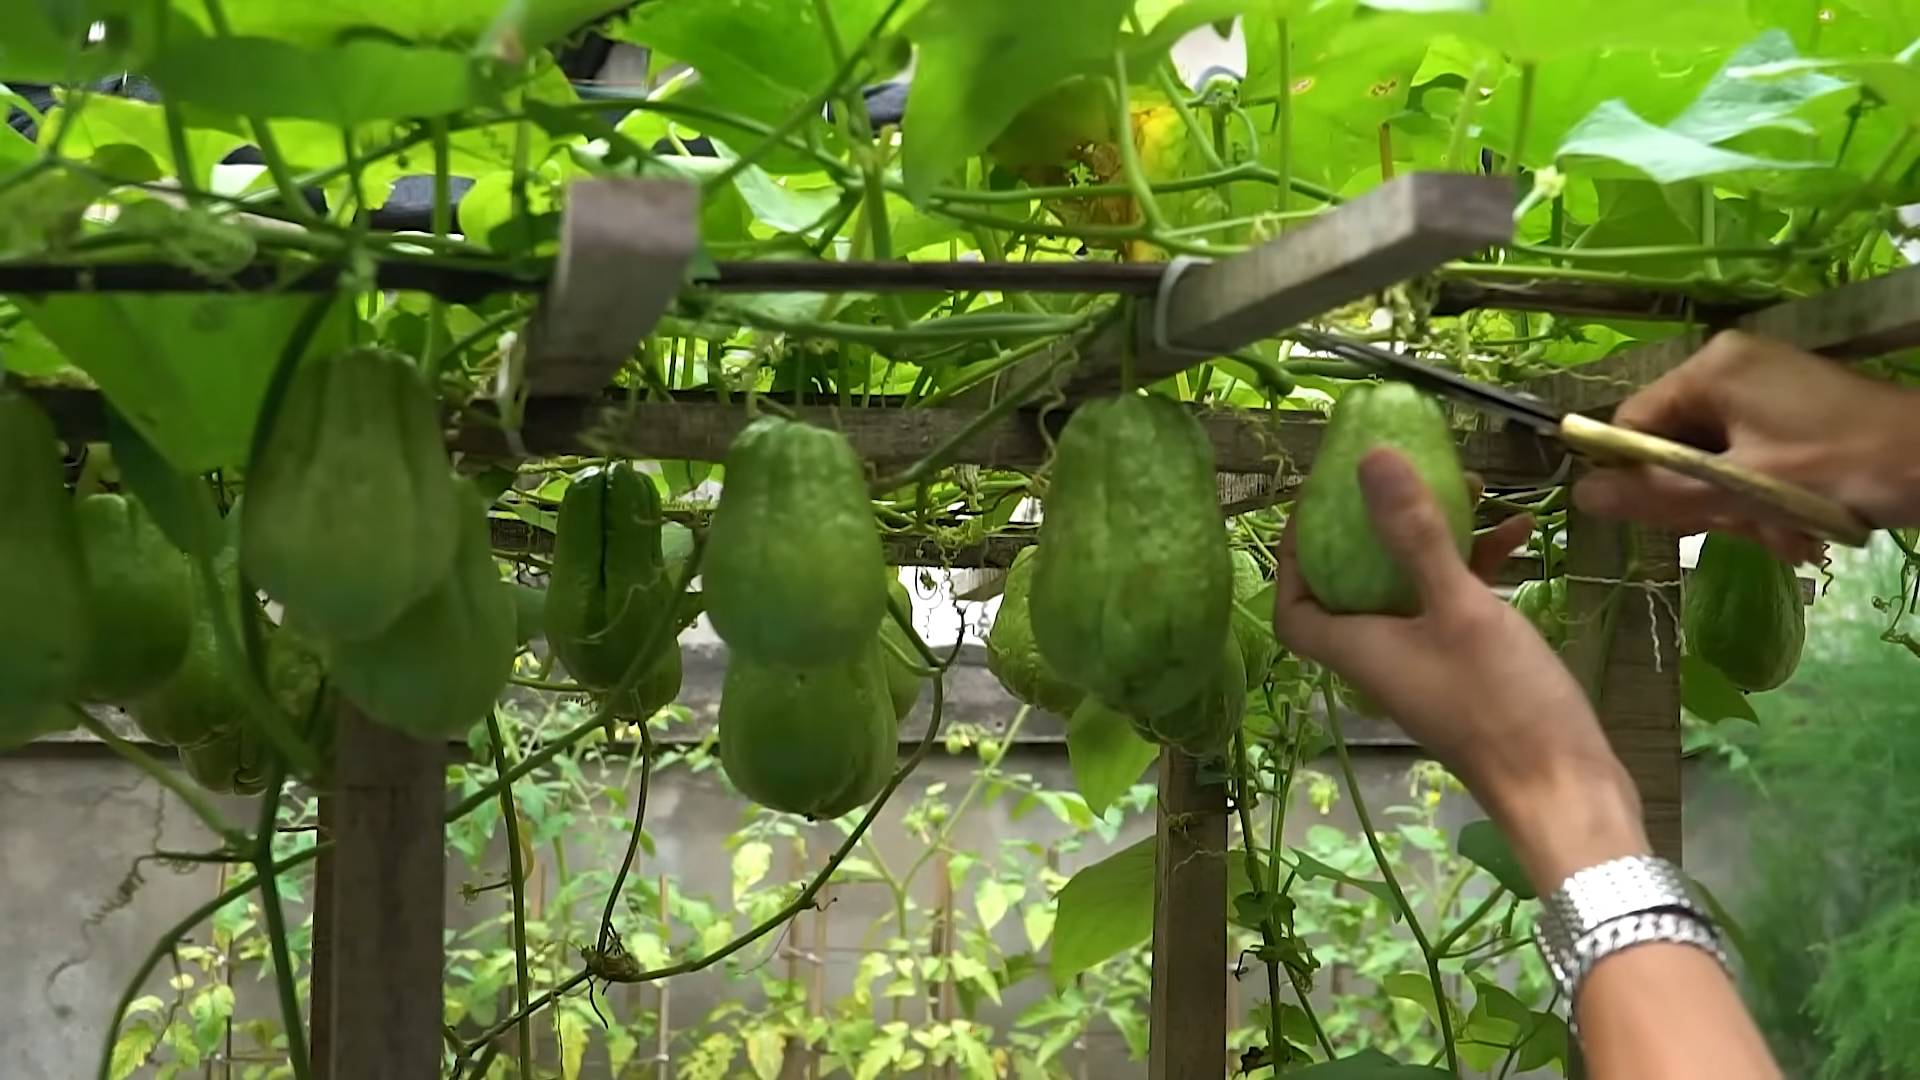
* Easy Harvesting: No more digging around in the ground! Just tip the bag over.
* Pest and Disease Control: Easier to monitor and manage potential problems.
* Fun and Educational: A great project for kids and adults alike.
What You’ll Need
Here’s a list of everything you’ll need to embark on your potato-growing adventure:
* Large Bags: Burlap sacks, heavy-duty garbage bags (dark-colored), or specialized potato grow bags (fabric pots) work great. Aim for at least 15-20 gallon capacity.
* Seed Potatoes: These are potatoes specifically grown for planting. You can find them at garden centers or online. Choose certified disease-free varieties.
* Potting Mix: A well-draining mix is crucial. I like to use a blend of compost, peat moss (or coco coir), and perlite or vermiculite.
* Fertilizer: A balanced slow-release fertilizer (10-10-10) or organic fertilizer will provide essential nutrients.
* Watering Can or Hose: For keeping your potatoes hydrated.
* Trowel or Small Shovel: For planting and adding soil.
* Sunny Location: Potatoes need at least 6-8 hours of sunlight per day.
Step-by-Step Instructions: Planting Your Potatoes
Now for the fun part! Let’s get those potatoes in the bags.
1. Prepare Your Seed Potatoes: A week or two before planting, place your seed potatoes in a cool, bright location to encourage “chitting” or sprouting. You’ll see small green sprouts (eyes) emerging from the potato. This gives them a head start. If your seed potatoes are large, you can cut them into smaller pieces, ensuring each piece has at least 2-3 eyes. Let the cut pieces dry for a day or two to callous over, which helps prevent rot.
2. Prepare Your Bags: If you’re using burlap sacks or garbage bags, make sure to poke some drainage holes in the bottom. This is essential to prevent waterlogging, which can lead to potato rot. Fabric grow bags naturally provide drainage.
3. Add Initial Soil Layer: Fill the bag with about 4-6 inches of your potting mix. Mix in a handful of slow-release fertilizer according to the package directions.
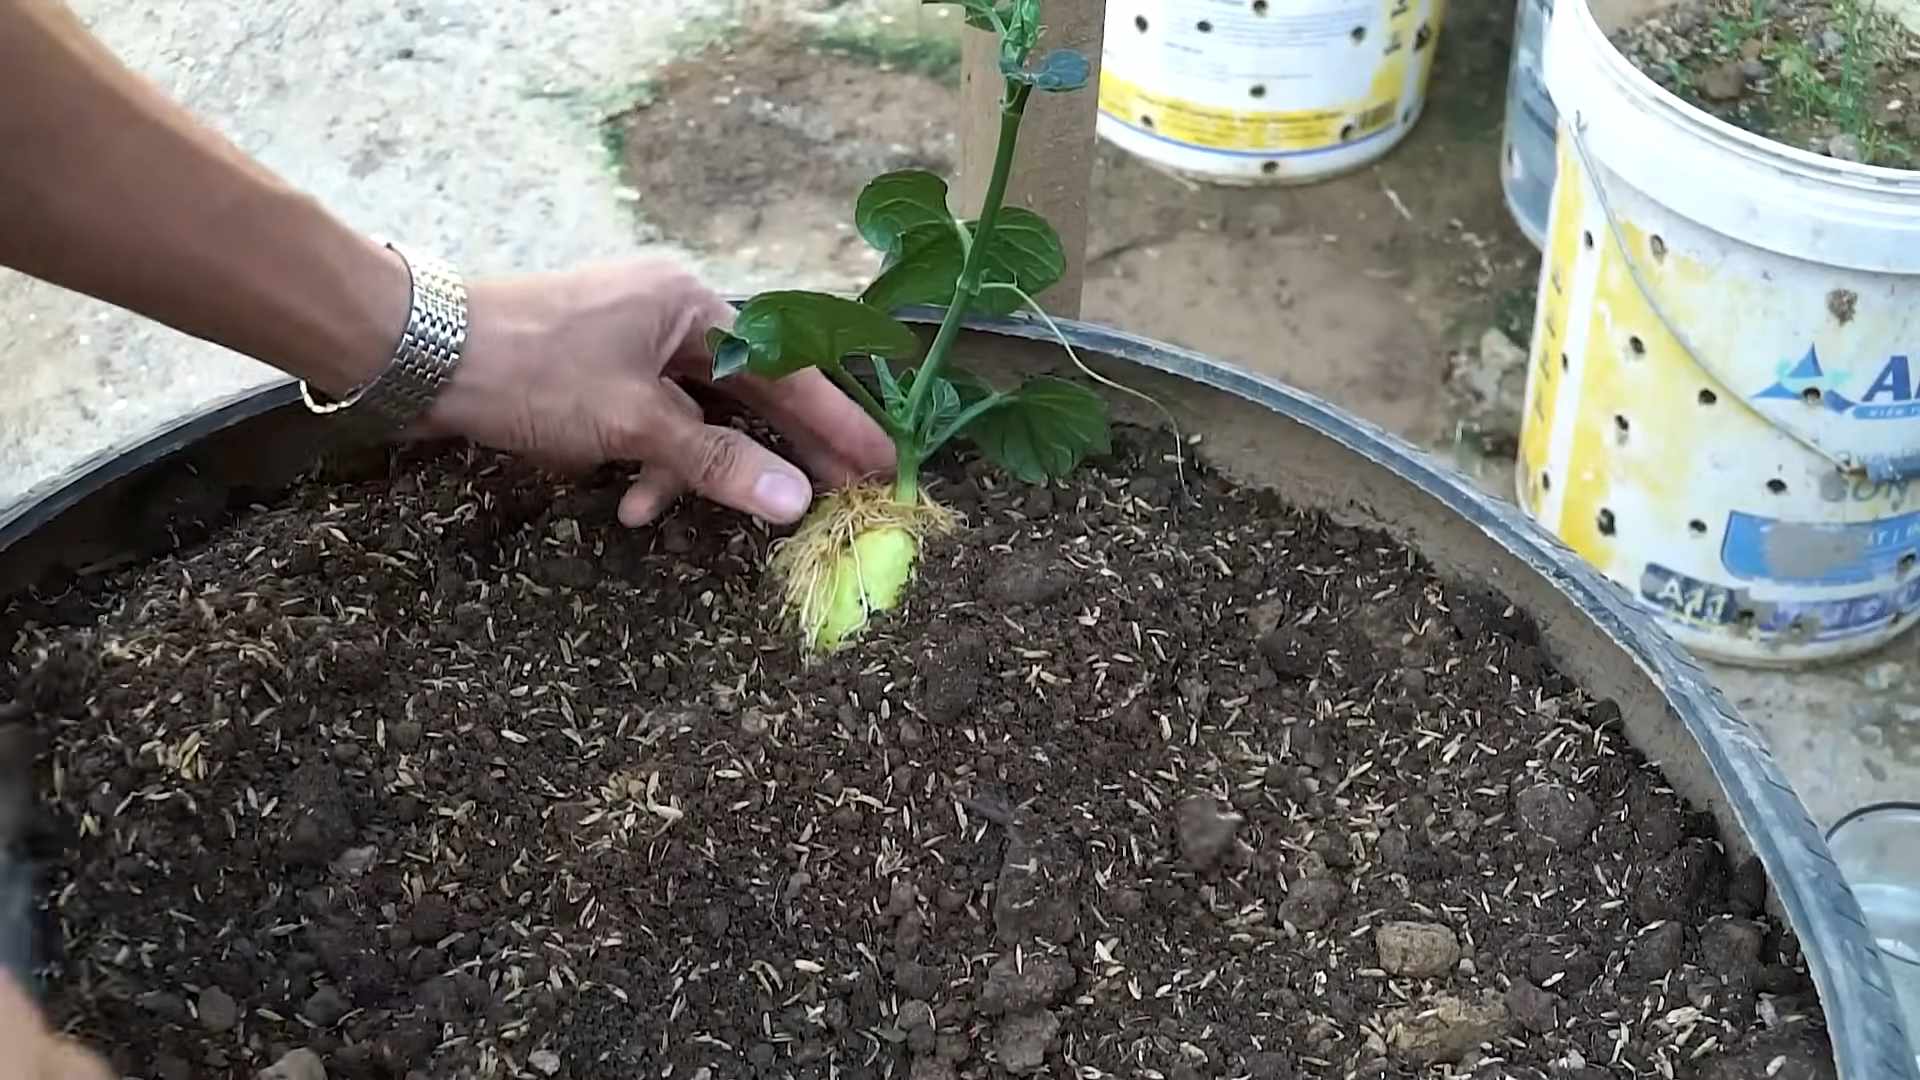
4. Plant the Seed Potatoes: Place 2-3 seed potato pieces (or whole small seed potatoes) on top of the soil, with the sprouts facing upwards. Space them evenly apart.
5. Cover with Soil: Cover the seed potatoes with another 3-4 inches of potting mix. Gently water the soil until it’s moist but not soggy.
6. Place in a Sunny Location: Move your bag to a spot that receives at least 6-8 hours of direct sunlight per day.
Step-by-Step Instructions: The “Hilling” Process
This is where the magic happens! “Hilling” is the process of adding more soil as the potato plants grow. This encourages the plant to produce more potatoes along the buried stem.
1. Wait for Sprouts to Emerge: In a week or two, you’ll see green shoots emerging from the soil.
2. Add More Soil: When the shoots reach about 6-8 inches tall, add more potting mix to the bag, burying the stems up to the top few leaves. Leave about 2-3 inches of the plant exposed.
3. Repeat the Process: Continue adding soil every 1-2 weeks as the plants grow taller, until the bag is almost full. Remember to leave a few inches of the plant exposed each time. This process encourages more potato production along the buried stem.
4. Water Regularly: Keep the soil consistently moist, but not waterlogged. Check the soil moisture by sticking your finger into the soil. If it feels dry an inch or two down, it’s time to water.
5. Fertilize as Needed: You can side-dress with a balanced fertilizer every few weeks, following the package instructions. Avoid over-fertilizing, as this can lead to excessive foliage growth at the expense of potato production.
Step-by-Step Instructions: Harvesting Your Potatoes
The moment we’ve all been waiting for!
1. Watch for Signs of Maturity: Potatoes are typically ready to harvest 70-100 days after planting, depending on the variety. The foliage will start to turn yellow and die back. This is a sign that the potatoes have stopped growing and are ready to be harvested.
2. Stop Watering: About two weeks before you plan to harvest, stop watering the plants. This will help the potato skins to toughen up, making them less susceptible to damage during harvest and storage.
3. Harvesting Time: The easiest way to harvest potatoes grown in bags is to simply tip the bag over and gently sift through the soil. You can also carefully reach into the bag and pull out the potatoes.
4. Cure Your Potatoes: After harvesting, let the potatoes cure in a cool, dark, and well-ventilated place for about a week. This allows the skins to dry and harden, which helps prevent rot during storage.
5. Store Your Potatoes: Store your cured potatoes in a cool, dark, and dry place. A root cellar is ideal, but a cool basement or garage will also work. Avoid storing potatoes near apples or onions, as they release gases that can cause potatoes to sprout or rot.
Troubleshooting Tips
Even with the best planning, sometimes things don’t go exactly as expected. Here are a few common issues and how to address them:
* Potato Blight: This fungal disease can cause brown spots on the leaves and stems. To prevent blight, choose disease-resistant varieties, provide good air circulation, and avoid overhead watering. If blight does occur, remove affected foliage and treat with a fungicide.
* Potato Beetles: These pests can defoliate your potato plants. Handpick the beetles and larvae, or use an insecticide specifically designed for potato beetles.
* Scab: This disease causes rough, scabby patches on the potato skins. To prevent scab, maintain a slightly acidic soil pH (around 6.0) and avoid over-watering.
* Green Potatoes: Potatoes exposed to sunlight will turn green and produce solanine, a toxic compound. Avoid eating green potatoes. To prevent greening, make sure the potatoes are completely covered with soil during the growing season.
Choosing the Right Potato Variety
The type of potato you choose will impact the flavor, texture, and storage life of your harvest. Here are a few popular varieties to consider:
* Yukon Gold: A versatile variety with a buttery flavor and smooth texture. Great for boiling, baking, and roasting.
* Red Pontiac: A red-skinned potato with a waxy texture. Ideal for boiling and potato salads.
* Russet Burbank: The classic baking potato with a fluffy texture. Also good for frying.
* Fingerling Potatoes: Small, elongated potatoes with a firm texture and nutty flavor. Delicious roasted or steamed.
Extra Tips for Success
* Rotate Your Crops: Avoid planting potatoes in the same location year after year, as this can increase the risk of disease and pest problems.
* Use High-Quality Potting Mix: Don’t skimp on the potting mix! A well-draining mix is essential for healthy potato growth.
* Monitor for Pests and Diseases: Regularly inspect your plants for signs of pests or diseases. Early detection and treatment can prevent serious problems.
* Don’t Overwater: Overwatering can lead to potato rot. Allow the soil to dry out slightly between waterings.
* Be Patient: Growing potatoes takes time and patience. Don’t get discouraged if you don’t see results immediately.
Growing potatoes in bags is a truly rewarding experience. I hope this guide has inspired you to give it a try. Happy gardening, and enjoy your homegrown potatoes! I know I will!
Conclusion
So, there you have it! Potato bag gardening – a simple, space-saving, and incredibly rewarding way to grow your own delicious potatoes, even if you only have a balcony or a small patio. This method truly democratizes gardening, making fresh, homegrown produce accessible to everyone, regardless of their living situation.
Why is this a must-try? Because it’s more than just growing potatoes; it’s about connecting with nature, understanding the growing process, and enjoying the unparalleled taste of freshly harvested, homegrown food. Forget those bland, store-bought potatoes – with potato bag gardening, you’re in control of the entire process, from soil to table. You know exactly what went into growing your food, and that peace of mind is priceless.
Beyond the satisfaction of growing your own food, potato bag gardening is also incredibly versatile. Want to experiment with different potato varieties? Go for it! Try Yukon Golds for their creamy texture, Russets for their perfect baking qualities, or even colorful varieties like Purple Vikings for a visually stunning harvest. You can also adjust the soil mix to suit your specific climate and growing conditions. Consider adding compost for extra nutrients, or perlite for improved drainage.
And the best part? It’s a fantastic learning experience for the whole family. Get the kids involved in planting, watering, and harvesting. It’s a fun and educational way to teach them about where their food comes from and the importance of sustainable living.
Don’t be intimidated by the thought of gardening. Potato bag gardening is incredibly forgiving, and even if you’re a complete beginner, you’re likely to see success. The key is to start small, follow the basic guidelines, and don’t be afraid to experiment.
We wholeheartedly encourage you to give potato bag gardening a try. It’s a rewarding experience that will not only provide you with delicious, homegrown potatoes but also connect you with nature and empower you to grow your own food.
Once you’ve harvested your first crop, we’d love to hear about your experience! Share your photos, tips, and tricks in the comments below. Let’s build a community of potato bag gardeners and inspire others to get their hands dirty and grow their own food. What varieties did you try? What challenges did you face? What successes did you celebrate? Your insights can help others on their gardening journey. Happy growing!
Frequently Asked Questions (FAQ)
What kind of bag should I use for potato bag gardening?
The ideal bag is a large, sturdy container made of breathable material. Fabric grow bags are excellent because they allow for good drainage and aeration, preventing the potatoes from becoming waterlogged. Burlap sacks are another good option, offering a rustic look and natural breathability. Avoid using plastic bags, as they can trap moisture and lead to rot. The bag should be at least 15-20 gallons in size to provide enough room for the potato plants to grow and produce a good yield. You can also repurpose old feed sacks or even large, heavy-duty trash bags (with drainage holes added).
What kind of soil should I use?
Potatoes need well-draining, nutrient-rich soil. A good mix is equal parts compost, potting soil, and perlite or vermiculite. The compost provides essential nutrients, the potting soil provides a good base, and the perlite or vermiculite improves drainage and aeration. Avoid using garden soil directly, as it can be too heavy and compacted, hindering root growth. You can also add a slow-release fertilizer to the soil mix to provide a steady supply of nutrients throughout the growing season.
How often should I water my potato bag?
Watering frequency depends on the weather and the type of bag you’re using. Generally, you should water deeply whenever the top inch of soil feels dry to the touch. Avoid overwatering, as this can lead to rot. Fabric grow bags tend to dry out faster than other types of containers, so you may need to water them more frequently, especially during hot, sunny weather. Check the moisture level regularly and adjust your watering schedule accordingly.
How much sunlight do potato plants need?
Potato plants need at least six hours of direct sunlight per day to thrive. Choose a location that receives plenty of sunlight throughout the day. If you live in a particularly hot climate, you may want to provide some afternoon shade to prevent the plants from overheating. If you don’t have a sunny spot, you can supplement with grow lights.
How do I “hill” the potatoes in a bag?
“Hilling” is the process of adding more soil to the bag as the potato plants grow. This encourages the plants to produce more potatoes along the buried stem. When the potato shoots emerge from the soil, add a few inches of soil to cover the lower part of the stems, leaving the top leaves exposed. Repeat this process every few weeks as the plants grow, until the bag is almost full.
When do I harvest my potatoes?
You can start harvesting “new potatoes” (small, tender potatoes) a few weeks after the plants flower. To harvest new potatoes, carefully reach into the bag and remove a few potatoes, leaving the rest to continue growing. For a full harvest, wait until the plants start to die back and the foliage turns yellow or brown. This usually takes about 80-100 days from planting. To harvest, simply tip the bag over and sort through the soil to find the potatoes.
What are some common problems with potato bag gardening?
Some common problems include pests, diseases, and nutrient deficiencies. Pests like aphids and potato beetles can be controlled with insecticidal soap or neem oil. Diseases like blight can be prevented by using disease-resistant potato varieties and ensuring good air circulation. Nutrient deficiencies can be addressed by adding fertilizer or compost to the soil. Regularly inspect your plants for any signs of problems and take action promptly.
Can I reuse the soil from my potato bag?
Yes, you can reuse the soil from your potato bag, but it’s important to amend it with fresh compost and fertilizer to replenish the nutrients that were used by the potato plants. You may also want to sterilize the soil to kill any potential pests or diseases. You can do this by baking the soil in the oven at 200 degrees Fahrenheit for 30 minutes or by solarizing it in a black plastic bag for several weeks.
What potato varieties are best for potato bag gardening?
Many potato varieties do well in bags. Early-maturing varieties like Yukon Gold and Red Norland are popular choices because they produce a crop relatively quickly. Fingerling potatoes are also a good option, as they tend to be more compact and produce a good yield in a smaller space. Experiment with different varieties to find your favorites.
Can I grow potatoes in a bag indoors?
Yes, you can grow potatoes in a bag indoors, but you’ll need to provide them with adequate light. A sunny south-facing window or grow lights are essential for successful indoor potato growing. You’ll also need to monitor the soil moisture carefully and ensure good air circulation to prevent diseases.

Leave a Comment