
Clean Burnt Pots and Pans – the bane of every home cook’s existence! Let’s be honest, we’ve all been there. You’re whipping up a delicious meal, get distracted by a phone call or a particularly captivating episode of your favorite show, and suddenly… the dreaded smell of something burning fills the air. You rush to the stove, only to find a pot or pan coated in a stubborn, blackened mess.
While the modern kitchen might seem far removed from ancient cooking methods, the struggle with burnt food is timeless! Throughout history, cooks have battled scorched pots, experimenting with various techniques to salvage their cookware and their meals. From using ashes in ancient Rome to employing lye in colonial America, the quest to clean burnt pots and pans has been a long and ongoing one.
But fear not, fellow culinary adventurers! You don’t need harsh chemicals or hours of scrubbing to restore your beloved pots and pans to their former glory. I’m here to share some simple, effective, and budget-friendly DIY tricks that will have your cookware sparkling in no time. These hacks are essential because they save you money on replacing expensive cookware, reduce your reliance on potentially harmful cleaning products, and, most importantly, save you precious time and energy. Let’s dive in and discover the secrets to effortlessly removing those stubborn burnt-on messes!
How to Banish Burnt Food: My Foolproof Guide to Cleaning Burnt Pots and Pans
Okay, let’s face it, we’ve all been there. You’re multitasking, maybe trying a new recipe, and suddenly… the smell of burnt food fills the air. Disaster! Your favorite pot or pan is now sporting a stubborn layer of black, seemingly impossible to remove. But don’t despair! Before you resign yourself to scrubbing for hours or, worse, throwing it away, let me share my tried-and-true methods for rescuing even the most tragically burnt cookware. I’ve tested these techniques on everything from stainless steel to cast iron, and they work like a charm.
What You’ll Need: Your Arsenal Against Burnt Residue
Before we dive in, gather your supplies. Having everything ready will make the process much smoother. Here’s what I usually keep on hand:
* **Baking Soda:** This is my go-to for most burnt-on messes. It’s a gentle abrasive and helps to loosen the burnt food.
* **White Vinegar:** The acidity of vinegar helps to break down the burnt residue.
* **Dish Soap:** A good quality dish soap is essential for cleaning and degreasing.
* **Water:** Plain old water is a key ingredient in most of these methods.
* **Scrubbing Tools:** You’ll need something to scrub with. I recommend:
* **Non-Scratch Sponge:** Safe for most surfaces, especially non-stick.
* **Nylon Scrubber:** A bit more abrasive than a sponge, good for stainless steel.
* **Steel Wool (for Stainless Steel ONLY):** Use with caution, as it can scratch some surfaces. I only use this on really stubborn spots on my stainless steel pots.
* **Wooden Spoon or Spatula:** For scraping off loosened debris.
* **Paper Towels or Cleaning Cloths:** For wiping and drying.
* **Optional: Bar Keeper’s Friend:** This is a powdered cleanser that works wonders on stainless steel. Use with caution and always test in an inconspicuous area first.
* **Optional: Oven Cleaner (for extreme cases):** This is a last resort, and you should always follow the manufacturer’s instructions carefully.
Method 1: The Baking Soda and Vinegar Powerhouse
This is my go-to method for most burnt pots and pans. It’s effective, relatively gentle, and uses ingredients you probably already have in your pantry.
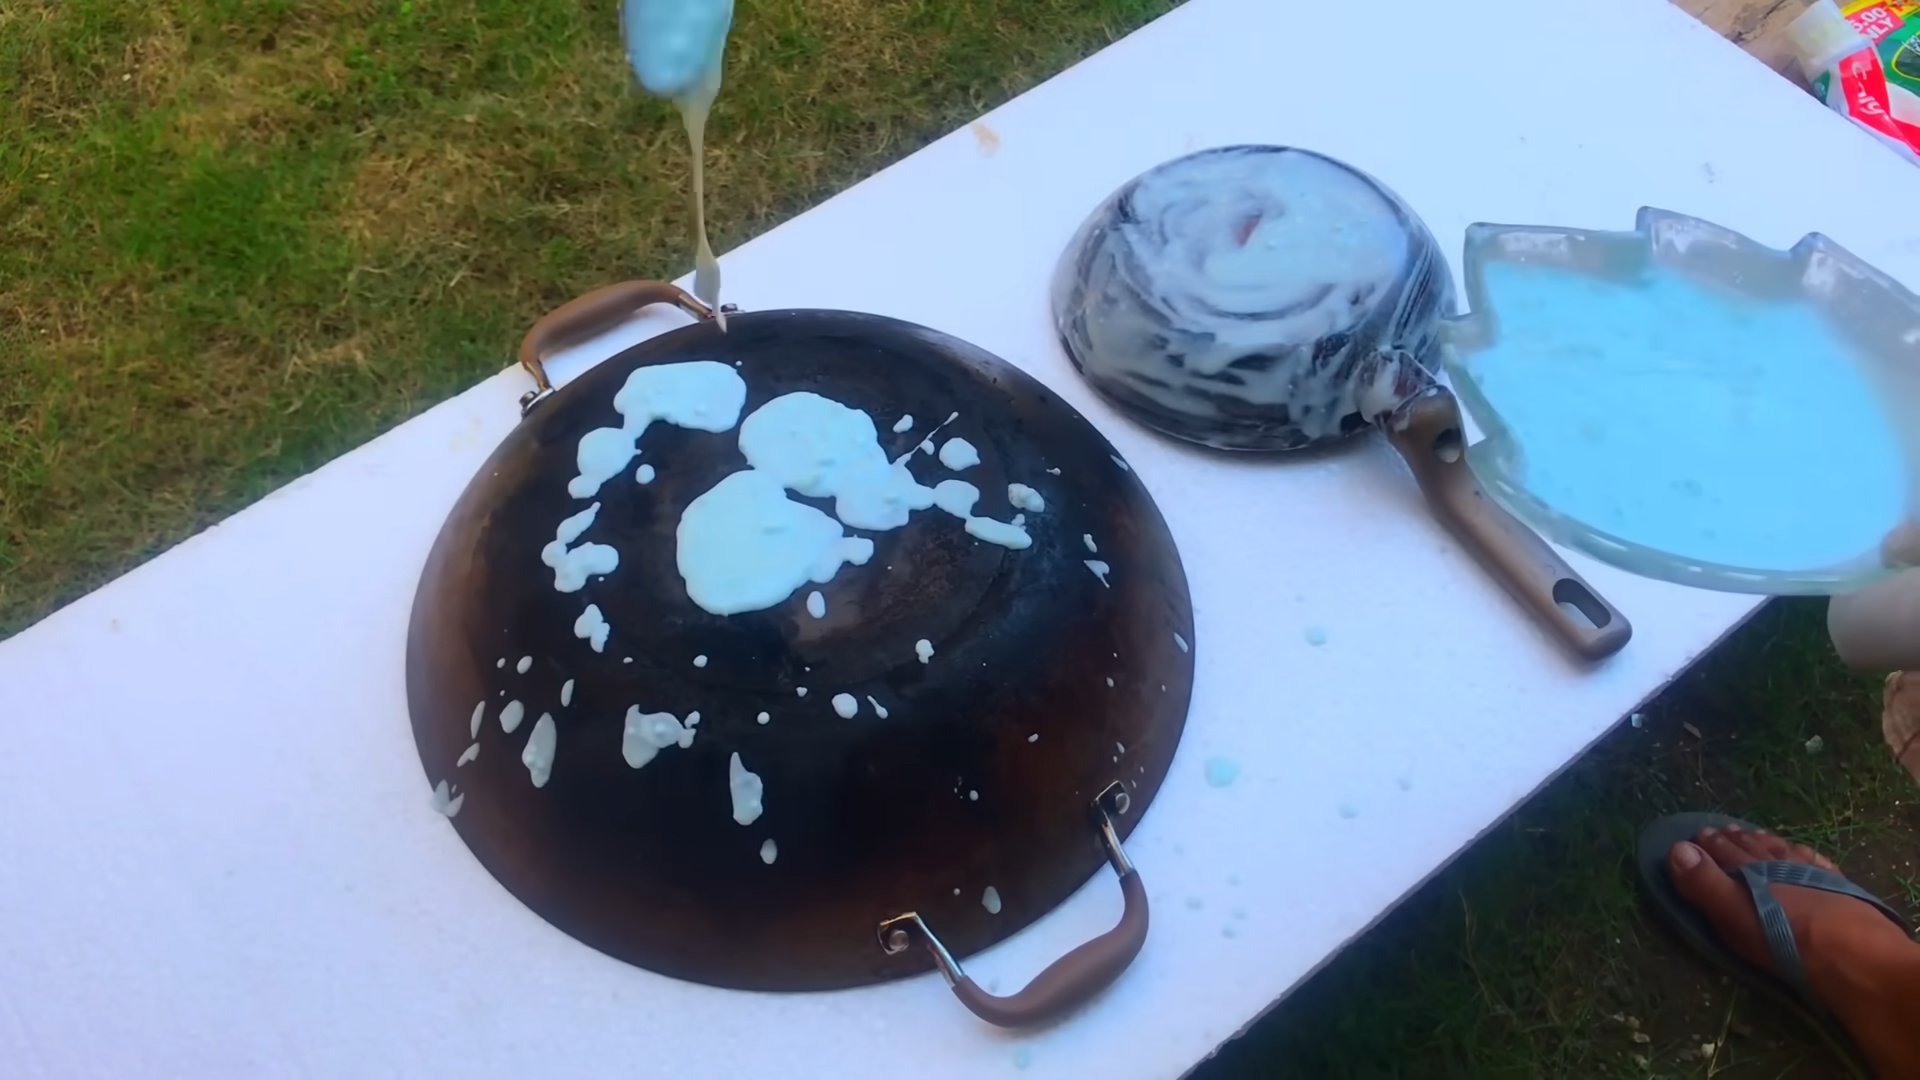
1. **Cover the Burnt Area:** Pour a generous layer of baking soda over the burnt food in the pot or pan. You want to make sure the entire affected area is covered.
2. **Add Vinegar:** Pour about a cup of white vinegar over the baking soda. It will fizz – that’s a good thing! The fizzing action helps to loosen the burnt residue.
3. **Add Water:** Add enough water to cover the burnt area completely.
4. **Bring to a Boil:** Place the pot or pan on the stove and bring the mixture to a boil.
5. **Simmer for 10-15 Minutes:** Let the mixture simmer for 10-15 minutes, or until the burnt food starts to loosen. You should see some of it lifting off the bottom.
6. **Let it Cool:** Remove the pot or pan from the heat and let it cool completely. This is important! You don’t want to burn yourself.
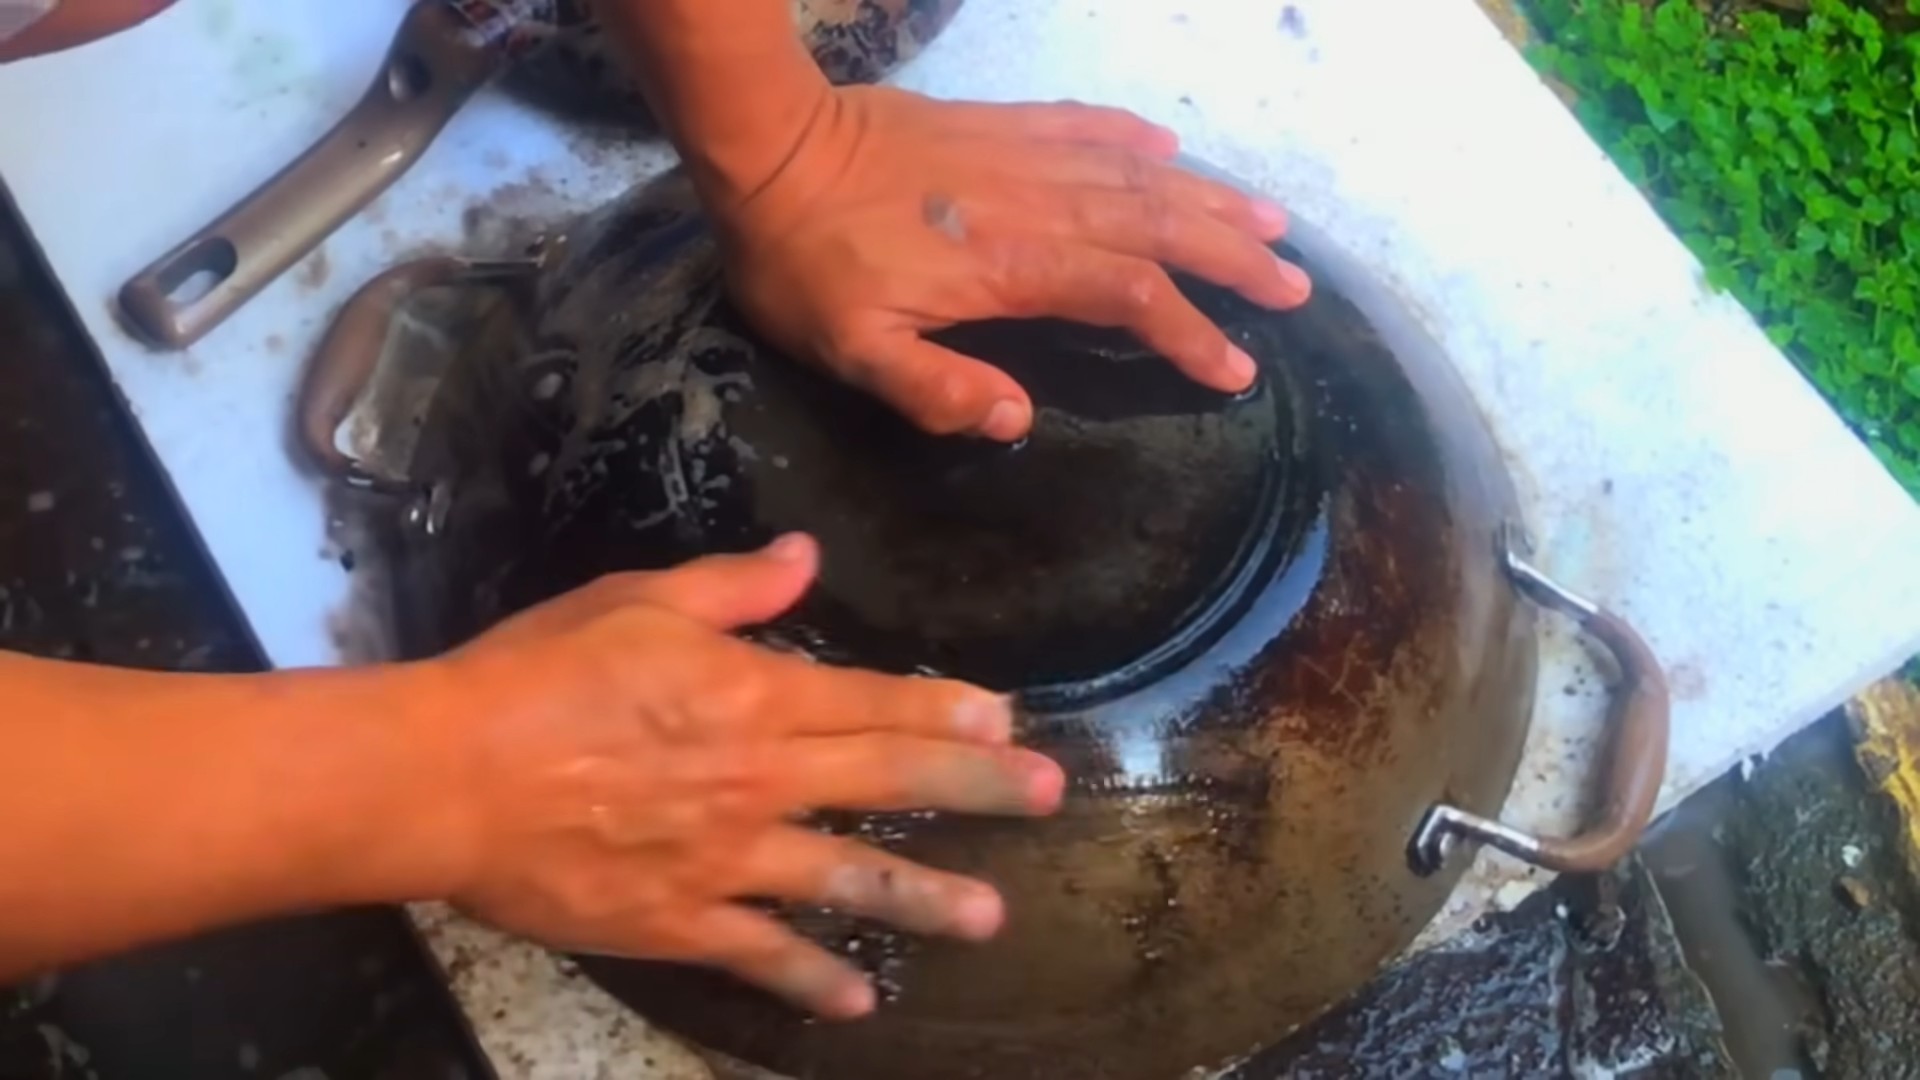
7. **Scrub Away:** Once cooled, use a non-scratch sponge or nylon scrubber to scrub away the remaining burnt food. You should find that it comes off much easier than before.
8. **Wash and Rinse:** Wash the pot or pan with dish soap and water, then rinse thoroughly.
9. **Repeat if Necessary:** If there are still stubborn spots, repeat the process. Sometimes, a second round is all it takes.
Method 2: The Baking Soda Paste for Stubborn Spots
This method is great for targeting specific areas that are particularly stubborn.
1. **Make a Paste:** Mix baking soda with a small amount of water to form a thick paste.
2. **Apply the Paste:** Apply the paste directly to the burnt areas.
3. **Let it Sit:** Let the paste sit for at least 30 minutes, or even overnight for really tough spots. The longer it sits, the better it will work.
4. **Scrub Away:** Use a non-scratch sponge or nylon scrubber to scrub away the burnt food.
5. **Wash and Rinse:** Wash the pot or pan with dish soap and water, then rinse thoroughly.
Method 3: The Boiling Water and Dish Soap Soak
This is a gentler method that’s good for pots and pans with a lighter layer of burnt food.
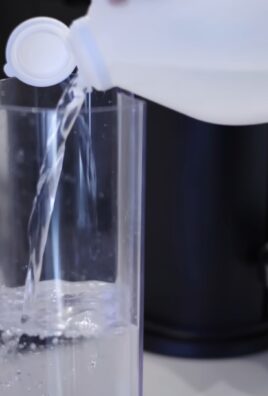
1. **Fill with Water:** Fill the pot or pan with water, enough to cover the burnt area.
2. **Add Dish Soap:** Add a generous squirt of dish soap to the water.
3. **Bring to a Boil:** Place the pot or pan on the stove and bring the water to a boil.
4. **Simmer for 15-20 Minutes:** Let the mixture simmer for 15-20 minutes.
5. **Let it Cool:** Remove the pot or pan from the heat and let it cool completely.
6. **Scrub Away:** Use a non-scratch sponge or nylon scrubber to scrub away the burnt food.
7. **Wash and Rinse:** Wash the pot or pan with dish soap and water, then rinse thoroughly.
Method 4: The Bar Keeper’s Friend Rescue (For Stainless Steel Only!)
Bar Keeper’s Friend is a fantastic product for cleaning stainless steel, but it’s important to use it with caution. Always test it in an inconspicuous area first to make sure it doesn’t scratch the surface.
1. **Wet the Surface:** Wet the burnt area of the stainless steel pot or pan.
2. **Sprinkle with Bar Keeper’s Friend:** Sprinkle a small amount of Bar Keeper’s Friend powder onto the wet surface.
3. **Make a Paste:** Add a little more water to create a paste.
4. **Gently Scrub:** Gently scrub the burnt area with a non-scratch sponge or nylon scrubber. Avoid using excessive pressure.
5. **Rinse Thoroughly:** Rinse the pot or pan thoroughly with water to remove all traces of Bar Keeper’s Friend.
6. **Wash with Dish Soap:** Wash the pot or pan with dish soap and water.
7. **Dry Immediately:** Dry the pot or pan immediately to prevent water spots.
Method 5: The Oven Cleaner Last Resort (Use with Extreme Caution!)
I only recommend using oven cleaner as a last resort, as it’s a harsh chemical and can damage some surfaces. Always follow the manufacturer’s instructions carefully and wear gloves and eye protection.
1. **Read the Instructions:** Carefully read and follow the manufacturer’s instructions on the oven cleaner can.
2. **Protect Yourself:** Wear gloves and eye protection to protect yourself from the chemicals.
3. **Apply the Oven Cleaner:** Spray the oven cleaner onto the burnt area of the pot or pan.
4. **Let it Sit:** Let the oven cleaner sit for the recommended amount of time, usually 15-30 minutes.
5. **Scrub Away:** Use a non-scratch sponge or nylon scrubber to scrub away the burnt food.
6. **Rinse Thoroughly:** Rinse the pot or pan thoroughly with water to remove all traces of oven cleaner.
7. **Wash with Dish Soap:** Wash the pot or pan with dish soap and water.
Important Considerations for Different Types of Cookware
* **Non-Stick Cookware:** Be extra careful when cleaning non-stick cookware. Avoid using abrasive scrubbers or harsh chemicals, as they can damage the non-stick coating. I usually stick to the baking soda and vinegar method or the boiling water and dish soap soak for non-stick.
* **Stainless Steel Cookware:** Stainless steel is generally more durable and can withstand more abrasive cleaning methods. However, avoid using steel wool on brushed stainless steel, as it can scratch the surface.
* **Cast Iron Cookware:** Cleaning burnt food from cast iron requires a slightly different approach. Avoid using soap, as it can strip the seasoning. Instead, use a chainmail scrubber or a stiff brush to remove the burnt food, then re-season the pan.
* **Enameled Cookware:** Enameled cookware can be delicate, so avoid using harsh chemicals or abrasive scrubbers. The baking soda and vinegar method is usually effective for cleaning burnt food from enameled cookware.
Preventing Future Burnt Food Disasters
Of course, the best way to deal with burnt food is to prevent it from happening in the first place! Here are a few tips to help you avoid future cooking mishaps:
* **Pay Attention:** This seems obvious, but it’s the most important thing you can do. Don’t leave food unattended on the stove, especially when cooking at high heat.
* **Use the Right Heat:** Use the appropriate heat setting for the type of food you’
Conclusion
So, there you have it! No more dreading the sight of a scorched pot or pan. This simple, effective, and surprisingly gentle DIY trick for cleaning burnt pots and pans is a game-changer in the kitchen. Forget spending hours scrubbing with harsh chemicals and abrasive pads that can damage your cookware. This method harnesses the power of readily available household ingredients to lift away even the most stubborn burnt-on food, restoring your pots and pans to their former glory.
Why is this a must-try? Because it saves you time, money, and effort. It’s also a much safer and more environmentally friendly alternative to harsh chemical cleaners. Plus, the satisfaction of seeing those burnt messes disappear before your eyes is incredibly rewarding!
But the beauty of this method lies in its adaptability. While the baking soda and vinegar combination is a powerhouse, feel free to experiment with variations to suit your specific needs and the type of cookware you’re cleaning. For instance, if you’re dealing with particularly stubborn stains, you can add a tablespoon of dish soap to the boiling water for extra cleaning power. Alternatively, for stainless steel pots and pans, you can try using cream of tartar instead of baking soda for a gentler abrasive action. Lemon juice can also be used as a substitute for vinegar, adding a refreshing citrus scent to your kitchen.
For cast iron, be sure to re-season the pan after cleaning to maintain its protective coating. You can do this by lightly coating the pan with oil and baking it in a low oven for an hour.
Don’t be afraid to adjust the quantities of baking soda and vinegar depending on the size and severity of the burnt area. The key is to ensure that the burnt food is fully submerged in the solution.
We are confident that this DIY cleaning trick will become your go-to solution for tackling burnt pots and pans. It’s a simple, effective, and eco-friendly way to keep your cookware looking its best.
Now it’s your turn! We encourage you to try this DIY trick and experience the magic for yourself. We’re eager to hear about your results and any variations you discover. Share your experiences, tips, and before-and-after photos in the comments below. Let’s build a community of clean cookware enthusiasts! Happy cleaning!
Frequently Asked Questions (FAQs)
What types of pots and pans can I use this method on?
This method is generally safe for most types of pots and pans, including stainless steel, enamel-coated, and glass cookware. However, it’s essential to exercise caution when using it on delicate materials like non-stick surfaces or cast iron. For non-stick cookware, avoid using abrasive scrubbers and opt for a soft sponge or cloth. For cast iron, be sure to re-season the pan after cleaning to maintain its protective coating. Always test a small, inconspicuous area first to ensure that the method doesn’t damage the surface.
How much baking soda and vinegar should I use?
The amount of baking soda and vinegar you’ll need depends on the size and severity of the burnt area. As a general guideline, start with 1/2 cup of baking soda and 1 cup of vinegar for a standard-sized pot or pan. You can adjust the quantities as needed to ensure that the burnt food is fully submerged in the solution. If the burnt area is particularly stubborn, you may need to use more baking soda and vinegar.
How long should I boil the mixture?
Boil the baking soda and vinegar mixture for approximately 10-15 minutes, or until the burnt food begins to loosen. You may need to boil it for a longer period if the burnt area is particularly severe. Keep a close eye on the pot or pan while it’s boiling to prevent the mixture from boiling over.
What if the burnt food is still stuck after boiling?
If the burnt food is still stuck after boiling, don’t worry! Simply remove the pot or pan from the heat and let it cool slightly. Then, use a wooden spoon or spatula to gently scrape away the remaining burnt food. Avoid using abrasive scrubbers, as they can damage the surface of your cookware. If necessary, you can repeat the boiling process or try using a paste of baking soda and water to scrub the stubborn areas.
Can I use this method on non-stick cookware?
While this method can be used on non-stick cookware, it’s essential to exercise caution. Avoid using abrasive scrubbers, as they can damage the non-stick coating. Instead, opt for a soft sponge or cloth. You may also want to reduce the amount of baking soda and vinegar you use, as these ingredients can be slightly abrasive. Always test a small, inconspicuous area first to ensure that the method doesn’t damage the surface.
Is this method safe for the environment?
Yes, this method is generally safe for the environment. Baking soda and vinegar are both natural, non-toxic ingredients that are biodegradable. Unlike harsh chemical cleaners, they don’t release harmful fumes or pollutants into the environment. However, it’s always a good idea to dispose of the used baking soda and vinegar solution properly. You can pour it down the drain with plenty of water or dispose of it in your compost bin.
Can I use this method to clean other burnt items?
Yes, this method can be used to clean other burnt items, such as baking sheets, oven racks, and even coffee pots. Simply adjust the quantities of baking soda and vinegar as needed to accommodate the size of the item. For larger items, you may need to soak them in a solution of baking soda and vinegar for a longer period.
What are some other variations of this method?
There are several variations of this method that you can try. For instance, you can add a tablespoon of dish soap to the boiling water for extra cleaning power. Alternatively, for stainless steel pots and pans, you can try using cream of tartar instead of baking soda for a gentler abrasive action. Lemon juice can also be used as a substitute for vinegar, adding a refreshing citrus scent to your kitchen.
How can I prevent my pots and pans from getting burnt in the first place?
Prevention is always better than cure! To prevent your pots and pans from getting burnt, be sure to use the correct heat setting for the type of food you’re cooking. Avoid leaving food unattended while it’s cooking, and stir frequently to prevent it from sticking to the bottom of the pot or pan. You can also use a cooking spray or oil to create a barrier between the food and the surface of the cookware.
What if I don’t have vinegar?
If you don’t have vinegar, you can try using lemon juice as a substitute. Lemon juice is acidic and can help to loosen burnt food in a similar way to vinegar. You can also try using cream of tartar, which is a mild abrasive that can help to scrub away burnt food.
Is it necessary to wear gloves when using this method?
While it’s not strictly necessary to wear gloves when using this method, it’s always a good idea to protect your hands from prolonged exposure to hot water and cleaning solutions. Gloves can also help to prevent your hands from drying out or becoming irritated.
How often should I clean my pots and pans using this method?
You should clean your pots and pans using this method whenever they become burnt or stained. Regular cleaning will help to prevent the buildup of stubborn burnt food and keep your cookware looking its best.
Leave a Comment