
Growing Cabbage from Seed might seem daunting, but trust me, it’s incredibly rewarding! Imagine biting into a crisp, homemade coleslaw made with cabbage you nurtured from a tiny seed. That’s the magic we’re unlocking today. For centuries, cabbage has been a staple in diets worldwide, from the hearty stews of Eastern Europe to the vibrant kimchi of Korea. Its resilience and nutritional value have made it a vital crop for generations.
But why bother with the effort of starting from seed when you can just buy a head at the store? Well, for starters, you gain access to a wider variety of cabbage types, some of which you simply won’t find at your local supermarket. Plus, there’s a unique satisfaction in knowing you’ve guided a plant through its entire life cycle. More importantly, growing cabbage from seed allows you to control the growing environment, ensuring your cabbage is free from unwanted chemicals and pesticides.
In this DIY guide, I’ll share my favorite tricks and hacks for successfully starting cabbage seeds indoors and transplanting them into your garden. We’ll cover everything from choosing the right seeds to preventing common problems, so you can enjoy a bountiful cabbage harvest. Let’s get started and transform your garden into a cabbage haven!
Growing Cabbage from Seed: A Beginner’s Guide
Okay, so you want to grow your own cabbage from seed? Awesome! It’s surprisingly rewarding, and nothing beats the taste of homegrown veggies. Don’t worry if you’re a newbie; I’m going to walk you through everything you need to know, step-by-step. We’ll cover starting seeds indoors, transplanting them outside, and even some tips for keeping those pesky pests away. Let’s get started!
Choosing Your Cabbage Variety
First things first, let’s talk cabbage varieties. There are tons to choose from, and the best one for you will depend on your climate and when you want to harvest.
* Early Varieties: These mature quickly (around 60-70 days) and are great for spring or fall crops. Examples include ‘Golden Acre’ and ‘Early Jersey Wakefield’.
* Mid-Season Varieties: These take a bit longer (70-90 days) and are good for a summer harvest. ‘Copenhagen Market’ is a popular choice.
* Late Varieties: These need the longest growing season (over 90 days) and are often used for making sauerkraut or for winter storage. ‘January King’ and ‘Danish Ballhead’ are good options.
* Red Cabbage: If you want some color in your garden, go for a red cabbage variety like ‘Red Acre’ or ‘Ruby Perfection’.
* Savoy Cabbage: These have crinkled leaves and a milder flavor. ‘Savoy Ace’ is a reliable choice.
Consider your local climate and the length of your growing season when making your decision. Check seed packets for specific information on each variety.
Starting Cabbage Seeds Indoors
Starting your cabbage seeds indoors gives them a head start, especially if you live in a colder climate with a shorter growing season. I usually start mine about 6-8 weeks before the last expected frost.
What You’ll Need:
* Cabbage seeds
* Seed starting trays or small pots
* Seed starting mix (a light, well-draining mix is essential)
* Watering can or spray bottle
* Grow lights (optional, but highly recommended)
* Heat mat (optional, but helpful for germination)
Step-by-Step Instructions:
1. Prepare Your Seed Starting Trays: Fill your seed starting trays or pots with seed starting mix. Gently tap the trays to settle the soil.
2. Sow the Seeds: Make a small indentation (about ¼ inch deep) in the soil of each cell or pot. Place 2-3 cabbage seeds in each indentation. This increases the chances of at least one seed germinating.
3. Cover the Seeds: Gently cover the seeds with a thin layer of seed starting mix.
4. Water Thoroughly: Use a watering can or spray bottle to gently water the soil. You want the soil to be moist but not soggy.
5. Provide Warmth: Cabbage seeds germinate best in warm temperatures (around 70-75°F). Place your seed starting trays on a heat mat or in a warm location.
6. Provide Light: Once the seeds germinate (usually within 5-10 days), they’ll need plenty of light. If you don’t have a sunny windowsill, use grow lights. Position the lights a few inches above the seedlings and keep them on for 14-16 hours per day.
7. Water Regularly: Keep the soil consistently moist, but avoid overwatering. Let the top of the soil dry out slightly between waterings.
8. Thin the Seedlings: Once the seedlings have their first true leaves (the second set of leaves after the initial seed leaves), thin them out by snipping off the weaker seedlings at the soil line. Leave only one strong seedling per cell or pot.
9. Harden Off the Seedlings: About a week before you plan to transplant the seedlings outdoors, you’ll need to “harden them off.” This means gradually exposing them to outdoor conditions to help them adjust. Start by placing the seedlings outside in a sheltered location for a few hours each day, gradually increasing the amount of time they spend outdoors. Protect them from direct sunlight and strong winds at first.
Transplanting Cabbage Seedlings Outdoors
Once your cabbage seedlings are about 4-6 inches tall and the danger of frost has passed, it’s time to transplant them into your garden.
What You’ll Need:
* Your hardened-off cabbage seedlings
* Garden trowel
* Compost or well-rotted manure
* Watering can
* Row covers (optional, but helpful for pest control)
Step-by-Step Instructions:
1. Prepare the Garden Bed: Choose a sunny location with well-drained soil. Cabbage needs at least 6 hours of sunlight per day. Amend the soil with compost or well-rotted manure to improve its fertility and drainage.
2. Space the Seedlings: Space the cabbage seedlings about 12-18 inches apart in rows that are 24-36 inches apart. This will give them enough room to grow.
3. Dig the Holes: Dig holes that are slightly larger than the root balls of the seedlings.
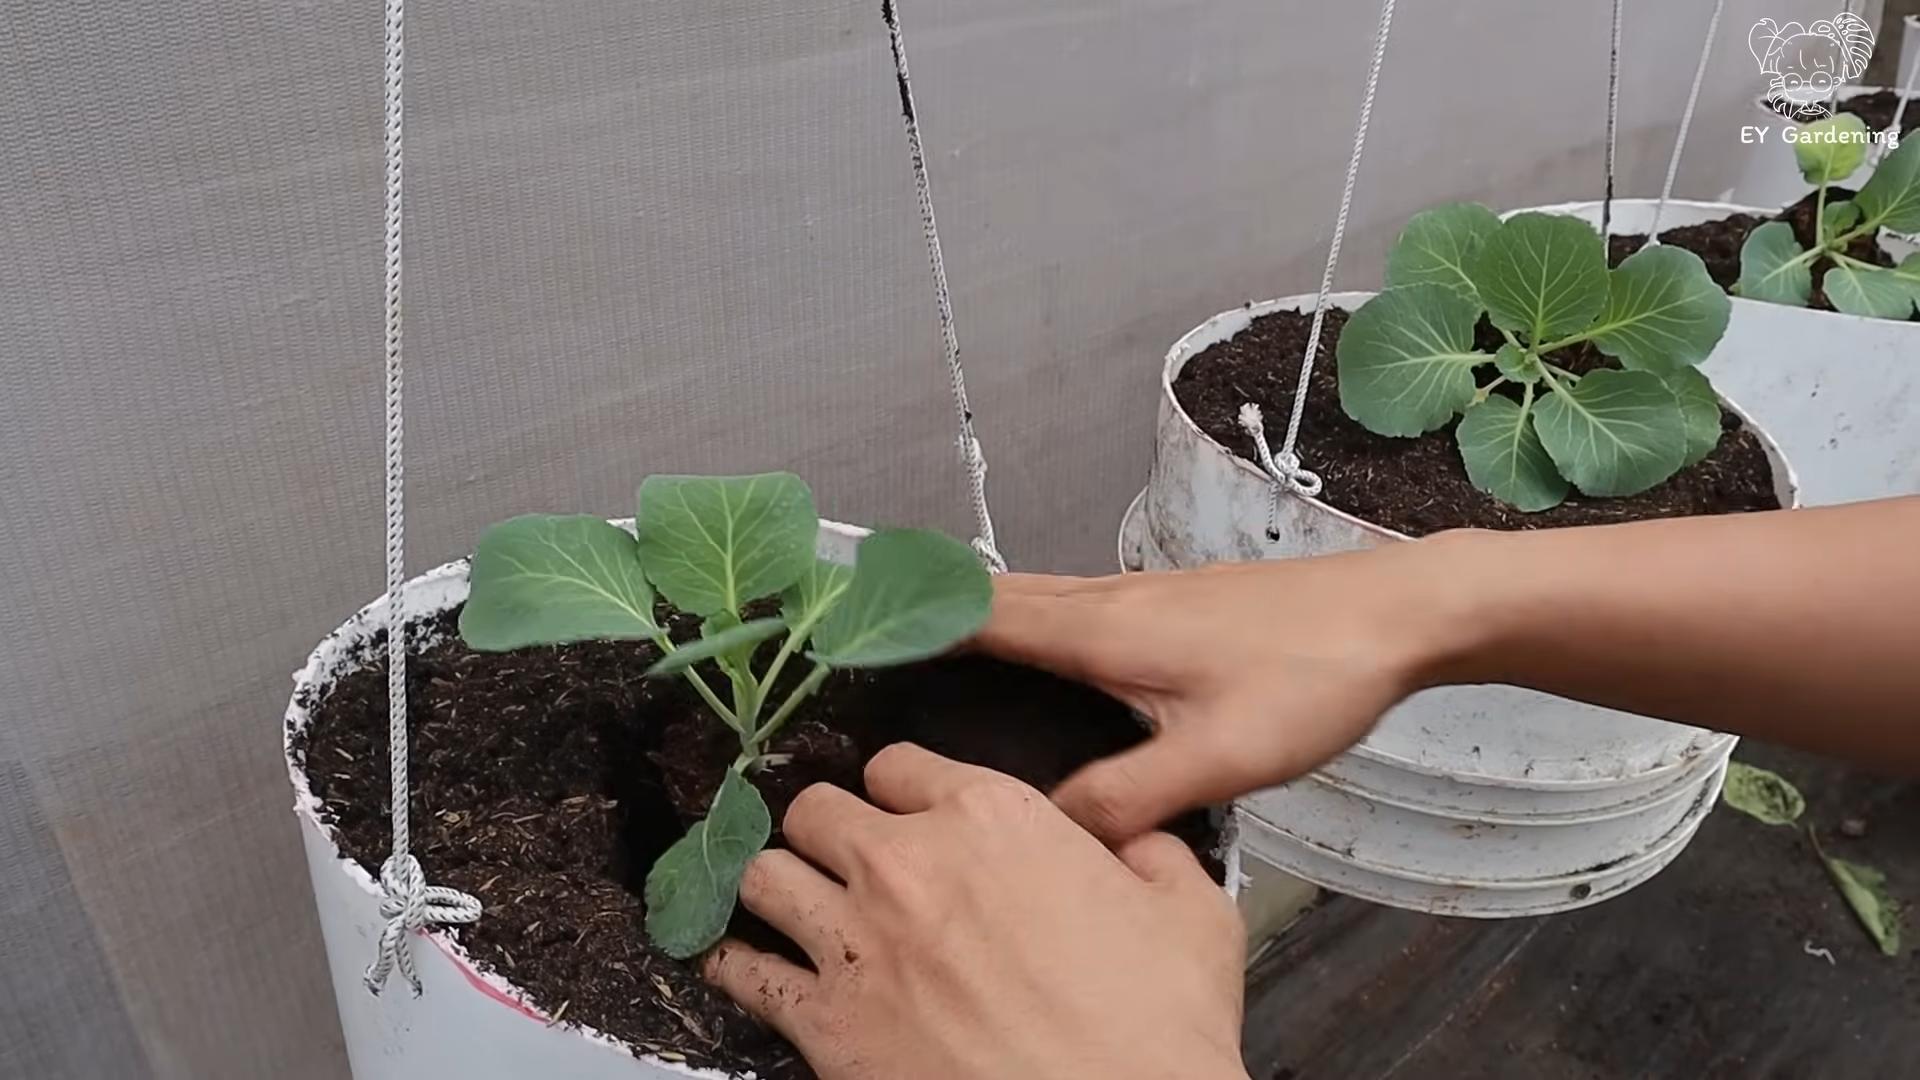
4. Transplant the Seedlings: Gently remove the seedlings from their trays or pots. Loosen the roots slightly and place the seedlings in the holes.
5. Fill the Holes: Fill the holes with soil, gently firming it around the base of the seedlings.
6. Water Thoroughly: Water the seedlings thoroughly after transplanting.
7. Protect from Pests: Cabbage is susceptible to several pests, including cabbage worms, aphids, and flea beetles. To protect your plants, consider using row covers. These are lightweight fabric covers that you can place over your plants to keep pests out. You can also use organic pest control methods, such as insecticidal soap or Bacillus thuringiensis (Bt).
Caring for Your Cabbage Plants
Once your cabbage plants are in the ground, they’ll need regular care to thrive.
Watering:
Cabbage needs consistent moisture, especially during hot, dry weather. Water deeply whenever the top inch of soil feels dry. Avoid overhead watering, as this can encourage fungal diseases. Drip irrigation is a great way to water cabbage plants.
Fertilizing:
Cabbage is a heavy feeder, so it needs plenty of nutrients. Fertilize your plants every 2-3 weeks with a balanced fertilizer. You can also side-dress them with compost or well-rotted manure.
Weeding:
Keep the garden bed free of weeds, as they can compete with the cabbage plants for nutrients and water. Hand-pull weeds or use a hoe to remove them.
Pest Control:
Keep an eye out for pests and diseases. Cabbage worms are a common problem, but they can be controlled with Bt. Aphids can be washed off with a strong stream of water or treated with insecticidal soap. Flea beetles can be controlled with row covers or insecticidal soap.
Harvesting:
Cabbage is ready to harvest when the heads are firm and feel solid. Cut the heads off at the base of the plant with a sharp knife.
Troubleshooting Common Cabbage Problems
Even with the best care, you might encounter some problems while growing cabbage. Here are a few common issues and how to deal with them:
* Cabbage Worms: These green caterpillars can quickly devour your cabbage plants. Look for small holes in the leaves and green droppings. Control them with Bt or hand-pick them off the plants.
* Aphids: These tiny insects suck the sap from plants, causing them to become weak and stunted. Wash them off with a strong stream of water or treat them with insecticidal soap.
* Flea Beetles: These small, jumping beetles can create tiny holes in the leaves of your cabbage plants. Control them with row covers or insecticidal soap.
* Clubroot: This fungal disease causes the roots of cabbage plants to become swollen and distorted. Prevent clubroot by planting resistant varieties and practicing crop rotation.
* Black Rot: This bacterial disease causes yellowing and browning of the leaves. Prevent black rot by planting disease-free seeds and avoiding overhead watering.
Tips for a Bountiful Cabbage Harvest
Here are a few extra tips to help you get the most out of your cabbage crop:
* Choose the Right Variety: Select a variety that is well-suited to your climate and growing season.
* Start Seeds Indoors: Starting seeds indoors gives your plants a head start and allows you to harvest earlier.
* Provide Plenty of Sunlight: Cabbage needs at least 6 hours of sunlight per day.
* Water Regularly: Keep the soil consistently moist, but avoid overwatering.
* Fertilize Regularly: Cabbage is a heavy feeder, so it needs plenty of nutrients.
* Protect from Pests: Use row covers
Conclusion
So, there you have it! Growing cabbage from seed might seem daunting at first, but as you’ve seen, it’s a rewarding and surprisingly straightforward process. The satisfaction of nurturing a tiny seed into a robust, leafy head of cabbage, ready for your table, is truly unmatched. Beyond the personal gratification, you’re also gaining access to fresher, more flavorful cabbage than you’ll likely find in any grocery store. Plus, you have complete control over the growing process, ensuring your cabbage is free from unwanted pesticides and chemicals.
This DIY trick is a must-try for several compelling reasons. Firstly, it’s incredibly cost-effective. A packet of cabbage seeds is significantly cheaper than purchasing mature heads of cabbage, especially if you plan on growing multiple varieties. Secondly, you gain access to a wider range of cabbage varieties. Supermarkets typically stock only a few common types, but seed catalogs offer a dazzling array of options, from early-season varieties perfect for slaws to late-season types ideal for winter storage. Imagine growing vibrant red cabbage for a stunning salad or savoy cabbage with its delicately crinkled leaves for a hearty stew!
Why is growing your own cabbage from seed so important? It allows you to tailor your harvest to your specific needs and preferences. Need cabbage for a specific recipe? Plant accordingly! Want to stagger your harvest for a continuous supply? Simply sow seeds at different intervals.
But the benefits don’t stop there. Growing your own cabbage is also an environmentally friendly choice. You’re reducing your carbon footprint by eliminating the transportation and packaging associated with commercially grown produce. You’re also supporting sustainable gardening practices by avoiding harmful chemicals and promoting biodiversity in your garden.
Feeling adventurous? Consider some exciting variations! Try growing different varieties of cabbage, such as ‘January King’ for its cold hardiness, ‘Red Drumhead’ for its vibrant color, or ‘Savoy Perfection’ for its unique texture. You can also experiment with companion planting. Marigolds, for example, are known to deter cabbage moths, while dill can attract beneficial insects that prey on cabbage pests.
Don’t be afraid to get your hands dirty and embrace the learning process. Gardening is all about experimentation, and even if you encounter a few challenges along the way, the rewards are well worth the effort.
We wholeheartedly encourage you to try this DIY trick and experience the joy of growing your own cabbage from seed. It’s a simple, affordable, and incredibly rewarding way to connect with nature, enhance your culinary creations, and contribute to a more sustainable lifestyle.
Once you’ve harvested your first head of homegrown cabbage, we’d love to hear about your experience! Share your tips, tricks, and photos in the comments below. Let’s build a community of cabbage-growing enthusiasts and inspire others to embark on this rewarding journey. Happy gardening!
Frequently Asked Questions (FAQ)
Q: How long does it take to grow cabbage from seed?
A: The time it takes to grow cabbage from seed to harvest depends on the variety and growing conditions. Generally, you can expect it to take anywhere from 60 to 100 days. Early-season varieties typically mature faster, while late-season varieties require a longer growing period. Starting seeds indoors can also shorten the overall time to harvest, as it gives the seedlings a head start before transplanting them outdoors. Be sure to check the seed packet for specific information on the variety you’re growing.
Q: What are the best conditions for growing cabbage?
A: Cabbage thrives in cool weather and requires at least six hours of sunlight per day. The ideal soil is well-drained, fertile, and rich in organic matter. A slightly acidic soil pH of 6.0 to 7.0 is optimal. Consistent watering is crucial, especially during head formation. Avoid overhead watering, as it can promote fungal diseases. Mulching around the plants helps retain moisture, suppress weeds, and regulate soil temperature.
Q: How do I start cabbage seeds indoors?
A: Start cabbage seeds indoors about 4-6 weeks before the last expected frost. Sow the seeds ¼ inch deep in seed-starting trays or pots filled with a well-draining seed-starting mix. Keep the soil consistently moist but not waterlogged. Provide adequate light, either through a sunny window or with grow lights. Once the seedlings have developed a few sets of true leaves, they can be hardened off and transplanted outdoors.
Q: What is “hardening off” and why is it important?
A: Hardening off is the process of gradually acclimating seedlings to outdoor conditions before transplanting them. This helps them adjust to the sun, wind, and temperature fluctuations, preventing transplant shock. To harden off seedlings, start by placing them outdoors in a sheltered location for a few hours each day, gradually increasing the amount of time they spend outside over a period of one to two weeks.
Q: When is the best time to transplant cabbage seedlings outdoors?
A: Transplant cabbage seedlings outdoors after the last expected frost, when the soil has warmed up to at least 50°F (10°C). Choose a cloudy day to minimize stress on the seedlings. Space the plants 12-24 inches apart, depending on the variety. Water thoroughly after transplanting.
Q: What are some common cabbage pests and diseases?
A: Common cabbage pests include cabbage worms, cabbage loopers, aphids, and flea beetles. Diseases include clubroot, black rot, and downy mildew. Regularly inspect your plants for signs of pests or diseases. Use organic pest control methods, such as handpicking pests, using insecticidal soap, or applying Bacillus thuringiensis (Bt). To prevent diseases, ensure good air circulation, avoid overhead watering, and practice crop rotation.
Q: How do I prevent cabbage worms from destroying my crop?
A: Cabbage worms are a common nuisance, but there are several ways to combat them. Covering your cabbage plants with row covers is an effective way to prevent cabbage moths from laying their eggs on the leaves. Regularly inspect your plants for eggs and larvae, and handpick them off. Bacillus thuringiensis (Bt) is a safe and effective biological insecticide that targets cabbage worms.
Q: How do I know when my cabbage is ready to harvest?
A: Cabbage is ready to harvest when the head is firm and solid to the touch. The size of the head will vary depending on the variety. Use a sharp knife to cut the head from the stem, leaving a few outer leaves intact.
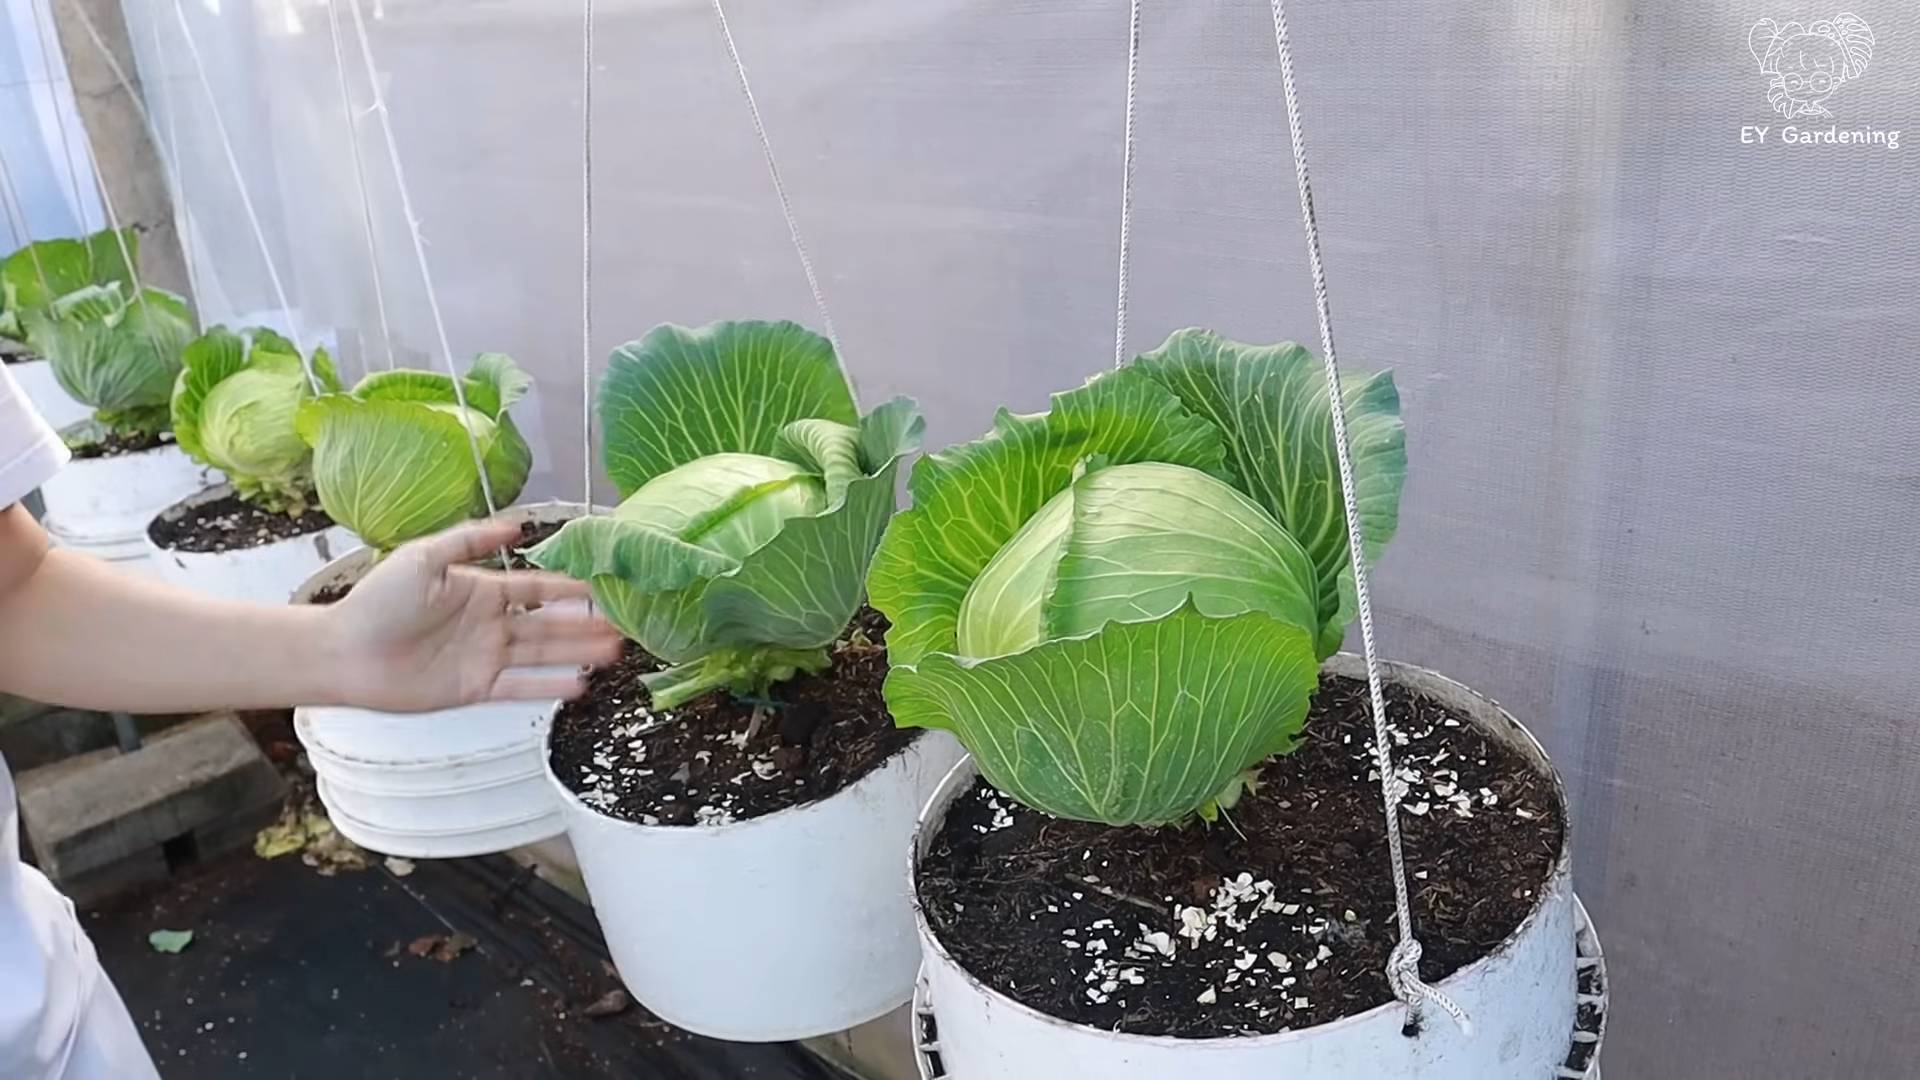
Q: Can I grow cabbage in containers?
A: Yes, you can grow cabbage in containers, but you’ll need to choose a large container that is at least 12 inches in diameter and depth. Use a well-draining potting mix and provide consistent watering and fertilization. Container-grown cabbage may require more frequent watering than cabbage grown in the ground.
Q: What are some good companion plants for cabbage?
A: Good companion plants for cabbage include marigolds, dill, rosemary, thyme, and nasturtiums. Marigolds deter cabbage moths, while dill attracts beneficial insects that prey on cabbage pests. Rosemary and thyme repel cabbage white butterflies. Nasturtiums attract aphids, which can help protect cabbage from other pests.
Q: How do I store harvested cabbage?
A: Harvested cabbage can be stored in the refrigerator for several weeks. Wrap the head in plastic wrap or store it in a plastic bag to prevent it from drying out. You can also store cabbage in a root cellar or cool, dark place for several months.
Leave a Comment