
Unclog Sink Drain Fast – is that what you’re desperately searching for right now? I get it! There’s nothing more frustrating than staring into a sink full of murky water that just. won’t. drain. It’s a common household headache, and trust me, you’re not alone.
For centuries, people have been battling blocked drains. From ancient civilizations using rudimentary tools to clear pipes, to modern-day plumbers with their high-tech equipment, the struggle is real! While we might not be digging trenches like our ancestors, the need to keep our drains flowing freely remains essential for hygiene and a smoothly running home.
But who wants to call a plumber for every little clog? Not me, and probably not you either! That’s why I’ve compiled this guide to help you unclog sink drain fast using simple DIY tricks and hacks. These methods are not only cost-effective but also empower you to take control of your home maintenance. We’ll explore easy-to-follow steps, using common household items, to get your sink back in action in no time. Say goodbye to that frustrating standing water and hello to a clear, flowing drain!
Unclog Your Sink Drain Like a Pro: A DIY Guide
Okay, so your sink is clogged. We’ve all been there! That slow-draining or completely stopped sink is a major inconvenience. But before you reach for harsh chemicals or call a plumber, let’s try some DIY magic. I’m going to walk you through a few methods, starting with the simplest and working our way up. Trust me, you can probably fix this yourself!
Method 1: The Boiling Water Blitz
This is often the first and easiest thing to try. It works wonders for simple clogs caused by grease or soap buildup.
What you’ll need:
* A kettle or pot
* Boiling water
Step-by-step instructions:
1. Clear the Sink: Remove any standing water from the sink. You might need a cup or small container to scoop it out.
2. Boil the Water: Bring a kettle or pot of water to a rolling boil. The hotter, the better!
3. Pour Carefully: Slowly and carefully pour the boiling water directly down the drain. Be cautious to avoid splashing, as boiling water can cause serious burns.
4. Wait and See: Give the water a few minutes to work its magic. Listen for gurgling sounds, which are a good sign!
5. Repeat if Necessary: If the water still isn’t draining freely, repeat the process one or two more times.
Why this works: Boiling water can melt away grease and soap scum that are often the culprits behind minor clogs.
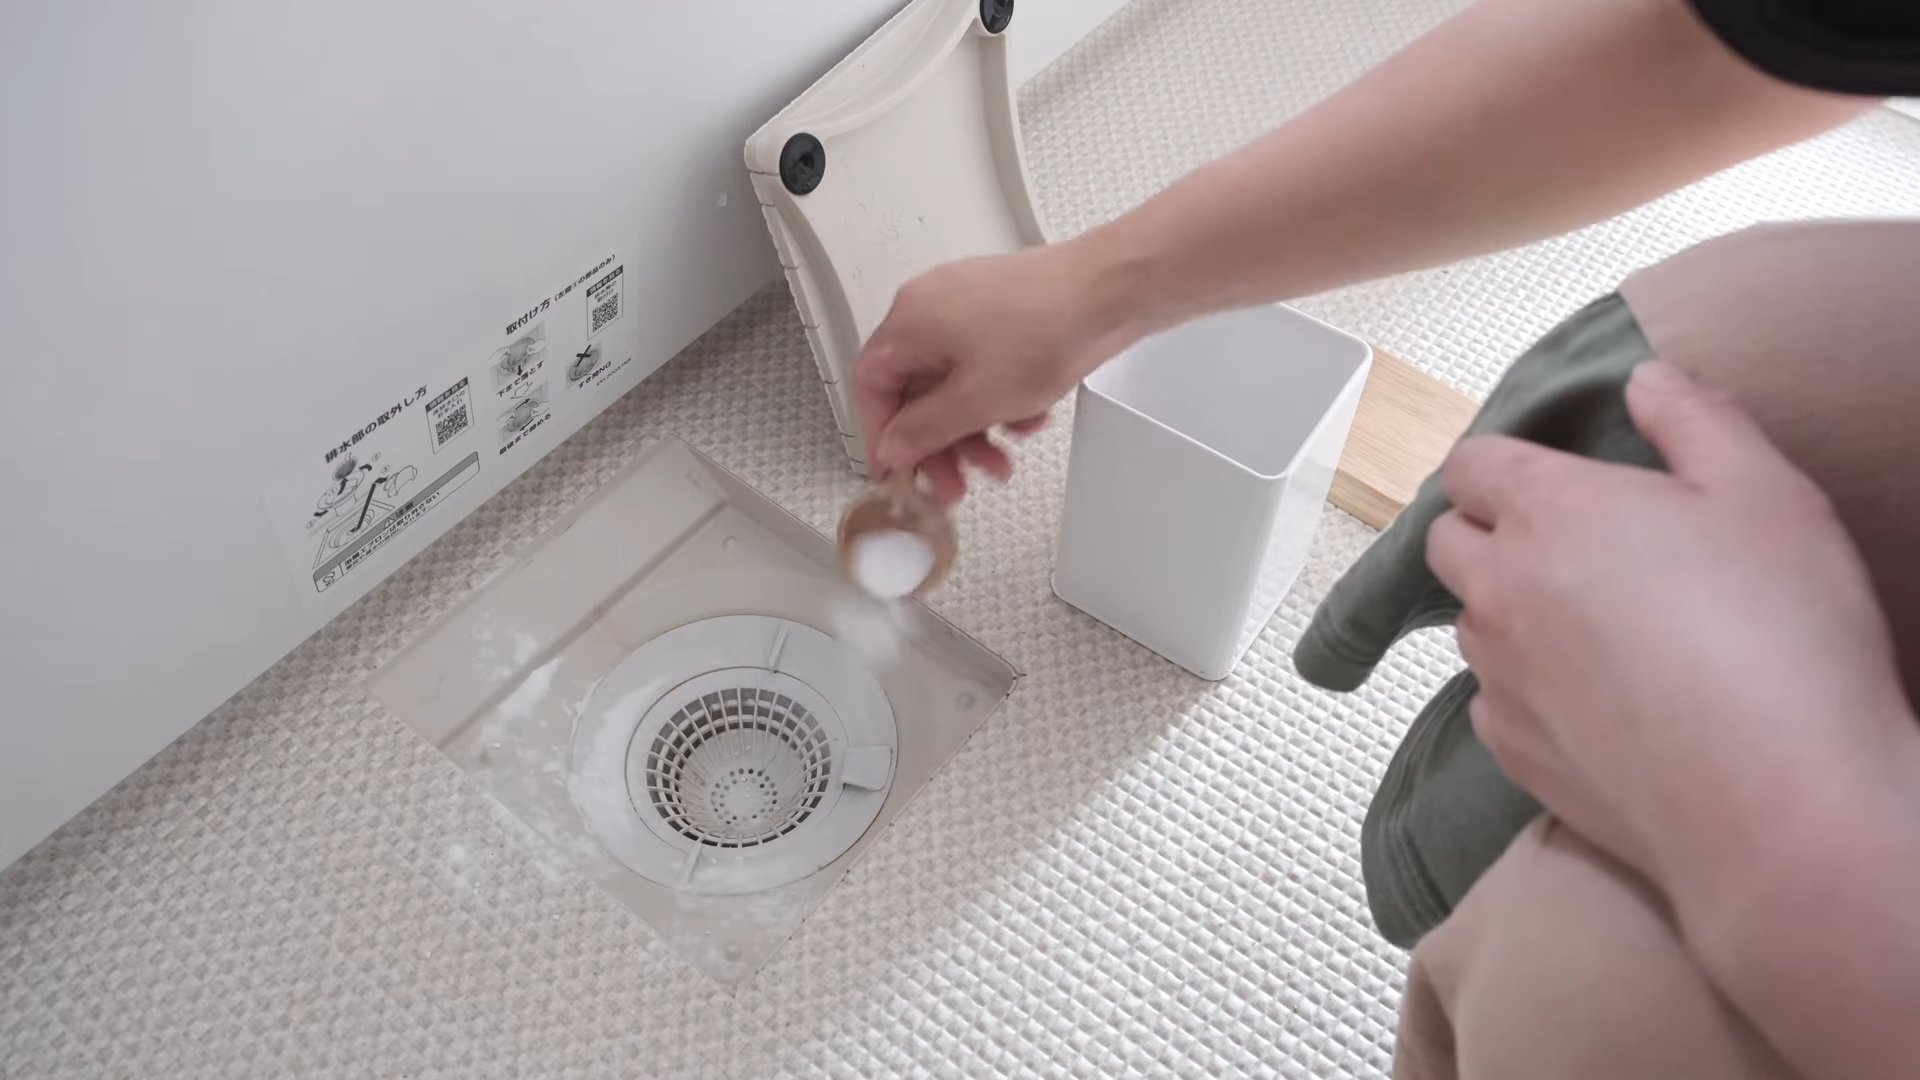
Method 2: The Baking Soda and Vinegar Volcano
This is a classic DIY drain cleaner that’s both effective and environmentally friendly. It creates a fizzing action that helps break down clogs.
What you’ll need:
* 1 cup baking soda
* 1 cup white vinegar
* Hot water
Step-by-step instructions:
1. Clear the Sink: Again, remove any standing water from the sink.
2. Pour in the Baking Soda: Pour one cup of baking soda down the drain. Try to get as much of it into the drain opening as possible.
3. Add the Vinegar: Immediately follow the baking soda with one cup of white vinegar.
4. The Fizz: Stand back! The mixture will start to fizz and bubble. This is the chemical reaction that’s going to help break down the clog.
5. Let it Sit: Let the mixture sit for at least 30 minutes, or even better, overnight. The longer it sits, the more effective it will be.
6. Flush with Hot Water: After the waiting period, pour a pot of hot water (not boiling this time) down the drain to flush away the loosened debris.
7. Assess and Repeat: Check if the drain is flowing more freely. If not, you can repeat the baking soda and vinegar treatment.
Why this works: The baking soda (a base) and vinegar (an acid) react to create carbon dioxide gas, which helps to loosen and dislodge the clog.
Method 3: The Plunger Power Play
A plunger is a simple but powerful tool for dislodging clogs. Make sure you’re using the right type of plunger! A cup plunger is best for sinks and tubs, while a flange plunger is designed for toilets.
What you’ll need:
* A cup plunger
* Water
Step-by-step instructions:
1. Add Water: Make sure there’s enough water in the sink to cover the cup of the plunger. If there isn’t, add some.
2. Create a Seal: Place the plunger over the drain opening, ensuring that the cup is completely submerged in water. You need to create a tight seal.
3. Plunge Vigorously: Push and pull the plunger up and down with a strong, steady motion. Maintain the seal as you plunge.
4. Repeat and Observe: Continue plunging for several minutes. You should feel the water moving.
5. Remove the Plunger: Lift the plunger to see if the water drains. If it does, congratulations! If not, repeat the process.
6. Clean Up: Once the drain is clear, flush it with hot water to remove any remaining debris.
Why this works: The plunger creates pressure that forces the clog to move, either pushing it further down the drain or pulling it back up.
Method 4: The Bent Wire Hanger Hook
This method is great for retrieving hair and other debris that are close to the drain opening.
What you’ll need:
* A wire coat hanger
* Pliers (optional)
* Gloves (recommended)
Step-by-step instructions:
1. Straighten the Hanger: Straighten the wire coat hanger as much as possible.
2. Create a Hook: Bend one end of the hanger into a small hook. Pliers can be helpful for this.
3. Insert and Fish: Carefully insert the hooked end of the hanger into the drain opening.
4. Twist and Pull: Gently twist and turn the hanger as you push it down the drain. You’re trying to snag any hair or debris that’s causing the clog.
5. Extract the Gunk: Slowly pull the hanger back out of the drain. You’ll likely find a disgusting collection of hair, soap scum, and other gunk attached to the hook.
6. Dispose of Debris: Dispose of the debris in a trash can.
7. Flush with Hot Water: Flush the drain with hot water to remove any remaining debris.
8. Repeat if Necessary: Repeat the process until you’re no longer pulling out any debris.
Why this works: The hook allows you to physically remove the clog from the drain.
Method 5: The P-Trap Adventure
This is a slightly more involved method, but it’s often necessary for stubborn clogs that are further down the drainpipe. The P-trap is the curved pipe under your sink that traps debris.
What you’ll need:
* A bucket
* Channel-lock pliers or a wrench
* Gloves
* Old towels or rags
Safety First!
Before you start, make sure to turn off the water supply to the sink. You’ll usually find shut-off valves under the sink. Turn them clockwise until they’re completely closed.
Step-by-step instructions:
1. Prepare for Mess: Place the bucket under the P-trap to catch any water and debris that will spill out. Spread old towels or rags around the area to protect your floor.
2. Loosen the Slip Nuts: Locate the slip nuts that connect the P-trap to the drainpipes. Use channel-lock pliers or a wrench to carefully loosen these nuts. Be careful not to overtighten or strip the nuts.
3. Remove the P-Trap: Once the slip nuts are loose, carefully remove the P-trap. Hold it over the bucket to allow any remaining water and debris to drain out.
4. Inspect and Clean: Inspect the P-trap for any clogs. You can use a wire hanger or a small brush to remove any debris.
5. Clean the Drainpipes: Check the drainpipes that connect to the P-trap for any clogs. You can use the wire hanger to reach into the pipes and remove any debris.
6. Reassemble the P-Trap: Once you’ve cleaned the P-trap and drainpipes, reassemble the P-trap. Make sure the slip nuts are snug, but not overtightened.
7. Turn on the Water: Slowly turn the water supply back on and check for leaks. If you see any leaks, tighten the slip nuts slightly.
8. Test the Drain: Run water down the drain to make sure it’s flowing freely.
Why this works: By removing the P-trap, you can directly access and remove any clogs that are trapped inside.
Method 6: Enzyme Drain Cleaners
If you’ve tried the above methods and still have a clog, you might consider using an enzyme drain cleaner. These cleaners use enzymes to break down organic matter, such as hair, grease, and food particles.
What you’ll need:
* Enzyme drain cleaner (follow the manufacturer’s instructions)
Step-by-step instructions:
1. Follow Instructions: Carefully read and follow the instructions on the enzyme drain cleaner bottle.
2. Pour into Drain: Pour the recommended amount of cleaner down the drain.
3. Let it Sit: Let the cleaner sit for the recommended amount of time, usually overnight.
4. Flush with Water: Flush the drain with hot water.
Why this works: Enzymes

Conclusion
So, there you have it! Unclogging a sink drain doesn’t have to involve harsh chemicals, expensive plumbers, or hours of frustrating labor. This simple, DIY trick, using readily available household ingredients, is a game-changer for anyone battling slow or completely blocked drains. We’ve shown you how to harness the power of baking soda and vinegar – a dynamic duo that fizzes its way through grease, hair, and other common culprits that cause clogs.
Why is this a must-try? Because it’s effective, affordable, and environmentally friendly. Commercial drain cleaners often contain corrosive substances that can damage your pipes and pose risks to your health. This DIY method is a gentler, safer alternative that gets the job done without the potential downsides. Plus, you probably already have everything you need in your pantry!
But the beauty of this method lies in its adaptability. While the baking soda and vinegar combination is the core of this unclog sink drain fast solution, you can tailor it to your specific situation. For instance, if you suspect a particularly stubborn clog, try letting the baking soda and vinegar mixture sit for a longer period – even overnight – before flushing with hot water. You can also try using boiling water instead of hot tap water for an extra boost, but be cautious when using boiling water with PVC pipes, as it could potentially soften or damage them. Always test a small, inconspicuous area first.
Another variation involves adding a cup of salt to the baking soda before pouring it down the drain. The salt acts as an abrasive, helping to scrub away stubborn debris. You can also use washing soda (sodium carbonate) instead of baking soda (sodium bicarbonate) for a more powerful cleaning action, but be sure to wear gloves and eye protection when handling washing soda, as it can be irritating to the skin and eyes.
Don’t underestimate the power of prevention, either. After successfully unclogging your drain, make it a habit to flush it with hot water regularly, especially after washing greasy dishes. Consider using a drain strainer to catch hair and food particles before they enter the drainpipe. A little preventative maintenance can go a long way in keeping your drains clear and flowing freely.
We are confident that this DIY trick will become your go-to solution for tackling clogged sink drains. It’s a simple, effective, and budget-friendly way to keep your plumbing in top shape. So, ditch the harsh chemicals and expensive plumbers, and give this method a try.
We encourage you to try this DIY trick and share your experience with us! Let us know in the comments how it worked for you, what variations you tried, and any tips or tricks you discovered along the way. Your feedback will help other readers and contribute to a community of DIY drain-unclogging experts! We can’t wait to hear your success stories!
Frequently Asked Questions (FAQ)
What causes sink drains to clog in the first place?
Sink drains clog due to a variety of factors, but the most common culprits are grease, hair, soap scum, food particles, and mineral buildup. Grease solidifies as it cools, clinging to the inside of the pipes and trapping other debris. Hair is notorious for tangling and forming stubborn clumps. Soap scum, a byproduct of soap reacting with hard water, can accumulate over time and restrict water flow. Food particles, especially starchy foods like rice and pasta, can swell and create blockages. Mineral buildup, particularly in areas with hard water, can also narrow the drainpipe and contribute to clogs.
How often should I use this DIY unclogging method?
The frequency depends on how often your sink drain clogs. If you notice your drain is draining slowly, it’s a good time to use this method as a preventative measure. For sinks that are prone to clogging, you might want to use it once a month or every few weeks. For sinks that rarely clog, you can use it as needed. Regular flushing with hot water can also help prevent clogs from forming in the first place.
Is this DIY method safe for all types of pipes?
This DIY method is generally safe for most types of pipes, including PVC, copper, and metal pipes. However, it’s important to exercise caution when using boiling water, especially with PVC pipes. Boiling water can soften or damage PVC pipes, so it’s best to use hot tap water instead. If you choose to use boiling water, test a small, inconspicuous area first to ensure it doesn’t cause any damage.
What if the clog is really stubborn and this method doesn’t work?
If the clog is particularly stubborn and the baking soda and vinegar method doesn’t work, you can try a few other things. First, try using a plunger to create suction and dislodge the clog. Make sure there’s enough water in the sink to cover the cup of the plunger. If that doesn’t work, you can try using a drain snake or auger to physically break up and remove the clog. Insert the drain snake into the drainpipe and twist it to break up the clog. If all else fails, you may need to call a professional plumber.
Can I use this method to unclog other drains, like shower drains or bathtub drains?
Yes, this method can be used to unclog other drains, such as shower drains and bathtub drains. However, you may need to adjust the amount of baking soda and vinegar depending on the size of the drain. For larger drains, you may need to use more of each ingredient. Also, be sure to remove any hair or debris from the drain strainer before starting.
What are some other preventative measures I can take to avoid clogged drains?
There are several preventative measures you can take to avoid clogged drains. First, avoid pouring grease down the drain. Instead, pour grease into a container and dispose of it in the trash. Second, use a drain strainer to catch hair and food particles before they enter the drainpipe. Third, flush your drains with hot water regularly, especially after washing greasy dishes. Fourth, avoid using harsh chemical drain cleaners, as they can damage your pipes. Finally, consider installing a water softener if you have hard water, as mineral buildup can contribute to clogs.
Why does the baking soda and vinegar mixture fizz? What does that fizzing action do?
The fizzing action is a chemical reaction between the baking soda (a base) and the vinegar (an acid). This reaction produces carbon dioxide gas, which creates pressure within the drainpipe. This pressure helps to loosen and dislodge the clog, breaking it up into smaller pieces that can be flushed away with water. The fizzing action also helps to scrub the inside of the drainpipe, removing grease and other debris.
Is there a specific type of vinegar I should use?
White vinegar is the most commonly used type of vinegar for unclogging drains, as it’s readily available and relatively inexpensive. However, you can also use apple cider vinegar or other types of vinegar. The key is that the vinegar should have a relatively high acidity level to effectively react with the baking soda.
Can I use this method if I have a septic system?
Yes, this method is generally safe to use if you have a septic system. Baking soda and vinegar are both natural substances that won’t harm the bacteria in your septic tank. However, it’s important to avoid using harsh chemical drain cleaners, as they can kill the bacteria and disrupt the balance of your septic system.
What if I don’t have baking soda or vinegar? Are there any alternatives?
While baking soda and vinegar are the most common and effective DIY drain-unclogging ingredients, there are a few alternatives you can try. You can try using a mixture of salt and boiling water. The salt acts as an abrasive, helping to scrub away debris. You can also try using a wet/dry vacuum to suck out the clog. Place the hose of the vacuum over the drain opening and create a tight seal. Turn on the vacuum and let it run for a few minutes to see if it can dislodge the clog. However, these alternatives may not be as effective as the baking soda and vinegar method.

Leave a Comment