
Grow Celery in Your Backyard – sounds like a dream, right? Imagine fresh, crisp celery stalks just steps from your kitchen, ready to be added to your favorite soups, salads, or enjoyed as a healthy snack with peanut butter. Forget those limp, flavorless bunches from the grocery store! This isn’t just about convenience; it’s about reconnecting with your food and experiencing the satisfaction of nurturing something from seed to table.
Celery, believe it or not, has a rich history. Originating in the Mediterranean, it was initially valued for its medicinal properties before becoming a culinary staple. The ancient Greeks even used celery leaves to crown victors in athletic competitions! Now, you can feel like a champion too, by mastering the art of growing your own.
Why should you learn this DIY trick? Well, for starters, store-bought celery can be expensive and often contains pesticides. By learning how to grow celery in your backyard, you’re not only saving money but also ensuring you’re consuming a healthier, more sustainable product. Plus, let’s be honest, there’s something incredibly rewarding about harvesting your own vegetables. I’m excited to share some simple, effective techniques that will have you enjoying homegrown celery in no time, even if you’re a complete beginner. Let’s get started!
Grow Your Own Celery: A Beginner’s Guide
Hey there, fellow gardening enthusiasts! Ever thought about growing your own celery? It’s easier than you might think, and the taste of freshly grown celery is absolutely amazing – so much better than what you find in the grocery store. Plus, you’ll know exactly where it came from and what went into growing it. I’m going to walk you through everything you need to know to successfully grow celery in your backyard. Let’s get started!
Choosing the Right Celery Variety
First things first, let’s talk about celery varieties. There are a few different types you can choose from, and the best one for you will depend on your climate and preferences.
* ‘Utah’ varieties: These are probably the most common and widely available. They’re known for their crisp stalks and good flavor. ‘Utah Tall Improved’ is a popular choice.
* ‘Golden Self-Blanching’: This variety is a bit more old-fashioned, but it’s still a good option. It’s called “self-blanching” because the stalks naturally turn a lighter color as they grow, which makes them sweeter and less bitter.
* ‘Giant Red’: If you’re looking for something a little different, try ‘Giant Red’. It has reddish-pink stalks and a slightly stronger flavor.
I personally prefer the ‘Utah’ varieties because they’re reliable and easy to grow. But feel free to experiment and see which one you like best!
Getting Started: From Seed to Seedling
Celery can be a bit tricky to start from seed, but don’t let that scare you off! With a little patience and care, you can definitely do it.
* Timing is key: Celery needs a long growing season, so you’ll need to start your seeds indoors about 10-12 weeks before the last expected frost. I usually start mine in late February or early March.
* Use a seed starting mix: Don’t use regular garden soil for starting seeds. It’s too heavy and can compact, which can prevent the seeds from germinating. Instead, use a seed starting mix that’s light and airy.
* Sow the seeds: Celery seeds are tiny, so be careful not to sow them too thickly. Sprinkle them lightly over the surface of the seed starting mix and gently press them down. Don’t cover them with soil, as they need light to germinate.
* Keep them moist: Celery seeds need consistent moisture to germinate. I like to use a spray bottle to mist the soil regularly. You can also cover the seed tray with a plastic dome or plastic wrap to help retain moisture.
* Provide warmth: Celery seeds germinate best at temperatures between 70-75°F (21-24°C). You can use a heat mat to provide bottom heat.
* Be patient: Celery seeds can take up to 2-3 weeks to germinate, so don’t give up if you don’t see anything happening right away.
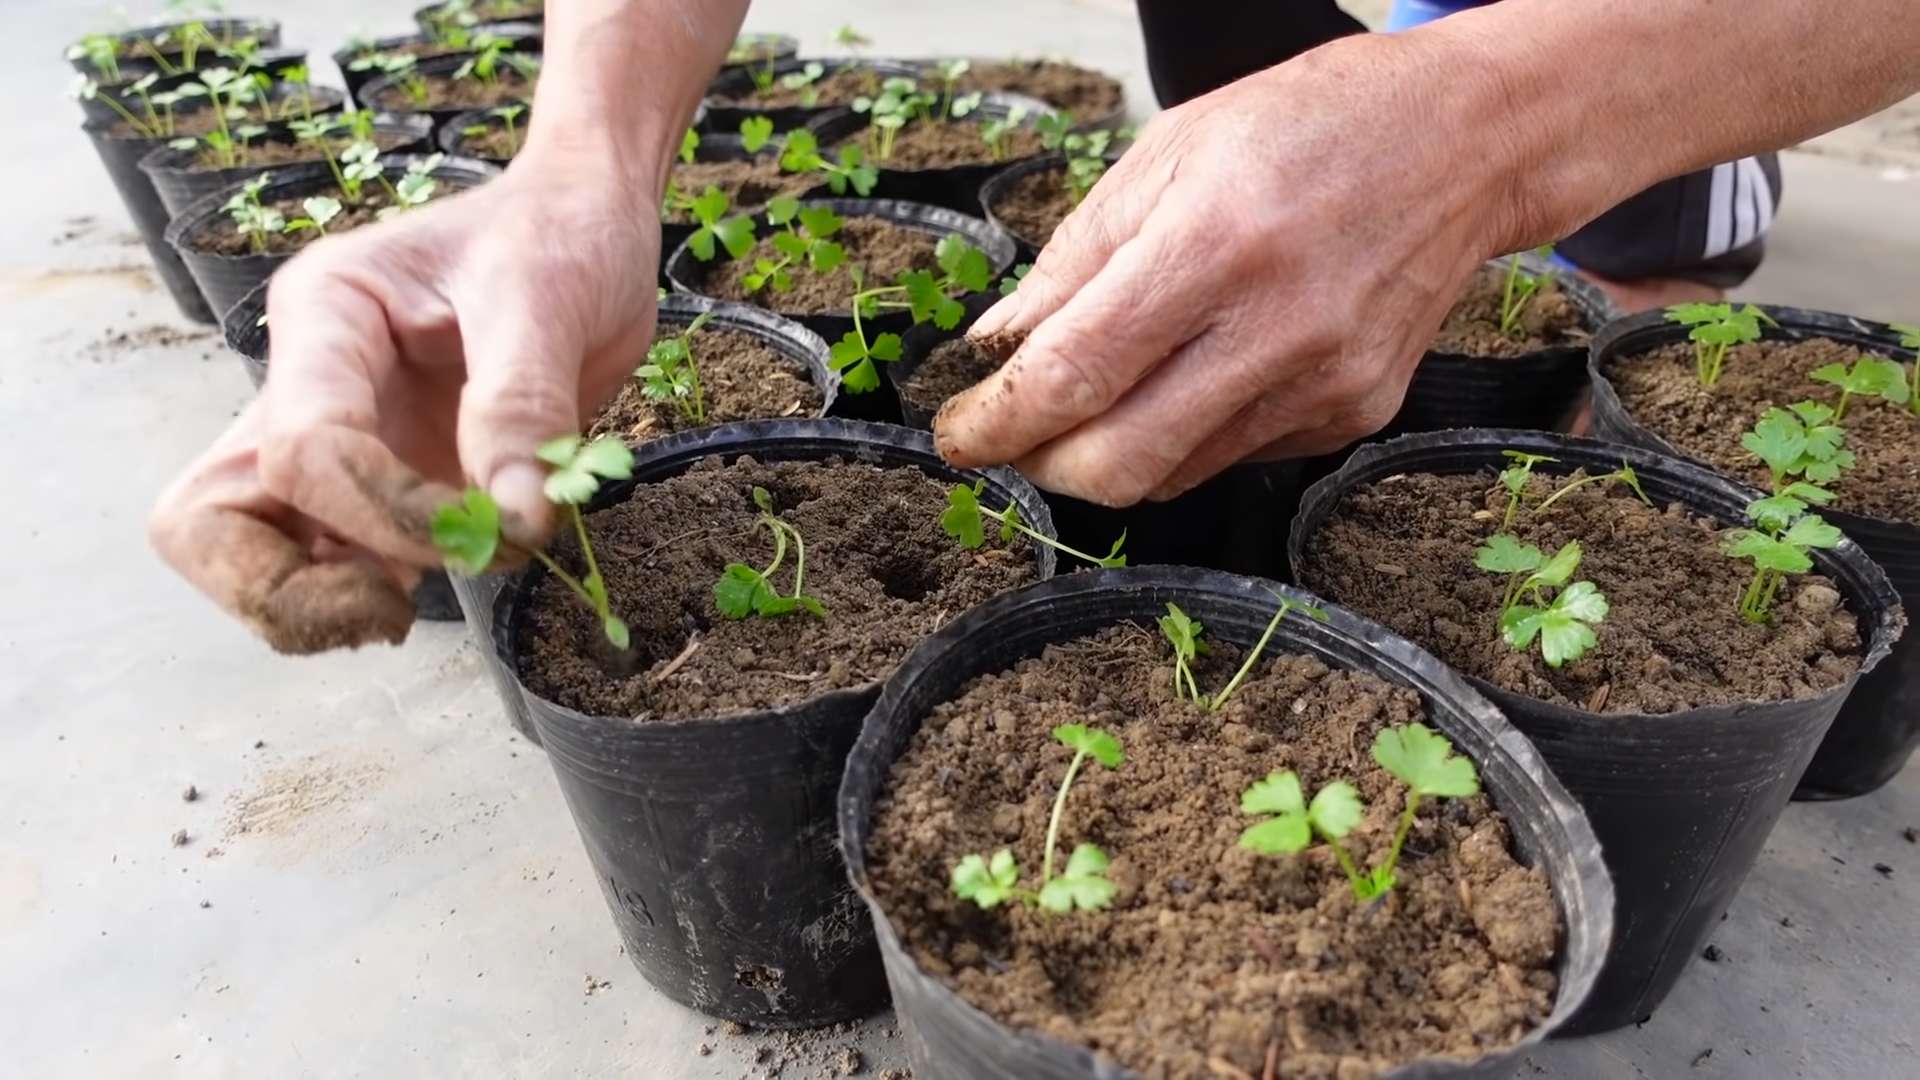
* Thin the seedlings: Once the seedlings have a few true leaves, thin them out so that they’re spaced about 2 inches apart. This will give them room to grow.
* Harden off the seedlings: Before you transplant the seedlings into your garden, you’ll need to harden them off. This means gradually exposing them to outdoor conditions over a period of about a week. Start by putting them outside for a few hours each day, and gradually increase the amount of time they spend outdoors.
Preparing the Garden Bed
Celery needs rich, well-drained soil to thrive. Here’s how to prepare your garden bed:
* Choose a sunny spot: Celery needs at least 6 hours of sunlight per day.
* Amend the soil: Celery is a heavy feeder, so you’ll need to amend the soil with plenty of organic matter. I like to add compost, well-rotted manure, and leaf mold.
* Check the pH: Celery prefers a soil pH between 6.0 and 6.8. You can test your soil pH with a soil testing kit. If your soil is too acidic, you can add lime to raise the pH. If it’s too alkaline, you can add sulfur to lower the pH.
* Ensure good drainage: Celery needs well-drained soil, so make sure your garden bed doesn’t get waterlogged. If your soil is heavy clay, you can improve drainage by adding sand or perlite.
Transplanting the Seedlings
Once your seedlings are hardened off and your garden bed is prepared, it’s time to transplant them.
1. Choose a cloudy day: Transplanting on a cloudy day will help prevent the seedlings from getting stressed.
2. Dig holes: Dig holes that are about the same size as the seedling’s root ball. Space the holes about 8-10 inches apart.
3. Gently remove the seedlings: Carefully remove the seedlings from their containers, being careful not to damage the roots.
4. Place the seedlings in the holes: Place the seedlings in the holes and gently backfill with soil.
5. Water thoroughly: Water the seedlings thoroughly after transplanting.
6. Mulch: Mulch around the seedlings with straw or wood chips to help retain moisture and suppress weeds.
Caring for Your Celery Plants
Celery needs consistent care to grow well. Here’s what you need to do:
* Water regularly: Celery needs plenty of water, especially during hot, dry weather. Aim to keep the soil consistently moist, but not waterlogged. I usually water my celery plants every day or two, depending on the weather.
* Fertilize: Celery is a heavy feeder, so you’ll need to fertilize it regularly. I like to use a balanced organic fertilizer, such as fish emulsion or compost tea. Fertilize every 2-3 weeks.
* Weed regularly: Weeds can compete with celery plants for nutrients and water, so it’s important to weed regularly.
* Blanching (Optional): Blanching celery stalks makes them milder and sweeter. You can blanch celery by mounding soil around the stalks or by wrapping them with paper or cardboard. Start blanching about 2-3 weeks before you plan to harvest. I personally don’t usually blanch my celery, as I like the slightly stronger flavor.
Dealing with Pests and Diseases
Celery is relatively pest-resistant, but there are a few pests and diseases that can affect it.
* Celery leaf tier: This pest can cause damage to the leaves. You can control it by handpicking the caterpillars or by using an organic insecticide.
* Aphids: Aphids are small, sap-sucking insects that can weaken celery plants. You can control them by spraying them with a strong stream of water or by using an insecticidal soap.
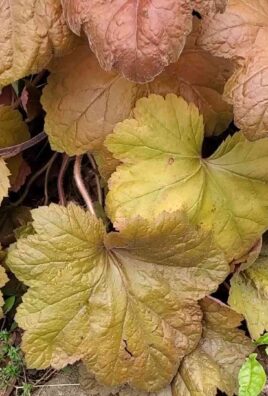
* Celery blight: This fungal disease can cause brown spots on the leaves. You can prevent it by providing good air circulation and by avoiding overhead watering. If you see signs of celery blight, remove the affected leaves and spray the plants with a fungicide.
Harvesting Your Celery
You can start harvesting celery when the stalks are about 6-8 inches tall.
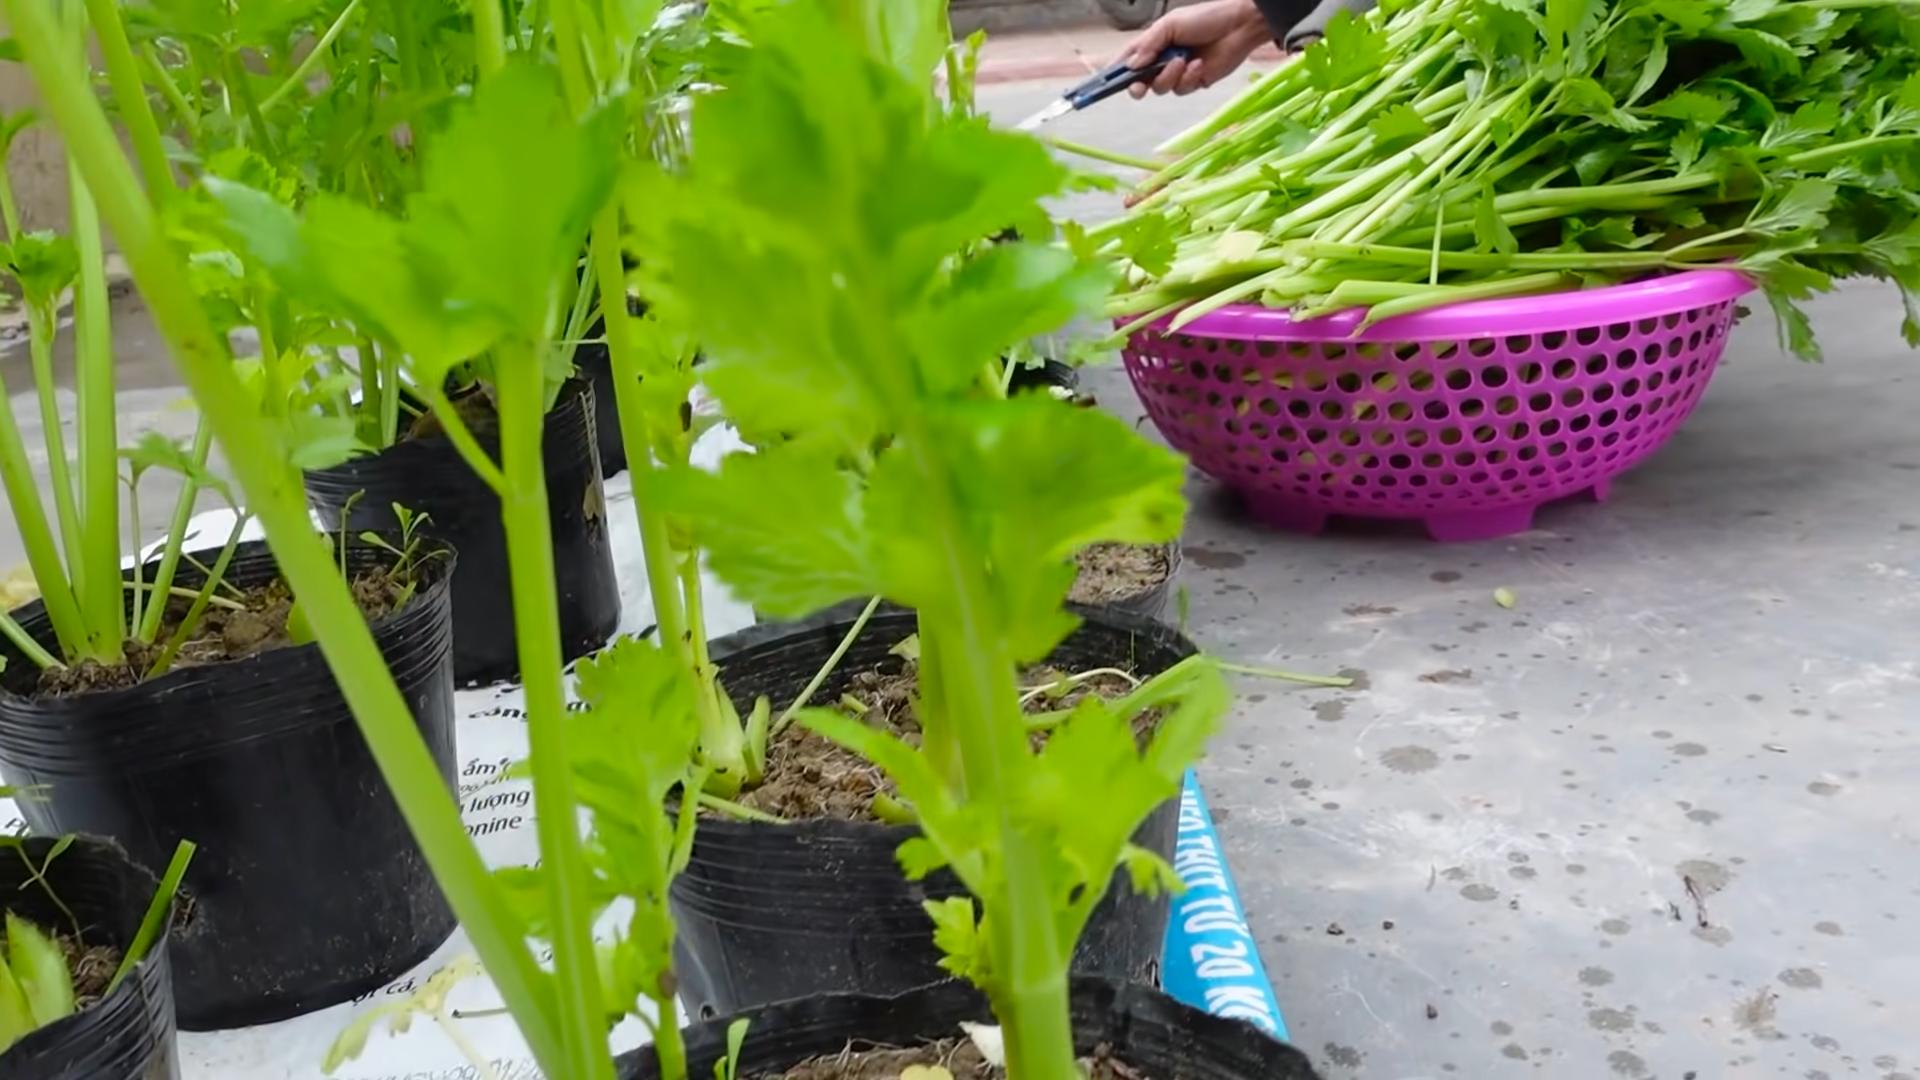
1. Cut the stalks: Use a sharp knife to cut the stalks at the base of the plant.
2. Harvest as needed: You can harvest celery stalks as needed, or you can harvest the entire plant at once.
3. Store properly: Store celery in the refrigerator in a plastic bag or container. It will keep for several weeks.
Enjoying Your Homegrown Celery
Now for the best part – enjoying your homegrown celery! There are so many ways to use it:
* Eat it raw: Celery is a delicious and healthy snack. Dip it in hummus, peanut butter, or your favorite dip.
* Add it to salads: Celery adds a crunchy texture and refreshing flavor to salads.
* Use it in soups and stews: Celery is a key ingredient in many soups and stews.
* Make celery juice: Celery juice is a popular health drink.
* Use the leaves: Don’t throw away the celery leaves! They’re packed with flavor and can be used in soups, stews, and salads. You can also dry them and use them as a seasoning.
Troubleshooting Common Celery Growing Problems
Even with the best care, you might encounter some problems while growing celery. Here are a few common issues and how to address them:
* Stunted growth: If your celery plants are growing slowly or not at all, it could be due to a lack of nutrients, water, or sunlight. Make sure you’re fertilizing regularly, watering deeply, and providing at least 6 hours of sunlight per day.
* Bitter taste: Celery can taste bitter if it’s not watered enough or if it’
Conclusion
So, there you have it! Growing celery in your backyard isn’t just a whimsical gardening project; it’s a gateway to fresher, more flavorful meals, a sustainable lifestyle, and a rewarding connection with nature. We’ve walked you through the process, from selecting the right celery variety to nurturing your plants and harvesting your crisp, green stalks.
Why is this DIY trick a must-try? Because store-bought celery simply can’t compare to the vibrant taste and satisfying crunch of homegrown celery. You control the growing environment, ensuring that your celery is free from harmful pesticides and packed with nutrients. Plus, the satisfaction of harvesting something you’ve nurtured from a tiny seedling is unparalleled. Imagine the pride you’ll feel serving a salad featuring celery you grew yourself!
But the benefits extend beyond taste and pride. Growing your own celery reduces your carbon footprint by minimizing transportation and packaging waste. It also allows you to experiment with different celery varieties, each offering unique flavors and textures.
Ready to take your celery growing to the next level? Consider these variations:
* **Colored Celery:** Explore varieties like ‘Redventure’ for a beautiful and slightly sweeter celery.
* **Container Gardening:** If you’re short on space, grow celery in large containers on your patio or balcony. Just ensure they have adequate drainage.
* **Companion Planting:** Plant celery alongside onions, garlic, or tomatoes to deter pests and improve growth.
* **Celery Juice Focus:** If you’re primarily interested in celery for juicing, focus on varieties known for their high water content and mild flavor.
Don’t be intimidated if you’re a beginner gardener. Celery, while requiring some attention, is a forgiving plant. Start small, follow our guidelines, and don’t be afraid to experiment. The rewards are well worth the effort.
We’re confident that you’ll find growing celery in your backyard to be a fulfilling and delicious experience. Now it’s your turn! Grab your seeds or seedlings, prepare your garden bed, and get ready to enjoy the freshest celery you’ve ever tasted.
We’d love to hear about your celery-growing adventures! Share your tips, successes, and even your challenges in the comments below. Let’s create a community of backyard celery enthusiasts! Let us know what variety of celery you decided to grow. Did you have any pest problems? What did you do to solve them? Your experiences can help others learn and grow (pun intended!). Happy gardening!
Frequently Asked Questions (FAQ)
What is the best time of year to plant celery?
The best time to plant celery depends on your climate. Celery is a cool-season crop, so it thrives in temperatures between 60°F and 70°F (15°C and 21°C). In regions with mild winters, you can plant celery in the fall for a winter or early spring harvest. In colder climates, start seeds indoors 10-12 weeks before the last expected frost and transplant them outdoors after the danger of frost has passed. A general rule of thumb is to plant celery in the spring or early summer for a fall harvest.
How much sunlight does celery need?
Celery needs at least six hours of sunlight per day to thrive. However, in hot climates, providing some afternoon shade can prevent the leaves from scorching. A location with morning sun and afternoon shade is ideal. If you’re growing celery indoors, use grow lights to supplement natural sunlight.
What kind of soil is best for growing celery?
Celery prefers rich, well-drained soil with a pH between 6.0 and 6.8. Amend your soil with compost or well-rotted manure before planting to improve its fertility and drainage. Celery is a heavy feeder, so it needs soil that is rich in organic matter. A slightly acidic soil is ideal for optimal nutrient absorption.
How often should I water celery?
Celery needs consistent moisture to grow properly. Water deeply and regularly, especially during hot, dry weather. Aim to keep the soil consistently moist but not waterlogged. A good rule of thumb is to water when the top inch of soil feels dry to the touch. Mulching around the plants can help retain moisture and suppress weeds.
What are some common pests and diseases that affect celery?
Celery can be susceptible to several pests and diseases, including:
* **Celery Leaf Tier:** These caterpillars feed on celery leaves, causing damage. Handpick them or use Bacillus thuringiensis (Bt) spray.
* **Aphids:** These small insects suck sap from celery leaves, weakening the plant. Spray them with insecticidal soap or neem oil.
* **Celery Blight:** This fungal disease causes brown spots on celery leaves. Improve air circulation around the plants and use a copper-based fungicide.
* **Pink Rot:** This fungal disease causes a pinkish rot at the base of the celery stalk. Avoid overhead watering and ensure good drainage.
Regularly inspect your plants for signs of pests and diseases and take action promptly to prevent them from spreading.
How do I blanch celery?
Blanching celery is a technique used to reduce the bitterness of the stalks. It involves excluding light from the stalks for a few weeks before harvest. You can blanch celery by:
* **Hilling:** Mound soil around the base of the plants, leaving the top leaves exposed.
* **Wrapping:** Wrap the stalks with newspaper, cardboard, or burlap, securing it with twine.
* **Using Blanching Collars:** Purchase or make collars to place around the plants.
Blanching is optional, and some people prefer the stronger flavor of unblanched celery.
When is celery ready to harvest?
Celery is typically ready to harvest 85-120 days after transplanting. The stalks should be at least 6-8 inches long and firm. You can harvest individual stalks as needed or harvest the entire plant at once. To harvest, cut the stalks at the base with a sharp knife.
Can I grow celery from the base of store-bought celery?
Yes, you can regrow celery from the base of store-bought celery. Cut off the base of the celery stalk, leaving about 2 inches of the root end intact. Place the base in a shallow dish of water, ensuring that the cut end is submerged. Place the dish in a sunny location and change the water every day. After a few days, you should see new roots and leaves emerging. Once the roots are well-developed, transplant the celery base into a pot or garden bed. While this method can produce celery, it may not be as robust or productive as growing from seed or seedlings.
How do I store harvested celery?
To store harvested celery, wrap it tightly in plastic wrap or place it in a resealable plastic bag in the refrigerator. Celery can last for several weeks when stored properly. You can also store celery in a container of water in the refrigerator, changing the water every few days.


Leave a Comment