
DIY Furniture Polish: Shine Brighter with Homemade Solutions
Have you ever looked at your beautiful wooden furniture, admired its craftsmanship, and then noticed those dull spots and minor scratches? It’s disheartening, isn’t it? That’s why I’m so excited to share my favorite DIY furniture polish recipes with you today! This isn’t just about saving money; it’s about rediscovering the joy of caring for your cherished possessions and creating a truly sparkling home.
The art of furniture care has a rich history, stretching back centuries. Our ancestors relied on natural ingredients to maintain and enhance the beauty of their wooden pieces, passing down these techniques through generations. These traditional methods often involved simple, readily available materials, resulting in effective and environmentally friendly solutions. And that’s precisely what we’ll be exploring here – simple, effective, and eco-conscious DIY furniture polish options.
In today’s world, filled with commercially produced polishes containing harsh chemicals, it’s refreshing to return to these time-tested methods. Why spend a fortune on store-bought products when you can achieve equally impressive results using ingredients you probably already have in your pantry? Not only will you save money, but you’ll also avoid exposing yourself and your family to potentially harmful chemicals. Plus, there’s a certain satisfaction that comes from creating something yourself, knowing exactly what’s going into your DIY furniture polish and how it will benefit your furniture.
So, let’s dive in and discover how to bring back the shine and protect your treasured furniture with these easy and effective homemade recipes. Get ready to be amazed by the results!
Making Your Own Furniture Polish: A Simple DIY Guide
I’ve always loved the smell of freshly polished furniture, but store-bought polishes can be expensive and often contain harsh chemicals. That’s why I started making my own! It’s super easy, much cheaper, and you can customize it to your liking. Here’s how I do it.
Gathering Your Supplies
- Olive oil: I prefer extra virgin for its richness.
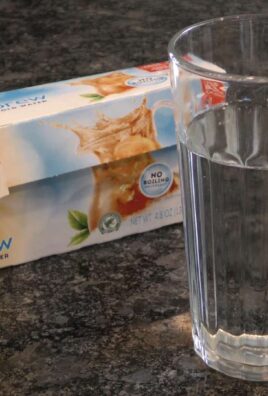
- Lemon juice: Freshly squeezed is best, but bottled works in a pinch.
- Essential oil (optional): This is where you can get creative! Lavender, lemon, or orange are all great choices for a fresh scent. A few drops go a long way.
- Small spray bottle: A glass bottle is ideal, but plastic works too.
- Soft cloths: Microfiber cloths are my favorite for polishing.
- Measuring cups and spoons.
Step-by-Step Instructions: Creating Your Polish
- Measure your ingredients: My go-to recipe is a 2:1 ratio of olive oil to lemon juice. For example, I usually use 2 tablespoons of olive oil and 1 tablespoon of lemon juice. You can adjust this ratio depending on your preference. If you’re using a larger bottle, just maintain the same ratio.
- Combine the oil and lemon juice: In your small bowl, gently whisk together the olive oil and lemon juice until they are well combined. Don’t overmix; a little bit of cloudiness is fine.
- Add essential oil (optional): If you’re using essential oil, add 3-5 drops to the mixture. Start with a smaller amount and add more if needed. Remember, a little goes a long way!
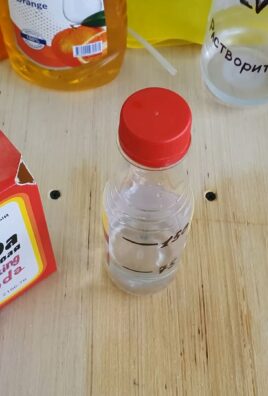
- Pour into the spray bottle: Carefully pour the mixture into your spray bottle. Make sure to leave a little space at the top for air.
- Shake well: Give the bottle a good shake to ensure the ingredients are thoroughly mixed.
Preparing Your Furniture
- Dust the furniture: Before you start polishing, make sure to dust your furniture thoroughly. A dry cloth or a feather duster works well for this. Removing dust first prevents it from getting smeared around while polishing.
- Test in an inconspicuous area: Always test your homemade polish on a small, hidden area of your furniture first. This helps you check for any adverse reactions or discoloration before applying it to the entire piece. Wait a few minutes to see if there are any issues.
Polishing Your Furniture
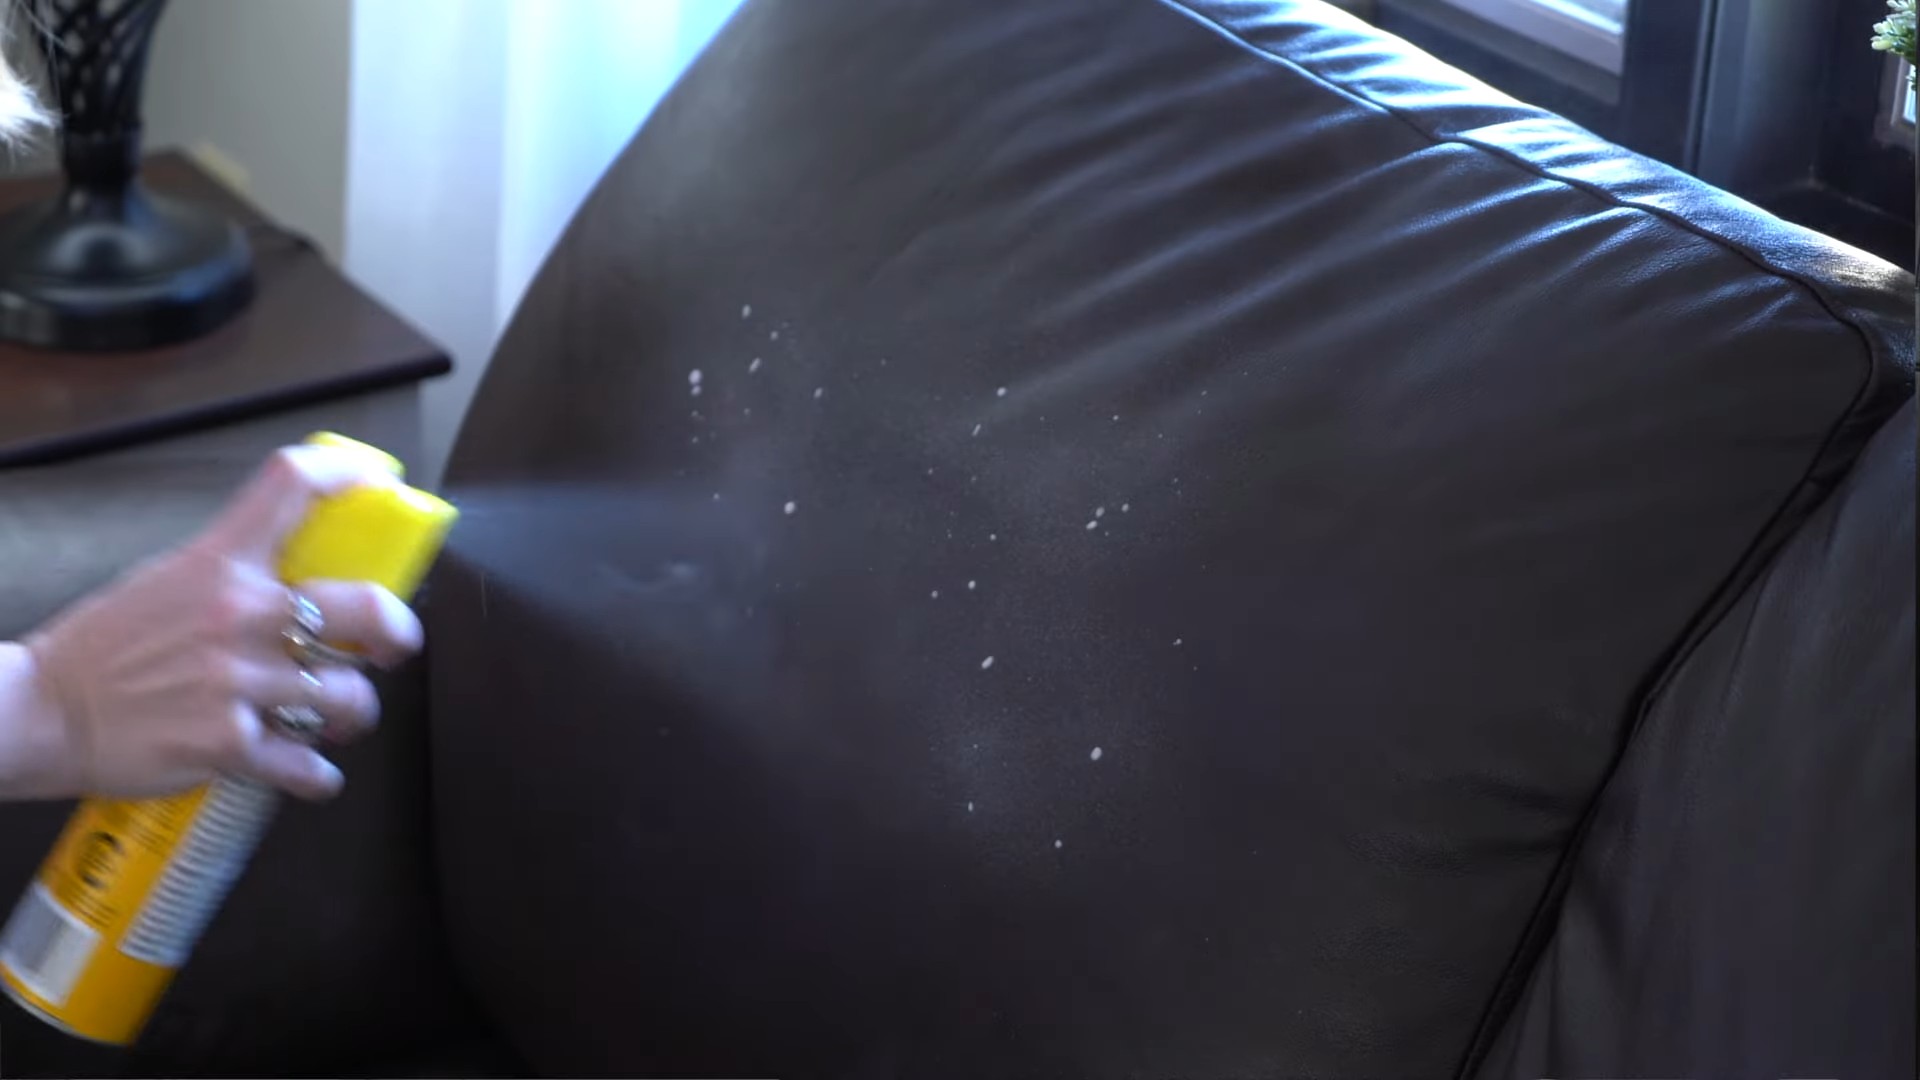
- Spray lightly: Spray a small amount of the polish onto your soft cloth, not directly onto the furniture. A little goes a long way! Over-spraying can leave your furniture looking greasy.
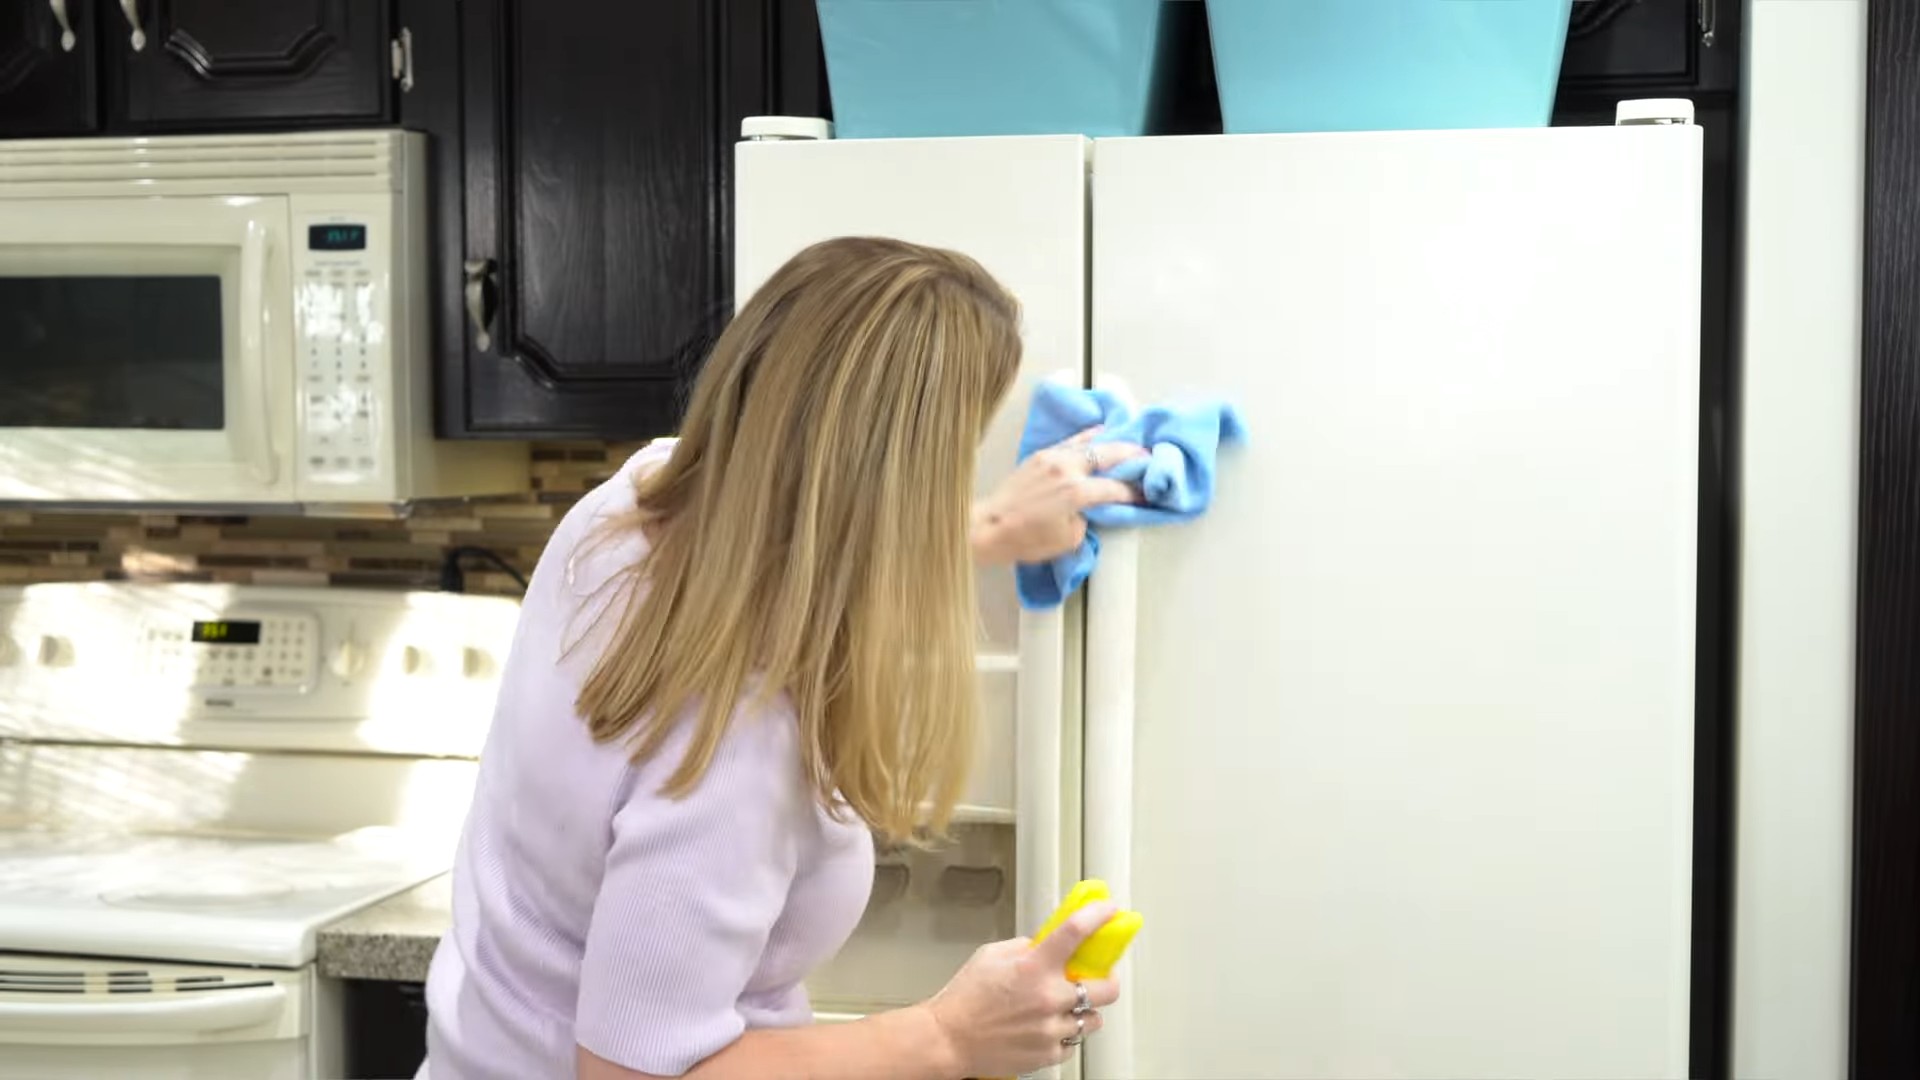
- Wipe in the direction of the wood grain: Gently wipe the polish onto the furniture, following the direction of the wood grain. This helps to prevent streaks and enhances the natural beauty of the wood.
- Buff to a shine: Use a clean, dry cloth to buff the furniture to a beautiful shine. This step is key to removing any excess polish and achieving a polished look.
- Work in sections: Don’t try to polish the entire piece of furniture at once. Work in smaller sections, polishing one area at a time. This ensures even application and prevents the polish from drying before you can buff it.
- Let it dry: Allow the polished furniture to air dry completely before using it or placing anything on it. This prevents smudges and ensures a long-lasting shine.
Tips and Tricks for Success
- Don’t use too much polish: A little goes a long way. Over-polishing can leave your furniture sticky or greasy.
- Avoid polishing in direct sunlight: Direct sunlight can cause the polish to dry too quickly, leading to streaks and unevenness.
- Store your polish properly: Keep your homemade polish in a cool, dark place to extend its shelf life. It should last for several weeks, even months.
- Experiment with different essential oils: Try different essential oils to find your favorite scent. Some popular choices include lavender, tea tree, and peppermint.
- Adjust the ratio to your liking: If you prefer a more oily or lemony polish, adjust the ratio of olive oil to lemon juice accordingly. Experiment until you find the perfect balance for your taste and your furniture.
- For stubborn stains: For more stubborn stains or marks, you might need to use a slightly more abrasive cleaner before polishing. Always test this on a hidden area first.
- Consider the type of wood: Different types of wood may react differently to the polish. Always test a small, inconspicuous area first before applying it to the entire piece.
Troubleshooting
Streaks or Unevenness
If you notice streaks or unevenness after polishing, it’s likely due to using too much polish or not buffing sufficiently. Try using less polish next time and buffing more thoroughly with a clean, dry cloth.
Greasy Residue
A greasy residue indicates that you may have used too much olive oil. Try reducing the amount of olive oil in your next batch and increasing the amount of lemon juice.
Dull Finish
If your furniture has a dull finish after polishing, it might need a deeper clean before polishing. Try using a mild wood cleaner before applying your homemade polish.
Beyond Basic Polish
Adding Beeswax
For an even richer shine and added protection, you can add a small amount of beeswax to your polish. Melt the beeswax gently and stir it into the oil and lemon juice mixture. This will create a more durable polish that helps protect your furniture from scratches and water damage.
Using Different Oils
While olive oil is a great base, you can experiment with other oils like jojoba oil or walnut oil. Each oil has slightly different properties, so you might find that one works better for your furniture than others.
Conclusion
So there you have it – a simple, effective, and surprisingly affordable DIY furniture polish recipe that will leave your wooden furniture gleaming. This method isn’t just about saving money; it’s about achieving a superior shine and protecting your cherished pieces from the harsh chemicals found in many commercial polishes. By using natural ingredients like olive oil and lemon juice, you’re not only enhancing the beauty of your furniture but also contributing to a healthier home environment. This DIY furniture polish is a must-try for anyone who values both practicality and eco-consciousness. The subtle citrus scent adds a refreshing touch, leaving your home smelling as good as your furniture looks.
Beyond the basic recipe, the possibilities for customization are endless. Experiment with different essential oils to personalize the scent. Lavender oil adds a calming aroma, while tea tree oil offers a refreshing and slightly antiseptic quality. For darker woods, consider adding a touch of beeswax to the mixture for a richer, more protective polish. If you find your furniture particularly dry, you might increase the amount of olive oil slightly. Conversely, if you prefer a less oily finish, reduce the oil and increase the lemon juice. Remember, the key is to find the perfect balance that suits your furniture and your personal preference. Don’t be afraid to experiment and discover your own signature blend!
We strongly encourage you to try this DIY furniture polish recipe and share your experience with us! We’d love to hear about your results, any variations you’ve tried, and any tips you’ve discovered along the way. Post your pictures on social media using #DIYFurniturePolish and tag us – we can’t wait to see your beautifully polished furniture! This simple DIY project is a fantastic way to connect with your home, care for your belongings, and enjoy the satisfaction of creating something wonderful with your own hands. It’s a small change that can make a big difference in both the appearance and the well-being of your home.
Remember, regular polishing is key to maintaining the beauty and longevity of your wooden furniture. By incorporating this DIY furniture polish into your regular cleaning routine, you’ll be investing in the long-term health and shine of your cherished pieces. So, gather your ingredients, get polishing, and enjoy the rewarding experience of bringing new life to your furniture with this simple and effective method. You’ll be amazed at the difference!
Frequently Asked Questions
Q: How often should I use this DIY furniture polish?
A: The frequency depends on your furniture’s condition and usage. For lightly used pieces, once a month might suffice. For frequently used furniture, such as dining tables or coffee tables, you might need to polish every two to three weeks. Always test a small, inconspicuous area first to ensure the polish doesn’t damage the finish.
Q: Can I use this polish on all types of wood?
A: While this polish is generally safe for most wood types, it’s crucial to test it on a hidden area first. Some delicate or highly varnished woods might react differently. Avoid using this polish on antique furniture unless you’re certain about its finish and have consulted with a furniture restoration expert. Always err on the side of caution.
Q: What if my furniture is very dusty or dirty before polishing?
A: Before applying the polish, ensure your furniture is clean and dust-free. Use a soft, dry cloth to remove any dust or debris. For stubborn dirt, you can gently wipe the surface with a slightly damp cloth, ensuring it’s completely dry before applying the polish. This will prevent the dirt from scratching the surface during polishing.
Q: Can I store the leftover polish?
A: Yes, you can store leftover polish in an airtight container in a cool, dark place. It should last for several weeks, but it’s always best to check for any signs of spoilage or rancidity before using it. If the smell changes or the consistency seems off, it’s best to discard it and make a fresh batch.
Q: Are there any safety precautions I should take?
A: While the ingredients are generally safe, always ensure proper ventilation when using the polish. Avoid contact with eyes and skin. If contact occurs, rinse thoroughly with water. Keep out of reach of children and pets. Always test a small, inconspicuous area first to check for any adverse reactions before applying to the entire piece of furniture.
Q: What if my furniture is already polished with a commercial product?
A: This DIY polish can be used on furniture already treated with commercial polish, but it’s advisable to clean the surface thoroughly first to remove any residue from the previous product. This will ensure the DIY polish adheres properly and achieves the best results. Again, always test a small area first.
Q: Can I adjust the recipe to make a larger or smaller batch?
A: Absolutely! The recipe is easily scalable. Simply adjust the proportions of the ingredients while maintaining the same ratio. For example, to double the batch, double the amount of olive oil and lemon juice. Remember to adjust the container size accordingly.

Leave a Comment