
Grow Melons at Home: Your Guide to Sweet Success
Growing melons at home might seem daunting, conjuring images of sprawling vines and elusive harvests. But I’m here to tell you that growing melons at home is entirely achievable, even rewarding, with the right know-how! This article is your passport to juicy, sun-ripened melons right from your backyard, balcony, or even a sunny windowsill. Forget expensive grocery store prices and questionable freshness; let’s unlock the secrets to cultivating your own delicious melon patch.
The cultivation of melons boasts a rich history, dating back millennia. Ancient civilizations prized these sweet fruits, incorporating them into their diets and even their rituals. From the Egyptians to the Greeks, melons have held a place of significance, symbolizing abundance and prosperity. Now, you can tap into this ancient tradition and experience the satisfaction of growing your own heritage.
Why Grow Your Own Melons?
There’s something truly special about biting into a melon you’ve nurtured from seed to fruit. Beyond the incredible taste, growing melons at home offers numerous benefits. You control the growing process, ensuring pesticide-free, organically grown produce. You can choose your favorite varieties, experimenting with different flavors and sizes. Plus, the sheer satisfaction of harvesting your own homegrown melons is unparalleled – a true testament to your green thumb!
This article will guide you through every step, from selecting the right seeds and preparing your soil to harvesting and storing your delicious bounty. Get ready to embark on this exciting journey and discover the simple joys of growing melons at home. Let’s get started!
Growing Delicious Melons in Your Backyard: A Step-by-Step Guide
Growing your own melons is incredibly rewarding! It might seem daunting, but with a little patience and these instructions, you’ll be enjoying juicy, sun-ripened melons in no time. I’ve broken it down into manageable steps, so let’s get started!
Phase 1: Planning and Preparation
- Choose your melon variety: Consider your climate and space. Smaller varieties like cantaloupes or honeydews are great for smaller gardens, while watermelons need more room to sprawl. Check seed packets for information on days to maturity and space requirements.
- Select a sunny spot: Melons need at least six to eight hours of direct sunlight daily. Choose a location with well-drained soil. Poor drainage can lead to root rot.
- Prepare the soil: Melons thrive in rich, fertile soil. Amend your soil with compost or well-rotted manure to improve drainage and nutrient content. A soil test can help determine if you need to add any specific nutrients.
- Gather your supplies: You’ll need melon seeds, gardening gloves, a trowel or small shovel, watering can, mulch (straw or shredded leaves work well), and possibly a trellis or support system depending on the variety.
Phase 2: Sowing the Seeds
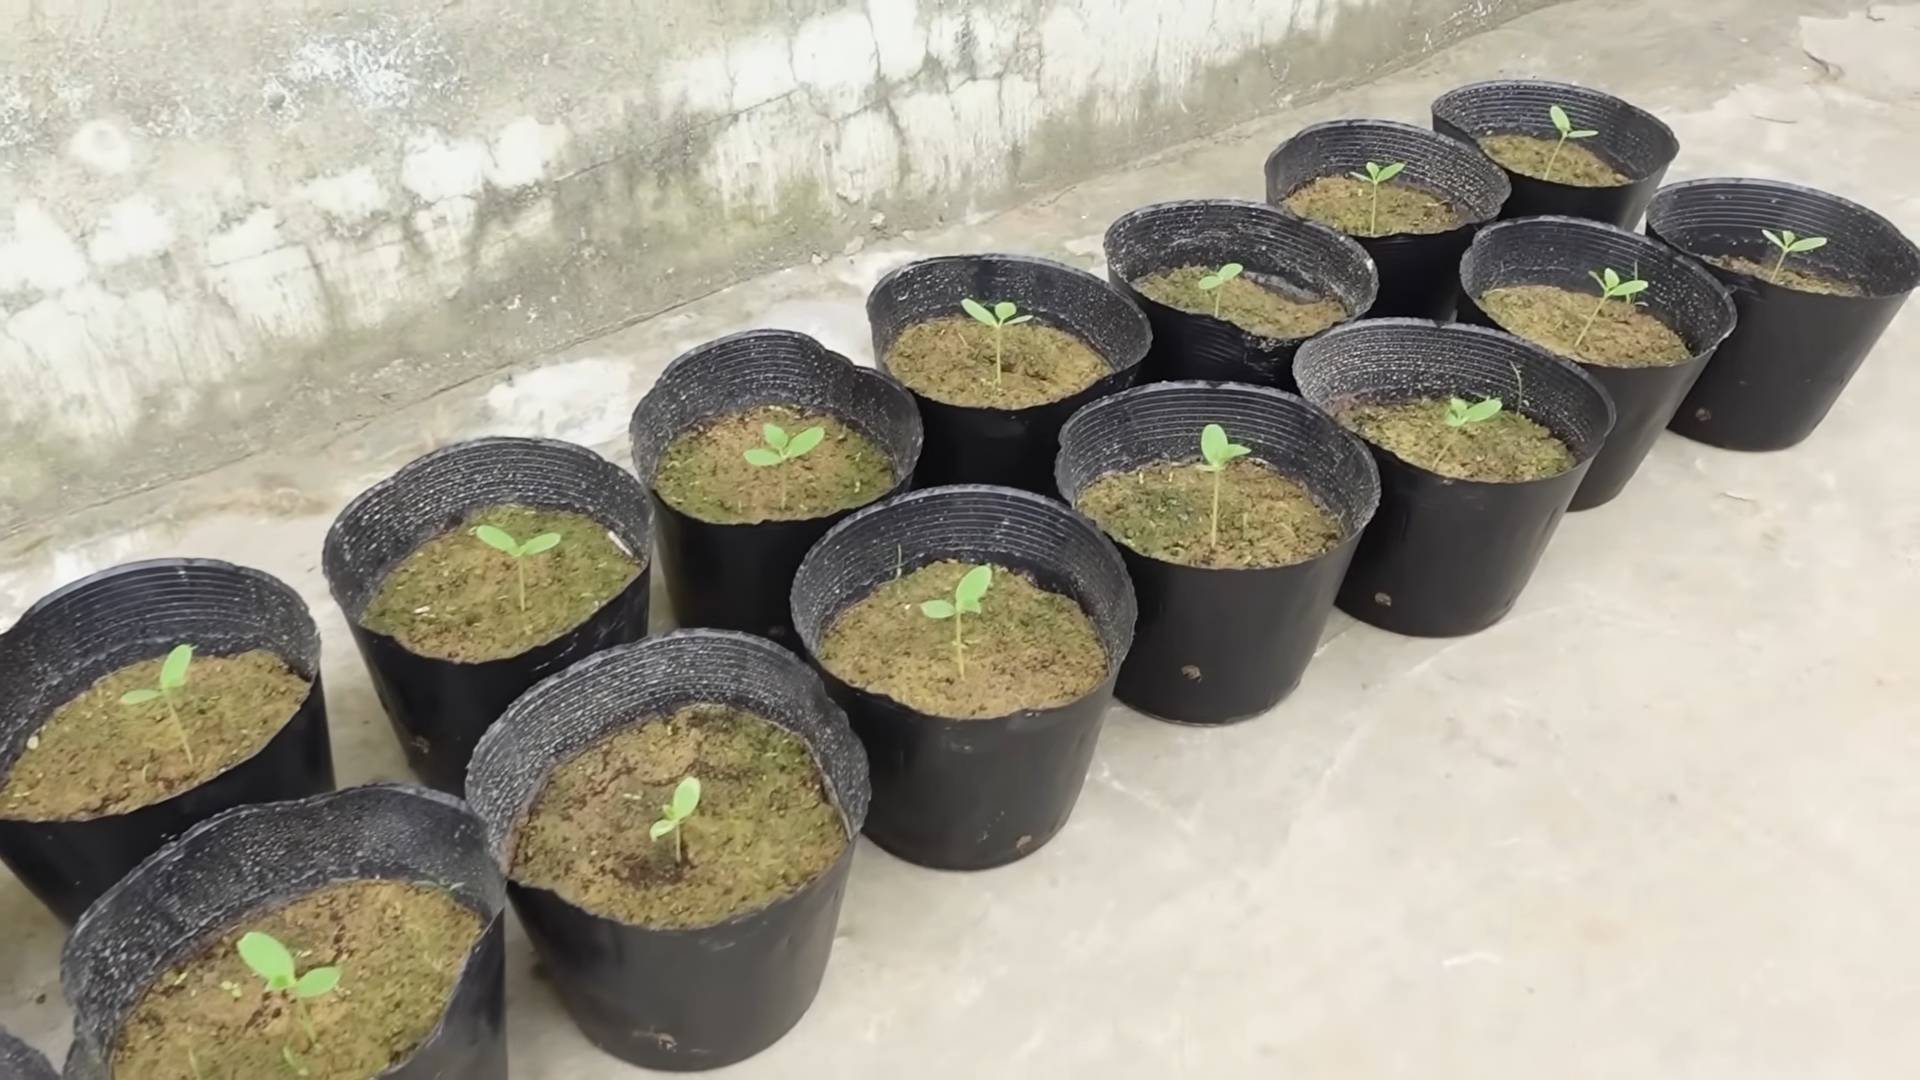
- Start seeds indoors (optional): For an earlier harvest, start seeds indoors 3-4 weeks before the last expected frost. Use small pots or seed trays filled with seed-starting mix. Plant seeds about ½ inch deep and keep the soil consistently moist but not soggy.
- Direct sowing: Alternatively, you can sow seeds directly into the garden after the last frost. Plant seeds about 1 inch deep and 2-3 feet apart (spacing depends on the variety – check the seed packet). If planting multiple seeds per hill, thin to the strongest seedling once they’ve germinated.
- Keep them warm: Melons need warm soil to germinate. If you’re direct sowing, consider covering the area with clear plastic to trap heat and moisture. Remove the plastic once the seedlings emerge.
- Maintain consistent moisture: Water regularly, keeping the soil consistently moist but not waterlogged. Overwatering can lead to fungal diseases.
Phase 3: Growth and Care
- Thinning: If you planted multiple seeds per hill, thin to the strongest seedling once they have a few true leaves. This gives the remaining plant more space to grow.
- Watering: Water deeply and less frequently rather than shallowly and often. This encourages deep root growth. Water at the base of the plant to avoid wetting the leaves, which can increase the risk of fungal diseases.
- Mulching: Apply a layer of mulch around the plants to help retain moisture, suppress weeds, and regulate soil temperature. Keep the mulch away from the stems to prevent rot.
- Fertilizing: Feed your melon plants with a balanced fertilizer every few weeks, following the instructions on the package. Avoid over-fertilizing, as this can lead to excessive leaf growth at the expense of fruit production.
- Pest and disease control: Regularly inspect your plants for pests and diseases. Address any problems promptly using appropriate organic or chemical controls. Good air circulation can help prevent fungal diseases.
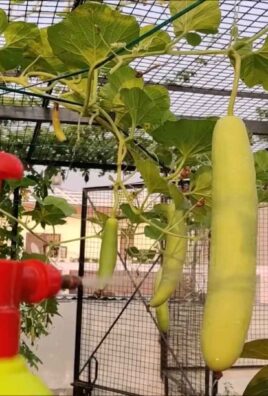
- Support (if needed): Some melon varieties, especially watermelons, require support. Use a trellis or lay the vines on straw or other ground cover to prevent the fruit from rotting on the ground.
- Pollination: Most melon varieties are pollinated by bees. If you have few bees in your area, you may need to hand-pollinate by transferring pollen from the male flowers to the female flowers using a small brush.
Phase 4: Harvesting
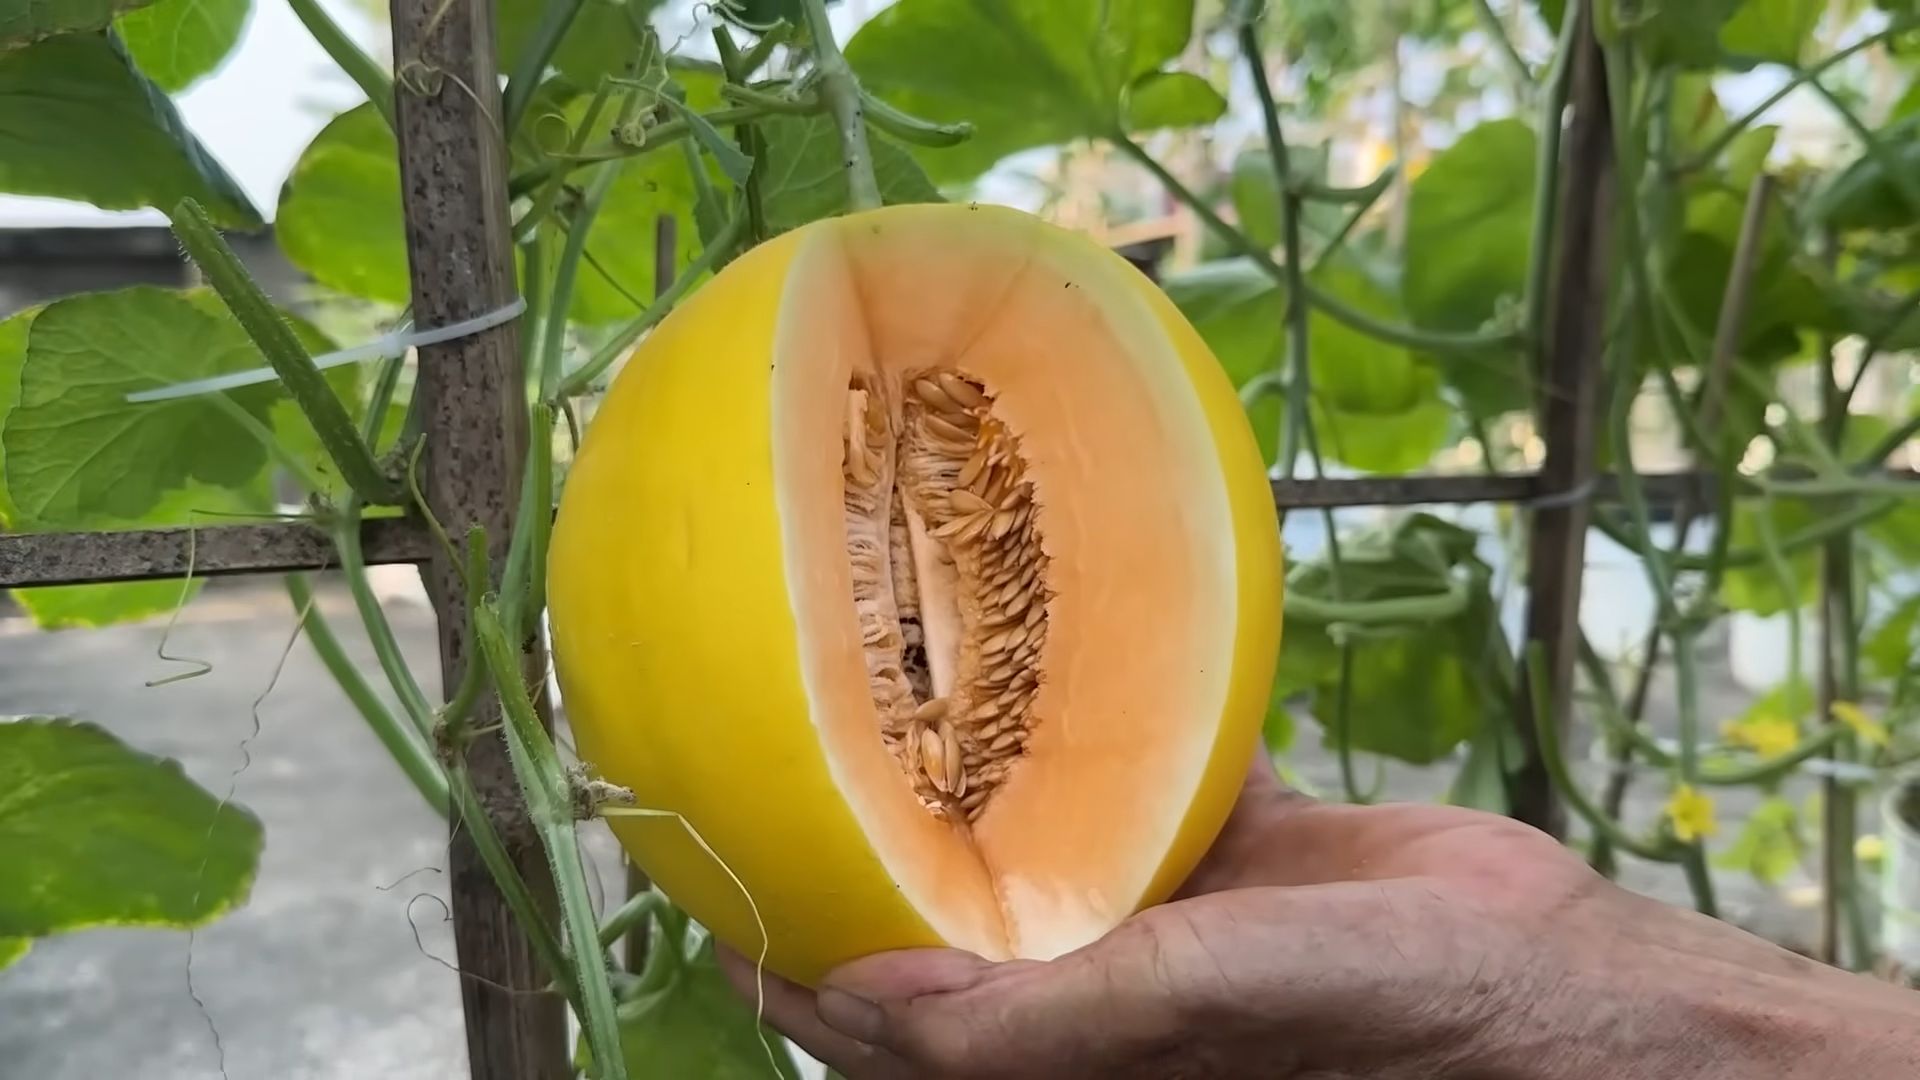
- Check for ripeness: The best way to determine ripeness is to check the fruit itself. Look for the characteristic color and aroma for the specific melon variety you’re growing. Gently squeeze the melon; it should yield slightly to pressure.
- Harvesting: Once ripe, carefully cut the melon from the vine using a sharp knife or pruning shears. Leave a short stem attached to the fruit.
- Curing: Allow the harvested melons to cure at room temperature for a few days. This allows the sugars to develop fully, enhancing the flavor.
Troubleshooting
Common Melon Problems and Solutions:
- Yellowing leaves: Could indicate nutrient deficiency, overwatering, or underwatering. Check your watering schedule and consider a soil test.
- Powdery mildew: A fungal disease that appears as a white powdery coating on leaves. Improve air circulation and consider using a fungicide.
- Fruit rot: Often caused by poor drainage or contact with the soil. Ensure good drainage and use mulch or support systems to keep fruit off the ground.
- Pest infestations: Aphids, squash bugs, and other pests can damage melon plants. Use appropriate pest control methods, such as insecticidal soap or neem oil.
Remember, patience is key! Growing melons takes time and effort, but the taste of a homegrown melon is unbeatable. Happy gardening!
Conclusion
So there you have it! Growing your own melons at home, once considered a daunting task, is now within everyone’s reach. This DIY approach, focusing on simple techniques and readily available materials, unlocks the joy of harvesting sweet, juicy melons right from your backyard or even a sunny balcony. The satisfaction of biting into a melon you nurtured from seed to ripeness is unparalleled. This method offers a rewarding experience, connecting you with nature and providing a delicious, healthy treat. Beyond the taste, growing your own melons allows you to control the quality, ensuring pesticide-free, naturally grown fruit. It’s a sustainable choice, reducing your carbon footprint associated with commercially grown and transported produce. This DIY melon-growing project is a must-try for anyone looking to enhance their gardening skills, enjoy fresh, flavorful produce, and experience the simple pleasures of homegrown goodness. It’s a project that yields far more than just melons; it cultivates patience, a deeper appreciation for nature, and a sense of accomplishment that’s truly fulfilling.
You can experiment with different melon varieties, exploring the unique flavors and textures each offers. Consider trying cantaloupes, honeydews, watermelons, or even more exotic varieties like Galia or Piel de Sapo melons. Adjust the growing conditions based on the specific needs of your chosen melon type. For instance, watermelons require more space than cantaloupes. Furthermore, you can adapt the techniques to suit your available space. Vertical gardening techniques can be employed for smaller spaces, maximizing yield while minimizing footprint. Don’t be afraid to experiment with different soil compositions and fertilizers to optimize growth. Remember, observation is key; pay close attention to your plants, adjusting your approach as needed. The beauty of this DIY method lies in its adaptability; it’s a journey of learning and experimentation, resulting in a delicious reward.
We strongly encourage you to embark on this rewarding journey of growing your own melons. Share your experiences, successes, and even your challenges with us and other gardening enthusiasts. Post pictures of your thriving melon plants and the bountiful harvest on social media using #GrowMelonsAtHome. Let’s create a vibrant community of home melon growers, sharing tips, tricks, and celebrating the joy of homegrown goodness together. The more we share, the more we learn, and the more we can inspire others to experience the magic of growing their own delicious melons. Don’t hesitate; start planting today and savor the sweet taste of success!
Frequently Asked Questions
What type of soil is best for growing melons?
Melons thrive in well-draining, fertile soil with a slightly acidic pH level (around 6.0-6.8). Amend heavy clay soils with compost or other organic matter to improve drainage. Sandy soils may benefit from the addition of peat moss or other organic materials to retain moisture. Regular soil testing can help you determine the optimal soil composition for your specific location and melon variety. A soil test kit can be easily purchased online or at most garden centers.
How much sunlight do melons need?
Melons are sun-worshippers! They need at least six to eight hours of direct sunlight per day to thrive. Choose a location in your garden or on your balcony that receives ample sunlight throughout the day. Insufficient sunlight can lead to poor fruit development and reduced yields. Consider the sun’s path throughout the day when selecting your planting location.
When is the best time to plant melon seeds?
The best time to plant melon seeds depends on your climate. In warmer climates, you can direct sow seeds after the last frost. In cooler climates, it’s best to start seeds indoors six to eight weeks before the last expected frost, transplanting seedlings outdoors once the danger of frost has passed. Always check your local frost dates to determine the optimal planting time for your region.
How often should I water my melon plants?
Consistent watering is crucial for healthy melon growth. Water deeply and regularly, especially during dry periods. Aim to keep the soil consistently moist but not waterlogged. Overwatering can lead to root rot, while underwatering can stress the plants and reduce yields. Mulching around the plants can help retain soil moisture and suppress weeds.
What are some common problems when growing melons?
Common problems include pests like aphids, squash bugs, and vine borers. Regularly inspect your plants for signs of pests and diseases. Use appropriate pest control methods, such as insecticidal soap or neem oil, to address infestations. Fungal diseases, such as powdery mildew, can also affect melon plants. Ensure good air circulation around the plants to prevent fungal growth. Proper spacing between plants can also help prevent the spread of diseases. Early detection and prompt action are key to managing these issues effectively.
How do I know when my melons are ripe?
Ripe melons will typically have a deep color, a sweet aroma, and a slightly soft feel when gently pressed. The stem near the fruit will often detach easily when the melon is ready for harvest. The specific signs of ripeness can vary depending on the melon variety. Consult a reliable gardening resource or seed packet for specific information on the ripeness indicators for your chosen melon type. Don’t be afraid to gently test a few melons to determine the optimal harvest time. Remember, patience is key; allow the melons to fully ripen on the vine for the best flavor and texture.
Leave a Comment