
Planting Taro at Home: Your Guide to a Thriving Tropical Harvest
Planting taro at home might sound daunting, but I promise you, it’s far more achievable than you think! This comprehensive guide will walk you through everything you need to know to successfully cultivate this fascinating and delicious root vegetable, right in your own backyard. Forget expensive grocery store prices and enjoy the unparalleled satisfaction of harvesting your own homegrown taro.
Taro, a staple crop in many Pacific Island cultures, holds a rich history and cultural significance. For centuries, it’s been a cornerstone of Polynesian diets, deeply intertwined with their traditions and ceremonies. Now, you can experience the joy of growing this historically important plant yourself, adding a touch of cultural richness to your garden.
Why Grow Your Own Taro?
Beyond its cultural significance, planting taro at home offers numerous practical benefits. Firstly, you’ll have access to fresh, high-quality taro whenever you want. Imagine the delicious possibilities – from hearty stews to vibrant poi! Secondly, you’ll be reducing your carbon footprint by sourcing your food locally. And finally, there’s the immense satisfaction of nurturing a plant from a tiny corm to a bountiful harvest. It’s a rewarding experience that connects you to the earth and your food in a profound way.
This article will cover everything from selecting the right corms and preparing the soil to understanding the specific needs of taro plants, including watering, fertilization, and pest control. We’ll even explore some creative ways to incorporate your homegrown taro into delicious recipes. So, let’s get started on your journey of planting taro at home and unlock the secrets to a thriving tropical harvest!
Planting Taro at Home: A Comprehensive Guide
I’ve always loved the versatility of taro, from its delicious root to its stunning foliage. Growing it at home might seem daunting, but trust me, it’s surprisingly straightforward! This guide will walk you through the entire process, from selecting the right corms to harvesting your own homegrown taro.
Choosing Your Taro Corms
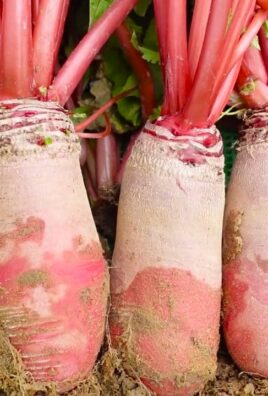
- Select healthy corms: Look for firm, plump corms free from bruises, rot, or signs of disease. Avoid any that feel soft or mushy.
- Size matters: While smaller corms will work, larger ones (at least 2-3 inches in diameter) generally produce better results and a quicker harvest. They have more stored energy to fuel initial growth.
- Multiple eyes: Each “eye” on the corm is a potential growing point. Choose corms with several visible eyes for a more robust plant and increased yield.
- Source your corms wisely: If possible, source your corms from a reputable nursery or garden center to ensure disease-free starts. Avoid using corms from grocery stores, as they may be treated with chemicals that inhibit growth.
Preparing for Planting
- Gather your supplies: You’ll need your chosen taro corms, potting mix (a well-draining mix is crucial), pots (at least 6 inches in diameter for each corm), gardening gloves (taro sap can irritate skin), and a watering can.
- Prepare the potting mix: Use a high-quality potting mix that retains moisture but also allows for excellent drainage. You can amend your mix with perlite or vermiculite to improve drainage if needed. Poor drainage is a common cause of taro root rot.
- Choose your containers: Taro plants can grow quite large, so select pots that are appropriately sized. Larger pots allow for better root development and larger harvests. Ensure the pots have drainage holes to prevent waterlogging.
Planting Your Taro Corms
- Planting depth: Plant your corms with the eyes facing upwards, about 2-3 inches deep in the prepared potting mix. Don’t bury them too deeply, as this can hinder sprouting.
- Spacing: If planting multiple corms in a single pot, space them adequately to allow for growth. Aim for at least 6-8 inches between corms.
- Gentle watering: After planting, gently water the soil until it’s evenly moist but not soggy. Avoid overwatering, as this can lead to root rot.
- Location, location, location: Place your potted taro in a location that receives partial shade to full sun. At least 6 hours of sunlight per day is ideal. Avoid direct, intense midday sun, especially in hot climates, as this can scorch the leaves.
Ongoing Care and Maintenance
- Watering: Water regularly, keeping the soil consistently moist but not waterlogged. Allow the top inch or two of soil to dry out slightly between waterings. The frequency of watering will depend on your climate and the size of your pot.
- Fertilizing: Taro plants are heavy feeders. Feed them every 2-4 weeks with a balanced liquid fertilizer diluted to half strength. Follow the instructions on your chosen fertilizer carefully.
- Pest and disease control: Regularly inspect your plants for pests and diseases. Common pests include aphids and spider mites. Treat any infestations promptly with an appropriate insecticide or miticide. Good air circulation can help prevent fungal diseases.
- Weeding: Keep the area around your plants free of weeds to prevent competition for nutrients and water.
- Support (optional): As your taro plants grow, they may need support, especially if they are tall varieties. You can use stakes or other supports to prevent the plants from flopping over.
Harvesting Your Taro
- Harvest time: Taro corms are typically ready for harvest 8-12 months after planting, depending on the variety and growing conditions. The corms are ready when the leaves begin to yellow and die back.
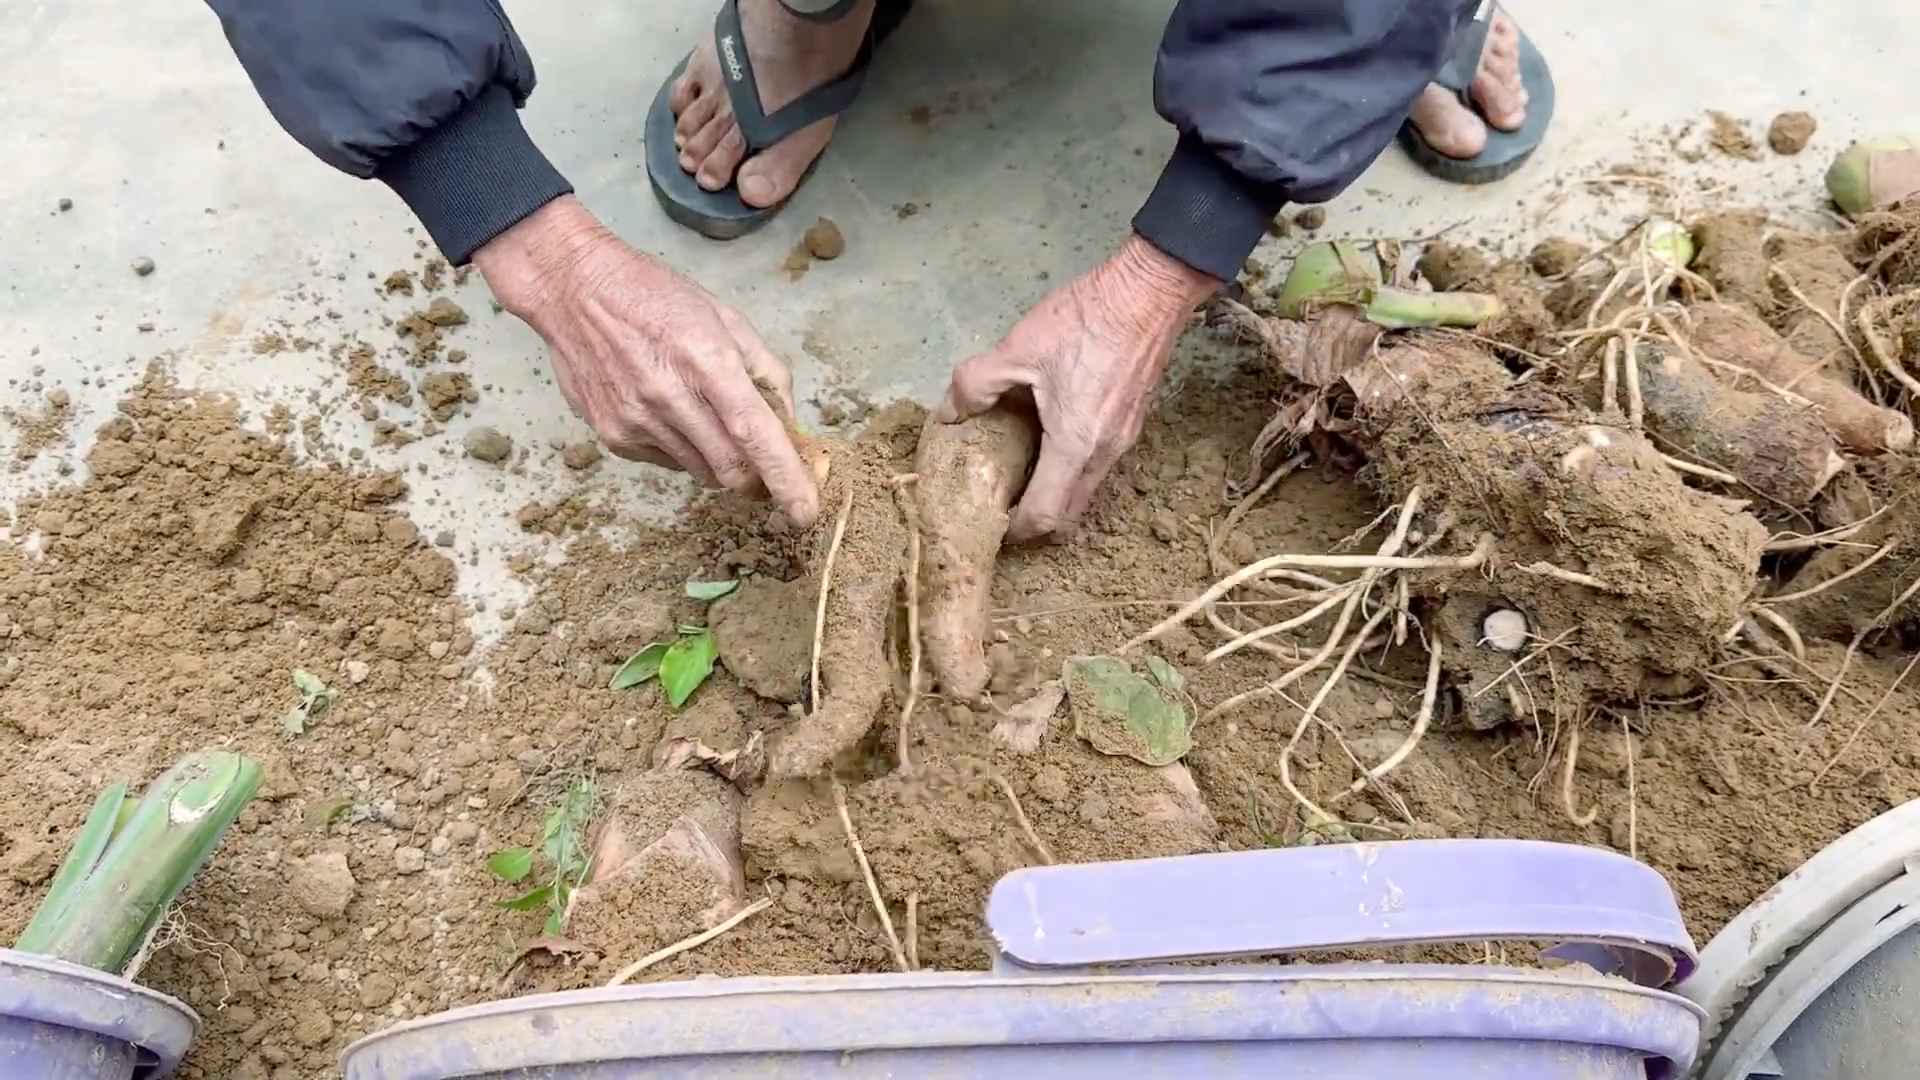
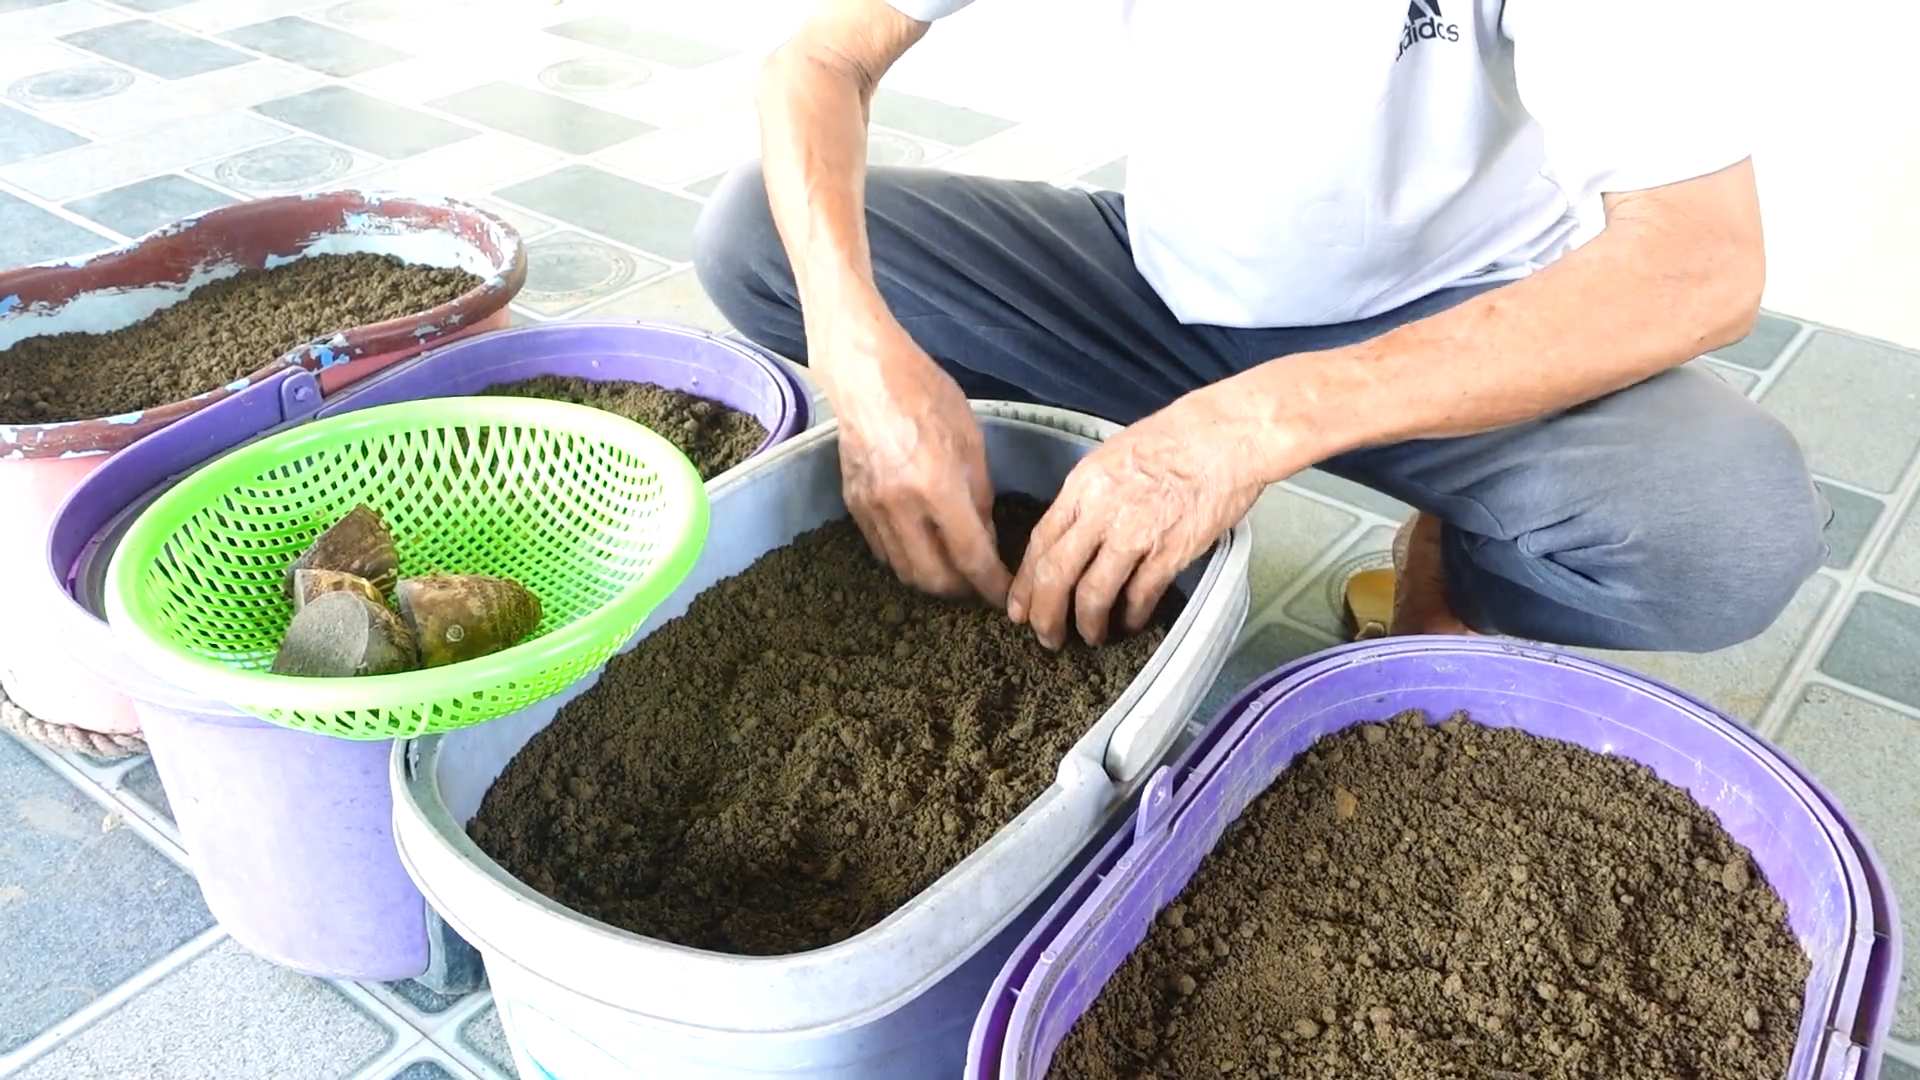
- Harvesting technique: Carefully dig around the base of the plant to avoid damaging the corms. Lift the entire plant from the pot or ground. Gently brush off excess soil and separate the corms.
- Cleaning and storage: Wash the harvested corms thoroughly to remove any remaining soil. Allow them to dry completely before storing them in a cool, dry, and dark place. Taro corms can be stored for several weeks or even months under the right conditions.
Troubleshooting Common Taro Growing Problems
Yellowing Leaves:
Yellowing leaves can indicate several issues, including nutrient deficiencies, overwatering, underwatering, or pest infestations. Check your watering practices, fertilizer regime, and inspect for pests. Adjust accordingly.
Root Rot:
Root rot is a serious problem, often caused by overwatering or poor drainage. Ensure your pots have adequate drainage holes and avoid overwatering. If root rot is suspected, remove the affected plant and discard it to prevent the spread of disease.
Slow Growth:
Slow growth can be due to insufficient sunlight, nutrient deficiencies, or cold temperatures. Ensure your plants receive adequate sunlight and fertilize regularly. Protect them from frost or cold temperatures if necessary.
With a little patience and care, you can successfully grow your own delicious and nutritious taro at home. Happy gardening!
Conclusion
So there you have it! A comprehensive guide to successfully planting taro at home. This DIY approach to growing your own taro offers numerous advantages, making it a must-try for home gardeners of all levels. Not only is it incredibly rewarding to nurture these plants from tiny corms to mature, starchy tubers, but it also allows you to control the quality and freshness of your taro, ensuring a superior taste and texture compared to store-bought options. You’ll be amazed at the vibrant green foliage and the satisfying feeling of harvesting your own homegrown taro. The process is surprisingly straightforward, requiring minimal specialized equipment and readily available materials. Plus, the potential for experimentation is endless!
Beyond the basic method outlined, there are several exciting variations you can explore. Consider experimenting with different types of taro corms, each offering unique flavor profiles and growth characteristics. Some varieties are better suited to specific climates, so research your local conditions to find the perfect match. You can also experiment with different planting mediums, such as coco coir or a well-draining soil mix enriched with compost. For those with limited space, consider container gardening – taro adapts well to pots, provided they are sufficiently large and well-drained. Furthermore, exploring companion planting techniques can enhance the growth and health of your taro plants. Consider planting them alongside nitrogen-fixing plants to improve soil fertility.
Ultimately, the journey of planting taro at home is a rewarding experience that connects you with nature and provides you with a delicious, healthy harvest. We strongly encourage you to give this DIY project a try. Share your experiences, successes, and even your challenges – we’d love to hear from you! Post pictures of your thriving taro plants on social media using #HomegrownTaro and tag us. Let’s build a community of home taro growers, sharing tips, tricks, and the joy of harvesting our own delicious, homegrown taro. Remember, the most important ingredient is your enthusiasm and dedication to nurturing these fascinating plants. Happy gardening!
Frequently Asked Questions (FAQs)
What type of soil is best for planting taro?
Taro thrives in well-drained, fertile soil that is rich in organic matter. A slightly acidic to neutral pH (6.0-7.0) is ideal. Avoid heavy clay soils that retain too much water, as this can lead to root rot. Amend heavy clay soils with compost or other organic materials to improve drainage and aeration. A mix of garden soil, compost, and perlite or vermiculite works well.
How much sunlight does taro need?
Taro prefers partial shade to full sun. While it can tolerate full sun in cooler climates, in hotter regions, afternoon shade is beneficial to prevent leaf scorch. Aim for at least 6 hours of sunlight per day, but protect the plants from intense midday sun.
How often should I water my taro plants?
Water your taro plants regularly, keeping the soil consistently moist but not waterlogged. The frequency of watering will depend on your climate, soil type, and the size of your plants. Check the soil moisture regularly by inserting your finger a couple of inches into the soil. Water when the top inch feels dry. Avoid overhead watering, as this can promote fungal diseases.
How long does it take for taro to mature?
The time it takes for taro to mature depends on the variety and growing conditions. Generally, it takes 6-12 months for the corms to reach a harvestable size. You can start harvesting smaller corms earlier, but the larger corms will have a more developed flavor and texture.
Can I grow taro in containers?
Yes, you can successfully grow taro in containers. Choose large containers with ample drainage holes to prevent waterlogging. Use a well-draining potting mix and ensure the containers are large enough to accommodate the mature plant’s root system. Larger containers will allow for larger corms to develop.
What are the common pests and diseases that affect taro?
Taro can be susceptible to various pests and diseases, including taro leaf blight, nematodes, and aphids. Good sanitation practices, proper watering, and good air circulation can help prevent many problems. If pests or diseases occur, consult your local agricultural extension office for advice on appropriate control measures. Organic pest control methods are often effective.
When is the best time to harvest taro?
The best time to harvest taro is after 6-12 months, depending on the variety and growing conditions. The corms are ready for harvest when they are firm and have reached a desirable size. You can harvest individual corms as needed, leaving the rest to continue growing. Harvesting is best done when the soil is moist to make it easier to remove the corms without damaging them.
Can I propagate taro from cuttings?
While taro is primarily propagated from corms, you can also propagate it from stem cuttings. However, this method is less reliable than using corms. Take cuttings from healthy stems, ensuring each cutting has at least one node. Plant the cuttings in moist soil and keep them warm and humid until roots develop. This method is best suited for experienced gardeners.
What are the nutritional benefits of homegrown taro?
Homegrown taro is a nutritious root vegetable packed with vitamins, minerals, and antioxidants. It’s a good source of carbohydrates, dietary fiber, vitamin C, potassium, and manganese. Growing your own taro ensures you have access to fresh, nutrient-rich tubers without the use of harmful pesticides or preservatives. The taste is also superior to store-bought taro.
What should I do with my harvested taro?
Harvested taro corms can be stored in a cool, dark, and dry place for several weeks. For longer storage, you can peel and boil the corms, then freeze them for later use. Taro can be used in a variety of dishes, from soups and stews to side dishes and desserts. Experiment with different recipes to discover your favorite ways to enjoy your homegrown taro.
Leave a Comment