
Aluminum Foil Hacks: Who knew that the shiny roll sitting in your kitchen drawer held so much potential beyond just wrapping leftovers? I’m constantly amazed by the versatility of everyday items, and aluminum foil is definitely a superstar in that category. For centuries, metal foils have been used in various cultures, from decorative applications in ancient Egypt to protective layers in medieval armor. But today, we’re ditching the pharaohs and knights and diving headfirst into the wonderful world of home gardening!
Are you tired of battling garden pests, struggling to germinate seeds, or watching your precious plants wither under the scorching sun? You’re not alone! Many gardeners face these challenges, and that’s where these clever aluminum foil hacks come in. I’ve compiled a list of easy, affordable, and incredibly effective DIY tricks that will transform your gardening experience. From deterring pesky critters to boosting sunlight exposure, these hacks will help you cultivate a thriving garden without breaking the bank. So, grab your roll of aluminum foil, and let’s get ready to unleash its hidden powers in your garden!
Aluminum Foil Hacks: Unleash the Unexpected Power of Your Kitchen Roll!
Hey there, fellow DIY enthusiasts! I’m always on the lookout for clever ways to use everyday items, and let me tell you, aluminum foil is a true unsung hero. Forget just wrapping leftovers – this stuff is a powerhouse of potential! I’m going to share some of my favorite aluminum foil hacks that will save you time, money, and maybe even a little bit of sanity. Get ready to be amazed!
Sharpening Scissors with Aluminum Foil
Dull scissors driving you crazy? Don’t rush out to buy a new pair just yet! This simple trick will have them slicing like new in no time.
What you’ll need:
* A sheet of aluminum foil
Step-by-step instructions:
1. Fold the Foil: Take your sheet of aluminum foil and fold it over several times to create a thick, multi-layered pad. The more layers, the better the sharpening effect. I usually aim for about 6-8 layers.
2. Cut, Cut, Cut!: Now, grab your dull scissors and start cutting through the folded aluminum foil. Make several long, deliberate cuts, using the entire length of the blades. Imagine you’re cutting fabric or paper.
3. Repeat as Needed: Repeat the cutting process 10-20 times, or until you notice a significant improvement in the sharpness of your scissors. You should feel the blades gliding through the foil more easily.
4. Test and Enjoy: Test your scissors on a piece of paper or fabric. If they’re still not sharp enough, repeat the process with a fresh piece of folded foil. You’ll be surprised at how well this works!
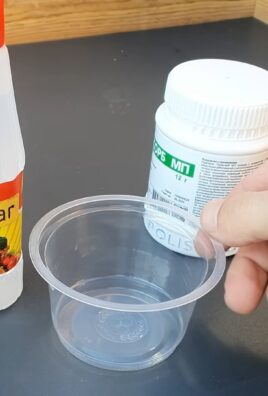
Cleaning Silverware with Aluminum Foil and Baking Soda
Tarnished silverware can be a real eyesore, especially when you’re trying to set a beautiful table. But don’t spend a fortune on expensive silver polish! This DIY method is incredibly effective and uses ingredients you probably already have in your pantry.
What you’ll need:
* A glass or ceramic bowl (avoid metal)
* Aluminum foil
* 1 cup of boiling water
* 1 tablespoon of baking soda
* 1 tablespoon of salt
* Tarnished silverware
Step-by-step instructions:
1. Line the Bowl: Line the bottom of your bowl with a sheet of aluminum foil, shiny side up. Make sure the foil covers the entire bottom surface.
2. Add Baking Soda and Salt: Pour the baking soda and salt into the bowl on top of the foil.
3. Pour in Boiling Water: Carefully pour the boiling water into the bowl. Be cautious, as the mixture will fizz and bubble.
4. Submerge the Silverware: Place your tarnished silverware into the bowl, making sure each piece is touching the aluminum foil. This is crucial for the chemical reaction to work.
5. Let it Soak: Let the silverware soak in the solution for 5-10 minutes, depending on the severity of the tarnish. You should start to see the tarnish disappearing.
6. Remove and Rinse: Carefully remove the silverware from the bowl using tongs or gloves (the water will be hot!). Rinse each piece thoroughly with warm water.
7. Dry and Polish: Dry the silverware with a soft cloth. If any stubborn tarnish remains, you can gently polish it with a silver polishing cloth. Your silverware should now be sparkling clean!
Boosting Wi-Fi Signal with Aluminum Foil
Is your Wi-Fi signal weak in certain areas of your home? Before you invest in a new router or extender, try this simple trick using aluminum foil. It can help focus and redirect the signal, potentially improving your connection.
What you’ll need:
* A sheet of heavy-duty aluminum foil
* Scissors
* Cardboard (optional, for added stability)
* Tape or glue
Step-by-step instructions:
1. Create a Reflector Shape: Cut a piece of aluminum foil that’s roughly rectangular, about 12 inches wide and 8 inches tall. You can experiment with different sizes and shapes to find what works best for your router.
2. Shape the Foil: Gently curve the aluminum foil into a concave shape, like a shallow dish or a curved reflector. This shape will help focus the Wi-Fi signal.
3. Add Support (Optional): If you want to make the reflector more stable, you can glue or tape it to a piece of cardboard cut into a similar shape. This will prevent the foil from bending or collapsing.
4. Position the Reflector: Place the aluminum foil reflector behind your router, with the curved side facing the direction where you want to boost the signal. Experiment with different angles and positions to find the optimal placement. I usually try placing it behind the antenna, slightly angled towards the area where I need better Wi-Fi.
5. Test Your Signal: Use a Wi-Fi analyzer app on your phone or computer to measure the signal strength in the area you’re trying to improve. Adjust the position of the reflector until you achieve the best possible signal.
6. Secure the Reflector: Once you’ve found the ideal position, secure the reflector in place with tape or glue. You might need to experiment with different mounting methods to find what works best for your setup.
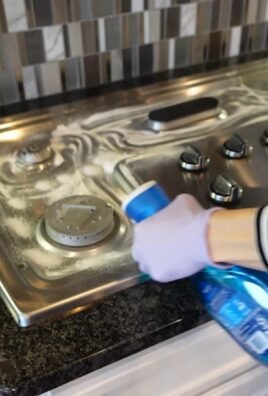
Cleaning a Grill with Aluminum Foil
Cleaning a grill can be a messy and time-consuming chore. But with this simple aluminum foil hack, you can make the process much easier and more efficient.
What you’ll need:
* A sheet of heavy-duty aluminum foil
* Grill brush (optional)
* Tongs (optional)
Step-by-step instructions:
1. Heat the Grill: After you’re done grilling, leave the grill on high heat for a few minutes to burn off any remaining food particles.
2. Crumple the Foil: Crumple a sheet of aluminum foil into a ball, about the size of your fist. Make sure it’s tightly crumpled to create a scrubbing surface.
3. Scrub the Grates: Using tongs or wearing heat-resistant gloves, carefully scrub the grill grates with the crumpled aluminum foil ball. The foil will act as an abrasive cleaner, removing burnt-on food and grease.
4. Use a Grill Brush (Optional): For stubborn areas, you can use a grill brush in combination with the aluminum foil. The brush will help loosen the debris, while the foil will scrub it away.
5. Dispose of the Foil: Once you’ve finished cleaning the grates, dispose of the used aluminum foil ball. It’s a quick, easy, and disposable cleaning solution!
Making a Makeshift Funnel with Aluminum Foil
Need a funnel but can’t find one? No problem! Aluminum foil to the rescue. This is a lifesaver when you’re transferring liquids or powders into small containers.
What you’ll need:
* A sheet of aluminum foil
Step-by-step instructions:
1. Shape the Foil: Take a sheet of aluminum foil and shape it into a cone. The size of the cone will depend on the size of the container you’re filling.
2. Create a Spout: Pinch the bottom of the cone to create a narrow spout. The spout should be small enough to fit into the opening of the container you’re filling.
3. Reinforce the Funnel: To make the funnel more sturdy, you can fold over the edges of the foil. This will prevent it from collapsing or tearing.
4. Use the Funnel: Place the makeshift funnel into the opening of the container and carefully pour the liquid or powder through the funnel. The aluminum foil will prevent spills and make the transfer much easier.
Preventing Pie Crust Burning with Aluminum Foil
We’ve all been there – a beautifully filled pie with a perfectly golden crust, except for the edges, which are burnt to a crisp! Aluminum foil can prevent this common baking mishap.
What you’ll need:
* A sheet of aluminum foil
Step-by-step instructions:
1. Cut Strips of Foil: Cut several strips of aluminum foil, about 2-3 inches wide.
2. Wrap the Crust: Once the pie crust starts to brown (usually after about 20-30 minutes of baking), carefully wrap the strips of aluminum foil around the edges of the crust. Make sure the foil covers the entire edge to protect it from burning.
3. Continue Baking: Continue baking the pie according to the recipe instructions. The aluminum foil will prevent the edges of the crust from burning while the filling continues to cook.
4. Remove the Foil: About 10-15 minutes before the pie is done, remove the aluminum foil to allow the crust to brown evenly.
Keeping Bananas Fresh Longer with Aluminum Foil
Bananas turning brown before you can eat them? This simple trick can
Conclusion
So, there you have it! These aluminum foil hacks are more than just clever tricks; they’re game-changers for your kitchen, your cleaning routine, and even your beauty regimen. From sharpening dull scissors to boosting your Wi-Fi signal, the versatility of this everyday household item is truly astounding. We’ve explored how aluminum foil can transform your ironing experience, making it faster and more efficient, and how it can be a surprisingly effective tool for removing stubborn stains from your silverware.
But the real beauty of these hacks lies in their simplicity and accessibility. You don’t need to be a DIY expert or invest in expensive gadgets to reap the benefits. All you need is a roll of aluminum foil and a willingness to experiment. Think about the money you’ll save on cleaning supplies, the time you’ll gain by streamlining your chores, and the satisfaction of knowing you’re making the most of a readily available resource.
Beyond the specific hacks we’ve discussed, consider the possibilities for adaptation and innovation. For example, if you’re using the foil to clean your grill grates, try adding a bit of baking soda to the foil ball for extra scrubbing power. Or, if you’re using it to line your oven, consider adding a layer of parchment paper on top of the foil to make cleanup even easier. The key is to be creative and find what works best for you.
We’ve shown you how to use aluminum foil to protect your pie crusts from burning, but you could also use it to create custom stencils for decorating cakes or cookies. Instead of buying expensive silver polish, use the foil and baking soda method to restore the shine to your tarnished jewelry. The potential applications are truly endless.
Don’t just take our word for it, though. We wholeheartedly encourage you to try these aluminum foil hacks for yourself. Pick one or two that resonate with you and see the difference they can make in your daily life. We’re confident that you’ll be amazed by the results.
And most importantly, we want to hear about your experiences! Share your successes (and even your failures) in the comments below. What other creative uses have you discovered for aluminum foil? What variations have you tried? Your insights could inspire other readers and help us all unlock the full potential of this remarkable material. Let’s build a community of aluminum foil enthusiasts and share our knowledge to make our lives a little bit easier, a little bit more efficient, and a whole lot more fun. So go ahead, grab that roll of foil and get hacking! You won’t regret it.
Frequently Asked Questions (FAQ)
Q: Is it safe to use aluminum foil in the oven?
A: Yes, it is generally safe to use aluminum foil in the oven, but there are a few precautions to keep in mind. Avoid placing foil directly on the oven floor, as it can reflect heat and potentially damage the heating elements. Also, be careful when using foil with acidic foods like tomatoes or citrus, as the acid can react with the aluminum and potentially leach into the food. If you’re concerned about this, consider lining the foil with parchment paper. Always consult your oven’s manual for specific recommendations regarding the use of aluminum foil.
Q: Can I reuse aluminum foil?
A: It depends on how it was used. If the foil was simply used as a liner and remains relatively clean, you can certainly reuse it. However, if it’s heavily soiled with food residue or grease, it’s best to discard it. Reusing heavily soiled foil can be unhygienic and may not be effective for its intended purpose. For example, foil used to line a baking sheet for cookies can often be reused, while foil used to wrap greasy meats should be discarded.
Q: Does the shiny side or the dull side of aluminum foil matter?
A: Technically, no. The difference between the shiny and dull sides of aluminum foil is a result of the manufacturing process. The shiny side is the side that comes into contact with polished rollers, while the dull side is the side that doesn’t. Both sides have the same properties and will perform equally well for most applications. Some people believe that the shiny side reflects more heat, but the difference is negligible. Use whichever side you prefer!
Q: Can I use aluminum foil in the microwave?
A: It’s generally not recommended to use aluminum foil in the microwave. Metal can cause arcing and sparks, which can damage the microwave and potentially start a fire. While some microwaves have specific settings for using small amounts of foil to shield certain areas of food, it’s best to avoid using foil altogether unless specifically instructed by the microwave’s manufacturer.
Q: How can I sharpen scissors with aluminum foil?
A: Sharpening scissors with aluminum foil is a simple and effective trick. Simply fold a sheet of aluminum foil several times to create a thick pad. Then, repeatedly cut through the foil pad with your scissors. The abrasive nature of the aluminum will help to hone the blades and restore their sharpness. Repeat this process several times, and you should notice a significant improvement in the scissors’ cutting ability.
Q: Is it safe to use aluminum foil for cooking on a grill?
A: Yes, it is safe to use aluminum foil for cooking on a grill. It can be used to create a barrier between the food and the grill grates, preventing sticking and making cleanup easier. You can also use foil to create foil packets for steaming vegetables or cooking delicate foods like fish. Just be sure to poke a few holes in the foil packet to allow steam to escape.
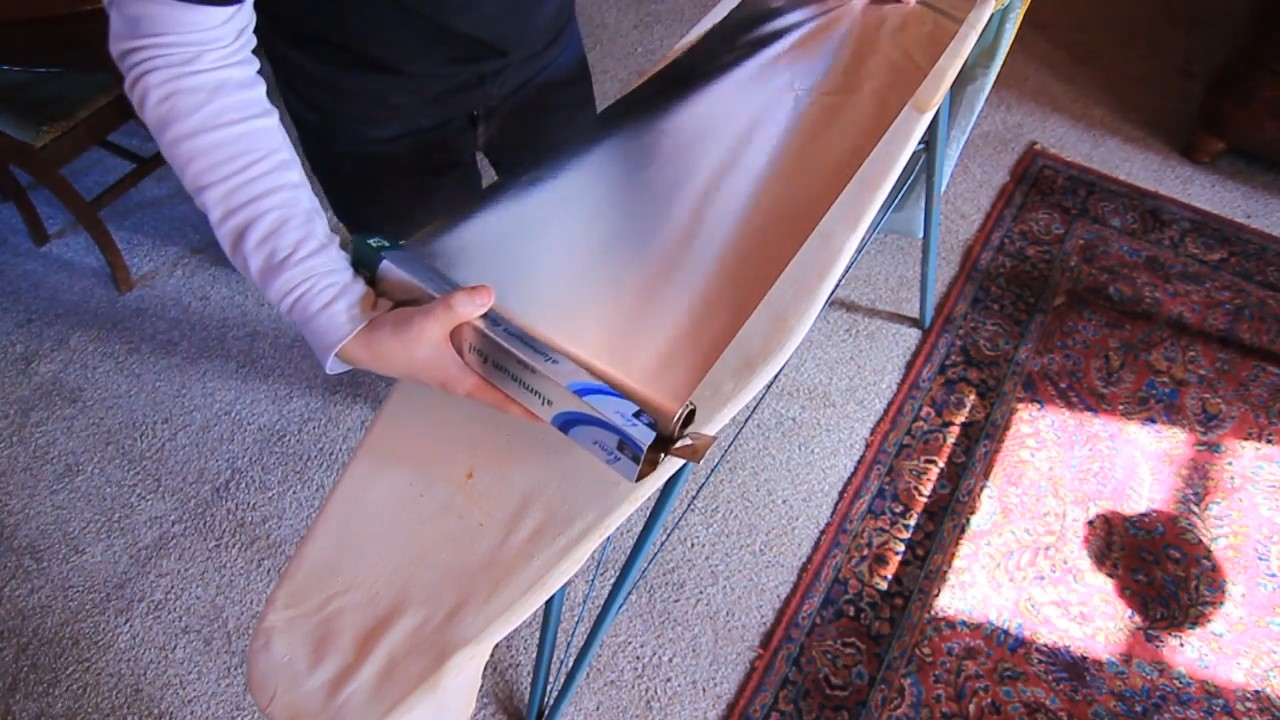
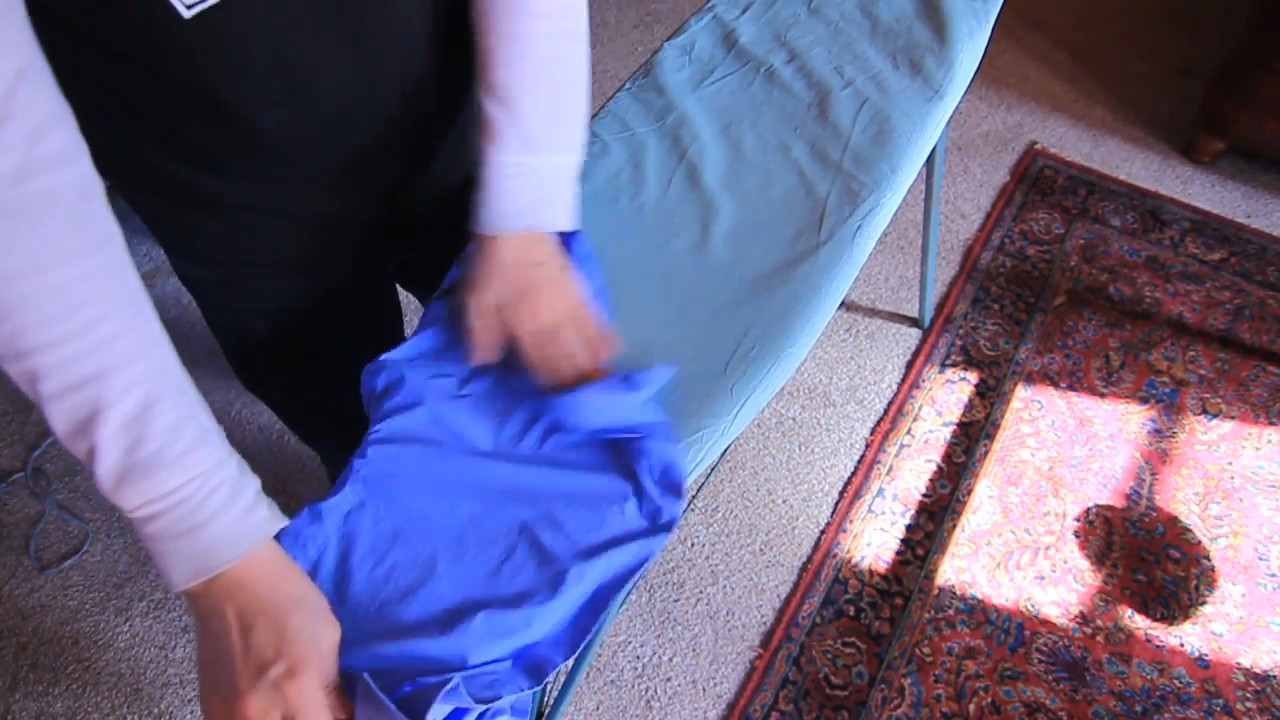
Q: How does aluminum foil help with ironing?
A: Placing a sheet of aluminum foil under your ironing board cover can help to speed up the ironing process. The foil reflects heat back onto the garment, essentially ironing both sides at once. This can save you time and energy, especially when ironing large items like sheets or tablecloths.
Q: Can aluminum foil really boost my Wi-Fi signal?
A: While it’s not a guaranteed solution, strategically placing a curved piece of aluminum foil behind your router’s antenna can help to focus the Wi-Fi signal in a specific direction. The foil acts as a reflector, redirecting the signal and potentially improving its strength and range. Experiment with different angles and positions to find what works best for your setup.
Q: What’s the best way to clean silverware with aluminum foil?
A: To clean tarnished silverware with aluminum foil, line a pot with foil and fill it with hot water. Add a tablespoon of baking soda per cup of water. Place the silverware in the pot, making sure it touches the foil. The chemical reaction between the aluminum, baking soda, and tarnish will help to remove the tarnish from the silverware. Let it sit for a few minutes, then rinse and dry the silverware.
Q: Are there any environmental concerns associated with using aluminum foil?
A: Yes, there are environmental concerns associated with the production and disposal of aluminum foil. The production of aluminum is energy-intensive and can contribute to greenhouse gas emissions. Recycling aluminum foil is crucial to reducing its environmental impact. Be sure to clean the foil before recycling it to remove any food residue. If recycling isn’t an option, consider using reusable alternatives like silicone baking mats or reusable food wraps.
Leave a Comment