
Butternut Squash Growing Tips: Ever dreamt of harvesting a bounty of beautiful butternut squash right from your own backyard? I know I have! There’s something incredibly satisfying about nurturing a plant from seed to table, and butternut squash, with its sweet, nutty flavor, is a truly rewarding crop to grow.
For centuries, squash has been a staple in diets around the world, particularly in the Americas, where it was one of the “three sisters” – corn, beans, and squash – cultivated together by indigenous peoples. This ancient agricultural practice highlights the enduring importance of squash as a source of nourishment and cultural significance.
But let’s be honest, sometimes growing butternut squash can feel a little tricky. From powdery mildew to pesky squash bugs, there are definitely challenges along the way. That’s why I’ve put together this guide packed with easy-to-follow DIY tricks and hacks to help you achieve a thriving butternut squash patch. Whether you’re a seasoned gardener or just starting out, these Butternut Squash Growing Tips will empower you to overcome common obstacles and enjoy a delicious harvest. I’m excited to share my knowledge and help you grow the best butternut squash you’ve ever tasted!
Butternut Squash Growing Tips: From Seed to Harvest!
Hey there, fellow gardeners! I’m so excited to share my tried-and-true methods for growing beautiful, bountiful butternut squash. It’s one of my favorite fall vegetables, and nothing beats the flavor of a homegrown one. Let’s dive into the details and get you on your way to a successful harvest!
Choosing the Right Butternut Squash Variety
Before we even think about planting, let’s talk varieties. While ‘Waltham’ is a classic and reliable choice, there are other options to consider depending on your space and preferences.
* **Waltham:** This is the standard, producing medium-sized, uniform squash. It’s known for its excellent flavor and good storage capabilities.
* **Butterscotch PMT:** A smaller variety, perfect for smaller gardens or single servings. It’s also powdery mildew tolerant, which is a huge plus!
* **Early Butternut:** As the name suggests, this one matures earlier than other varieties, ideal for shorter growing seasons.
* **Honey Nut:** A miniature butternut squash with an intensely sweet flavor. Great for roasting whole!
I usually go with ‘Waltham’ because I love the size and how well it stores, but I’ve also had good luck with ‘Butterscotch PMT’ when space is tight.
Starting Butternut Squash Seeds
You have two options here: direct sowing or starting seeds indoors. I prefer starting indoors because it gives the plants a head start and protects them from early pests.
* **Direct Sowing:** Plant seeds directly into the garden soil after the last frost, when the soil temperature is consistently above 60°F (15°C).
* **Starting Indoors:** Sow seeds indoors about 3-4 weeks before the last expected frost. This is my preferred method for a longer growing season.
Step-by-Step: Starting Seeds Indoors
1. **Gather Your Supplies:** You’ll need seed starting trays or small pots, seed starting mix (not regular potting soil!), butternut squash seeds, and a spray bottle. I like to use peat pots because they can be planted directly into the ground, minimizing root disturbance.
2. Prepare the Seed Starting Mix: Moisten the seed starting mix with water until it’s damp but not soggy. You want it to clump together slightly when you squeeze it.
3. Fill the Trays or Pots: Fill each cell or pot with the moistened seed starting mix, leaving about half an inch of space at the top.
4. Sow the Seeds: Plant two seeds per cell or pot, about 1 inch deep. This increases the chances of at least one seed germinating.
5. Cover and Water: Gently cover the seeds with more seed starting mix and lightly water with a spray bottle. Avoid overwatering!
6. Provide Warmth and Light: Place the trays or pots in a warm location, ideally between 70-80°F (21-27°C). A heat mat can be helpful. Once the seeds germinate, move them to a sunny windowsill or under grow lights. They need at least 6 hours of sunlight per day.
7. Thin the Seedlings: Once the seedlings have their first true leaves (the second set of leaves after the initial seed leaves), thin them to one plant per cell or pot by snipping off the weaker seedling at the soil line. Don’t pull it out, as this can disturb the roots of the remaining seedling.
8. Harden Off the Seedlings: About a week before transplanting, gradually acclimate the seedlings to outdoor conditions. Start by placing them outside for an hour or two each day in a sheltered location, gradually increasing the time and exposure to sunlight. This process is crucial to prevent transplant shock.
Preparing the Garden Bed
Butternut squash are heavy feeders, so preparing the garden bed properly is essential for a successful harvest. They need plenty of space to sprawl, so plan accordingly.
* **Sunlight:** Choose a location that receives at least 6-8 hours of direct sunlight per day.
* **Soil:** Butternut squash prefers well-drained, fertile soil with a pH between 6.0 and 7.0.
* **Space:** Allow at least 2-3 feet between plants and 4-6 feet between rows. They need room to spread!
Step-by-Step: Preparing the Garden Bed
1. Clear the Area: Remove any weeds, rocks, or debris from the planting area.
2. Amend the Soil: This is the most important step! Incorporate plenty of compost or well-rotted manure into the soil. I usually add a generous layer, about 2-4 inches thick, and work it in with a garden fork or tiller.
3. Add Fertilizer: You can also add a balanced organic fertilizer to the soil. Follow the instructions on the fertilizer package. I like to use a fertilizer with a higher phosphorus content to encourage strong root development.
4. Create Mounds or Rows: You can plant butternut squash on raised mounds or in rows. Mounds help with drainage, especially in heavy clay soils. If planting in rows, create slightly raised rows to improve drainage.
5. Water the Soil: Water the prepared soil thoroughly before transplanting.
Transplanting Butternut Squash Seedlings
Once the seedlings are hardened off and the danger of frost has passed, it’s time to transplant them into the garden.
Step-by-Step: Transplanting Seedlings
1. Choose a Cloudy Day: Transplanting on a cloudy day or in the late afternoon minimizes stress on the seedlings.
2. Dig the Holes: Dig holes that are slightly larger than the root balls of the seedlings, spacing them according to your chosen planting method (mounds or rows).
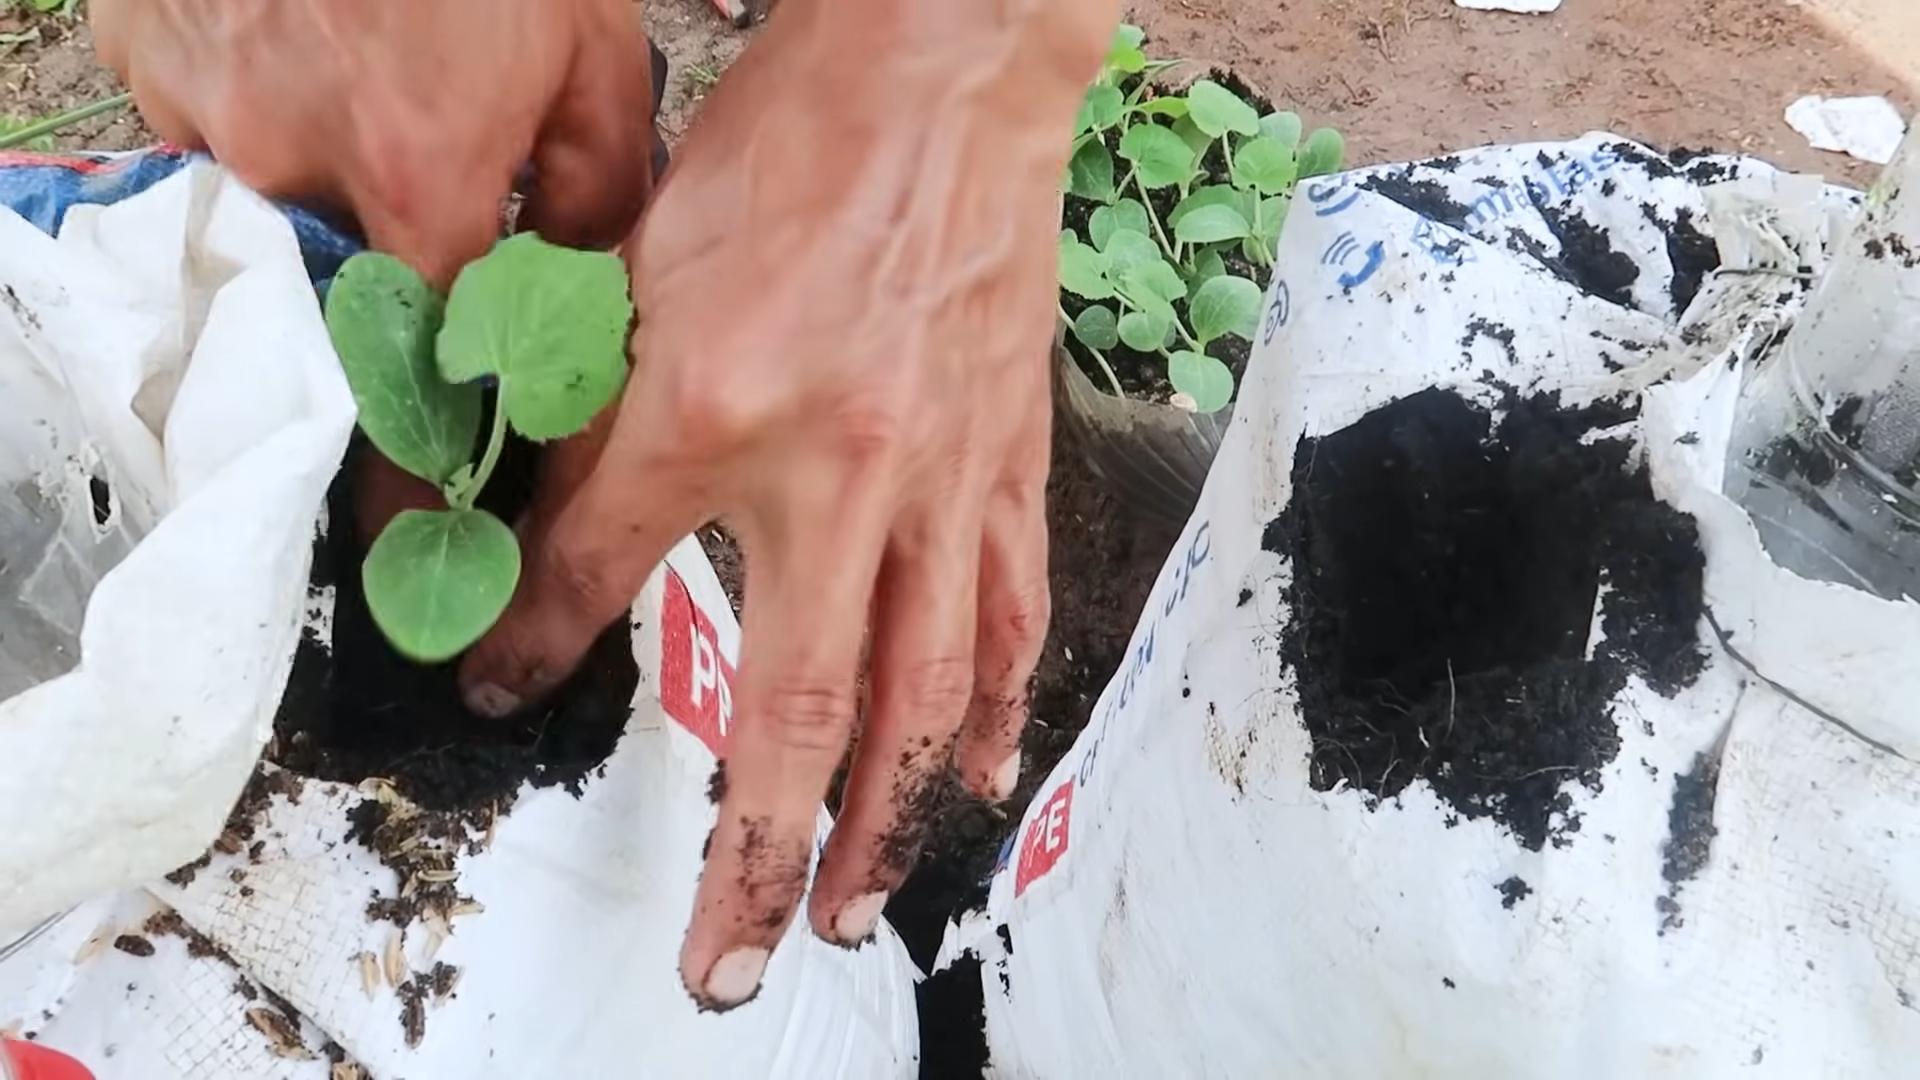
3. Remove the Seedlings: Gently remove the seedlings from their trays or pots. If you used peat pots, you can plant them directly into the ground. Otherwise, carefully loosen the roots and remove the seedlings.
4. Plant the Seedlings: Place the seedlings in the holes and backfill with soil, gently firming it around the base of the plants. Make sure the top of the root ball is level with the surrounding soil.
5. Water Thoroughly: Water the transplanted seedlings thoroughly to help them settle in.
6. Mulch: Apply a layer of mulch around the plants to help retain moisture, suppress weeds, and regulate soil temperature. I like to use straw or shredded leaves.
Caring for Butternut Squash Plants
Once your butternut squash plants are in the ground, they need regular care to thrive.
* **Watering:** Water deeply and regularly, especially during dry periods. Aim to water at the base of the plants to avoid wetting the foliage, which can lead to fungal diseases.
* **Fertilizing:** Side-dress the plants with compost tea or a balanced organic fertilizer every few weeks to provide them with the nutrients they need.
* **Weeding:** Keep the area around the plants free of weeds, which can compete for nutrients and water.
* **Pest and Disease Control:** Monitor the plants regularly for pests and diseases. Common pests include squash bugs, squash vine borers, and aphids. Common diseases include powdery mildew and squash mosaic virus.
Dealing with Common Problems
* **Squash Bugs:** Handpick squash bugs and their eggs (which are usually found on the undersides of leaves) or use insecticidal soap.
* **Squash Vine Borers:** These pests can be devastating. Look for small holes near the base of the stem and sawdust-like frass. You can try injecting Bacillus thuringiensis (Bt) into the stem or carefully slitting the stem open and removing the borer. Prevention is key: use row covers early in the season to prevent the moths from laying eggs.
* **Powdery Mildew:** This fungal disease appears as a white powdery coating on the leaves. Improve air circulation by pruning some of the leaves and apply a fungicide if necessary.
* **Blossom End Rot:** This is caused by a calcium deficiency and appears as a dark, sunken spot on the blossom end of the squash. Ensure consistent watering and add calcium to the soil.
Pollinating Butternut Squash
Butternut squash plants have separate male and female flowers. The female flowers have a small, immature squash at the base, while the male flowers do not. Pollination is necessary for the female flowers to develop into squash.
* **Natural Pollination:** Bees and other pollinators usually take care of pollination.
* **Hand Pollination:** If you’re not seeing enough bees or if you want to ensure pollination, you can hand-pollinate the flowers.
Step-by-Step: Hand Pollination
1. Identify Male and Female Flowers: Look for the female flowers with the small squash at the base.
2. Collect Pollen: In the early morning, use a small paintbrush or cotton swab to collect pollen from the male flowers.
3. Transfer Pollen: Gently transfer the pollen to the stigma (the center part) of the female flowers.
Conclusion
So, there you have it! Mastering butternut squash growing isn’t some mystical art reserved for seasoned gardeners. It’s a rewarding journey accessible to anyone willing to put in a little effort and follow these simple, yet effective, tips. From selecting the right seeds and preparing your soil to providing adequate support and warding off pests, each step contributes to a bountiful harvest of these delicious and versatile winter squashes.
Why is this DIY approach a must-try? Because it empowers you to take control of your food source, enjoy the satisfaction of nurturing something from seed to table, and savor the unparalleled flavor of homegrown butternut squash. Store-bought varieties simply can’t compare to the sweetness and freshness you’ll experience when you harvest your own. Plus, you’ll be reducing your carbon footprint and contributing to a more sustainable lifestyle.
But don’t stop there! Experiment with different varieties of butternut squash to discover your favorites. Try ‘Waltham Butternut’ for its classic flavor and uniform shape, or ‘Honey Nut’ for a smaller, sweeter option. You can also explore different growing techniques, such as vertical gardening to save space or companion planting to deter pests and attract pollinators. Consider interplanting with marigolds to repel squash bugs or nasturtiums to attract aphids away from your squash plants.
And remember, growing butternut squash is a learning process. Don’t be discouraged if you encounter challenges along the way. Every season brings new opportunities to refine your techniques and improve your results. The key is to stay observant, adapt to your local climate and soil conditions, and never stop learning.
We wholeheartedly encourage you to give these butternut squash growing tips a try. Imagine the satisfaction of harvesting your own beautiful, golden-hued squashes, ready to be transformed into comforting soups, savory roasts, or delectable pies. It’s an experience that will connect you to nature, nourish your body, and bring joy to your kitchen.
Once you’ve embarked on your butternut squash growing adventure, we’d love to hear about your experiences! Share your successes, your challenges, and any tips you’ve discovered along the way in the comments below. Let’s create a community of butternut squash enthusiasts, sharing our knowledge and inspiring each other to grow the best squashes possible. Your insights could be invaluable to other gardeners just starting out. So, get your hands dirty, embrace the process, and enjoy the delicious rewards of growing your own butternut squash!
Frequently Asked Questions (FAQ)
What is the best time to plant butternut squash?
The ideal time to plant butternut squash depends on your climate and the length of your growing season. Generally, you should plant butternut squash seeds or transplants after the last expected frost in spring, when the soil has warmed to at least 60°F (15°C). In cooler climates, you may need to start seeds indoors 3-4 weeks before the last frost to give them a head start. In warmer climates, you can direct sow seeds in the garden once the soil is warm enough. A good rule of thumb is to aim for planting about 90-100 days before the first expected frost in the fall, as butternut squash typically takes that long to mature. Check your local frost dates and adjust your planting schedule accordingly.
How much space does butternut squash need?
Butternut squash vines can grow quite long, so they require ample space to spread out. As a general guideline, allow at least 2-3 feet between plants in rows that are 6-8 feet apart. If you’re growing butternut squash on a trellis or other support structure, you can space the plants closer together, but make sure the support is strong enough to handle the weight of the mature vines and fruits. Proper spacing is crucial for good air circulation, which helps prevent fungal diseases. Overcrowding can also lead to reduced yields and smaller fruits.
What kind of soil is best for growing butternut squash?
Butternut squash thrives in well-drained, fertile soil that is rich in organic matter. Before planting, amend your soil with compost, aged manure, or other organic amendments to improve its structure, drainage, and nutrient content. Butternut squash prefers a slightly acidic to neutral soil pH, ideally between 6.0 and 7.0. You can test your soil pH with a home testing kit or by sending a sample to your local agricultural extension office. If your soil is too acidic, you can add lime to raise the pH. If it’s too alkaline, you can add sulfur to lower the pH.
How often should I water butternut squash?
Butternut squash needs consistent moisture, especially during fruit development. Water deeply and regularly, aiming to keep the soil consistently moist but not waterlogged. Water at the base of the plants to avoid wetting the foliage, which can increase the risk of fungal diseases. A good rule of thumb is to water about 1-2 inches per week, depending on the weather and soil conditions. Mulching around the plants with straw or other organic mulch can help retain moisture and suppress weeds. During periods of drought or extreme heat, you may need to water more frequently.
What are some common pests and diseases that affect butternut squash?
Butternut squash is susceptible to several pests and diseases, including squash bugs, squash vine borers, powdery mildew, and downy mildew. Squash bugs are sap-sucking insects that can weaken or kill squash plants. Squash vine borers are moth larvae that tunnel into the stems of squash plants, causing them to wilt and die. Powdery mildew and downy mildew are fungal diseases that can cause white or gray patches on the leaves. To prevent pests and diseases, practice good garden hygiene, such as removing plant debris and weeds. You can also use row covers to protect young plants from pests. For squash bugs, handpick them off the plants or use insecticidal soap. For squash vine borers, you can try injecting Bacillus thuringiensis (Bt) into the stems. For powdery mildew and downy mildew, improve air circulation, avoid overhead watering, and use fungicides if necessary.
How do I know when butternut squash is ripe?
Determining when butternut squash is ripe is crucial for optimal flavor and storage. Look for these signs:
* **Hard rind:** The rind should be hard and resistant to scratching with your fingernail.
* **Deep tan color:** The skin should be a deep tan or beige color, depending on the variety.
* **Dry stem:** The stem should be dry and corky.
* **Sound:** When you thump the squash, it should sound hollow.
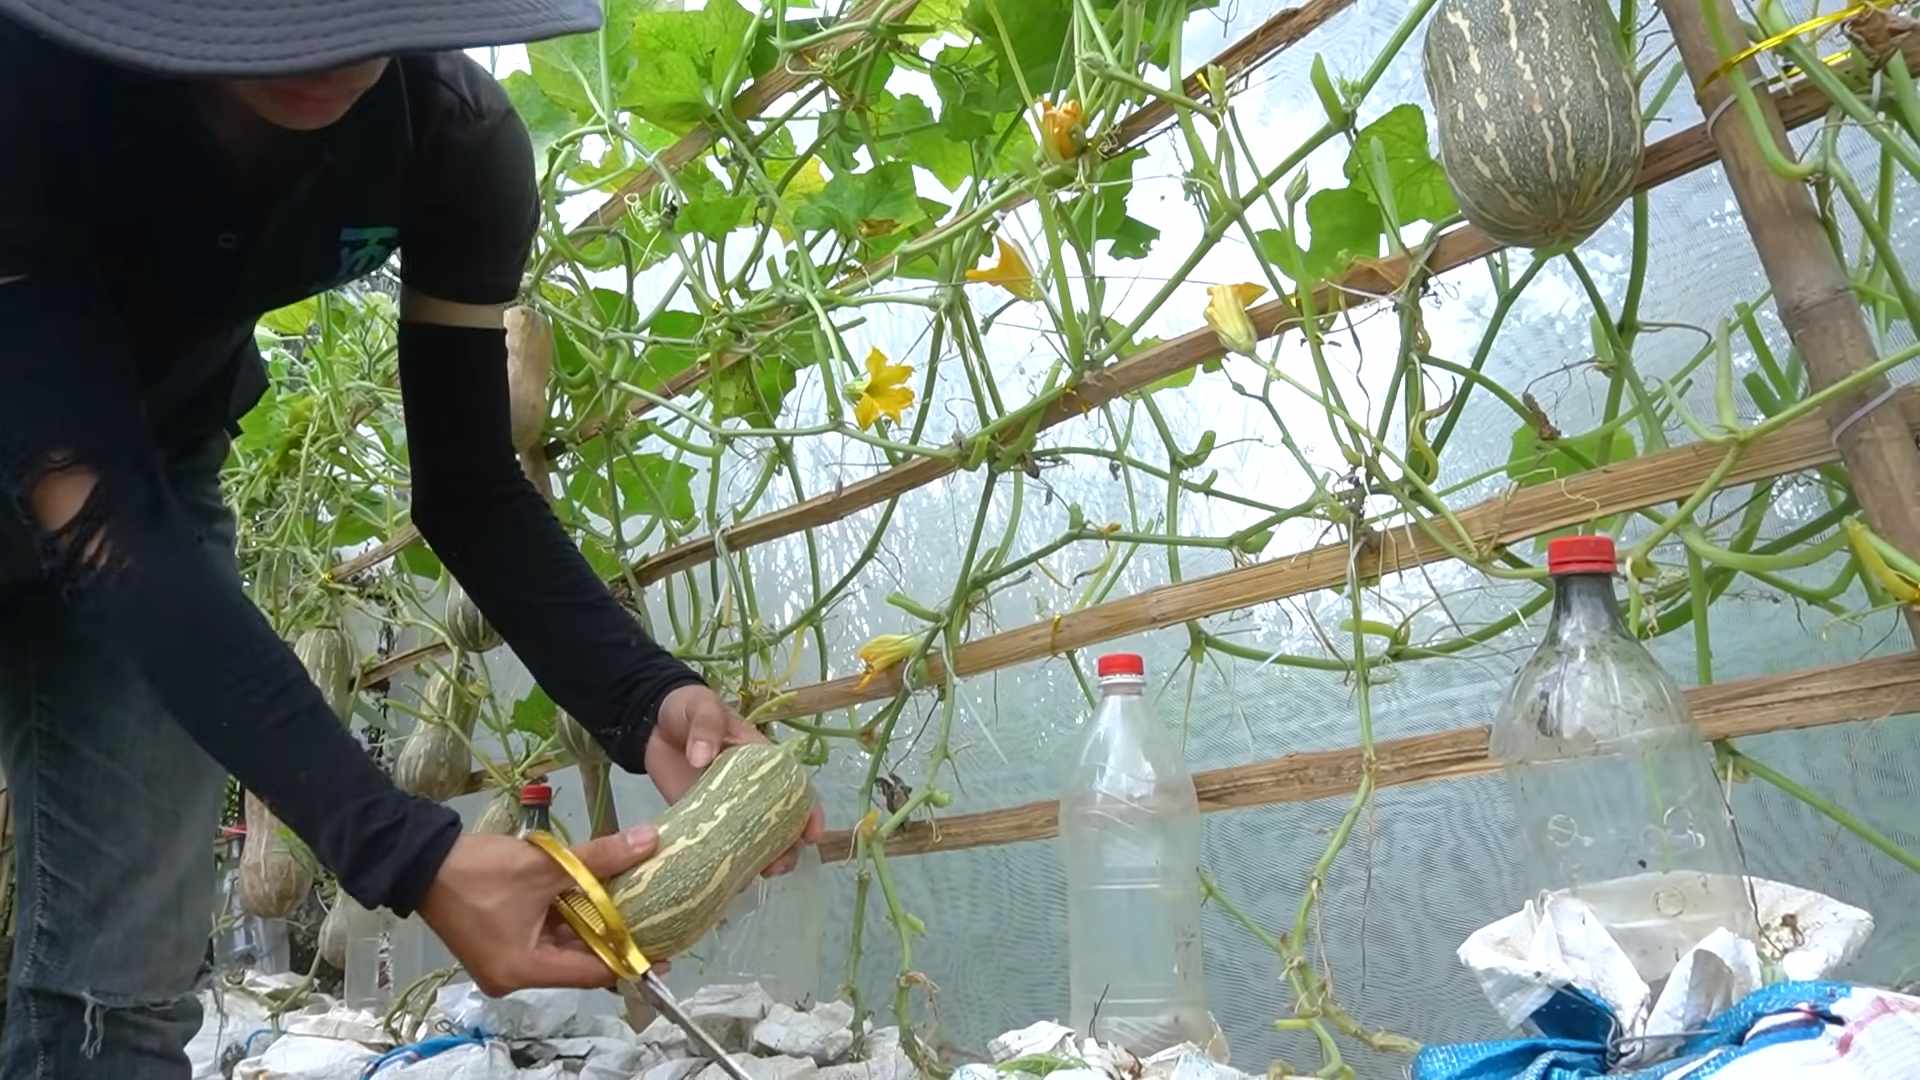
Once the squash is ripe, cut it from the vine, leaving a few inches of stem attached. This will help prevent rot. Cure the squash in a warm, dry place for 1-2 weeks to further harden the rind and improve its flavor.
How do I store butternut squash?
Proper storage is essential for extending the shelf life of your butternut squash. Store cured butternut squash in a cool, dry, and well-ventilated place, such as a basement or pantry. The ideal storage temperature is between 50°F and 55°F (10°C and 13°C). Avoid storing butternut squash near apples or pears, as these fruits release ethylene gas, which can cause the squash to ripen and spoil more quickly. Properly stored butternut squash can last for several months. Check the squash periodically for signs of spoilage, such as soft spots or mold.
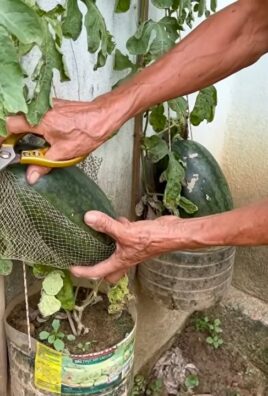
Can I grow butternut squash in containers?
Yes, you can grow butternut squash in containers, but you’ll need a large container with good drainage. Choose a container that is at least 20 gallons in size. Fill the container with a high-quality potting mix that is rich in organic matter. Provide a trellis or other support structure for the vines to climb. Water and fertilize regularly, as container-grown plants tend to dry out and deplete nutrients more quickly than those grown in the ground. Be sure to choose a sunny location for your container-grown butternut squash.
What are some good companion plants for butternut squash?
Companion planting can be a beneficial way to improve the health and yield of your butternut squash plants. Some good companion plants for butternut squash include:
* **Marigolds:** Repel squash bugs and other pests.
* **Nasturtiums:** Attract aphids away from squash plants.
* **Radishes:** Deter squash vine borers.
* **Beans:** Fix nitrogen in the soil, which benefits squash plants.
* **Corn:** Provides shade and support for squash vines.
* **Herbs:** Many herbs, such as basil, oregano, and thyme, can repel pests and attract beneficial insects.
Avoid planting butternut squash near potatoes or fennel, as these plants can inhibit its growth.
How can I improve pollination of my butternut squash plants?
Butternut squash plants have separate male and female flowers. Pollination is necessary for fruit to develop. If you’re not seeing many fruits, it could be due to poor pollination. Here are some ways to improve pollination:
* **Attract pollinators:** Plant flowers that attract bees and other pollinators, such as sunflowers, zinnias, and lavender.
* **Hand-pollinate:** If you’re not seeing enough pollinators, you can hand-pollinate the flowers yourself. Use a small paintbrush to transfer pollen from the male flowers to the female flowers.
* **Provide water:** Bees need water to survive. Provide a shallow dish of water with pebbles for them to land

Leave a Comment