
Cape Gooseberry Growing Guide: Your Ticket to Tangy Treats!
Have you ever dreamt of strolling through your garden, plucking golden, jewel-like fruits straight from the vine? Well, dream no more! This Cape Gooseberry Growing Guide is your passport to cultivating these delightful little treasures right in your own backyard. Forget those bland, store-bought berries; imagine the burst of sweet and tart flavor of a homegrown Cape Gooseberry – it’s an experience you won’t soon forget!
The Cape Gooseberry, also known as the Goldenberry or Physalis, boasts a rich history, with origins tracing back to South America. For centuries, these vibrant fruits have been cherished for their unique taste and medicinal properties. They’re not just delicious; they’re packed with vitamins and antioxidants, making them a healthy and rewarding addition to any garden.
But why should *you* embark on this gardening adventure? Because let’s face it, fresh, high-quality Cape Gooseberries can be hard to find and often expensive. With this Cape Gooseberry Growing Guide, I’ll show you how easy and affordable it is to grow your own supply. I’ll walk you through everything from selecting the right seeds to harvesting your bountiful crop, ensuring you have a thriving patch of these golden gems. Get ready to impress your friends and family with your green thumb and enjoy the sweet rewards of your labor!
Growing Cape Gooseberries: A DIY Guide to Golden Goodness
Alright, fellow gardening enthusiasts! Today, we’re diving into the wonderful world of Cape Gooseberries, also known as Golden Berries, Physalis peruviana, or simply, those little orange jewels hiding in papery husks. I’m going to walk you through everything you need to know to successfully grow these delicious and rewarding plants in your own backyard. Trust me, once you taste a homegrown Cape Gooseberry, you’ll be hooked!
What You’ll Need: The Essentials
Before we get our hands dirty, let’s gather the necessary supplies. This will make the whole process smoother and more enjoyable.
* Cape Gooseberry Seeds or Seedlings: You can start from seed or purchase seedlings from a local nursery. Starting from seed gives you more control, but seedlings offer a head start.
* Seed Starting Trays or Small Pots (if starting from seed): These are essential for nurturing your tiny seedlings.
* Seed Starting Mix (if starting from seed): This is a light, well-draining mix specifically formulated for seedlings.
* Potting Mix: A good quality potting mix is crucial for transplanting and growing your Cape Gooseberry plants in containers or raised beds.
* Garden Soil (if planting in the ground): If you’re planting directly into the ground, make sure your soil is well-draining and amended with compost.
* Compost or Aged Manure: This will enrich your soil and provide essential nutrients for your plants.
* Watering Can or Hose: For keeping your plants hydrated.
* Gardening Gloves: To protect your hands.
* Trowel or Shovel: For planting and transplanting.
* Stakes or Tomato Cages: Cape Gooseberry plants can get quite bushy and may need support.
* Fertilizer (Optional): A balanced fertilizer can help boost growth and fruit production. I prefer organic options.
* Pruning Shears: For trimming and shaping your plants.
Starting from Seed: Nurturing Your Tiny Treasures
If you’re feeling adventurous, starting from seed is a great way to grow Cape Gooseberries. It’s a bit more time-consuming, but it’s also incredibly rewarding.
1. Sowing the Seeds: Fill your seed starting trays or small pots with seed starting mix. Moisten the mix gently. Sprinkle a few Cape Gooseberry seeds on top of the soil in each cell or pot. Lightly cover the seeds with a thin layer of soil. Cape Gooseberry seeds need light to germinate, so don’t bury them too deep.
2. Creating a Humid Environment: Cover the trays or pots with a clear plastic lid or plastic wrap to create a humid environment. This will help the seeds germinate.
3. Providing Warmth and Light: Place the trays or pots in a warm location, ideally around 70-75°F (21-24°C). You can use a heat mat to provide bottom heat. Ensure the seedlings receive plenty of bright, indirect light. If you don’t have enough natural light, use a grow light.
4. Maintaining Moisture: Keep the soil consistently moist, but not waterlogged. Use a spray bottle to gently mist the soil as needed.
5. Germination Time: Cape Gooseberry seeds typically germinate in 1-3 weeks. Be patient!
6. Thinning Seedlings: Once the seedlings have emerged and have a few true leaves (the second set of leaves), thin them out, leaving only the strongest seedling in each cell or pot.
7. Hardening Off: Before transplanting your seedlings outdoors, you need to “harden them off.” This means gradually acclimating them to outdoor conditions. Start by placing the seedlings outdoors in a sheltered location for an hour or two each day, gradually increasing the amount of time they spend outdoors over the course of a week or two. This will help them adjust to the sun, wind, and temperature changes.
Transplanting: Giving Your Plants Room to Grow
Whether you started from seed or purchased seedlings, transplanting is a crucial step in growing Cape Gooseberries.
1. Choosing the Right Location: Cape Gooseberries thrive in full sun (at least 6-8 hours of direct sunlight per day) and well-draining soil. Choose a location in your garden that meets these requirements. If you’re growing in containers, make sure the containers are large enough (at least 5 gallons) and have drainage holes.
2. Preparing the Soil: Amend your garden soil with compost or aged manure to improve its fertility and drainage. If you’re growing in containers, use a good quality potting mix.
3. Digging the Hole: Dig a hole that is slightly larger than the root ball of your seedling.
4. Removing the Seedling: Gently remove the seedling from its pot or tray. Be careful not to damage the roots.
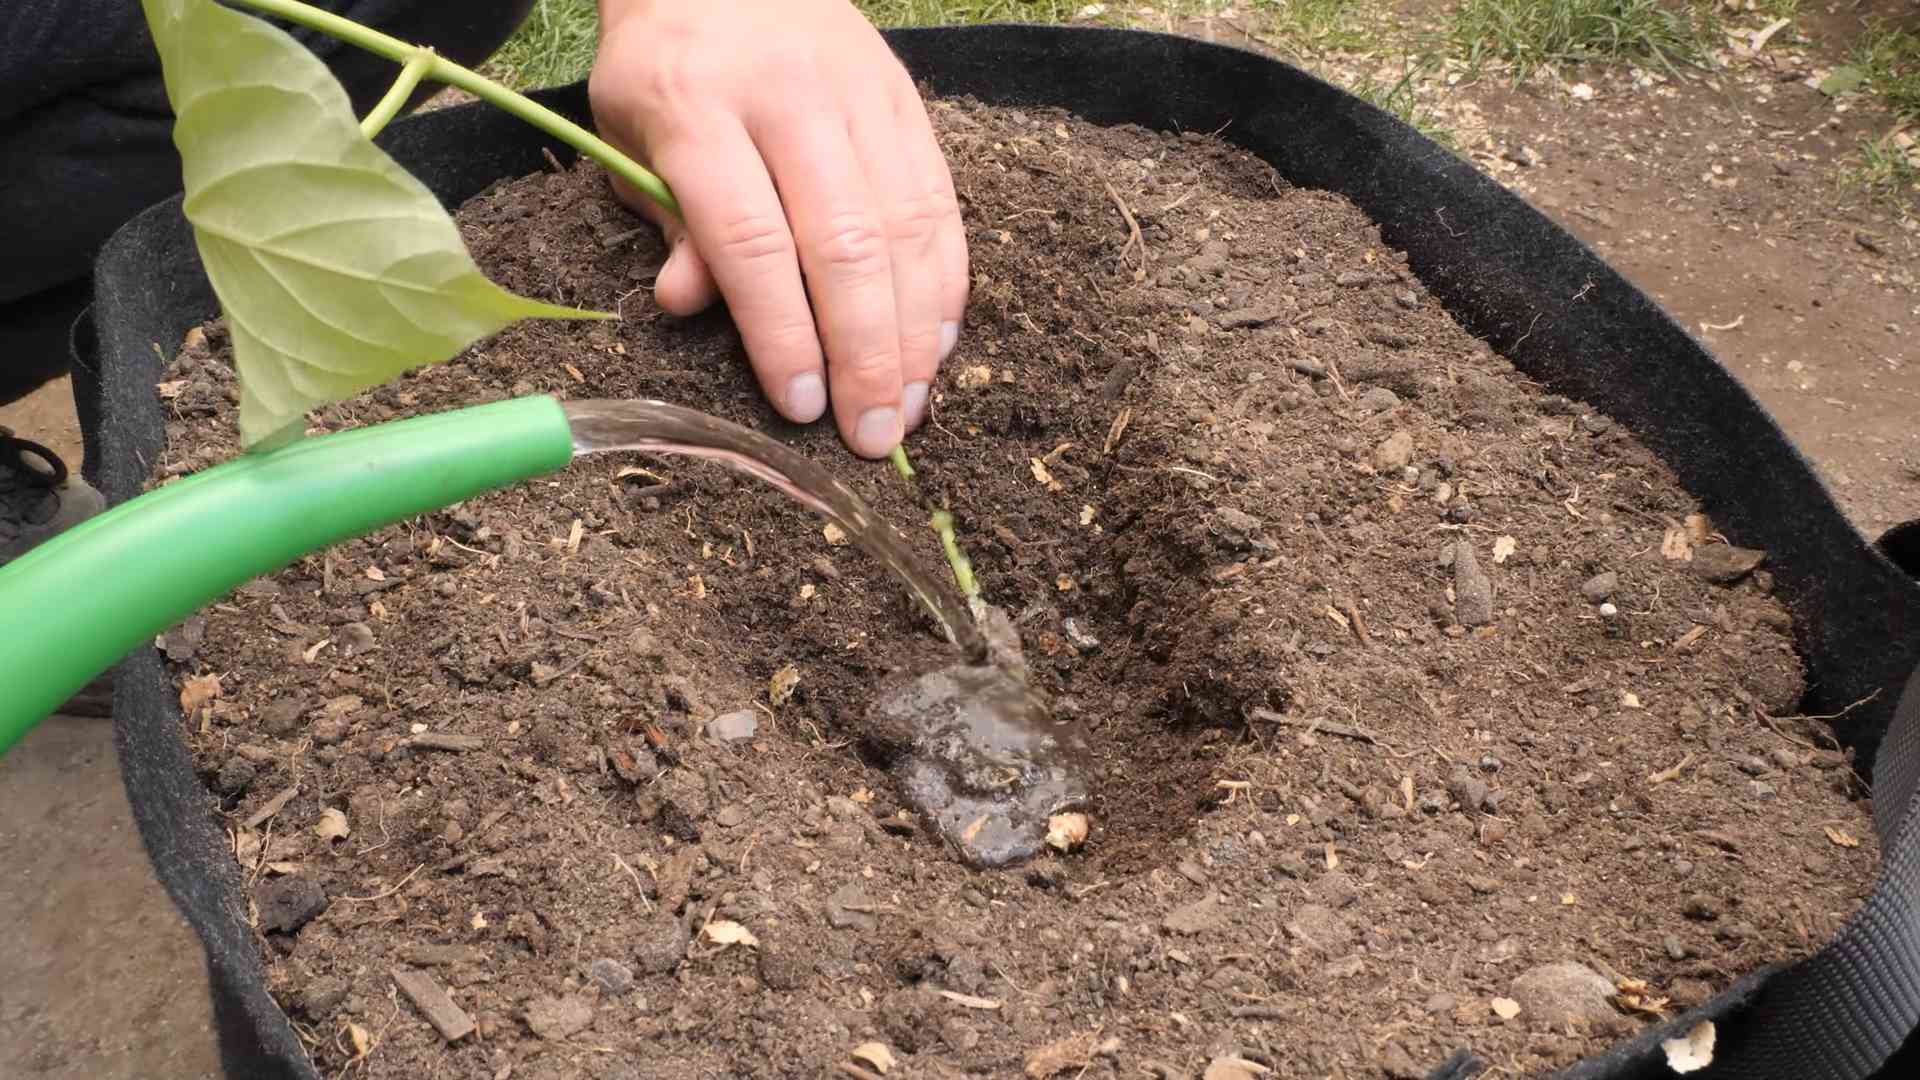
5. Planting the Seedling: Place the seedling in the hole and backfill with soil. Gently firm the soil around the base of the plant.
6. Watering Thoroughly: Water the seedling thoroughly after planting.
7. Spacing: Space your Cape Gooseberry plants about 2-3 feet apart if planting in the ground. This will give them enough room to grow and spread.
Caring for Your Cape Gooseberry Plants: The Nitty-Gritty
Now that your Cape Gooseberry plants are in the ground (or in containers), it’s time to provide them with the care they need to thrive.
1. Watering: Water your Cape Gooseberry plants regularly, especially during dry periods. Keep the soil consistently moist, but not waterlogged. Water deeply, allowing the water to soak into the soil.
2. Fertilizing: Cape Gooseberries are not heavy feeders, but they will benefit from occasional fertilization. Use a balanced fertilizer or a fertilizer specifically formulated for tomatoes or peppers. Follow the instructions on the fertilizer label. I like to use organic fertilizers like compost tea or fish emulsion.
3. Mulching: Apply a layer of mulch around your Cape Gooseberry plants to help retain moisture, suppress weeds, and regulate soil temperature. Organic mulches like straw, wood chips, or shredded leaves are excellent choices.
4. Pruning: Pruning can help improve air circulation and encourage fruit production. Remove any dead, damaged, or diseased branches. You can also prune to shape the plant and keep it from getting too leggy.
5. Staking or Caging: Cape Gooseberry plants can get quite bushy and may need support, especially when they are laden with fruit. Use stakes or tomato cages to provide support and prevent the plants from falling over.
6. Pest and Disease Control: Cape Gooseberries are generally resistant to pests and diseases, but they can be susceptible to aphids, whiteflies, and fungal diseases. Inspect your plants regularly for signs of pests or diseases. If you find any, take action immediately. You can use insecticidal soap or neem oil to control pests. For fungal diseases, use a fungicide. Always follow the instructions on the product label.
Harvesting: The Sweet Reward
The best part of growing Cape Gooseberries is, of course, harvesting the delicious fruit!
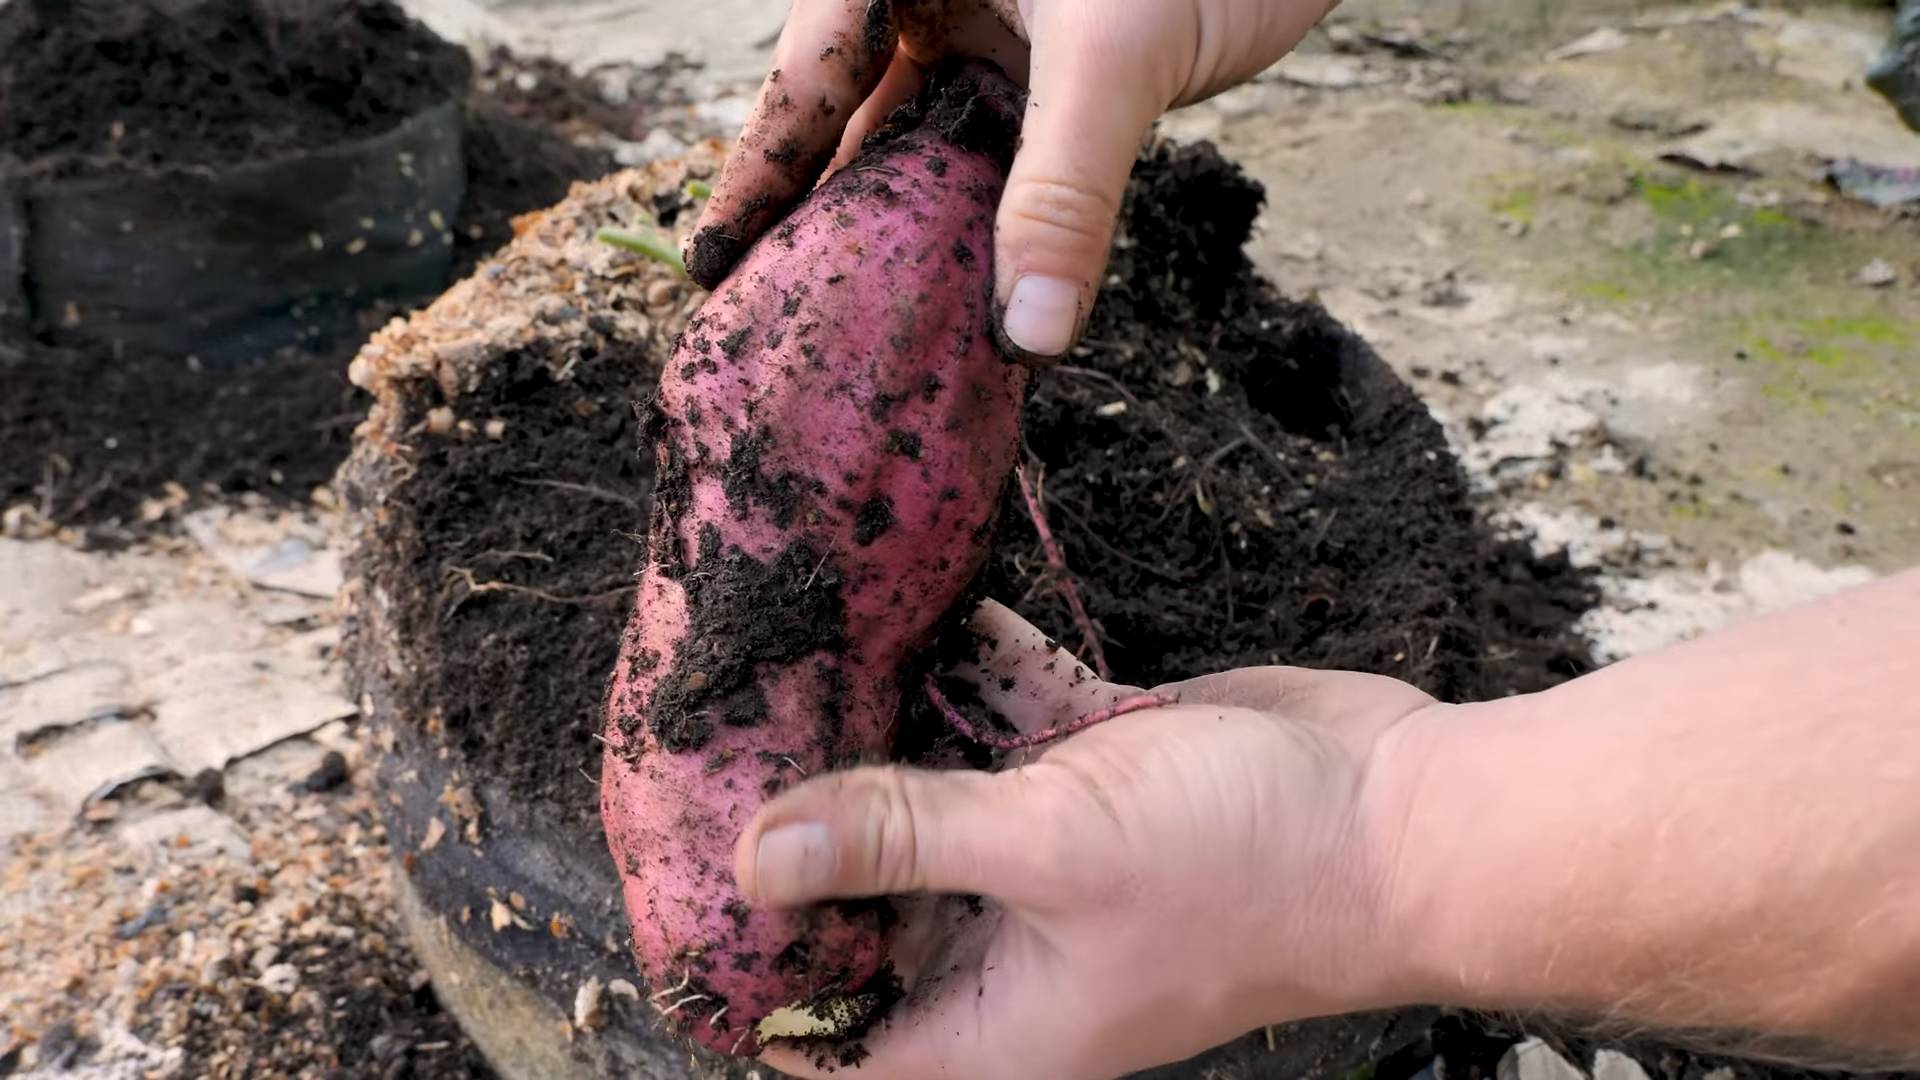
1. Ripening: Cape Gooseberries are ready to harvest when the papery husks turn brown and dry and the fruit inside turns a golden-orange color. The fruit will also drop from the plant when it is ripe.
2. Harvesting Technique: Gently pick the ripe fruit from the plant. You can also collect the fruit that has fallen to the ground.
3. Storage: Cape Gooseberries can be stored in their husks at room temperature for several weeks. You can also store them in the refrigerator for longer periods.
4. Enjoying Your Harvest: Cape Gooseberries can be eaten fresh, used in jams and jellies, or added to desserts and salads. They have a unique sweet-tart flavor that is simply irresistible.
Troubleshooting: Addressing Common Issues
Even with the best care, you may encounter some challenges when growing Cape Gooseberries. Here are some common issues and how to address them:
* Lack of Fruit: If your Cape Gooseberry plants are not producing fruit, it could be due to a lack of sunlight, poor pollination, or nutrient deficiencies. Make sure your plants are getting enough sunlight, and consider hand-pollinating the flowers. Fertilize your plants with a balanced fertilizer.
* Yellowing Leaves: Yellowing leaves can be a sign of overwatering, underwatering, or nutrient deficiencies. Check the soil moisture and adjust your watering accordingly. Fertilize your plants with a balanced fertilizer.
* Pest Infestations: Inspect your plants regularly for signs of pests. If you find any, take action immediately. Use insecticidal soap or neem oil to control pests.
* Fungal Diseases: Fungal diseases can be a problem in humid conditions. Improve air circulation by pruning your plants. Use a fungicide if necessary.
Extra Tips for Cape
Conclusion
So, there you have it! Mastering the art of propagating cape gooseberries from cuttings is not only a rewarding experience but also a fantastic way to expand your garden without breaking the bank. This DIY trick unlocks a world of possibilities, allowing you to cultivate these delightful golden berries in abundance. Forget relying solely on seeds, which can sometimes be unreliable or take longer to germinate. With cuttings, you’re essentially cloning a plant with proven characteristics, ensuring you get more of what you love – those sweet and tangy cape gooseberries!
Why is this a must-try? Because it’s efficient, cost-effective, and gives you greater control over your cape gooseberry crop. Imagine filling your garden with these vibrant plants, ready to produce a bountiful harvest for jams, desserts, or simply enjoying fresh from the vine. Plus, it’s incredibly satisfying to nurture a new plant from a simple cutting, witnessing its growth and transformation firsthand.
But the fun doesn’t stop there! Feel free to experiment with different types of cuttings. While semi-hardwood cuttings are generally recommended, you can also try softwood cuttings taken from newer growth. Just remember to adjust your care accordingly, providing extra humidity and protection for more delicate softwood cuttings. Another variation to consider is using different rooting mediums. While a standard potting mix works well, you could also try perlite, vermiculite, or even a combination of these. Each medium offers different drainage and aeration properties, so find what works best for your environment and growing style.
Don’t be afraid to get creative with your propagation setup either. While a simple tray with a humidity dome is effective, you can also repurpose plastic bottles or containers to create mini-greenhouses. The key is to maintain consistent moisture and humidity around the cuttings until they develop roots.
We wholeheartedly encourage you to try this cape gooseberry propagation method. It’s a game-changer for any gardener looking to expand their collection of these unique and delicious fruits. Once you’ve successfully rooted your cuttings, you’ll be amazed at how easy it is to create a thriving cape gooseberry patch.
And most importantly, we want to hear about your experiences! Share your successes, challenges, and any tips you discover along the way. Did you try a different rooting medium? Did you find a particular type of cutting worked better? Your insights can help other gardeners learn and grow, creating a community of cape gooseberry enthusiasts. So, grab your pruning shears, prepare your rooting medium, and get ready to embark on a rewarding propagation adventure. Happy gardening!
Frequently Asked Questions (FAQ)
What are the best types of cuttings to use for cape gooseberry propagation?
The most successful cuttings for cape gooseberry propagation are typically semi-hardwood cuttings. These are taken from stems that are partially mature, usually from the current season’s growth. They should be firm but not woody. Softwood cuttings, taken from very new growth, can also be used but require more careful attention to humidity and moisture levels. Avoid using hardwood cuttings from older, woody stems, as they are less likely to root. The ideal length for a cutting is around 4-6 inches.
How long does it take for cape gooseberry cuttings to root?
Rooting time can vary depending on environmental factors such as temperature, humidity, and the type of rooting medium used. Generally, you can expect to see roots developing within 2-4 weeks. It’s important to be patient and avoid disturbing the cuttings too much during this time. You can gently tug on the cutting after a few weeks to check for resistance, which indicates root formation.
What is the best rooting medium for cape gooseberry cuttings?
A well-draining rooting medium is crucial for successful propagation. A mix of equal parts perlite and vermiculite is an excellent choice, as it provides good aeration and moisture retention. You can also use a standard potting mix amended with perlite or sand to improve drainage. Avoid using heavy soils that can become waterlogged, as this can lead to rot.
How often should I water the cuttings?
Maintaining consistent moisture is essential for successful rooting. Water the cuttings regularly to keep the rooting medium consistently moist but not soggy. Check the moisture level daily and water when the top inch of the medium feels dry to the touch. Avoid overwatering, as this can lead to root rot. A humidity dome or plastic bag can help maintain consistent moisture levels around the cuttings.
What is the ideal temperature for rooting cape gooseberry cuttings?
Cape gooseberry cuttings root best in warm temperatures, ideally between 70-75°F (21-24°C). You can use a heat mat to provide bottom heat, which can significantly speed up the rooting process. Avoid exposing the cuttings to extreme temperatures or drafts, as this can stress the plants and hinder root development.
Do I need to use rooting hormone?
While not strictly necessary, using a rooting hormone can significantly improve the success rate of cape gooseberry propagation. Rooting hormones contain auxins, which stimulate root development. Dip the cut end of the cutting in rooting hormone powder or liquid before planting it in the rooting medium. Follow the instructions on the rooting hormone product for proper application.
How much light do the cuttings need?
Cape gooseberry cuttings need bright, indirect light to thrive. Avoid exposing them to direct sunlight, which can scorch the leaves. A location near a window with filtered light is ideal. You can also use grow lights to provide consistent light, especially during the winter months.
How do I know when the cuttings are ready to be transplanted?
The cuttings are ready to be transplanted when they have developed a healthy root system, typically after 4-6 weeks. You should see several roots emerging from the bottom of the cutting. Gently remove the cutting from the rooting medium and transplant it into a small pot filled with well-draining potting mix. Water thoroughly after transplanting and continue to provide bright, indirect light.
Can I propagate cape gooseberries in water?
While it is possible to root cape gooseberry cuttings in water, it is generally less successful than using a rooting medium. Cuttings rooted in water tend to develop weaker roots that are more susceptible to damage when transplanted to soil. If you choose to propagate in water, change the water every few days to prevent the growth of bacteria and algae.
What are some common problems I might encounter when propagating cape gooseberry cuttings?
Some common problems include root rot, fungal diseases, and pest infestations. Root rot is usually caused by overwatering or poor drainage. Fungal diseases can be prevented by providing good air circulation and avoiding overcrowding. Pests such as aphids and whiteflies can be controlled with insecticidal soap or neem oil. Regularly inspect your cuttings for any signs of problems and take action promptly to prevent them from spreading.
Can I propagate cape gooseberries from seed?
Yes, cape gooseberries can be propagated from seed. However, propagating from cuttings is often faster and more reliable, as it allows you to clone a plant with desirable characteristics. If you choose to propagate from seed, sow the seeds indoors 6-8 weeks before the last expected frost. Keep the soil moist and warm, and transplant the seedlings outdoors after the danger of frost has passed.
What is the best time of year to propagate cape gooseberry cuttings?
The best time of year to propagate cape gooseberry cuttings is typically in the spring or early summer, when the plants are actively growing. This allows the cuttings to root quickly and establish themselves before the onset of colder weather. However, you can propagate cuttings at other times of the year as long as you provide the necessary environmental conditions.
Leave a Comment