
Cape Gooseberry Growing Guide: Unlock the Secrets to Golden Berry Abundance!
Have you ever stumbled upon those intriguing little golden berries, nestled in their papery husks, and wondered, “Could I grow these myself?” Well, wonder no more! This DIY article is your passport to cultivating your very own patch of Cape Gooseberries, also known as golden berries, right in your backyard.
These delightful fruits, with their sweet and tangy flavor, have a rich history, enjoyed for centuries in South America and beyond. While their exact origins are debated, they’ve been cherished for their unique taste and nutritional benefits. I think it’s time we bring this tradition to our own gardens!
But why should you bother with this particular DIY project? In today’s world, where fresh, healthy produce can be expensive and sometimes hard to find, growing your own food is more empowering than ever. Plus, the Cape Gooseberry is surprisingly easy to cultivate, even for beginner gardeners. This Cape Gooseberry Growing Guide will provide you with all the tips and tricks you need to succeed. Imagine plucking sun-ripened berries straight from the vine, knowing exactly where they came from and how they were grown. It’s a rewarding experience that connects you to nature and provides you with delicious, healthy treats. So, let’s get started and transform your garden into a golden berry paradise!
Growing Cape Gooseberries: A DIY Guide to Golden Goodness
Hey there, fellow gardening enthusiasts! Today, I’m super excited to share my tried-and-true method for growing cape gooseberries, also known as golden berries, ground cherries, or physalis. These little gems are not only delicious but also surprisingly easy to cultivate at home. Get ready to enjoy a bountiful harvest of these sweet and tangy treats!
What You’ll Need
Before we dive in, let’s gather all the necessary supplies. Trust me, having everything on hand will make the process much smoother.
* Cape Gooseberry Seeds or Seedlings: You can start from seeds or purchase seedlings from a local nursery. I personally prefer starting from seeds, as it gives me more control over the entire process.
* Seed Starting Trays or Small Pots: If you’re starting from seeds, you’ll need these to get them going.
* Seed Starting Mix: A light and airy mix specifically designed for starting seeds.
* Potting Soil: A well-draining potting mix for transplanting your seedlings into larger containers or directly into the garden.
* Gardening Gloves: To keep your hands clean and protected.
* Watering Can or Hose: For watering your plants.
* Fertilizer: A balanced fertilizer to provide your plants with the nutrients they need. I like to use a slow-release granular fertilizer.
* Stakes or Cages: Cape gooseberry plants can get quite bushy and may need support to prevent them from sprawling.
* Sunny Location: Cape gooseberries thrive in full sun, so choose a spot that gets at least 6-8 hours of sunlight per day.
* Well-Draining Soil: These plants don’t like soggy feet, so make sure your soil drains well.
* Optional: Mulch (straw, wood chips, or compost) to help retain moisture and suppress weeds.
Starting from Seeds: A Step-by-Step Guide
Okay, let’s get those seeds started! This is where the magic begins.
1. Sowing the Seeds: Fill your seed starting trays or small pots with seed starting mix. Moisten the mix thoroughly. Sow the cape gooseberry seeds about ¼ inch deep and gently cover them with soil. I usually sow a few seeds per cell or pot to increase my chances of germination.
2. Creating a Humid Environment: Cover the trays or pots with a plastic dome or plastic wrap to create a humid environment. This will help the seeds germinate. Place them in a warm location, ideally around 70-75°F (21-24°C).
3. Germination Time: Keep the soil consistently moist but not waterlogged. The seeds should germinate in about 1-3 weeks. Once the seedlings emerge, remove the plastic cover and place them under a grow light or in a sunny window.
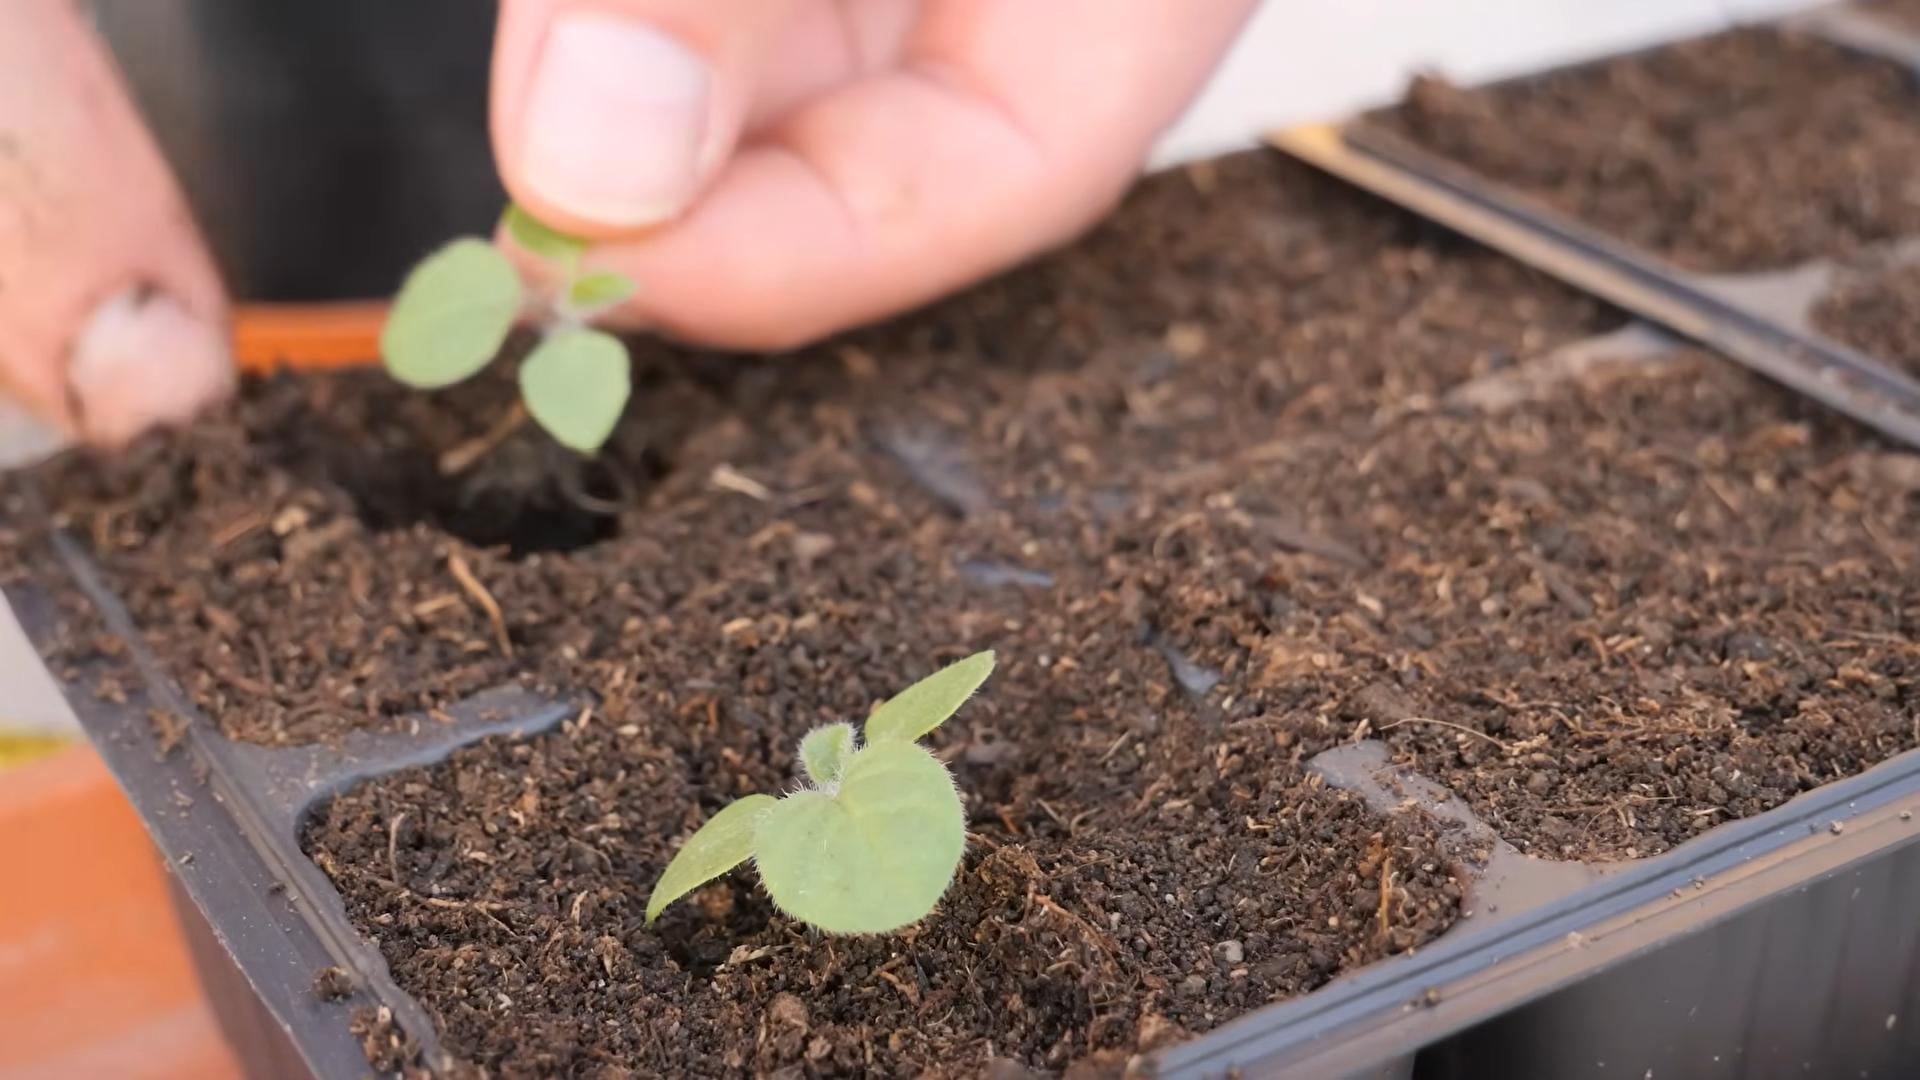
4. Thinning the Seedlings: If you sowed multiple seeds per cell or pot, thin them out to one strong seedling per cell or pot. This will give the remaining seedling enough space to grow.
5. Hardening Off: Before transplanting your seedlings outdoors, you’ll need to harden them off. This means gradually exposing them to outdoor conditions over a period of 7-10 days. Start by placing them outdoors for a few hours each day, gradually increasing the amount of time they spend outside. This will help them adjust to the sun, wind, and temperature changes.
Transplanting Your Seedlings
Once your seedlings are hardened off and the weather is warm enough (after the last frost), it’s time to transplant them into their permanent home.
1. Preparing the Soil: Choose a sunny location with well-draining soil. Amend the soil with compost or other organic matter to improve its fertility and drainage.
2. Spacing: Space the cape gooseberry plants about 2-3 feet apart. This will give them enough room to grow and spread.
3. Planting: Dig a hole that is slightly larger than the root ball of the seedling. Gently remove the seedling from its pot and place it in the hole. Backfill with soil and gently firm it around the base of the plant.
4. Watering: Water the newly transplanted seedlings thoroughly.
5. Mulching: Apply a layer of mulch around the base of the plants to help retain moisture and suppress weeds.
Caring for Your Cape Gooseberry Plants
Now that your plants are in the ground, it’s time to provide them with the care they need to thrive.
1. Watering: Water your cape gooseberry plants regularly, especially during dry periods. Aim to keep the soil consistently moist but not waterlogged.
2. Fertilizing: Fertilize your plants every 4-6 weeks with a balanced fertilizer. Follow the instructions on the fertilizer package.
3. Pruning: Cape gooseberry plants don’t require a lot of pruning, but you can prune them to remove any dead or damaged branches. You can also prune them to control their size and shape.
4. Support: As the plants grow, they may need support to prevent them from sprawling. You can use stakes or cages to support them.
5. Pest and Disease Control: Cape gooseberry plants are generally resistant to pests and diseases, but they can be susceptible to aphids, whiteflies, and fungal diseases. Inspect your plants regularly for any signs of pests or diseases and take appropriate action if necessary. I prefer using organic pest control methods whenever possible. Neem oil is a great option for controlling aphids and whiteflies.
Harvesting Your Golden Goodness
The best part! Harvesting those delicious cape gooseberries.
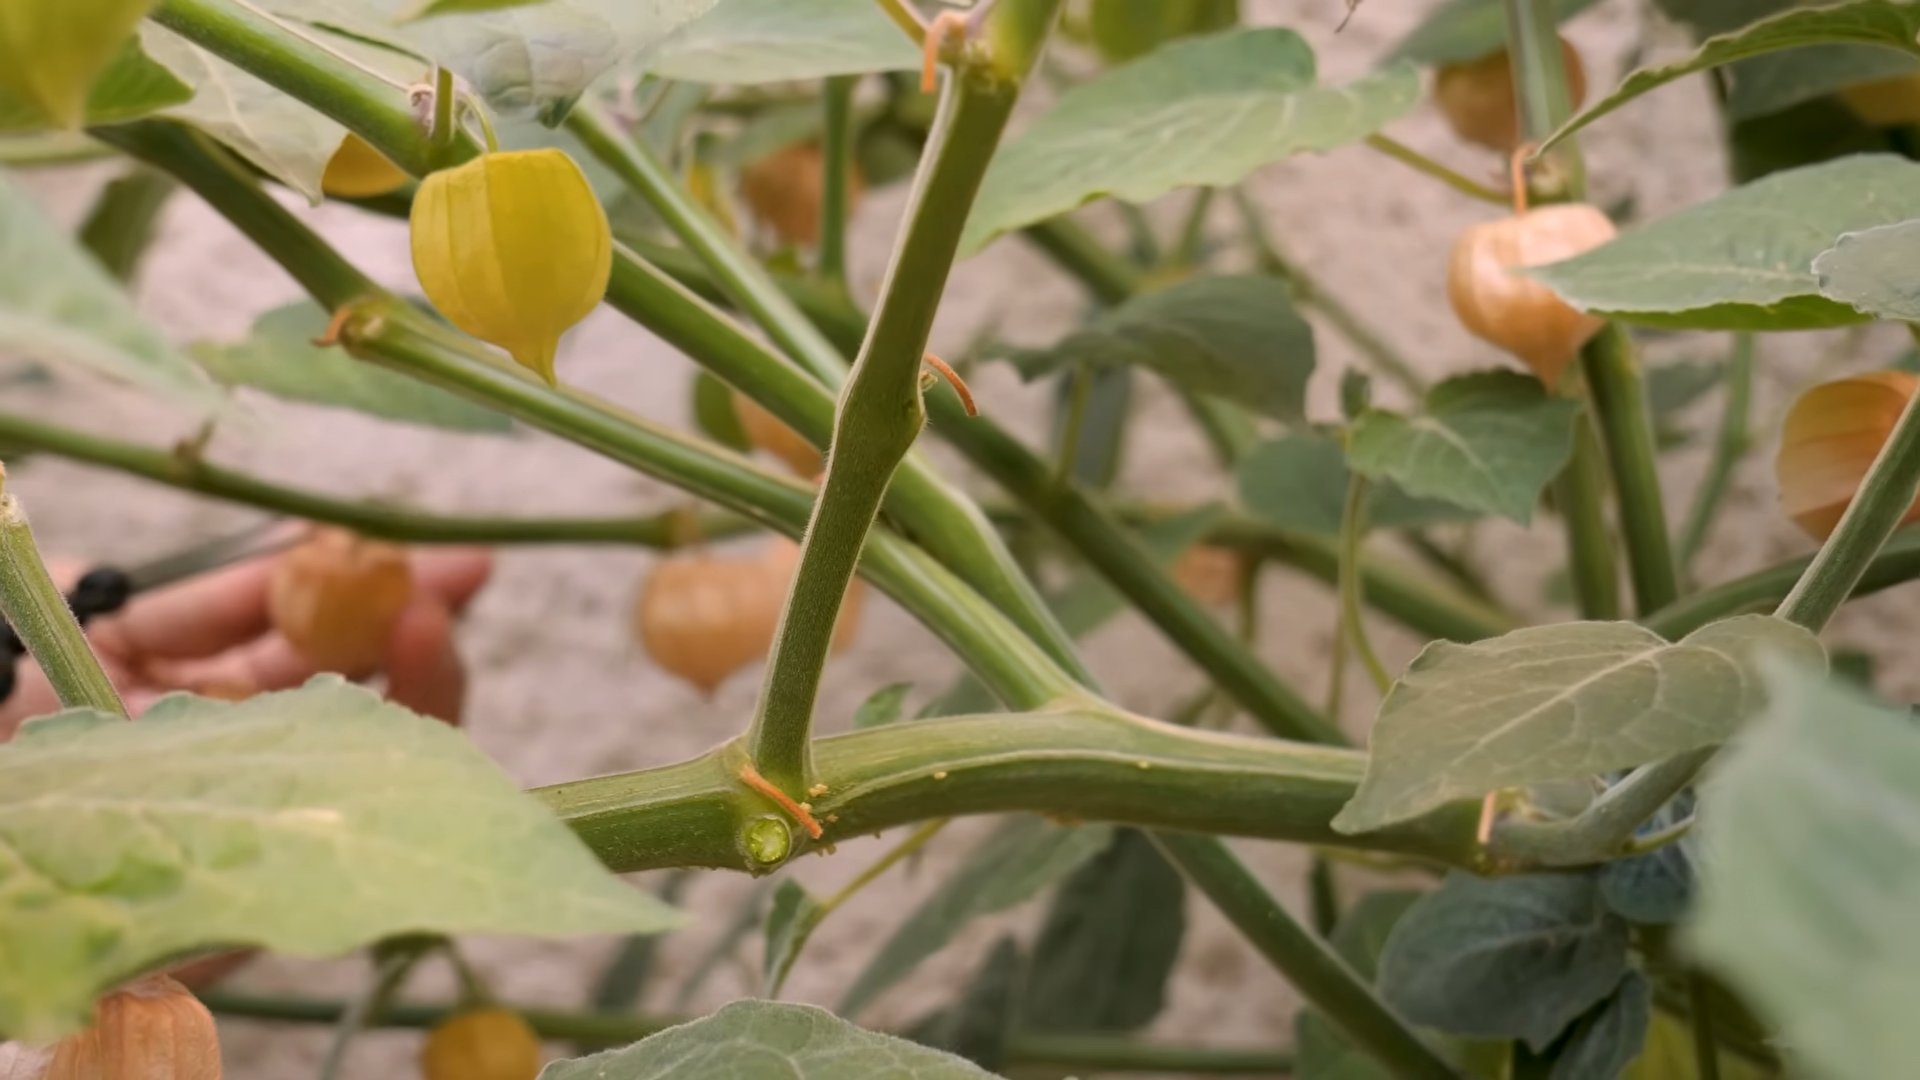
1. Ripening: Cape gooseberries are ready to harvest when the papery husk turns brown and dry and the fruit inside turns golden yellow. The fruit will also fall to the ground when it’s ripe.
2. Harvesting: Gently pick the ripe fruits from the plant or collect them from the ground.
3. Storage: Cape gooseberries can be stored in the refrigerator for several weeks. You can also freeze them for longer storage.
Troubleshooting Common Issues
Even with the best care, you might encounter a few challenges along the way. Here are some common issues and how to address them:
* Yellowing Leaves: This could be a sign of overwatering, nutrient deficiency, or pest infestation. Check the soil moisture and adjust your watering accordingly. Fertilize your plants with a balanced fertilizer. Inspect your plants for pests and take appropriate action if necessary.
* Lack of Fruit: This could be due to insufficient sunlight, poor pollination, or nutrient deficiency. Make sure your plants are getting at least 6-8 hours of sunlight per day. You can hand-pollinate the flowers by gently shaking the plants or using a small brush to transfer pollen from one flower to another. Fertilize your plants with a fertilizer that is high in phosphorus.
* Pests: Aphids and whiteflies are common pests of cape gooseberry plants. You can control them with insecticidal soap or neem oil.
* Fungal Diseases: Fungal diseases can be a problem in humid conditions. To prevent fungal diseases, make sure your plants have good air circulation and avoid overhead watering. If you notice any signs of fungal disease, treat your plants with a fungicide.
Using Your Harvest
Now that you have a bountiful harvest of cape gooseberries, what can you do with them? The possibilities are endless!
* Eat them fresh: Cape gooseberries are delicious eaten fresh, straight from the plant.
* Make jam or preserves: Cape gooseberry jam is a unique and flavorful treat.
* Bake them into pies or tarts: Cape gooseberries add a tangy twist to pies and tarts.
* Add them to salads: Cape gooseberries add a burst of flavor and color to salads.
* Use them as a garnish: Cape gooseberries make a beautiful and edible garnish for desserts and cocktails.
* Dehydrate them: Dehydrated cape gooseberries make a healthy and delicious snack.
Extra Tips for Success
Here are a few extra tips to help you succeed in growing cape gooseberries:
* Choose the right variety: There are several different varieties of cape gooseberries available. Choose a variety that is well-suited to your climate and growing conditions.
* Start early: Start your seeds indoors 6-8 weeks before the last frost. This will give your plants a head start on the growing season.
* Provide support: Cape gooseberry plants can get quite bushy and may need support to prevent them from sprawling.
* Protect from frost: Cape gooseberry plants are sensitive to frost. If frost is predicted, cover your plants with a blanket or tarp.
* Be patient: Cape gooseberry plants can take a few months to start producing fruit. Be patient and don’t give up!
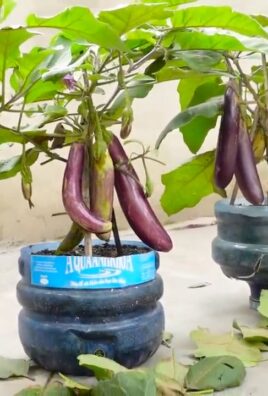
Cape Gooseberries in Containers
Don’t have a garden? No problem
Conclusion
So, there you have it! Mastering the art of growing cape gooseberries doesn’t require a green thumb blessed by the gardening gods. It’s about understanding their needs, providing the right environment, and a little bit of patience. This comprehensive guide has equipped you with the knowledge to cultivate these delightful golden berries right in your own backyard.
Why is this DIY approach a must-try? Because store-bought cape gooseberries, if you can even find them, often come with a hefty price tag and may not always be the freshest. Growing your own guarantees you access to plump, juicy berries bursting with flavor, free from unwanted pesticides and chemicals. Plus, there’s an undeniable satisfaction in nurturing a plant from seed to harvest, knowing you played a direct role in bringing that deliciousness to your table.
But don’t stop there! Experiment with different varieties of cape gooseberries. Some are sweeter, some are tangier, and some are better suited for specific climates. Try growing them in containers if you have limited space, or consider companion planting with herbs like basil or rosemary to deter pests naturally. You can even explore different pruning techniques to maximize fruit production.
And speaking of fruit production, remember that consistent watering and fertilization are key, especially during the flowering and fruiting stages. Keep a watchful eye out for common pests like aphids and whiteflies, and address them promptly with organic solutions. Don’t be afraid to get your hands dirty and learn from your experiences. Gardening is a journey, not a destination.
The beauty of growing your own cape gooseberries lies in the control you have over the entire process. You can choose organic methods, tailor the growing conditions to your specific climate, and harvest the berries at their peak ripeness. This translates to a superior flavor and a healthier, more sustainable food source.
We encourage you to embark on this rewarding gardening adventure. Start small, learn as you go, and don’t be discouraged by setbacks. Every gardener faces challenges, but the joy of harvesting your own homegrown cape gooseberries makes it all worthwhile.
Once you’ve tasted the fruits (literally!) of your labor, we’d love to hear about your experience. Share your tips, tricks, and triumphs in the comments below. Let’s build a community of cape gooseberry enthusiasts and learn from each other. Did you try a particular variety? Did you discover a unique way to deter pests? Did you create a mouthwatering recipe using your homegrown berries? Share it all! Your insights could inspire and help other gardeners on their own cape gooseberry journey.
So, grab your seeds, prepare your soil, and get ready to experience the joy of growing your own delicious and nutritious cape gooseberries. Happy gardening!
Frequently Asked Questions (FAQs)
What is the best time of year to plant cape gooseberries?
The ideal time to plant cape gooseberries depends on your climate. In warmer regions with mild winters, you can start seeds indoors in late winter or early spring and transplant them outdoors after the last frost. In cooler climates with shorter growing seasons, it’s best to start seeds indoors 6-8 weeks before the last expected frost and transplant them once the weather warms up and the soil is workable. Cape gooseberries thrive in warm weather, so ensure the risk of frost has passed before planting them outdoors.
How much sunlight do cape gooseberries need?
Cape gooseberries require at least 6-8 hours of direct sunlight per day to thrive and produce abundant fruit. Choose a planting location that receives ample sunlight throughout the day. If you’re growing them in containers, you can move them around to ensure they get enough sun. Insufficient sunlight can lead to leggy growth, reduced flowering, and smaller fruit yields.
What type of soil is best for cape gooseberries?
Cape gooseberries prefer well-draining soil that is rich in organic matter. The ideal soil pH is between 6.0 and 7.0. Before planting, amend the soil with compost or well-rotted manure to improve drainage and fertility. Avoid heavy clay soils that retain too much moisture, as this can lead to root rot. If you have clay soil, consider growing cape gooseberries in raised beds or containers with a well-draining potting mix.
How often should I water cape gooseberries?
Water cape gooseberries regularly, especially during dry periods. Keep the soil consistently moist but not waterlogged. Water deeply at the base of the plant, avoiding wetting the foliage, which can increase the risk of fungal diseases. The frequency of watering will depend on the weather, soil type, and plant size. Check the soil moisture regularly and water when the top inch feels dry to the touch. During hot, dry weather, you may need to water daily.
What are some common pests and diseases that affect cape gooseberries?
Cape gooseberries can be susceptible to various pests and diseases, including aphids, whiteflies, spider mites, and fungal diseases like powdery mildew and leaf spot. Regularly inspect your plants for signs of infestation or disease. Control pests with insecticidal soap or neem oil. Prevent fungal diseases by providing good air circulation, avoiding overhead watering, and applying a fungicide if necessary. Remove any infected leaves or plant parts promptly to prevent the spread of disease.
Do I need to prune cape gooseberries?
Pruning cape gooseberries can help improve air circulation, promote bushier growth, and increase fruit production. Prune lightly in late winter or early spring to remove any dead, damaged, or crossing branches. You can also pinch back the tips of young shoots to encourage branching. Avoid heavy pruning, as this can reduce fruit yields.
When are cape gooseberries ripe and ready to harvest?
Cape gooseberries are ripe when the papery husk surrounding the fruit turns from green to a light tan or brown color and the fruit inside is a golden yellow or orange. The husk will also become dry and papery. The fruit should easily detach from the plant when gently pulled. Taste a few berries to ensure they are ripe and sweet before harvesting the entire crop.
How do I store cape gooseberries?
Cape gooseberries can be stored in their husks at room temperature for several days or in the refrigerator for up to two weeks. To store them for longer periods, you can freeze them. Remove the husks, wash the berries, and dry them thoroughly. Spread them out on a baking sheet and freeze them until solid. Then, transfer them to a freezer bag or container. Frozen cape gooseberries can be stored for up to 6 months.
Can I grow cape gooseberries in containers?
Yes, cape gooseberries can be successfully grown in containers, making them a great option for gardeners with limited space. Choose a large container with good drainage holes. Use a well-draining potting mix and provide regular watering and fertilization. Place the container in a sunny location that receives at least 6-8 hours of direct sunlight per day.
Are cape gooseberries the same as ground cherries?
Cape gooseberries and ground cherries are closely related and belong to the same plant family (Solanaceae), but they are distinct species. Cape gooseberries (Physalis peruviana) are generally larger and have a more tart flavor than ground cherries (Physalis pruinosa). Ground cherries are typically smaller and sweeter. Both fruits are enclosed in a papery husk and are delicious eaten fresh or used in jams, pies, and other desserts.
Leave a Comment