
Chili plant care tips are essential for anyone dreaming of fiery flavors fresh from their own backyard! Imagine plucking vibrant, sun-ripened chilies, ready to spice up your favorite dishes. For centuries, chilies have been cultivated across the globe, adding a kick to cuisines and playing a significant role in various cultures. From ancient Mesoamerica, where they were first domesticated, to the bustling markets of Asia, chilies have always been prized for their unique flavor and health benefits.
But let’s be honest, growing chilies can sometimes feel like a fiery challenge itself! That’s where these DIY tricks and hacks come in. I’ve learned a thing or two over the years, and I’m excited to share my secrets to help you cultivate a thriving chili garden, even if you’re a complete beginner. Whether you’re struggling with stunted growth, pest problems, or simply want to maximize your yield, these simple yet effective chili plant care tips will empower you to grow the hottest, most flavorful chilies you’ve ever tasted. Get ready to turn up the heat on your gardening game!
DIY: Supercharge Your Chili Plant Harvest!
Hey fellow chili lovers! Are you dreaming of a bumper crop of fiery peppers this year? I’m here to share some of my favorite DIY hacks that have helped me go from a few measly chilies to a plant overflowing with them. Get ready to roll up your sleeves and give your chili plants the TLC they deserve!
Understanding Your Chili Plant’s Needs
Before we dive into the DIY magic, let’s quickly cover the basics. Chili plants, like most fruiting vegetables, are sun-worshippers and nutrient-hungry. They also appreciate consistent watering and well-draining soil. Keep these needs in mind as we go through the hacks.
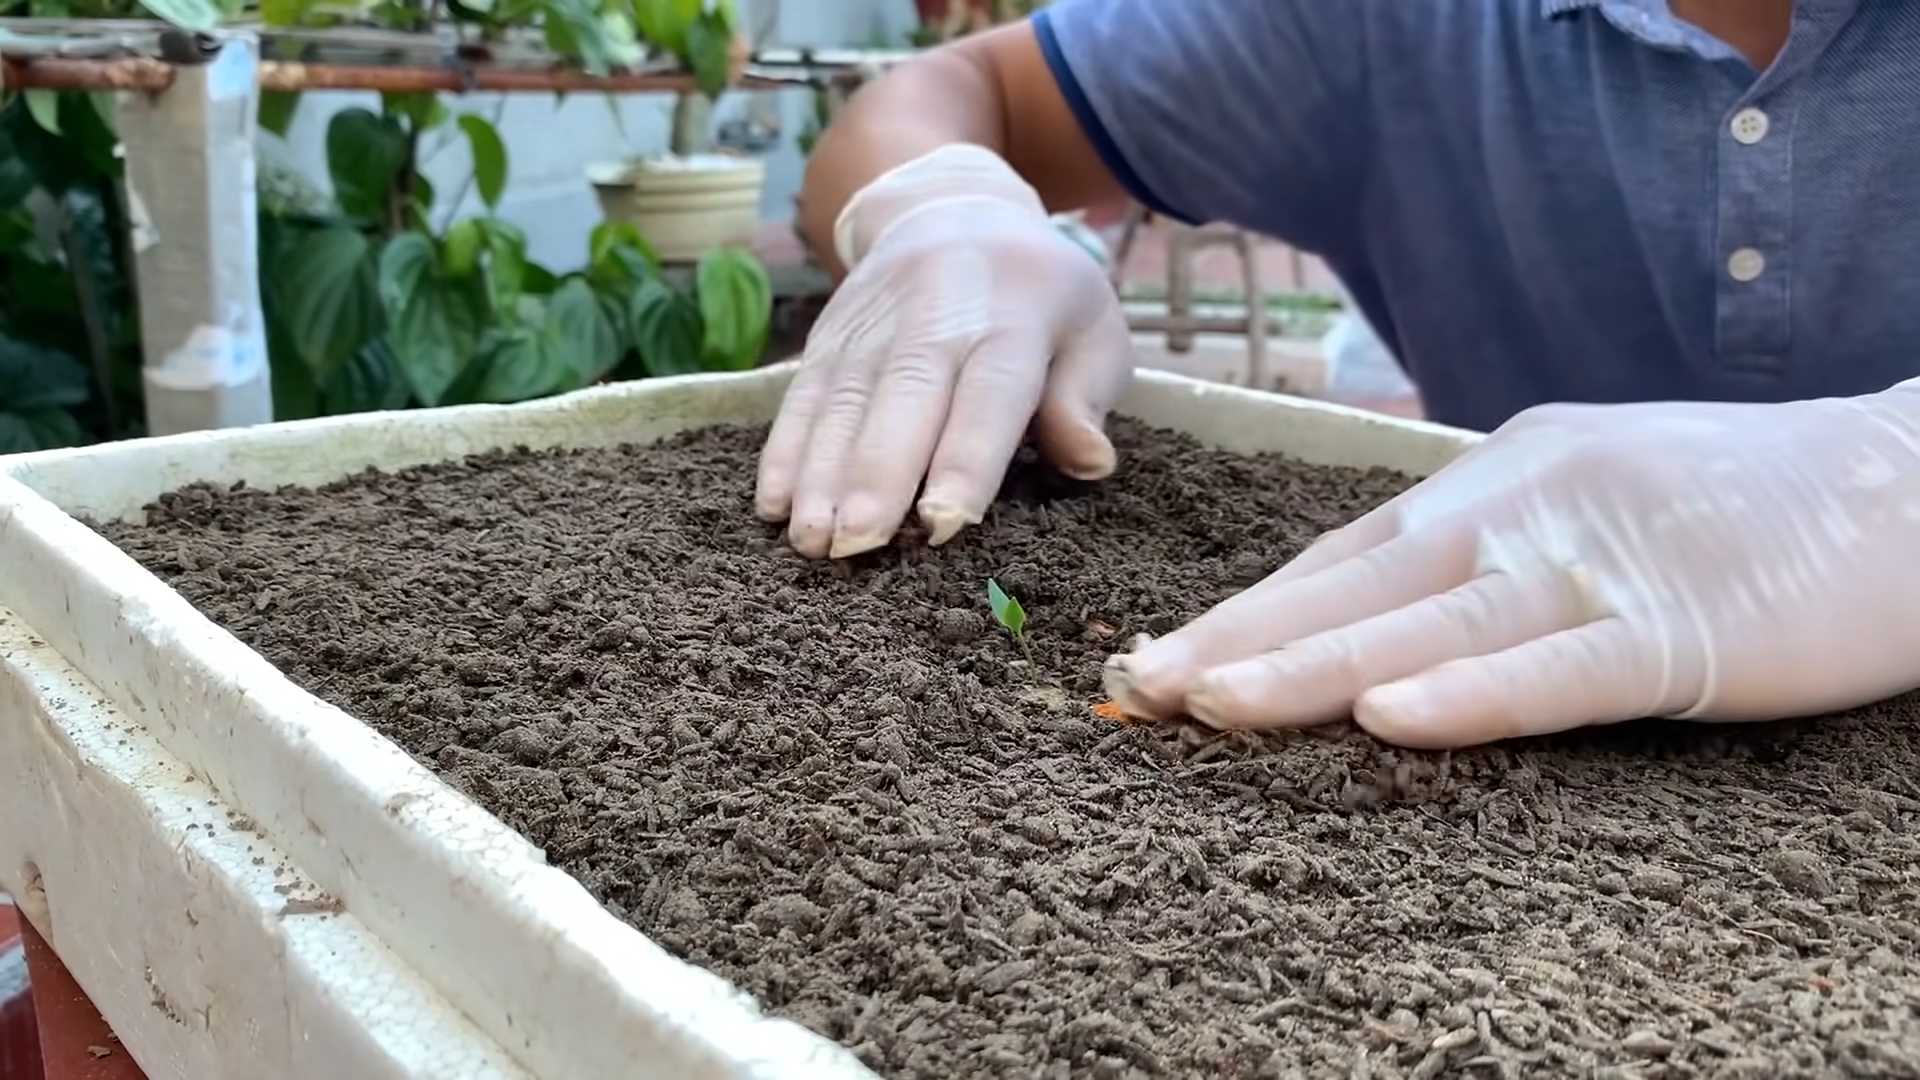
DIY Hack #1: Supercharged Soil Mix
The foundation of any successful chili plant is, well, the foundation – the soil! Forget the generic potting mix; we’re going to create a custom blend that will make your chili plants sing.
Why this works: This mix provides excellent drainage, aeration, and a slow-release source of nutrients, all crucial for healthy root development and abundant fruiting.
What you’ll need:
* 1 part Coco Coir (for moisture retention and aeration)
* 1 part Perlite (for drainage and aeration)
* 1 part Compost (for nutrients and beneficial microbes)
* 1/2 part Worm Castings (for extra nutrients and soil conditioning)
* 1 tablespoon Bone Meal per gallon of soil mix (for phosphorus, essential for flowering and fruiting)
* 1 tablespoon Epsom Salts per gallon of soil mix (for magnesium, which aids in chlorophyll production)
Instructions:
1. Gather your ingredients: Make sure you have all the components ready before you start mixing. I usually get my coco coir in brick form, so I rehydrate it in a large bucket before mixing.
2. Combine the coco coir and perlite: In a large container (a wheelbarrow works great if you’re making a lot), thoroughly mix the coco coir and perlite. This ensures even distribution of these important components.
3. Add the compost and worm castings: Incorporate the compost and worm castings into the mixture. These will provide a rich source of organic matter and beneficial microbes.
4. Incorporate the bone meal and Epsom salts: Sprinkle the bone meal and Epsom salts evenly over the mixture and mix thoroughly. Be careful not to overdo it with these amendments, as too much can be harmful.
5. Mix well: Ensure all the ingredients are evenly distributed throughout the soil mix. You want a consistent blend that will provide your chili plants with everything they need.
6. Store or use immediately: You can store the soil mix in a sealed container for later use, or use it immediately to pot up your chili plants.
DIY Hack #2: Homemade Chili Plant Fertilizer Tea
Commercial fertilizers can be expensive, and sometimes they’re not the best for your plants or the environment. I’ve found that making my own fertilizer tea is a fantastic way to provide my chili plants with a boost of nutrients.
Why this works: This tea is packed with readily available nutrients that are easily absorbed by the plants, promoting healthy growth and abundant fruiting.
What you’ll need:
* 5 gallon bucket
* Compost (about 2 cups)
* Worm Castings (about 1 cup)
* Molasses (1 tablespoon) – unsulphured molasses is best
* Water (non-chlorinated)
* Old pillowcase or burlap sack
Instructions:
1. Prepare the tea bag: Fill the pillowcase or burlap sack with the compost and worm castings. Tie it securely to create a “tea bag.”
2. Steep the tea bag: Place the tea bag in the 5-gallon bucket and fill the bucket with non-chlorinated water. Make sure the tea bag is fully submerged.
3. Add the molasses: Stir in the molasses. The molasses acts as a food source for the beneficial microbes in the compost and worm castings, helping them to multiply and release more nutrients.
4. Brew the tea: Let the tea brew for 24-48 hours, stirring occasionally. The longer it brews, the more nutrients will be extracted.
5. Dilute the tea: Dilute the tea with water before using it to water your chili plants. I usually use a ratio of 1 part tea to 5 parts water.
6. Water your plants: Use the diluted tea to water your chili plants as you normally would. Avoid getting the tea on the leaves, as it can attract pests. I usually fertilize every 2-3 weeks during the growing season.
DIY Hack #3: Eggshell Calcium Boost
Chili plants, like tomatoes, are prone to blossom end rot, which is caused by a calcium deficiency. Instead of buying expensive calcium supplements, I recycle eggshells to provide my plants with a natural source of calcium.
Why this works: Eggshells are primarily made of calcium carbonate, which is slowly released into the soil as they decompose, providing a steady supply of calcium to the plants.
What you’ll need:
* Eggshells (as many as you can collect!)
* Oven or microwave
* Blender or coffee grinder (optional)
Instructions:
1. Collect and clean eggshells: Rinse the eggshells thoroughly to remove any remaining egg residue.
2. Dry the eggshells: Dry the eggshells completely. You can do this by placing them in a low oven (200°F) for about 10-15 minutes, or microwaving them for a minute or two. This will also help to kill any bacteria.
3. Crush the eggshells: Crush the eggshells into small pieces. You can do this by hand, or use a blender or coffee grinder to create a fine powder. The finer the powder, the faster the calcium will be released into the soil.
4. Incorporate into the soil: Sprinkle the crushed eggshells around the base of your chili plants and gently work them into the soil. You can also add them to your potting mix when you’re transplanting your plants.
5. Add to compost: You can also add crushed eggshells to your compost pile. They will break down over time and enrich your compost with calcium.
DIY Hack #4: Epsom Salt Foliar Spray
As mentioned earlier, magnesium is essential for chlorophyll production, which is vital for photosynthesis. A foliar spray of Epsom salts can quickly address magnesium deficiencies and give your chili plants a boost.
Why this works: Foliar feeding allows the plants to absorb nutrients directly through their leaves, providing a faster response than soil applications.
What you’ll need:
* Epsom Salts
* Water
* Spray bottle
Instructions:
1. Mix the solution: Dissolve 1 tablespoon of Epsom salts in 1 gallon of water.
2. Pour into spray bottle: Pour the solution into a clean spray bottle.
3. Spray the plants: Spray the foliage of your chili plants with the solution, making sure to cover both the tops and bottoms of the leaves.
4. Spray in the morning or evening: Avoid spraying during the hottest part of the day, as this can cause leaf burn. I usually spray in the early morning or late evening.
5. Repeat as needed: Repeat the spray every 2-4 weeks, or as needed if you notice signs of magnesium deficiency (yellowing leaves).
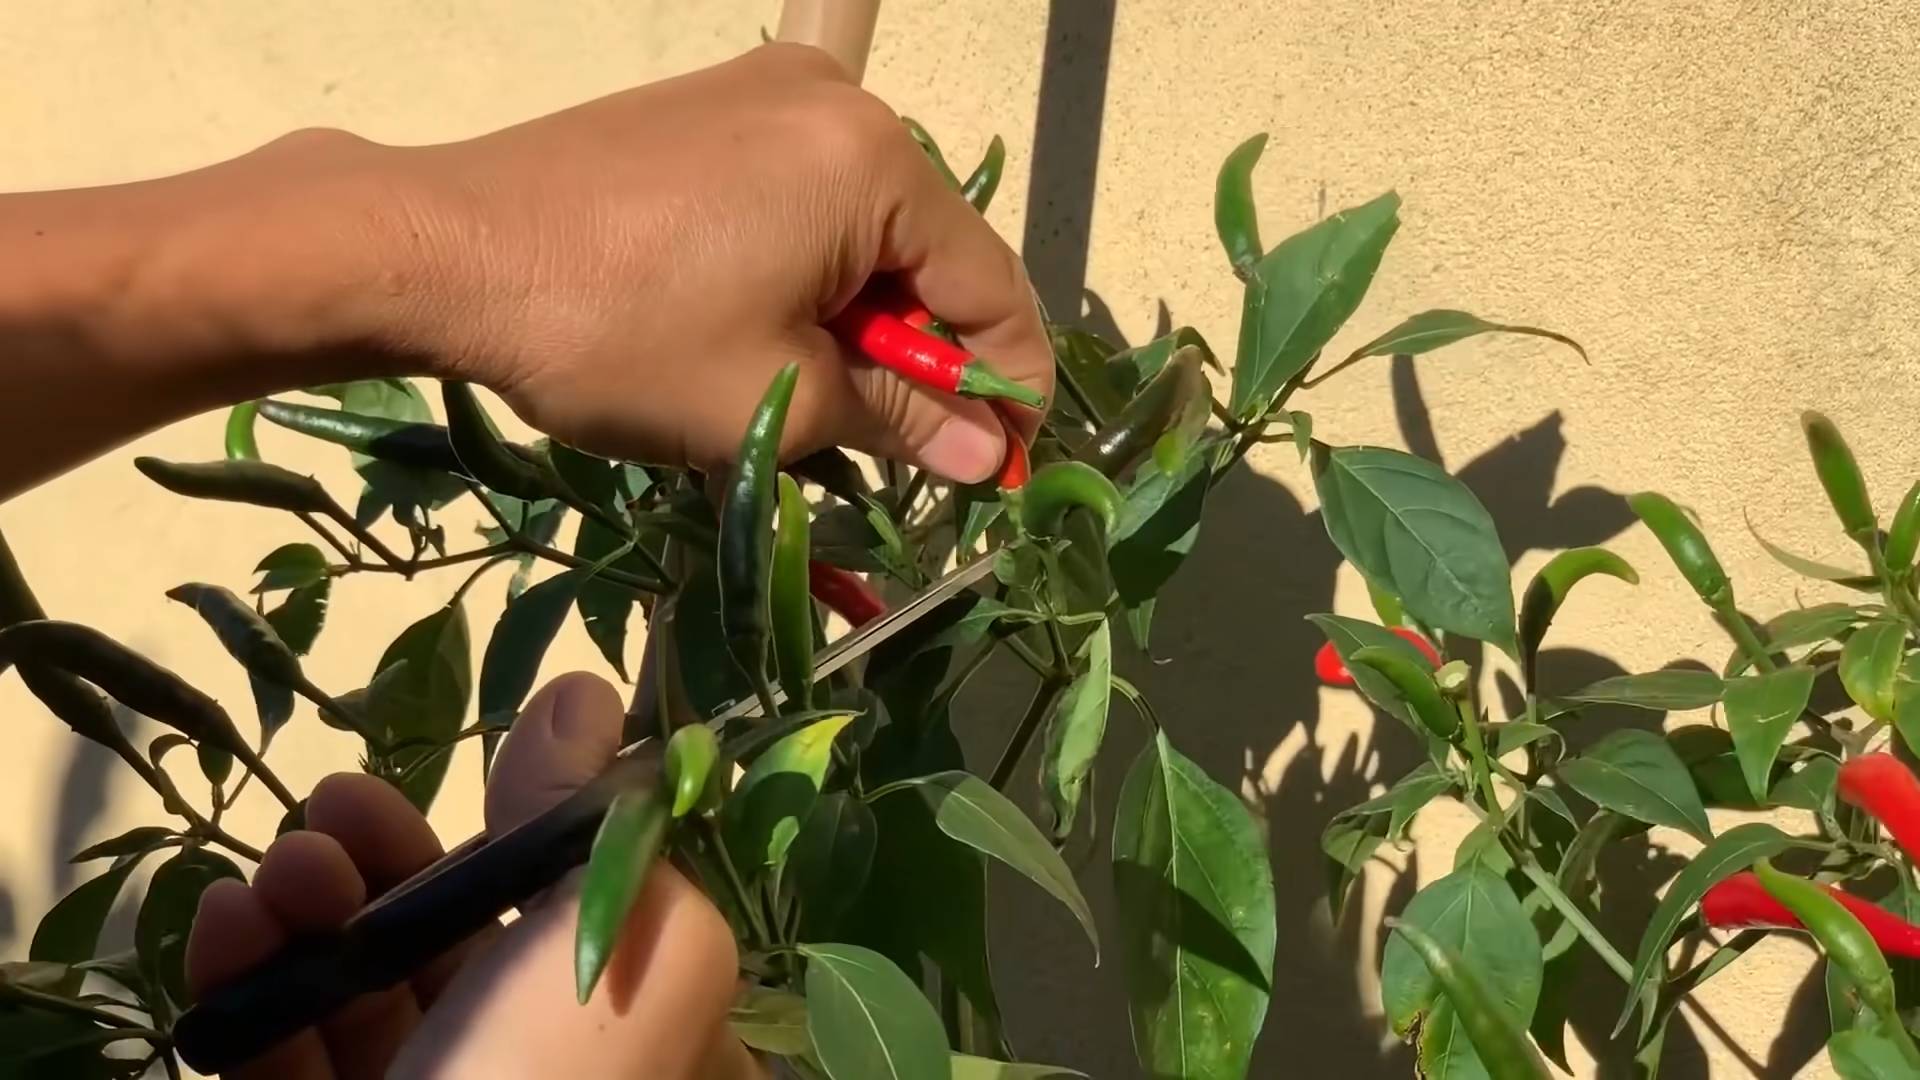
DIY Hack #5: Pruning for Productivity
Pruning your chili plants can seem counterintuitive, but it can actually encourage more branching and fruit production.
Why this works: Pruning removes unproductive growth, allowing the plant to focus its energy on producing more flowers and fruits.
What you’ll need:
* Clean pruning shears or scissors
Instructions:
1. Remove suckers: Suckers are small shoots that grow from the base of the plant. Remove these as they will steal energy from the main plant.
2. Pinch off early flowers: This might seem crazy, but pinching off the first few flowers that appear on your chili plant will encourage it to focus on vegetative growth, resulting in a stronger, more productive plant later on.
3. Trim leggy growth: If your chili plant is getting too tall and leggy, trim back the stems to encourage branching.
4. Remove dead or diseased leaves: Regularly remove any dead or diseased leaves to prevent the spread of disease and improve air circulation.
5. Prune after harvest: After harvesting your chilies, prune back the plant to encourage new growth for the next season.
DIY Hack #6: Companion Planting Power
Strategic companion planting can help deter pests, attract beneficial insects, and improve the overall health of your chili plants.
Why this works: Certain plants release chemicals that repel pests, while others attract beneficial insects that prey on pests. Companion planting creates a more balanced and resilient ecosystem around your chili plants
Conclusion
So, there you have it! Mastering these simple yet effective DIY chili plant care tricks can truly transform your gardening experience and reward you with a bountiful harvest of fiery peppers. We’ve covered everything from creating the perfect nutrient-rich soil blend using readily available materials to crafting a DIY pest repellent that’s both effective and environmentally friendly. These aren’t just quick fixes; they’re sustainable practices that will benefit your chili plants for seasons to come.
Why is this a must-try? Because it empowers you to take control of your chili plant’s health and growth, reducing your reliance on expensive and potentially harmful commercial products. Imagine the satisfaction of knowing that the vibrant, flavorful chilies you’re harvesting are the direct result of your own ingenuity and care. Plus, these DIY methods are often more cost-effective, allowing you to invest your resources in other areas of your garden.
But the beauty of gardening lies in experimentation! Feel free to adapt these techniques to suit your specific needs and environment. For instance, if you live in a particularly humid climate, consider adding more perlite to your soil mix to improve drainage and prevent root rot. Or, if you’re dealing with a specific pest infestation, research natural remedies that target that particular culprit.
Here are a few suggestions and variations to get you started:
* Compost Tea Boost: Brew a batch of compost tea using your homemade compost and use it as a foliar spray to provide your chili plants with an extra dose of nutrients.
* Epsom Salt Supplement: Dissolve a tablespoon of Epsom salt in a gallon of water and use it to water your chili plants every few weeks to provide them with magnesium, which is essential for healthy growth and fruit production.
* Companion Planting Power: Plant basil, marigolds, or nasturtiums near your chili plants to deter pests and attract beneficial insects.
* DIY Grow Lights: If you’re starting your chili plants indoors, consider building your own grow lights using energy-efficient LED bulbs. This can save you money and allow you to customize the light spectrum to optimize growth.
* Watering System Upgrade: Create a self-watering system using recycled plastic bottles to ensure your chili plants receive consistent moisture, especially during hot weather.
We are confident that these DIY chili plant care tricks will make a significant difference in the health and productivity of your chili plants. Don’t be afraid to get your hands dirty, experiment with different techniques, and discover what works best for you.
Now, it’s your turn! We encourage you to try these DIY tricks and share your experiences with us. Did you notice a difference in the growth or yield of your chili plants? Did you discover any variations that worked particularly well for you? Share your tips, photos, and stories in the comments below. Let’s create a community of chili-growing enthusiasts who are passionate about sustainable and effective gardening practices. Happy growing!
Frequently Asked Questions (FAQ)
Q: How often should I water my chili plants after applying these DIY care methods?
A: Watering frequency depends on several factors, including the climate, soil type, and the size of your chili plants. Generally, you should water your chili plants when the top inch of soil feels dry to the touch. Avoid overwatering, as this can lead to root rot. Using a well-draining soil mix, as suggested in the DIY soil blend recipe, will help prevent waterlogging. During hot weather, you may need to water your chili plants more frequently. Check the soil moisture regularly and adjust your watering schedule accordingly. A good rule of thumb is to water deeply and less frequently, rather than shallowly and often.
Q: Can I use these DIY pest control methods on other plants in my garden?
A: Yes, most of the DIY pest control methods mentioned, such as the garlic and chili pepper spray, are safe and effective for use on a variety of plants. However, it’s always a good idea to test the spray on a small area of the plant first to ensure that it doesn’t cause any adverse reactions. Some plants may be more sensitive to certain ingredients than others. Also, be mindful of beneficial insects when applying pest control sprays. Avoid spraying directly on flowers or areas where beneficial insects are actively foraging.
Q: How do I know if my chili plants are getting enough nutrients?
A: Chili plants require a balanced supply of nutrients for healthy growth and fruit production. Signs of nutrient deficiencies can include yellowing leaves, stunted growth, and poor fruit development. If you suspect a nutrient deficiency, you can perform a soil test to determine the specific nutrients that are lacking. The DIY soil blend recipe provided is designed to provide a good balance of nutrients, but you may need to supplement with additional fertilizers if your soil is particularly poor. Compost tea and Epsom salt solutions are also excellent ways to provide your chili plants with extra nutrients.
Q: What if I don’t have all the ingredients for the DIY soil blend? Can I substitute them?
A: While the recommended DIY soil blend provides an optimal balance of nutrients and drainage, you can certainly make substitutions based on what you have available. For example, if you don’t have access to coco coir, you can use peat moss instead. If you don’t have perlite, you can use vermiculite. The key is to ensure that the soil mix is well-draining and provides adequate aeration for the roots. You can also amend your existing garden soil with compost and other organic matter to improve its fertility and drainage.
Q: My chili plants are flowering, but not producing any fruit. What could be the problem?
A: There are several reasons why your chili plants may be flowering but not producing fruit. One common cause is lack of pollination. Chili plants are self-pollinating, but they often benefit from a little help from wind or insects. You can manually pollinate your chili plants by gently shaking the flowers or using a small brush to transfer pollen from one flower to another. Other potential causes of poor fruit set include temperature extremes, nutrient deficiencies, and water stress. Ensure that your chili plants are receiving adequate sunlight, water, and nutrients, and protect them from extreme temperatures.
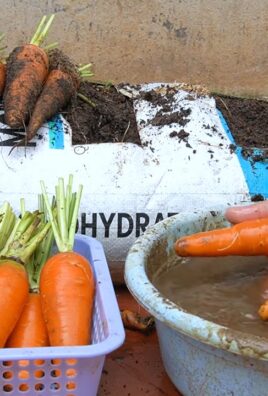
Q: How do I store my harvested chilies?
A: There are several ways to store your harvested chilies, depending on how you plan to use them. Fresh chilies can be stored in the refrigerator for up to a week. For longer-term storage, you can dry them, freeze them, or pickle them. To dry chilies, simply string them together and hang them in a well-ventilated area until they are completely dry. You can also dry them in a dehydrator or oven. To freeze chilies, wash and dry them thoroughly, then place them in a freezer bag or container. Pickled chilies can be stored in the refrigerator for several months.
Q: Can I grow chili plants indoors year-round using these DIY methods?
A: Yes, you can grow chili plants indoors year-round using these DIY methods. However, you will need to provide them with adequate light, warmth, and humidity. A sunny windowsill or a grow light can provide the necessary light. Maintain a consistent temperature of around 70-80°F (21-27°C). You may also need to increase the humidity around your chili plants, especially during the winter months when indoor air tends to be dry. You can do this by placing a tray of water near your plants or using a humidifier. Remember to adjust your watering and fertilizing schedule based on the growing conditions.


Leave a Comment