
Clean dishwasher quickly? Is your dishwasher leaving your dishes less than sparkling? I know the frustration! It’s like, what’s the point of having a dishwasher if you still have to scrub everything afterward? We’ve all been there, staring into a cloudy glass wondering where we went wrong. But don’t despair! I’m about to share some game-changing DIY tricks that will have your dishwasher running like new in no time.
Dishwashers, while a relatively modern convenience, have roots that stretch back to the late 19th century. The first mechanical dishwashing device was patented in 1850 by Joel Houghton, though it wasn’t particularly effective. It wasn’t until Josephine Cochrane invented a more practical model in 1886 that dishwashers started to gain traction. Imagine the relief she must have felt, freeing herself (and others!) from hours of tedious hand-washing!
Today, we rely heavily on our dishwashers, but like any appliance, they need a little TLC to function optimally. Over time, food particles, grease, and mineral buildup can accumulate, hindering performance and even leading to unpleasant odors. That’s why learning how to clean dishwasher quickly and effectively is so important. Not only will it improve your dishwasher’s cleaning power, but it will also extend its lifespan and save you money on costly repairs. So, let’s dive into these simple yet powerful DIY hacks that will transform your dishwashing experience!
DIY Dishwasher Deep Clean: Sparkling Results in a Few Simple Steps
Okay, let’s face it, our dishwashers work hard, and sometimes they need a little TLC. If you’ve noticed a funky smell, cloudy dishes, or just a general lack of sparkle, it’s time for a deep clean. Don’t worry, it’s easier than you think, and I’m going to walk you through it step-by-step. This isn’t just about making your dishwasher look pretty; it’s about improving its performance and extending its lifespan. Plus, who wants to eat off dishes cleaned in a dirty machine? Not me!
Gather Your Supplies
Before we dive in, let’s make sure we have everything we need. This will save you time and frustration later. Here’s your checklist:
* White Vinegar: This is our star player. Vinegar is a natural disinfectant and deodorizer, perfect for tackling grime and buildup.
* Baking Soda: Another powerhouse cleaner! Baking soda helps scrub away stubborn stains and neutralize odors.
* Dish Soap: A mild dish soap will help cut through grease and food particles.
* Toothbrush or Small Scrub Brush: For getting into those hard-to-reach nooks and crannies.
* Screwdriver (possibly): Depending on your dishwasher model, you might need a screwdriver to remove the spray arms and filter.
* Paper Towels or Cleaning Cloths: For wiping down surfaces.
* Rubber Gloves (optional): If you have sensitive skin, gloves are always a good idea.
* Bowl or Measuring Cup: For holding the vinegar and baking soda.
Phase 1: Emptying and Inspecting Your Dishwasher
1. Remove Everything: Start by completely emptying your dishwasher. This includes all racks, utensils, and any loose items. We need a blank canvas to work with.
2. Inspect for Debris: Take a good look inside. Are there any large food particles, broken glass, or other debris lurking at the bottom? Remove anything you find. Pay special attention to the corners and around the door seal.
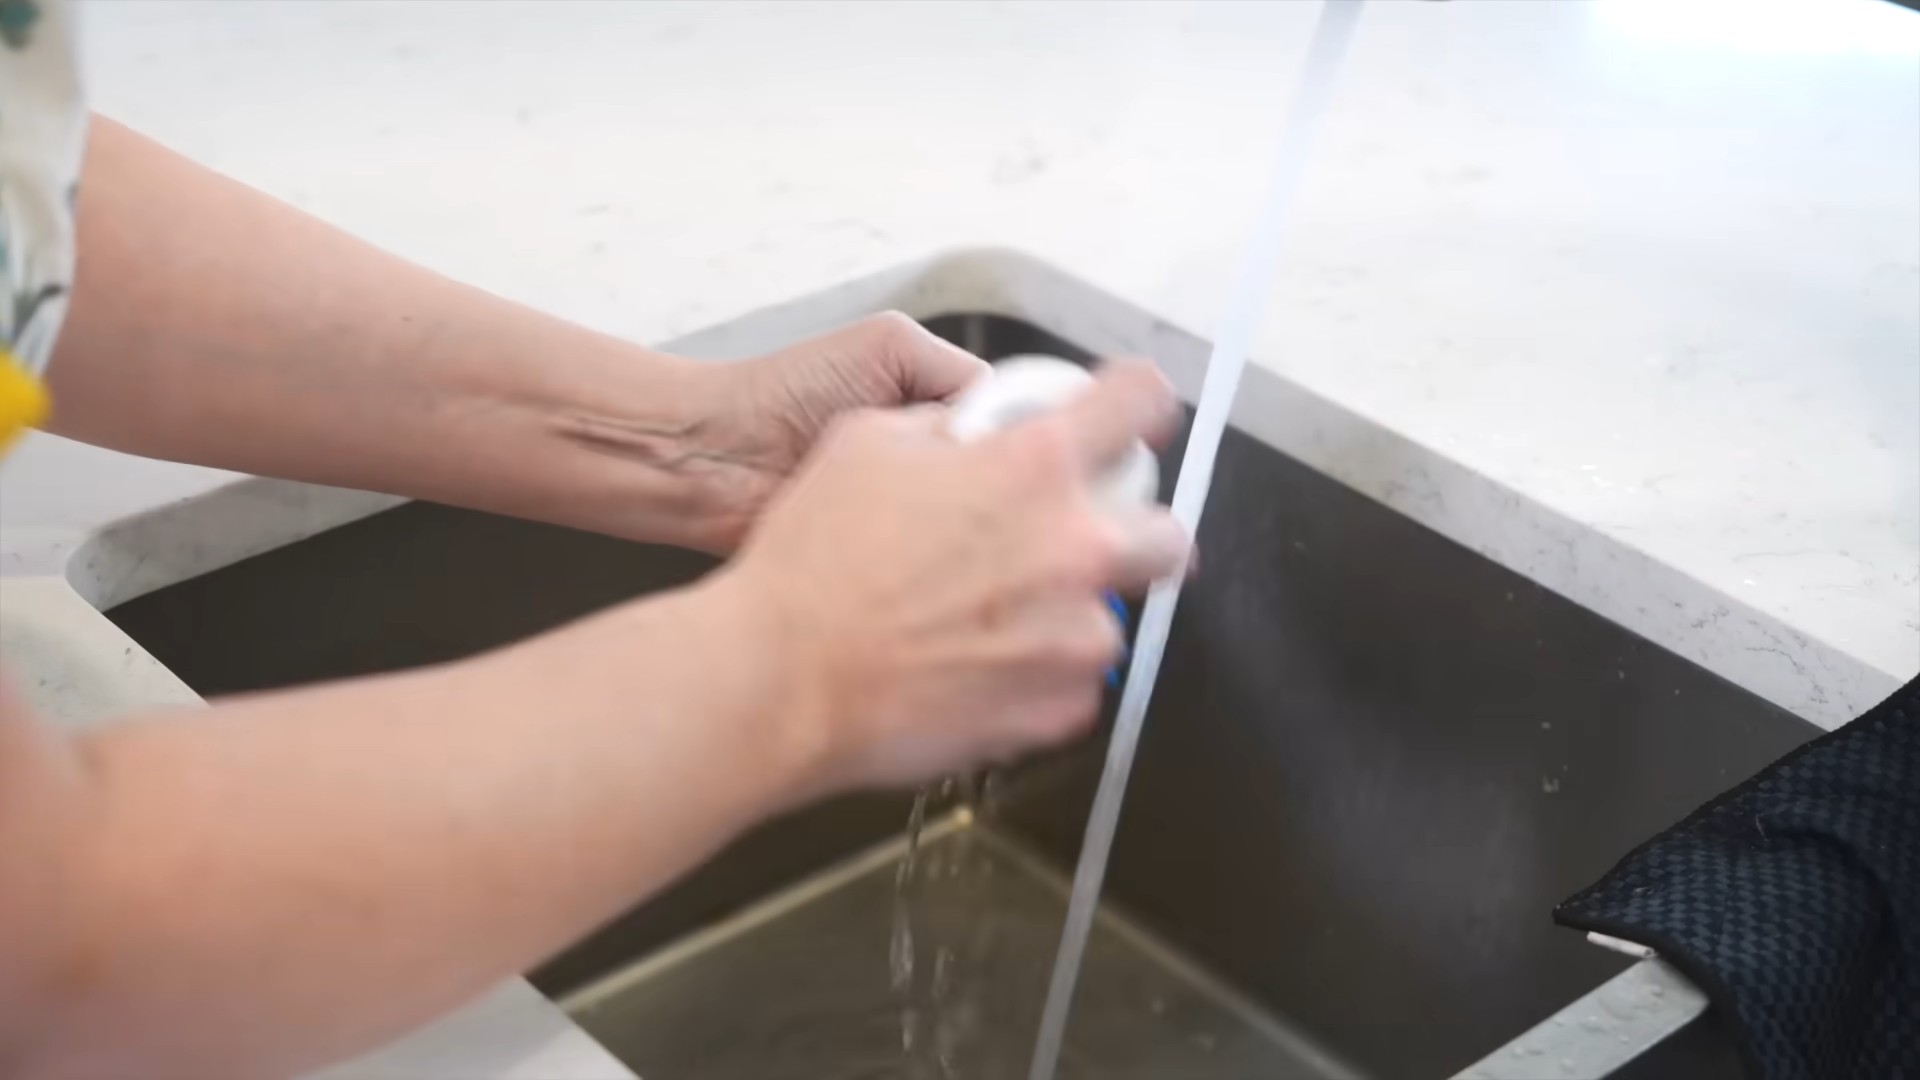
3. Check the Spray Arms: The spray arms are crucial for cleaning, so let’s make sure they’re working properly. Look for any clogs or blockages in the spray arm holes. If you see any, use a toothpick, wire hanger, or small brush to carefully clear them. Some spray arms can be easily removed by unscrewing them or popping them off. If yours can be removed, take them out and rinse them thoroughly under running water.
4. Examine the Filter: The filter is where all the big stuff gets trapped, so it’s probably pretty gross. Locate your dishwasher’s filter (it’s usually at the bottom of the dishwasher) and remove it. Rinse it under hot water, using a brush to scrub away any stubborn debris. If it’s really dirty, you can soak it in a solution of warm water and dish soap for a few minutes before scrubbing. Make sure the filter is completely clean before putting it back.
Phase 2: The Vinegar Wash
Vinegar is amazing for breaking down grease and grime, and it’s a natural disinfectant. This step will help loosen up any stubborn buildup inside your dishwasher.
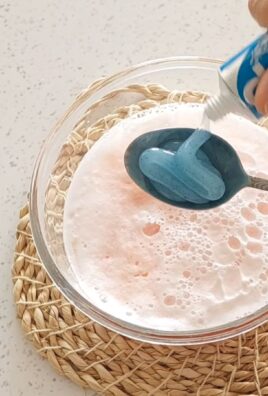
1. Place a Dishwasher-Safe Bowl on the Top Rack: Find a dishwasher-safe bowl or measuring cup that can hold at least 1 cup of liquid. Place it securely on the top rack of your empty dishwasher.
2. Fill the Bowl with White Vinegar: Pour 1 cup of white vinegar into the bowl. Don’t worry about diluting it; we want the full cleaning power of the vinegar.
3. Run a Hot Water Cycle: Close the dishwasher and run a normal hot water cycle. The hot water and steam will help the vinegar circulate and loosen up any grime.
4. Let it Cool: Once the cycle is complete, let the dishwasher cool down for a few minutes before opening it. The inside will be hot!
Phase 3: The Baking Soda Scrub
Now that the vinegar has done its work, it’s time to tackle any remaining stains and odors with baking soda.
1. Sprinkle Baking Soda on the Bottom of the Dishwasher: Generously sprinkle about 1 cup of baking soda across the bottom of your dishwasher. Make sure to cover the entire surface.
2. Run a Short, Hot Water Cycle: Close the dishwasher and run a short, hot water cycle. This will help the baking soda scrub away any remaining residue and neutralize odors.
Phase 4: Manual Cleaning and Detailing
Even with the vinegar and baking soda, there might be some areas that need a little extra attention. This is where your toothbrush and elbow grease come in!
1. Clean the Door Seal: The door seal is a breeding ground for mold and mildew. Use a toothbrush or small scrub brush dipped in a solution of warm water and dish soap to scrub the door seal thoroughly. Pay attention to any crevices or folds in the seal. Rinse with a damp cloth.
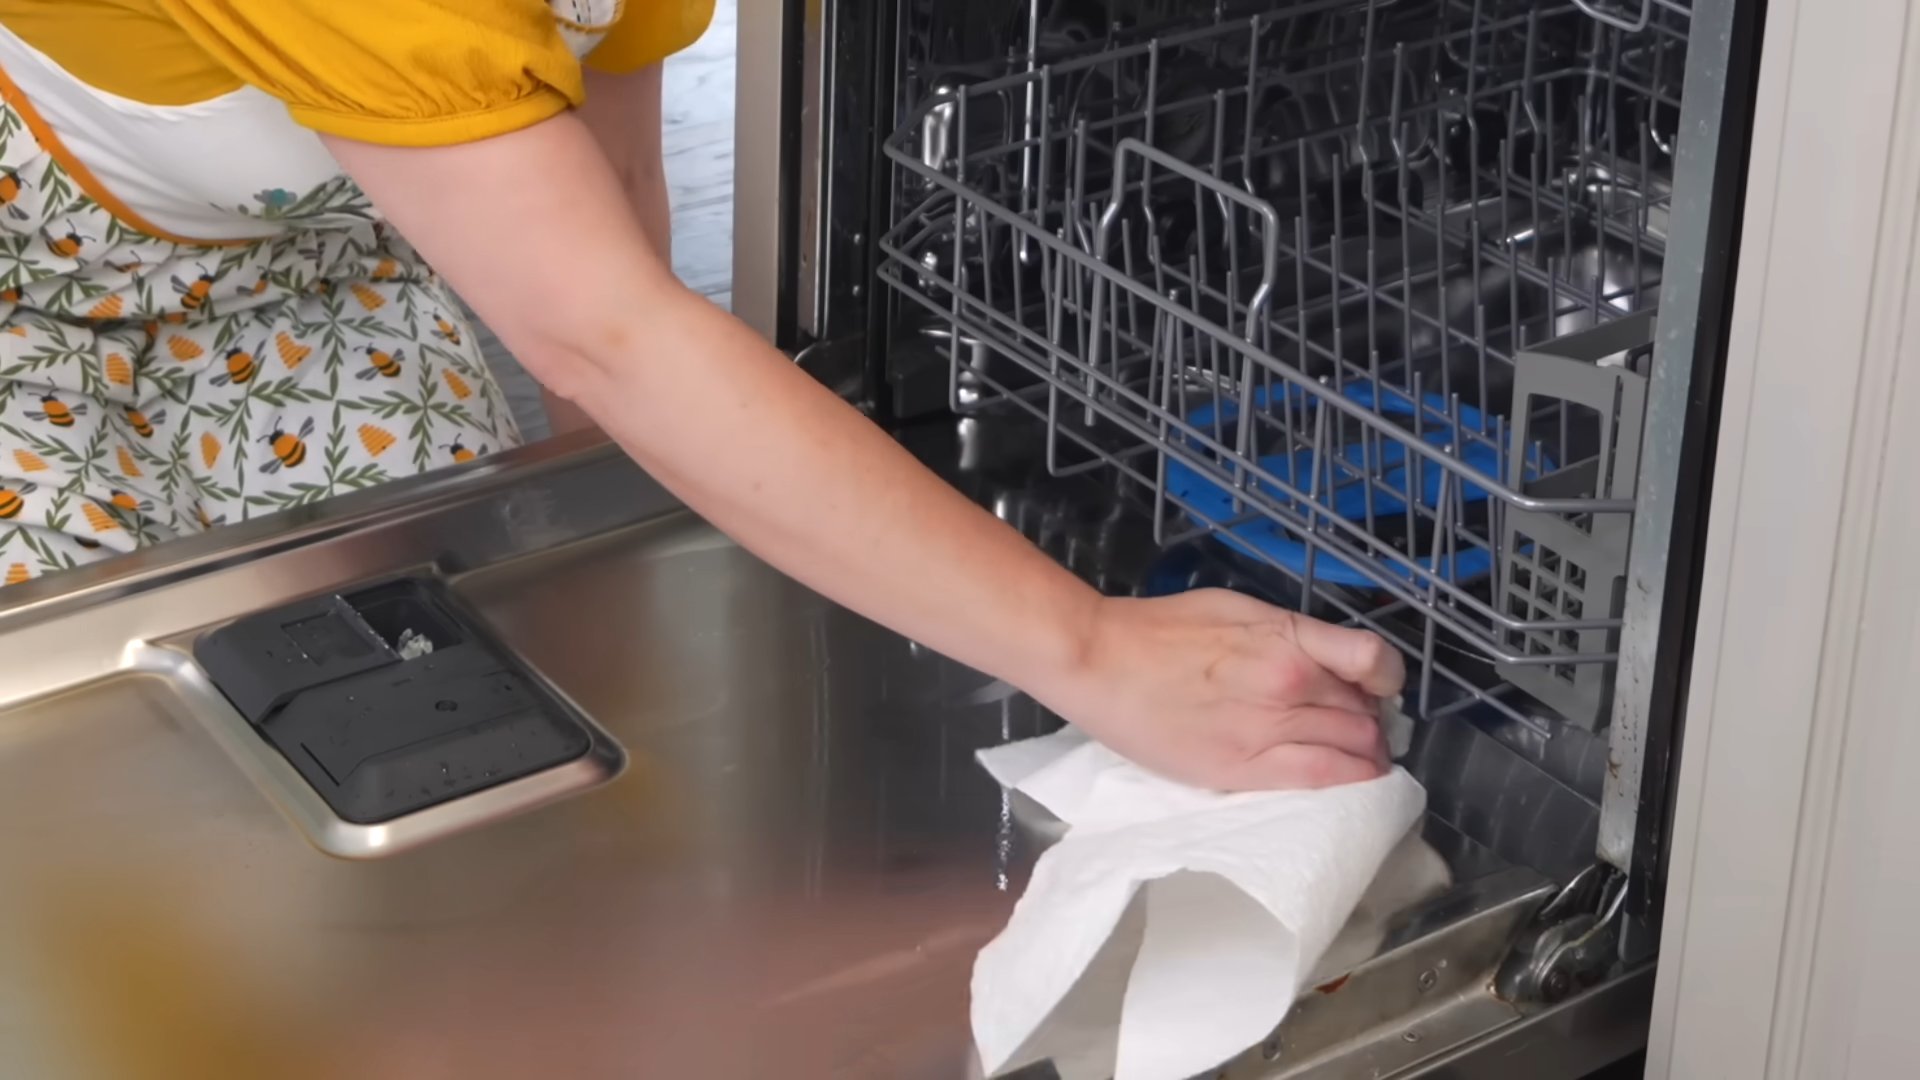
2. Wipe Down the Interior: Use a damp cloth or paper towels to wipe down the interior walls of the dishwasher. Pay attention to any areas with visible stains or buildup.
3. Clean the Detergent Dispenser: The detergent dispenser can get clogged with dried detergent. Use a toothbrush or small brush to clean out any residue. Make sure the dispenser opens and closes smoothly.
4. Clean the Rinse Aid Dispenser: Similarly, clean the rinse aid dispenser to ensure it’s dispensing properly.
5. Reassemble the Dishwasher: Once everything is clean and dry, reassemble the dishwasher. This includes replacing the spray arms, filter, and racks.
Phase 5: Preventing Future Buildup
Now that your dishwasher is sparkling clean, let’s talk about how to keep it that way!
1. Scrape Dishes Before Loading: This is the most important step! Scrape off any large food particles before loading your dishes into the dishwasher. This will prevent food from clogging the filter and spray arms.
2. Use the Right Amount of Detergent: Using too much detergent can leave a residue on your dishes and in your dishwasher. Follow the manufacturer’s instructions for the correct amount of detergent.
3. Run a Vinegar Wash Regularly: Run a vinegar wash (as described in Phase 2) once a month to prevent buildup and keep your dishwasher smelling fresh.
4. Clean the Filter Regularly: Clean the filter at least once a month, or more often if you notice a lot of food particles.
5. Leave the Door Ajar After Use: After running a cycle, leave the dishwasher door slightly ajar to allow air to circulate and prevent moisture buildup. This will help prevent mold and mildew growth.
Troubleshooting Common Dishwasher Problems
Sometimes, even after a deep clean, you might still encounter some dishwasher problems. Here are a few common issues and how to troubleshoot them:
* Cloudy Dishes: Cloudy dishes can be caused by hard water, too much detergent, or a malfunctioning rinse aid dispenser. Try using a rinse aid, adjusting the amount of detergent you use, or installing a water softener.
* Spotty Dishes: Spotty dishes can also be caused by hard water or a lack of rinse aid. Make sure your rinse aid dispenser is full and working properly.
* Dishes Not Drying Properly: If your dishes aren’t drying properly, check the rinse aid dispenser and make sure it’s full. You can also try using a heated dry setting on your dishwasher.
* Dishwasher Not Draining: If your dishwasher isn’t draining, check the drain hose for any kinks or clogs. You can also try cleaning the drain filter.
* Dishwasher Smells Bad: A bad-smelling dishwasher is usually caused by food particles or mold and mildew. Follow the deep cleaning steps outlined above to eliminate the odor.
A Few Extra Tips and Tricks
* Lemon Power: For an extra boost of freshness, you can add a few lemon slices to the dishwasher during the vinegar wash. The lemon will help deodorize and leave a pleasant scent.
* Check Your Water Hardness: If you have hard water, you may need to use more detergent and rinse aid. You can purchase a water hardness test kit at most hardware stores.
* Read Your Dishwasher’s Manual: Your dishwasher’s manual contains valuable information about its specific features and maintenance requirements. Take some time to read it!
* Don’t Overload the Dishwasher: Overloading the dishwasher can prevent the water and detergent from reaching all of the dishes, resulting in poor cleaning performance.
By following these steps and tips, you can keep your dishwasher clean, efficient, and smelling fresh for years to come. Happy cleaning!
Conclusion
So, there you have it! A simple, effective, and surprisingly satisfying way to clean your dishwasher quickly using ingredients you likely already have in your pantry. Forget those expensive, chemical-laden dishwasher cleaners that promise the world but often fall short. This DIY method is not only budget-friendly but also environmentally conscious, reducing your reliance on harsh chemicals that can harm both your health and the planet.
But why is this DIY trick a must-try? Because it works! It tackles the grime, grease, and hard water buildup that accumulate over time, leaving your dishwasher sparkling clean and your dishes gleaming. A clean dishwasher is essential for truly clean dishes. Think about it: if your dishwasher is dirty, it’s just circulating that dirt and grime onto your plates, glasses, and silverware. This DIY solution ensures that your dishwasher is operating at its peak performance, sanitizing your dishes effectively and preventing the spread of bacteria.
Beyond the basic recipe, there are plenty of ways to customize this cleaning method to suit your specific needs and preferences. For a more intense clean, you can add a cup of borax to the bottom of the dishwasher before running the cycle. Borax is a natural mineral that acts as a powerful cleaning agent and deodorizer. If you have particularly stubborn stains or mineral deposits, you can pre-treat them with a paste of baking soda and water before running the cleaning cycle. Simply apply the paste to the affected areas, let it sit for a few minutes, and then scrub gently with a sponge or brush.
Another variation is to use lemon juice instead of vinegar. Lemon juice is a natural disinfectant and degreaser, and it also leaves behind a fresh, citrusy scent. Simply fill a dishwasher-safe cup with lemon juice and place it on the top rack of the dishwasher before running the cycle. You can even toss in a few lemon peels for an extra boost of cleaning power and fragrance.
For those with septic systems, it’s always a good idea to check the compatibility of any cleaning products, even natural ones, with your system. While vinegar and baking soda are generally considered safe for septic systems, it’s always best to err on the side of caution.
Ultimately, the best way to discover the perfect cleaning method for your dishwasher is to experiment and find what works best for you. Don’t be afraid to try different variations and adjust the ingredients to suit your specific needs.
We are confident that once you try this DIY dishwasher cleaning trick, you’ll be amazed by the results. It’s a simple, affordable, and effective way to keep your dishwasher clean and your dishes sparkling. So, ditch the expensive cleaners and give this DIY method a try.
We encourage you to try this DIY trick and share your experience with us! Let us know in the comments below how it worked for you, what variations you tried, and any tips or tricks you discovered along the way. We love hearing from our readers and learning from your experiences. Together, we can create a community of clean dishwasher enthusiasts!
Frequently Asked Questions (FAQ)
1. How often should I clean my dishwasher?
The frequency of cleaning depends on how often you use your dishwasher and the hardness of your water. As a general rule, you should aim to clean your dishwasher quickly at least once a month. If you have hard water or use your dishwasher frequently, you may need to clean it more often, perhaps every two weeks. Signs that your dishwasher needs cleaning include a lingering odor, visible buildup of grime or mineral deposits, and dishes that aren’t coming out as clean as they should be. Regular cleaning will not only keep your dishes sparkling but also extend the life of your dishwasher.
2. Can I use regular vinegar instead of white vinegar?
While you can technically use other types of vinegar, white vinegar is the most effective and recommended for cleaning your dishwasher. White vinegar has a higher acidity level than other types of vinegar, making it more effective at dissolving grease, grime, and mineral deposits. It’s also clear and doesn’t contain any added ingredients that could potentially stain or damage your dishwasher. If you only have other types of vinegar on hand, you can try using them, but be sure to dilute them with water first and test them in an inconspicuous area before using them on the entire dishwasher.
3. Is baking soda safe for my dishwasher?
Yes, baking soda is generally safe for your dishwasher. It’s a mild abrasive that can help to scrub away grime and mineral deposits without scratching or damaging the interior of your dishwasher. However, it’s important to use baking soda sparingly and avoid using it on delicate surfaces, such as plastic or rubber parts. Also, never mix baking soda with vinegar in a closed container, as this can create a buildup of pressure that could cause the container to explode. When using baking soda to clean your dishwasher, simply sprinkle it on the bottom of the dishwasher or use it to make a paste for scrubbing stubborn stains.
4. What if my dishwasher still smells after cleaning it?
If your dishwasher still smells after cleaning it, there are a few things you can try. First, make sure that you’ve removed all food particles and debris from the dishwasher filter and spray arms. These areas can often harbor bacteria and odors. You can also try running a cycle with a cup of bleach (if your dishwasher is bleach-safe) or a commercial dishwasher cleaner. Another option is to place a bowl of baking soda in the dishwasher overnight to absorb any lingering odors. Finally, make sure that your dishwasher is properly ventilated and that the door is left slightly ajar after each cycle to allow it to dry out completely.
5. Can I use this method to clean my dishwasher if I have a septic system?
Generally, vinegar and baking soda are considered safe for septic systems in the diluted quantities used for cleaning a dishwasher. However, it’s always a good idea to check with your septic system manufacturer or a qualified plumber to be sure. Some septic systems may be more sensitive to certain cleaning products than others. If you’re concerned about the impact of vinegar and baking soda on your septic system, you can try using alternative cleaning methods, such as lemon juice or a commercial dishwasher cleaner that is specifically designed for septic systems.
6. My dishwasher has a stainless steel interior. Is this method safe for it?
Yes, this DIY cleaning method is generally safe for dishwashers with stainless steel interiors. Vinegar and baking soda are both mild and non-abrasive, so they shouldn’t scratch or damage the stainless steel. However, it’s always a good idea to test the cleaning solution in an inconspicuous area first to make sure that it doesn’t cause any discoloration or damage. Also, be sure to rinse the dishwasher thoroughly after cleaning it to remove any residue.
7. What if I don’t have vinegar or baking soda? Are there any other alternatives?
If you don’t have vinegar or baking soda, you can try using lemon juice as an alternative. Lemon juice is a natural disinfectant and degreaser that can help to clean and deodorize your dishwasher. Simply fill a dishwasher-safe cup with lemon juice and place it on the top rack of the dishwasher before running a cycle. You can also try using a commercial dishwasher cleaner that is specifically designed for your type of dishwasher.
8. How do I clean the dishwasher filter?
Cleaning the dishwasher filter is an essential part of maintaining a clean and efficient dishwasher. The filter traps food particles and debris, preventing them from clogging the spray arms and recirculating onto your dishes. To clean the filter, first locate it at the bottom of the dishwasher. It’s usually a cylindrical or mesh-like component that can be easily removed. Once you’ve removed the filter, rinse it thoroughly under running water to remove any visible food particles. You can also use a soft brush to scrub away any stubborn debris. If the filter is particularly dirty, you can soak it in a solution of warm water and dish soap for a few minutes before rinsing it. Once the filter is clean, simply reassemble it and place it back in the dishwasher. You should aim to clean your dishwasher filter at least once a month, or more often if you notice a buildup of food particles.
Leave a Comment