
Cleaning Techniques DIY: Are you tired of spending a fortune on cleaning products that promise the world but deliver… well, less than sparkling results? I know I was! That’s why I dove headfirst into the world of DIY cleaning, and let me tell you, it’s been a game-changer.
The history of DIY cleaning stretches back centuries, long before commercial cleaners lined supermarket shelves. Our grandmothers and great-grandmothers relied on simple, natural ingredients like vinegar, baking soda, and lemon juice to keep their homes spotless. These time-tested methods are not only effective but also environmentally friendly and budget-conscious. Think of it as a return to simpler times, where resourcefulness and ingenuity reigned supreme.
In today’s world, with increasing concerns about harsh chemicals and their impact on our health and the environment, mastering cleaning techniques DIY is more important than ever. Plus, let’s be honest, who doesn’t love saving money? This article is packed with easy-to-follow recipes and clever hacks that will transform your cleaning routine. From tackling stubborn stains to creating your own all-purpose cleaners, I’m going to share my favorite DIY secrets that will leave your home sparkling clean and smelling fresh – all without breaking the bank or exposing your family to harmful chemicals. Get ready to ditch the store-bought stuff and embrace the power of DIY!
DIY Oven Cleaning Hack: Sparkling Clean Without the Harsh Chemicals
Okay, let’s be honest, cleaning the oven is probably on everyone’s list of least favorite chores. The baked-on grease, the burnt bits, the lingering smell… it’s just not a fun time. But what if I told you there’s a way to get your oven sparkling clean without resorting to harsh chemicals and that awful chemical smell? I’m going to walk you through my favorite DIY oven cleaning hack using just baking soda, vinegar, and a little elbow grease. Trust me, it’s worth it!
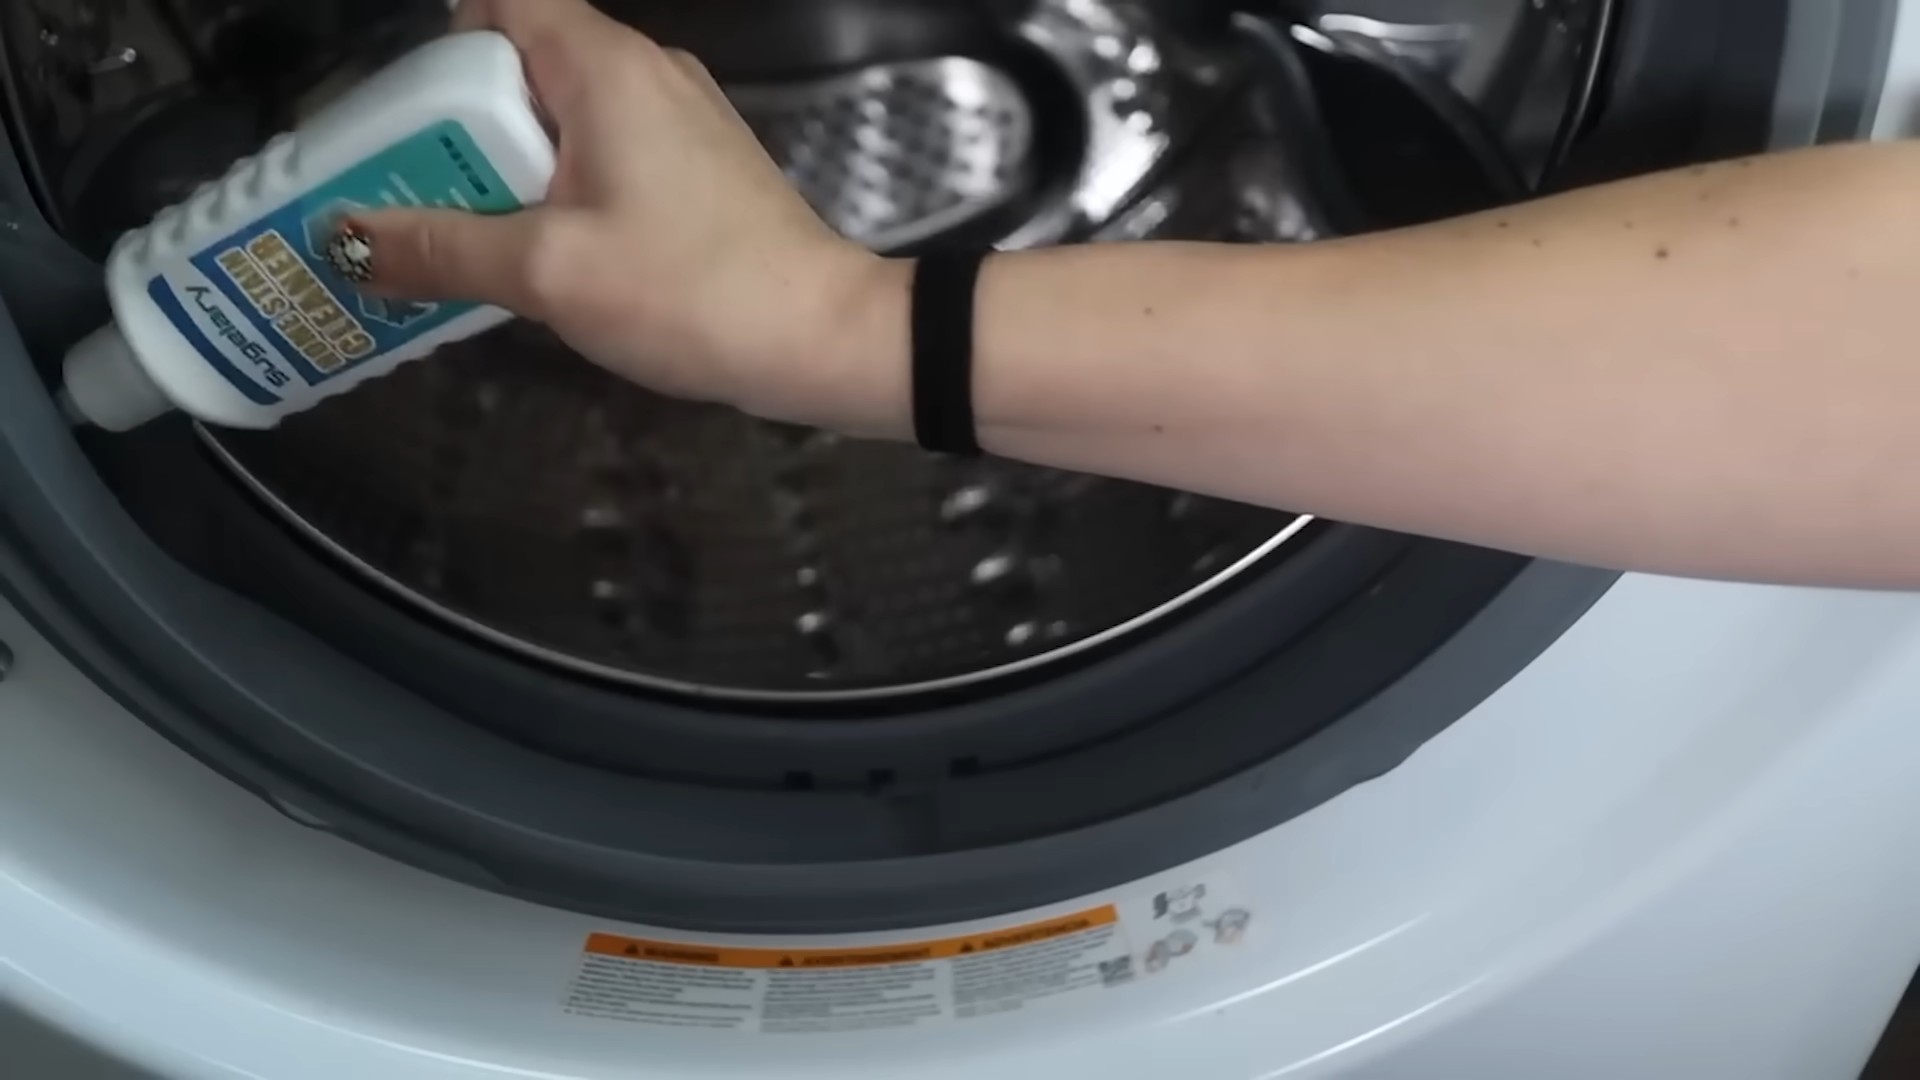
What You’ll Need
Before we dive in, let’s gather our supplies. This is a pretty simple process, so the list is short and sweet:
* Baking soda
* White vinegar
* Water
* Spray bottle
* Spatula or scraper (plastic or silicone is best to avoid scratching)
* Sponge or scrub brush
* Rubber gloves (optional, but recommended)
* Paper towels or a clean cloth
Step-by-Step Instructions
Alright, let’s get this oven looking brand new!
1. Prepare the Oven: First things first, make sure your oven is completely cool. This is super important for safety! Remove the oven racks, pizza stone, or anything else that’s inside. We’ll clean the racks separately later.
2. Make the Baking Soda Paste: In a bowl, mix together 1/2 cup of baking soda and a few tablespoons of water. Add water gradually until you form a thick, spreadable paste. You want it to be thick enough to stick to the oven walls.
3. Coat the Oven: Now, put on your gloves (if you’re using them – I always do!), and spread the baking soda paste all over the inside of your oven. This includes the back, sides, top, bottom, and even the door. Avoid the heating elements! I usually use my hands for this part, but you can use a spatula if you prefer. Make sure you get a nice, even coating.
4. Let it Sit (Overnight is Best!): This is the key to the whole process. Let the baking soda paste sit in your oven for at least 12 hours, or even better, overnight. The longer it sits, the more time it has to loosen up all that baked-on gunk. I usually do this before I go to bed so it’s ready to go in the morning.
5. Clean the Oven Racks: While the baking soda is working its magic inside the oven, let’s tackle those racks. There are a couple of ways to do this:
* Option 1: Bathtub Soak: Fill your bathtub with hot water and add about 1/2 cup of dish soap and 1/2 cup of baking soda. Place the oven racks in the tub and let them soak for a few hours, or even overnight. The hot water and soap will help loosen the grime. After soaking, scrub them with a sponge or brush and rinse thoroughly.
* Option 2: Trash Bag Method: This is a good option if you don’t want to use your bathtub. Place the oven racks in a large trash bag. Add about 1/2 cup of dish soap and 1/4 cup of ammonia (be careful with ammonia – use it in a well-ventilated area and avoid mixing it with bleach!). Seal the bag tightly and let it sit for a few hours, or overnight. Again, the soap and ammonia will help loosen the grime. After soaking, carefully remove the racks from the bag (wear gloves!), scrub them with a sponge or brush, and rinse thoroughly.
6. Wipe Away the Baking Soda Paste: After the baking soda has had its time to work, it’s time to wipe it away. Use a damp sponge or cloth to remove as much of the paste as possible. You might need to rinse your sponge frequently as it gets filled with the gunk. A spatula or scraper can be helpful for removing stubborn patches.
7. Vinegar Power: Now for the magic ingredient: vinegar! Pour some white vinegar into a spray bottle and spray it all over the inside of your oven. The vinegar will react with any remaining baking soda, creating a bubbly, foamy action. This helps to loosen any remaining residue.
8. Final Wipe Down: Once the vinegar has done its thing, give the oven one final wipe down with a clean, damp sponge or cloth. Make sure you remove all traces of baking soda and vinegar.
9. Reassemble and Dry: Put the clean oven racks back into the oven. Leave the oven door open for a few hours to allow it to air dry completely.
Dealing with Stubborn Spots
Sometimes, even with the baking soda and vinegar, you might encounter some stubborn spots that just won’t budge. Don’t worry, I’ve got a few tricks up my sleeve!
* More Baking Soda Paste: For really tough spots, try applying a fresh layer of baking soda paste directly to the area and letting it sit for a few more hours.
* Scrubbing Power: If the paste alone isn’t enough, use a scrub brush or a scouring pad to gently scrub the stubborn spots. Be careful not to scratch the oven surface!
* Razor Blade Scraper (Use with Caution!): For extremely stubborn, baked-on messes, you can try using a razor blade scraper. However, use this method with extreme caution! Hold the scraper at a very shallow angle and gently scrape the surface. Be very careful not to scratch the oven lining. I only recommend this as a last resort.
Cleaning the Oven Door Glass
The oven door glass can often be the dirtiest part of the oven. Here’s how to get it sparkling clean:
1. Baking Soda Paste: Apply the same baking soda paste we used for the inside of the oven to the oven door glass.
2. Let it Sit: Let the paste sit on the glass for about 30 minutes.
3. Wipe and Scrub: Wipe away the paste with a damp sponge or cloth. If there are stubborn spots, use a scrub brush or a non-scratch scouring pad to gently scrub the glass.
4. Vinegar Spray: Spray the glass with white vinegar and wipe it clean with a paper towel or a clean cloth.
5. Dry and Shine: Dry the glass with a clean cloth or paper towel for a streak-free shine.
Preventative Measures: Keeping Your Oven Clean Longer
Now that your oven is sparkling clean, let’s talk about how to keep it that way! A little prevention can go a long way in reducing the frequency of those deep cleans.
* Oven Liners: Consider using oven liners to catch drips and spills. These are inexpensive and can save you a lot of cleaning time. Just make sure to choose liners that are specifically designed for ovens and are safe to use at high temperatures.
* Clean Up Spills Immediately: If something spills in your oven, clean it up as soon as possible. The longer it sits, the harder it will be to remove.
* Regular Wipe Downs: Give your oven a quick wipe down after each use. This will help prevent grease and grime from building up.
* Self-Cleaning Cycle (Use Sparingly): If your oven has a self-cleaning cycle, use it sparingly. While it can be effective, it also uses a lot of energy and can produce unpleasant odors. Plus, it can sometimes damage the oven’s heating elements.
Why This Method Works
You might be wondering why this simple baking soda and vinegar method is so effective. Here’s the science behind it:
* Baking Soda: Baking soda is a mild alkali, which means it can help to dissolve grease and grime. It’s also a gentle abrasive, which helps to scrub away stubborn messes without scratching the oven surface.
* Vinegar: Vinegar is a mild acid, which helps to break down mineral deposits and cut through grease. When vinegar reacts with baking soda, it creates carbon dioxide gas, which helps to lift dirt and grime from the oven surface.
Safety First!
Before I forget, let’s quickly go over some important safety precautions:
* Always make sure the oven is completely cool before cleaning.
* Wear rubber gloves to protect your hands from the baking soda and vinegar.
* Avoid getting baking soda or vinegar in your eyes. If you do, rinse them thoroughly with water.
* When using ammonia to clean oven racks, work in a well-ventilated area and avoid mixing it with bleach.
* If you have any concerns about cleaning your oven, consult the manufacturer’s instructions.
Final Thoughts
So there you have it! My go-to DIY oven cleaning hack that leaves your oven sparkling clean without the harsh chemicals. It might take a little time and effort, but the results are definitely worth it. Plus, you can feel good knowing that you’re using natural ingredients that are safe for your family and the environment. Happy cleaning! I hope this
Conclusion
So, there you have it! Mastering these DIY cleaning techniques is more than just a way to save money; it’s about taking control of the cleanliness and health of your home with simple, effective solutions. We’ve explored how to harness the power of everyday ingredients to tackle grime, dirt, and stains, all while minimizing your exposure to harsh chemicals.
Why is this a must-try? Because it’s empowering! Imagine the satisfaction of knowing you can create a sparkling clean environment using items you likely already have in your pantry. No more rushing to the store for specialized cleaners; no more deciphering complicated ingredient lists. These DIY cleaning techniques are straightforward, budget-friendly, and, frankly, quite fun once you get the hang of them.
But the benefits extend beyond convenience and cost savings. By opting for DIY cleaning solutions, you’re making a conscious choice to reduce your environmental impact. Many commercial cleaners contain harmful chemicals that can pollute waterways and contribute to indoor air pollution. Our homemade alternatives are often biodegradable and less toxic, making them a win-win for your home and the planet.
Looking for variations? Absolutely! For a citrus boost, infuse your vinegar cleaner with orange or lemon peels for a refreshing scent. Add a few drops of your favorite essential oil to your baking soda paste for an aromatherapy experience while you scrub. Experiment with different ratios of ingredients to find what works best for your specific cleaning needs. For example, if you have particularly stubborn hard water stains, you might need a stronger vinegar solution. Or, if you’re cleaning delicate surfaces, dilute your cleaner further to prevent damage.
Don’t be afraid to get creative and personalize these DIY cleaning techniques to suit your preferences. The key is to start with a basic recipe and then tweak it until you achieve the desired results. Remember to always test your cleaning solution on an inconspicuous area first to ensure it doesn’t damage the surface.
We’re confident that once you try these DIY cleaning techniques, you’ll be amazed by their effectiveness and simplicity. They’re a game-changer for anyone looking to create a cleaner, healthier, and more sustainable home.
Now, we want to hear from you! Give these DIY cleaning techniques a try and share your experiences in the comments below. What worked best for you? Did you discover any new variations? We’re eager to learn from your successes and challenges. Let’s build a community of DIY cleaning enthusiasts who are passionate about creating a sparkling clean home without breaking the bank or harming the environment. So, grab your ingredients, roll up your sleeves, and get ready to experience the magic of homemade cleaning!
Frequently Asked Questions (FAQ)
What are the main benefits of using DIY cleaning techniques?
The benefits are numerous! Firstly, they are incredibly cost-effective. You’ll save money by using common household ingredients instead of purchasing expensive commercial cleaners. Secondly, they are often safer and healthier for your family and pets, as they typically contain fewer harsh chemicals. Thirdly, they are environmentally friendly, reducing your reliance on products that can pollute waterways and contribute to indoor air pollution. Finally, they are customizable! You can tailor the recipes to your specific needs and preferences, adding essential oils for fragrance or adjusting the strength of the solution.
Are DIY cleaning solutions as effective as commercial cleaners?
In many cases, yes! Ingredients like vinegar, baking soda, and lemon juice are powerful cleaning agents that can effectively remove dirt, grime, and stains. However, it’s important to understand the limitations of each ingredient and use them appropriately. For example, vinegar is excellent for removing hard water stains and mildew, while baking soda is a great abrasive cleaner for scrubbing surfaces. For heavily soiled or greasy areas, you might need to use a combination of ingredients or a slightly stronger solution. It’s also crucial to remember that some surfaces, like natural stone, require special care and may not be suitable for all DIY cleaning solutions. Always test in an inconspicuous area first.
What surfaces should I avoid cleaning with vinegar?
Vinegar is acidic and can damage certain surfaces. Avoid using it on natural stone like marble, granite, and limestone, as it can etch the surface. It’s also not recommended for waxed wood floors, as it can dull the finish. Cast iron cookware should also be avoided as the acid can strip the seasoning. Finally, avoid using vinegar on electronics screens, as it can damage the anti-glare coating.
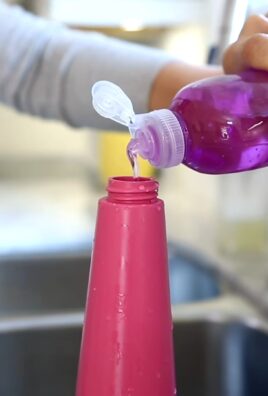
Can I mix different DIY cleaning ingredients together?
Be very careful when mixing cleaning ingredients, especially if you are not sure of the chemical reactions. Never mix bleach with vinegar or ammonia, as this can create toxic and potentially deadly fumes. Mixing hydrogen peroxide and vinegar in a closed container can also be dangerous. It’s generally best to use DIY cleaning solutions separately and avoid combining them unless you are absolutely certain that it is safe to do so. When in doubt, err on the side of caution.
How should I store my DIY cleaning solutions?
Store your DIY cleaning solutions in clean, labeled containers. Use spray bottles for liquid cleaners and airtight containers for powders or pastes. Clearly label each container with the name of the solution and the date it was made. Store them in a cool, dry place, away from direct sunlight and out of reach of children and pets. It’s also a good idea to discard any unused solution after a few months, as some ingredients can lose their effectiveness over time.
How can I make my DIY cleaning solutions smell better?
Adding essential oils is a great way to enhance the scent of your DIY cleaning solutions. Lemon, lavender, tea tree, and eucalyptus are popular choices for their cleaning properties and pleasant aromas. Simply add a few drops of your favorite essential oil to your cleaning solution. You can also infuse your vinegar cleaner with citrus peels for a natural, refreshing scent. Just place orange, lemon, or grapefruit peels in a jar of vinegar and let it steep for a few weeks before using.
Are there any safety precautions I should take when using DIY cleaning techniques?
Yes, safety is paramount! Always wear gloves when handling cleaning solutions, especially if you have sensitive skin. Protect your eyes by wearing safety glasses or goggles. Ensure adequate ventilation when cleaning, especially in enclosed spaces. Keep DIY cleaning solutions out of reach of children and pets. Never mix different cleaning ingredients together unless you are absolutely certain that it is safe to do so. And always test your cleaning solution on an inconspicuous area first to ensure it doesn’t damage the surface.
What is the best way to clean a bathtub using DIY methods?
A simple and effective DIY bathtub cleaner is a paste made from baking soda and water. Mix enough water with baking soda to form a thick paste. Apply the paste to the bathtub surface and let it sit for 15-20 minutes. Then, scrub the bathtub with a sponge or brush and rinse thoroughly with water. For stubborn stains, you can add a few drops of dish soap or vinegar to the paste.
How do I clean my microwave using DIY cleaning techniques?
An easy way to clean your microwave is to heat a cup of water with a few tablespoons of vinegar in it for several minutes, until the water boils and the microwave is steamy. Let the steam sit for a few minutes to loosen the grime. Then, carefully remove the cup and wipe down the inside of the microwave with a clean cloth or sponge. The steam will have softened the food splatters, making them easy to remove.
What are some good DIY solutions for cleaning windows and mirrors?
A simple and effective window and mirror cleaner is a mixture of equal parts water and white vinegar. Pour the solution into a spray bottle and spray it onto the surface. Wipe clean with a microfiber cloth or paper towel. For extra shine, you can add a few drops of dish soap to the solution. Avoid using too much soap, as it can leave streaks.

Leave a Comment