
Clorox grout cleaner DIY solutions are a game-changer for anyone battling stubborn stains in their home! Let’s face it, grimy grout can make even the cleanest tiles look dull and uninviting. You’ve probably scrubbed and scrubbed, tried countless store-bought cleaners, and still haven’t achieved that sparkling clean you’re after. I know the feeling! But what if I told you that the answer to your grout woes might already be hiding in your pantry?
For generations, resourceful homeowners have been concocting their own cleaning solutions, drawing on the power of simple, readily available ingredients. Think back to your grandmother’s cleaning rituals – often, the most effective remedies were the simplest! This tradition of DIY cleaning isn’t just about saving money; it’s about taking control of the ingredients we use in our homes and minimizing harsh chemicals.
That’s why I’m so excited to share these Clorox grout cleaner DIY hacks with you. Not only will you save a trip to the store and potentially a good chunk of change, but you’ll also be armed with powerful, effective methods to tackle even the most challenging grout stains. Say goodbye to dingy grout and hello to a brighter, fresher home! These DIY tricks are essential because they offer a cost-effective, environmentally conscious, and surprisingly effective alternative to commercial cleaners. Let’s dive in and get that grout sparkling!
DIY Grout Cleaner: My Secret Weapon (That’s Cheaper Than Clorox!)
Okay, let’s be honest, cleaning grout is the WORST. I’ve tried so many commercial cleaners, and while some work okay, they’re often expensive and filled with harsh chemicals. That’s why I started experimenting, and I finally landed on a DIY grout cleaner that works wonders – and it’s probably made with things you already have in your pantry! This recipe is my go-to, and I’m excited to share it with you.
What Makes This DIY Grout Cleaner So Great?
* It’s Budget-Friendly: Seriously, you’ll save a ton of money compared to buying commercial cleaners.
* It’s Effective: This cleaner tackles grime, mildew, and even some stains.
* It’s Customizable: You can adjust the ingredients based on the severity of the grout staining.
* It’s (Relatively) Natural: While it’s not completely chemical-free, it’s definitely a gentler option than many store-bought cleaners.
* It’s Easy to Make: The recipe is super simple and requires minimal effort.
Ingredients You’ll Need
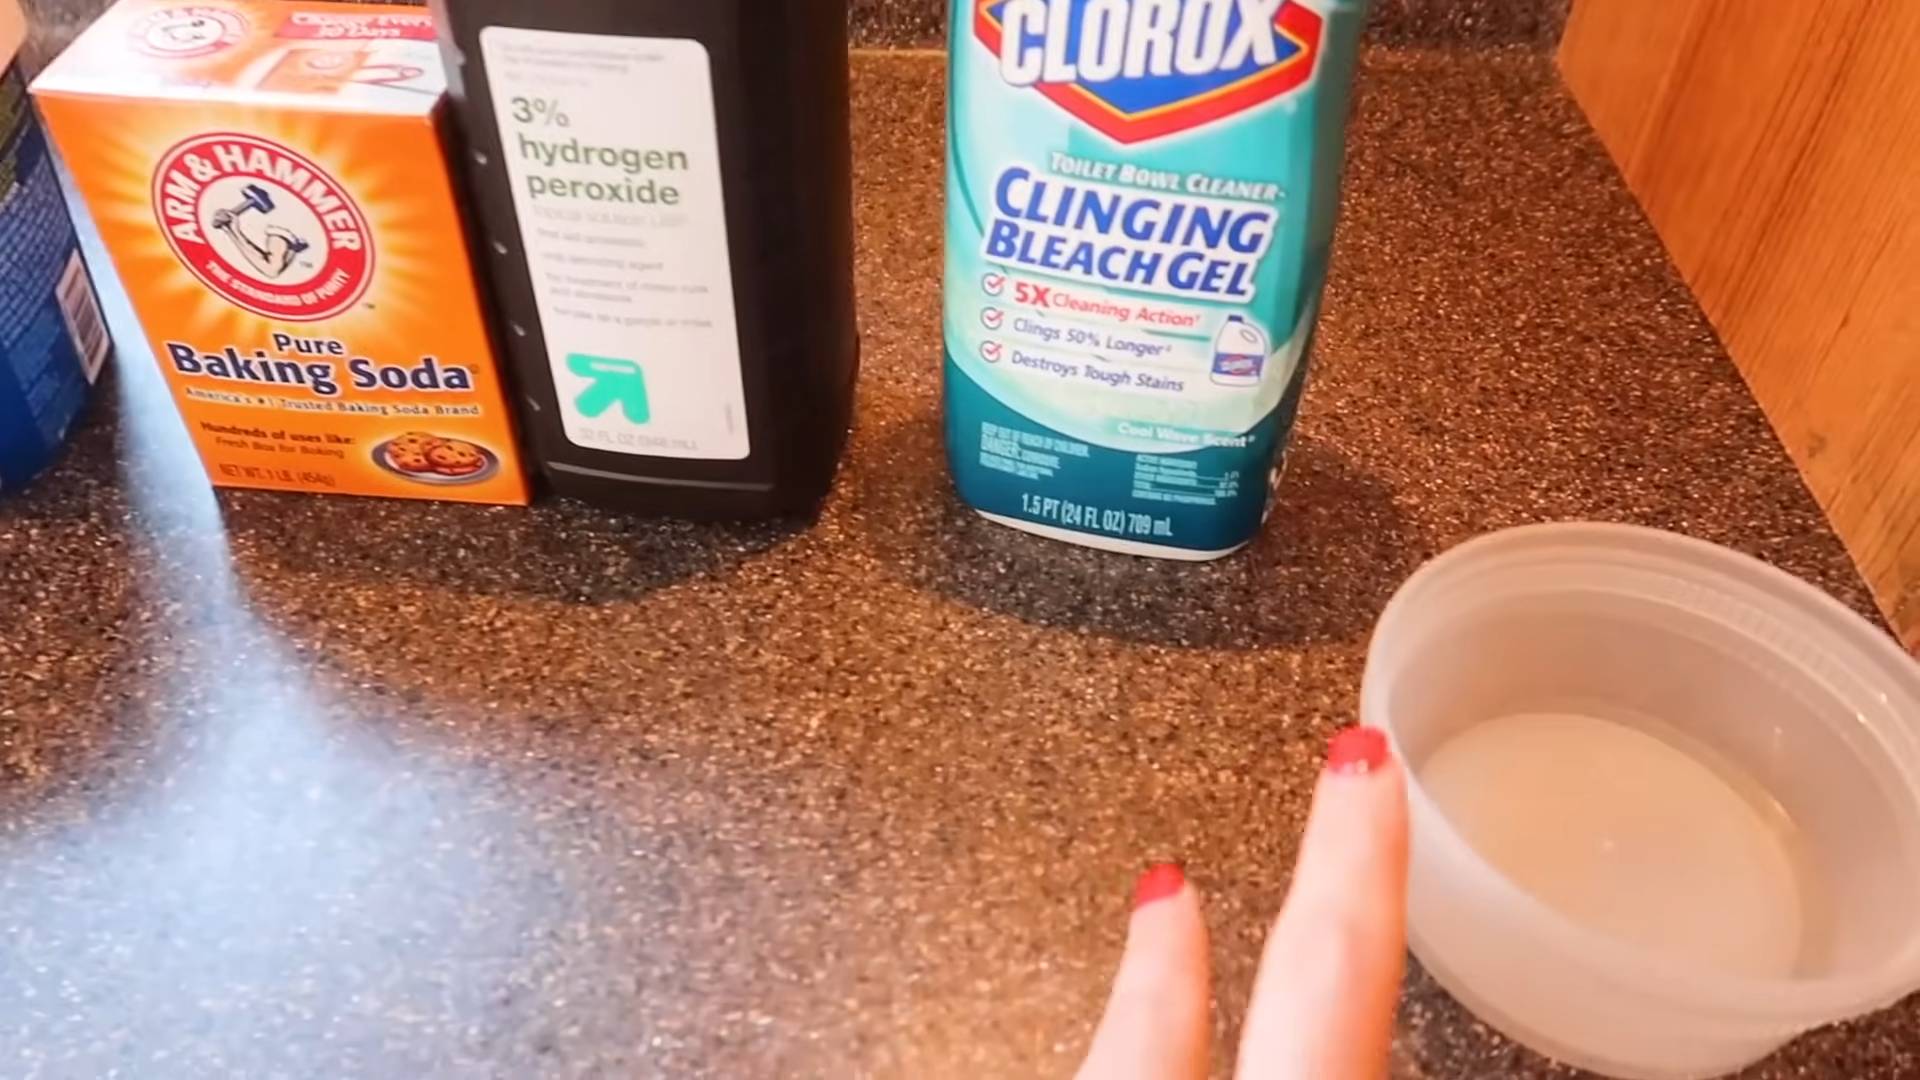
Before we dive into the instructions, let’s gather our supplies. Here’s what you’ll need:
* 1/2 cup Baking Soda: This is our gentle abrasive and deodorizer.
* 1/4 cup Hydrogen Peroxide (3%): This acts as a bleaching agent and disinfectant.
* 1 Tablespoon Dish Soap (Dawn is my favorite!): This helps to break down grease and grime.
* Optional: 5-10 drops of Essential Oil (Tea Tree or Lemon are great for their antibacterial and antifungal properties).
* Spray Bottle: For easy application.
* Old Toothbrush or Grout Brush: For scrubbing.
* Gloves: To protect your hands.
* Eye Protection: Just in case!
* Small Bowl: For mixing.
* Warm Water: For rinsing.
* Clean Cloth or Sponge: For wiping.
Mixing the Magic Potion
This is the easiest part! Let’s get our grout cleaner ready.
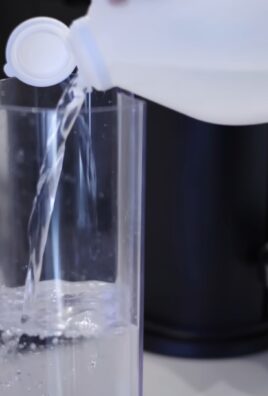
1. Combine Baking Soda and Hydrogen Peroxide: In your small bowl, pour in the baking soda and then slowly add the hydrogen peroxide. Mix them together until you form a paste. The consistency should be similar to toothpaste. If it’s too dry, add a little more hydrogen peroxide. If it’s too runny, add a bit more baking soda.
2. Add Dish Soap: Now, add the dish soap to the paste. Gently stir it in until it’s well combined. The mixture will become a bit more liquidy, which is perfectly fine.
3. (Optional) Add Essential Oils: If you’re using essential oils, now’s the time to add them. Stir them in thoroughly. I love using tea tree oil because it’s a natural antifungal, which is great for preventing mildew in the bathroom. Lemon oil is another good option for its cleaning and brightening properties.
4. Transfer to Spray Bottle: Carefully pour or spoon the mixture into your spray bottle. You might need a funnel for this to avoid making a mess.
Time to Get Scrubbing!
Now for the fun (or not-so-fun) part: cleaning the grout!
1. Prepare the Area: Before you start spraying, make sure the area you’re cleaning is free of loose debris. You can quickly sweep or vacuum the floor or wipe down the tiles.
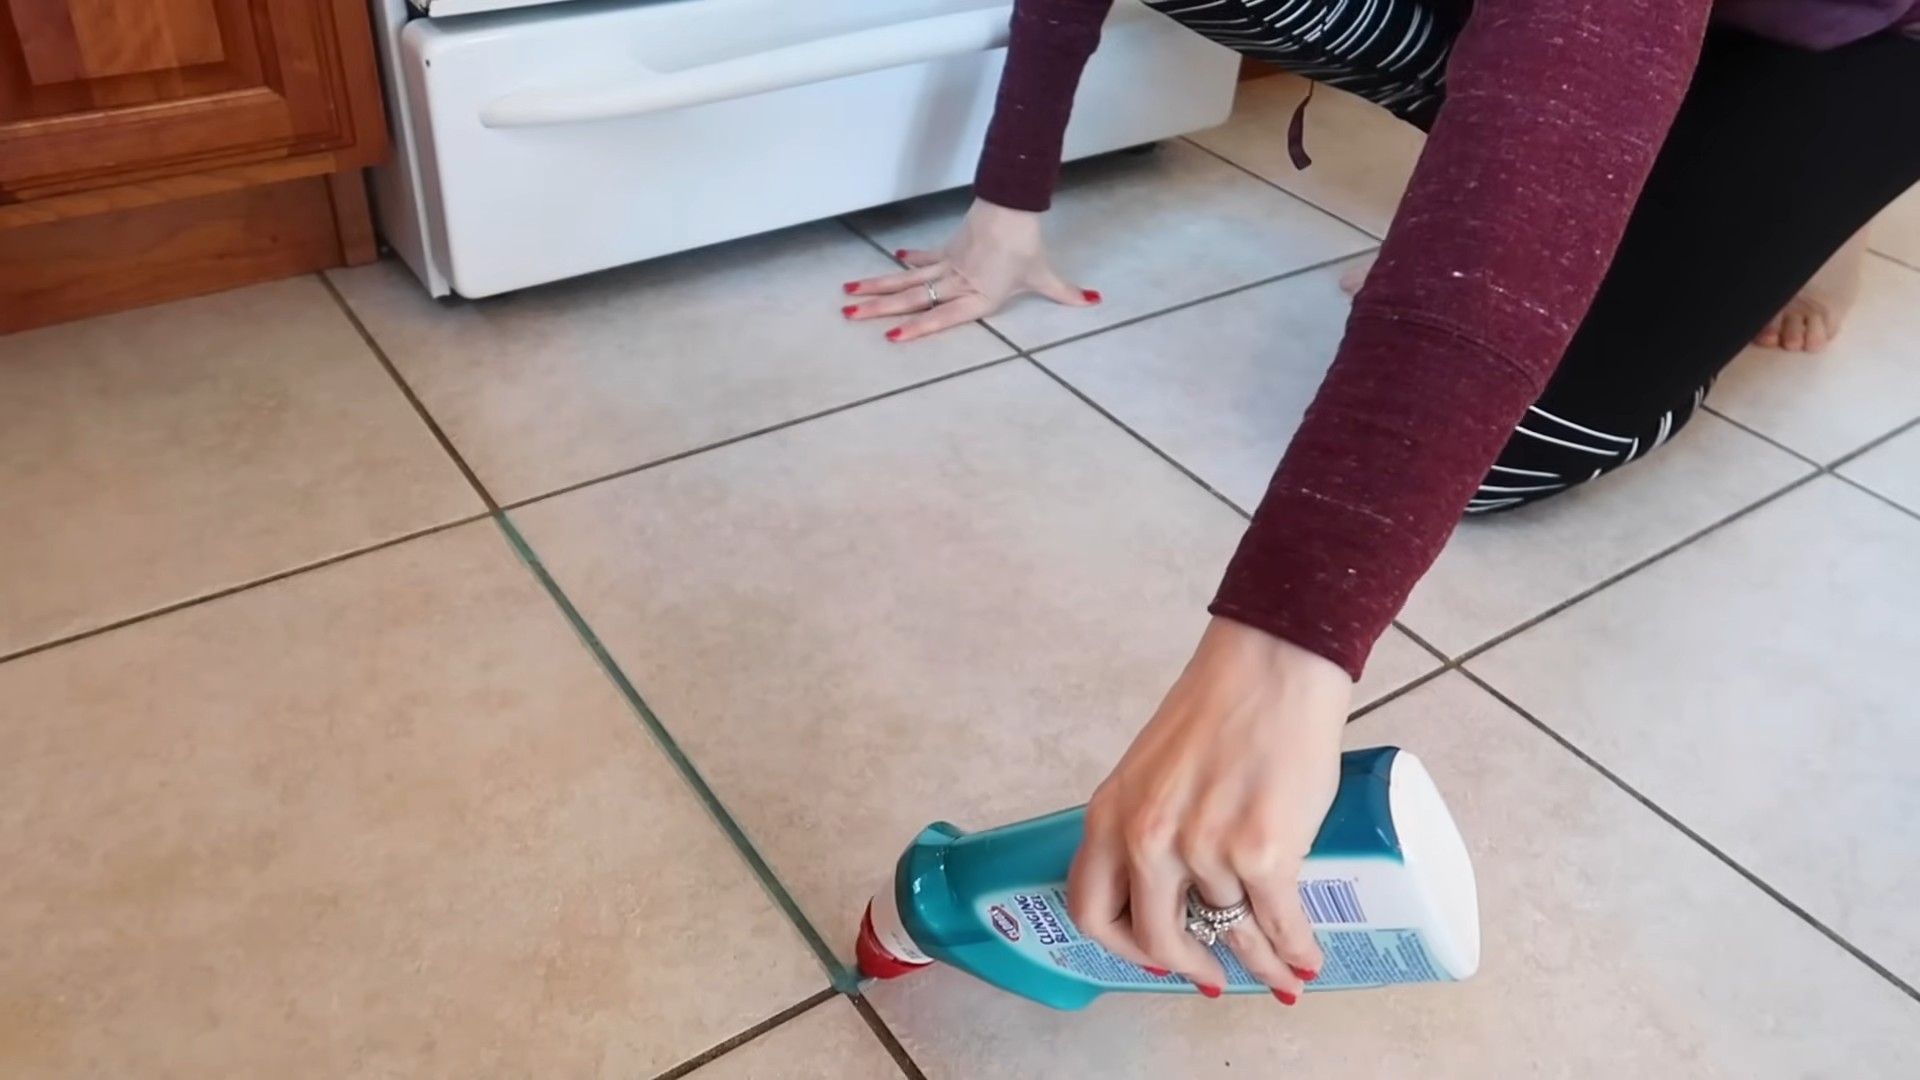
2. Spray the Grout: Generously spray the grout lines with your DIY cleaner. Make sure you saturate the grout well.
3. Let it Sit: This is important! Let the cleaner sit on the grout for at least 5-10 minutes. For heavily stained grout, you can let it sit for up to 30 minutes. This gives the cleaner time to penetrate the grime and loosen it up.
4. Scrub, Scrub, Scrub! Grab your old toothbrush or grout brush and start scrubbing the grout lines. Use firm, circular motions. You’ll likely see the grime starting to lift as you scrub. Don’t be afraid to put some elbow grease into it, especially for stubborn stains.
5. Rinse Thoroughly: Once you’ve scrubbed all the grout lines, rinse the area thoroughly with warm water. You can use a sponge or a clean cloth to wipe away the cleaner and any remaining grime.
6. Dry the Area: After rinsing, dry the area with a clean cloth or towel. This will help prevent water spots and further mildew growth.
Dealing with Stubborn Stains
Sometimes, you’ll encounter grout stains that are particularly stubborn. Don’t worry, I’ve got a few tricks up my sleeve!
* Baking Soda Paste Power: For really tough stains, make a thick paste of baking soda and water. Apply the paste directly to the stain and let it sit for several hours or even overnight. Then, scrub and rinse as usual.
* Hydrogen Peroxide Boost: If the baking soda paste isn’t enough, try adding a little more hydrogen peroxide to the paste. The extra bleaching power can help lift stubborn stains.
* Vinegar Power (Use with Caution!): For really, really stubborn stains, you can try using vinegar. However, be careful! Vinegar is acidic and can damage some types of grout and tile. Always test it in an inconspicuous area first. If it’s safe to use, spray the grout with vinegar, let it sit for a few minutes, and then scrub and rinse. Never mix vinegar with baking soda in a closed container, as it can create a dangerous reaction.
* Steam Cleaning: If you have a steam cleaner, it can be a great way to deep clean your grout. The steam helps to loosen grime and kill mildew.
Tips for Preventing Grout Stains
Prevention is always better than cure! Here are a few tips to help prevent grout stains in the first place:
* Seal Your Grout: Sealing your grout creates a barrier that prevents dirt and grime from penetrating the grout lines. You can purchase grout sealant at most hardware stores. Apply it according to the manufacturer’s instructions.
* Wipe Up Spills Immediately: The sooner you wipe up spills, the less likely they are to stain your grout.
* Ventilate Your Bathroom: Proper ventilation helps to prevent mildew growth. Run the exhaust fan during and after showers.
* Regular Cleaning: Clean your grout regularly to prevent grime from building up. Even a quick wipe-down with a damp cloth can make a big difference.
* Consider Darker Grout: If you’re renovating your bathroom, consider using darker grout. Darker grout is less likely to show stains.
Safety First!
While this DIY grout cleaner is relatively safe, it’s still important to take precautions:
* Wear Gloves: Protect your hands from the cleaner and the scrubbing.
* Wear Eye Protection: Prevent splashes from getting into your eyes.
* Ventilate the Area: Make sure the area you’re cleaning is well-ventilated.
* Test in an Inconspicuous Area: Before cleaning your entire grout surface, test the cleaner in a small, hidden area to make sure it doesn’t damage the grout or tile.
* Keep Out of Reach of Children and Pets: Store the cleaner in a safe place where children and pets cannot access it.
* Never Mix with Other Cleaners: Do not mix this cleaner with other cleaning products, as this could create dangerous fumes.
Troubleshooting
* Cleaner Not Working? If your cleaner isn’t working as well as you’d hoped, try letting it sit on the grout for a longer period of time. You can also try using a stiffer brush or adding a little more hydrogen peroxide to the mixture.
* Grout Still Stained? If your grout is still stained after cleaning, you may need to repeat the cleaning process or try one of the stubborn stain removal methods mentioned above.
* Grout Damaged? If you notice any damage to your grout after cleaning, such as crumbling or discoloration, it’s important to consult with a professional tile installer.
Why I Love This Recipe
I’ve been using this DIY grout cleaner for years, and I’m always amazed at how well it works. It’s saved me so much money on commercial cleaners, and I feel good knowing that I’m using a gentler, more natural option. Plus, it’s so satisfying to see the grime disappear and the grout looking fresh and clean again! I hope you give this recipe a try and see for yourself how effective it is. Happy cleaning!
Conclusion
So, there you have it! This DIY Clorox grout cleaner method isn’t just another cleaning hack; it’s a game-changer for anyone battling stubborn grout stains. We’ve walked you through a simple, cost-effective, and surprisingly powerful way to restore your grout to its former glory, all without relying on harsh chemicals or expensive professional services.
Why is this a must-try? Because it works! The combination of baking soda, Clorox bleach, and a little elbow grease creates a potent cleaning solution that tackles even the most deeply embedded dirt and grime. Imagine the satisfaction of seeing your dingy, discolored grout transform before your eyes, revealing the clean, bright lines you thought were lost forever. This DIY approach is not only effective but also allows you to control the strength of the solution, making it suitable for various grout types and levels of staining.
But the benefits extend beyond just cleanliness. By opting for this DIY method, you’re also saving money. Commercial grout cleaners can be pricey, and professional cleaning services even more so. This homemade solution utilizes readily available and affordable ingredients, making it a budget-friendly alternative. Plus, you’re reducing your exposure to harsh chemicals often found in store-bought cleaners, creating a healthier environment for you and your family.
Looking for variations? Consider adding a few drops of your favorite essential oil, like lemon or tea tree, for a fresh, clean scent. For particularly stubborn stains, let the paste sit for a longer period, perhaps even overnight, before scrubbing. You can also experiment with different types of brushes, such as a toothbrush for tight corners or a larger scrub brush for larger areas. Remember to always test the solution in an inconspicuous area first to ensure it doesn’t damage your grout or tiles.
We’re confident that this DIY Clorox grout cleaner will become your go-to solution for tackling grout stains. It’s easy, effective, and economical – what’s not to love?
Now, it’s your turn! We encourage you to give this DIY trick a try and experience the transformative power of a clean grout line. Don’t be afraid to experiment with the variations and find what works best for your specific needs. And most importantly, share your experience with us! We’d love to hear your success stories, tips, and any modifications you’ve made to the recipe. Let’s build a community of clean grout enthusiasts and help each other achieve sparkling results. Share your before-and-after photos and cleaning tips in the comments below. Let’s get cleaning!
Frequently Asked Questions (FAQ)
Is this DIY Clorox grout cleaner safe for all types of grout?
While this DIY Clorox grout cleaner is generally effective and safe, it’s crucial to exercise caution and test it in an inconspicuous area before applying it to the entire surface. Different types of grout react differently to bleach. Some colored grout may fade or discolor with prolonged exposure to bleach. Always start with a small test patch and observe for any adverse reactions before proceeding. If you notice any discoloration or damage, discontinue use immediately. For sensitive grout types, consider diluting the bleach further or exploring alternative cleaning methods.
How often can I use this DIY Clorox grout cleaner?
The frequency of cleaning depends on the level of foot traffic and exposure to dirt and grime. For high-traffic areas like bathrooms and kitchens, you may need to clean your grout more frequently, perhaps once a month. However, avoid over-cleaning, as excessive scrubbing and bleach exposure can weaken the grout over time. For less frequently used areas, cleaning every few months may suffice. Always assess the condition of your grout and clean only when necessary.
What safety precautions should I take when using Clorox bleach?
Clorox bleach is a powerful cleaning agent and should be handled with care. Always wear gloves to protect your skin from irritation. Ensure adequate ventilation by opening windows or using a fan to avoid inhaling fumes. Avoid contact with your eyes. If bleach comes into contact with your eyes, rinse immediately with plenty of water and seek medical attention. Never mix bleach with ammonia or other cleaning products, as this can create dangerous and toxic fumes. Keep bleach out of reach of children and pets.
Can I use this DIY Clorox grout cleaner on other surfaces besides grout?
While this solution is primarily designed for cleaning grout, it can also be used on other surfaces that are resistant to bleach, such as ceramic tiles and porcelain. However, avoid using it on natural stone surfaces like marble or granite, as bleach can damage these materials. Always test the solution in an inconspicuous area before applying it to any surface to ensure it doesn’t cause discoloration or damage.
What if the stains are still there after scrubbing?
If the stains persist after scrubbing, there are a few things you can try. First, let the paste sit on the grout for a longer period, perhaps even overnight. This will give the solution more time to penetrate and break down the stains. You can also try using a stiffer brush or a grout brush with angled bristles to reach into the grout lines more effectively. For extremely stubborn stains, you may need to repeat the cleaning process several times. If all else fails, consider using a commercial grout cleaner specifically designed for tough stains.
What are some alternative cleaning methods for grout?
If you’re concerned about using bleach, there are several alternative cleaning methods you can try. Baking soda and vinegar is a popular natural cleaning solution. Mix baking soda with water to form a paste, apply it to the grout, and then spray with vinegar. Let it fizz for a few minutes, then scrub with a brush. Steam cleaning is another effective option, as the high heat can loosen dirt and grime without the need for harsh chemicals. You can also try using a commercial grout cleaner that is specifically formulated for sensitive grout types or those who prefer a bleach-free option.
How can I prevent grout from getting stained in the future?
Prevention is key to keeping your grout clean and stain-free. Seal your grout regularly with a grout sealer to protect it from absorbing dirt and spills. Wipe up spills immediately to prevent them from setting into the grout. Use doormats and rugs to trap dirt and debris before they reach your tiled areas. Regularly sweep or vacuum your floors to remove loose dirt and grime. Consider using a daily shower cleaner to prevent soap scum and mildew buildup in your bathroom. By taking these preventative measures, you can significantly reduce the need for deep cleaning and keep your grout looking its best.
Is there a specific type of Clorox bleach that works best for this DIY cleaner?
Regular Clorox bleach is generally sufficient for this DIY grout cleaner. However, you can also use Clorox disinfecting bleach with Cloromax for added cleaning power and stain removal. Avoid using scented bleach, as the added fragrances may not be compatible with the other ingredients. Always follow the manufacturer’s instructions and safety precautions when using any type of Clorox bleach.
Leave a Comment