
DIY Dawn Powerwash Cleaner: Ever wished you could bottle the cleaning power of Dawn Powerwash and have it ready at your fingertips, without constantly buying refills? I know I have! This simple DIY project is about to revolutionize your cleaning routine, saving you money and reducing plastic waste in the process.
The concept of homemade cleaners isn’t new. In fact, our grandmothers and great-grandmothers relied on simple, natural ingredients like vinegar, baking soda, and castile soap to keep their homes sparkling. They understood the power of these ingredients long before fancy, commercially produced cleaners lined store shelves. While Dawn Powerwash is a relatively recent invention, the desire for effective and affordable cleaning solutions is timeless.
Let’s face it, keeping a home clean can be a real chore. But with this DIY Dawn Powerwash Cleaner recipe, you can tackle grease, grime, and everyday messes with ease. This hack is perfect for anyone looking to simplify their cleaning routine, save money, and be more environmentally conscious. Plus, who doesn’t love the satisfaction of creating something useful with their own two hands? Get ready to ditch those expensive refills and embrace a cleaner, greener, and more budget-friendly way to keep your home sparkling!
DIY Dawn Powerwash Cleaner: Save Money and Get Sparkling Clean!
Hey everyone! I’m so excited to share this super easy and effective DIY Dawn Powerwash cleaner recipe with you. I was spending a fortune on the store-bought stuff, and honestly, I knew there had to be a better, cheaper way. And guess what? There is! This homemade version works just as well, if not better, and it’s incredibly simple to make. Plus, you control the ingredients, so you know exactly what you’re spraying around your home. Let’s get started!
What You’ll Need
Before we dive into the instructions, let’s gather all the necessary supplies. This will make the whole process smoother and faster. Trust me, being prepared is half the battle!
* **Dawn Dish Soap (Original Blue):** This is the star of the show! The original blue Dawn is known for its grease-cutting power, which is exactly what we need.
* **Rubbing Alcohol (Isopropyl Alcohol, 70% or higher):** This helps the cleaner dry faster and acts as a disinfectant. I usually use 70%, but you can go higher if you prefer.
* **Water:** Tap water is perfectly fine!
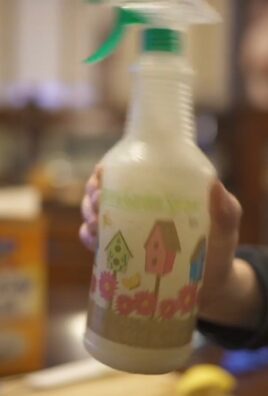
* **Spray Bottle:** You’ll need a good quality spray bottle. I recommend reusing an old Powerwash bottle if you have one, but any sturdy spray bottle will work. Just make sure it’s clean!
* **Measuring Cups and Spoons:** For accurate measurements.
* **Funnel (Optional):** This makes pouring the ingredients into the spray bottle much easier and less messy.
Step-by-Step Instructions
Okay, now for the fun part! Follow these steps carefully, and you’ll have your own DIY Dawn Powerwash cleaner in no time.
1. **Prepare Your Spray Bottle:** Make sure your spray bottle is clean and dry. If you’re reusing an old Powerwash bottle, rinse it out thoroughly with hot water to remove any residue.
2. **Measure the Rubbing Alcohol:** Using your measuring cup, pour 1/3 cup of rubbing alcohol into the spray bottle. The rubbing alcohol helps the solution dry quickly and adds a disinfecting element.
3. **Add the Dawn Dish Soap:** Next, measure 1/3 cup of Dawn dish soap and carefully pour it into the spray bottle. Be careful not to create too many bubbles!
4. **Top it Off with Water:** Now, fill the rest of the spray bottle with water. Leave a little bit of space at the top to allow for shaking.
5. **Gently Mix the Solution:** Screw the spray nozzle back onto the bottle tightly. Gently swirl or shake the bottle to mix the ingredients. Avoid shaking too vigorously, as this will create excessive bubbles. You want the ingredients to combine without creating a sudsy mess.
6. **Test Spray:** Before you start cleaning your entire kitchen, test the spray on a small, inconspicuous area to make sure it doesn’t damage the surface. This is especially important for delicate surfaces like painted wood or certain types of countertops.
Tips and Tricks for the Best Results
I’ve been using this DIY cleaner for a while now, and I’ve learned a few tricks along the way to make it even more effective.
* Adjust the Ratios: Feel free to adjust the ratios of the ingredients to suit your needs. If you find the cleaner is too soapy, add more water. If it’s not strong enough, add a little more Dawn.
* Use Warm Water: Using warm water can help the ingredients dissolve more easily and improve the cleaning power.
* Don’t Over-Shake: As I mentioned before, avoid shaking the bottle too vigorously to prevent excessive bubbles.
* Store Properly: Store your DIY cleaner in a cool, dark place. This will help preserve its effectiveness.
* Label Your Bottle: It’s always a good idea to label your spray bottle clearly so you know what’s inside.
* Use a Good Quality Spray Bottle: A good spray bottle will provide a consistent and even spray, which is essential for effective cleaning.
* For Stubborn Stains: For really stubborn stains, let the cleaner sit for a few minutes before wiping it away.
* Avoid on Certain Surfaces: While this cleaner is generally safe for most surfaces, avoid using it on porous materials like unfinished wood or natural stone, as it could potentially cause damage. Always test in an inconspicuous area first.
Where to Use Your DIY Dawn Powerwash Cleaner
The beauty of this DIY cleaner is its versatility. You can use it all over your home! Here are some of my favorite places to use it:
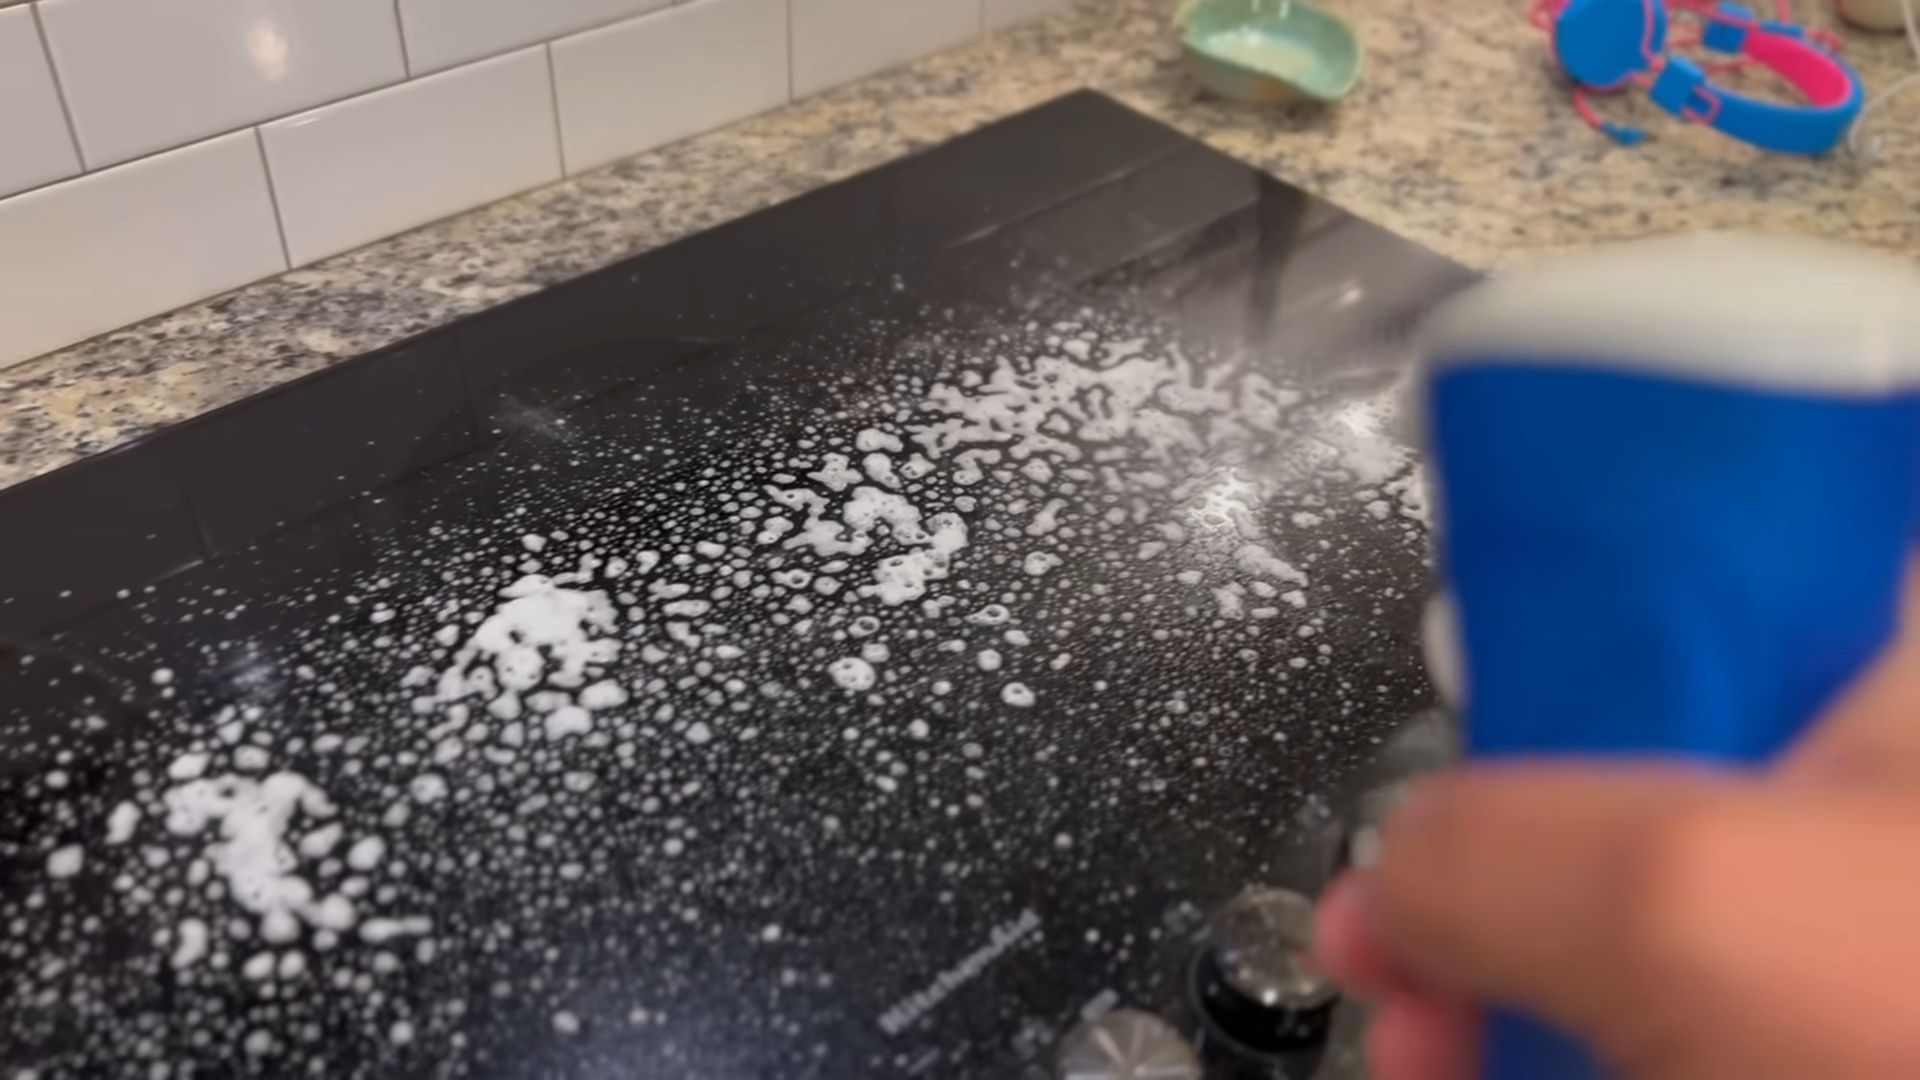
* **Kitchen Counters:** This is my go-to cleaner for kitchen counters. It cuts through grease and grime like a champ!
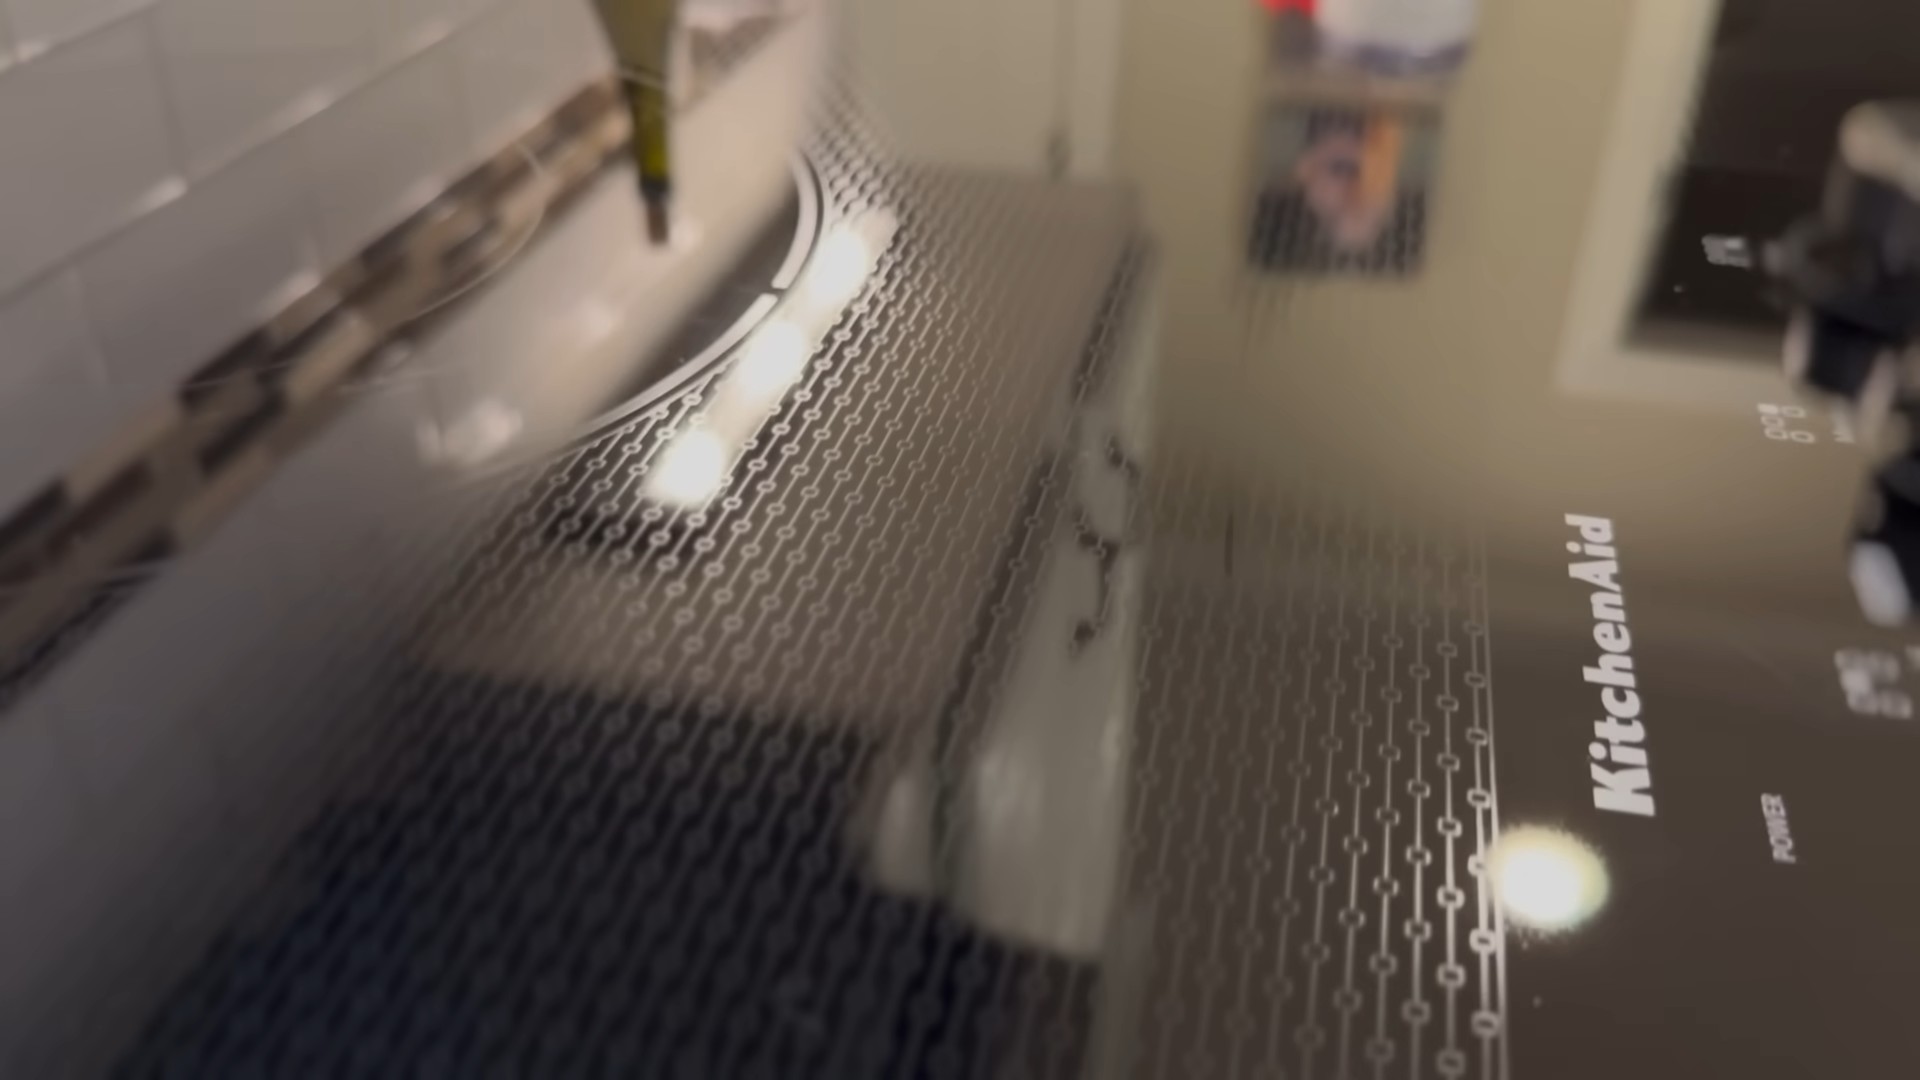
* **Stovetop:** Say goodbye to baked-on food and grease! This cleaner works wonders on stovetops.
* **Sink:** Keep your sink sparkling clean with a quick spray and wipe.
* **Bathroom Counters:** Clean up toothpaste splatters and other messes with ease.
* **Shower and Tub:** This cleaner helps prevent soap scum buildup in the shower and tub.
* **Appliances:** Wipe down your appliances to keep them looking their best.
* **Floors (Spot Cleaning):** Use it for spot cleaning on hard floors.
* **Greasy Tools:** I even use it to clean my greasy tools after working in the garage!
Why This DIY Cleaner is Awesome
I truly believe this DIY Dawn Powerwash cleaner is a game-changer. Here’s why I love it so much:
* It’s Affordable: Making your own cleaner is significantly cheaper than buying the store-bought version.
* It’s Effective: It cleans just as well, if not better, than the commercial stuff.
* It’s Customizable: You can adjust the ingredients to suit your needs and preferences.
* It’s Eco-Friendly: You’re reducing plastic waste by reusing spray bottles.
* It’s Safe: You control the ingredients, so you know exactly what you’re spraying around your home.
* It’s Easy: It takes just a few minutes to make!
Troubleshooting
Sometimes, things don’t go exactly as planned. Here are a few common issues you might encounter and how to fix them:
* **Too Many Bubbles:** If your cleaner is too bubbly, you probably shook it too vigorously. Let it sit for a while to allow the bubbles to dissipate. Next time, mix it more gently.
* **Not Cleaning Effectively:** If the cleaner isn’t cleaning effectively, try adding a little more Dawn dish soap. You can also try using warm water instead of cold water.
* **Streaky Finish:** If you’re getting a streaky finish, try using a clean microfiber cloth to wipe the surface. You might also be using too much cleaner.
* **Clogged Sprayer:** If your sprayer is clogged, try running hot water through it to clear any blockages. You can also try using a different spray nozzle.
Safety Precautions
While this DIY cleaner is generally safe, it’s important to take a few precautions:
* Keep Out of Reach of Children: Store the cleaner in a safe place where children cannot access it.
* Avoid Contact with Eyes: Avoid getting the cleaner in your eyes. If contact occurs, rinse thoroughly with water.
* Don’t Ingest: Do not ingest the cleaner. If ingested, seek medical attention immediately.
* Test on Inconspicuous Area: Always test the cleaner on a small, inconspicuous area before using it on a larger surface.
* Ventilation: Use the cleaner in a well-ventilated area.
Final Thoughts
I hope you found this DIY Dawn Powerwash cleaner recipe helpful! I’m confident that you’ll love it as much as I do. It’s a simple, affordable, and effective way to keep your home sparkling clean. Happy cleaning!
Conclusion
So, there you have it! Transforming your cleaning routine with this simple, yet incredibly effective, DIY Dawn Powerwash Cleaner is more than just a cost-saving measure; it’s a game-changer for anyone seeking a sparkling clean home without harsh chemicals or a hefty price tag. We’ve walked you through the easy steps, highlighted the benefits, and addressed potential concerns. Now, it’s time to experience the magic for yourself.
Why is this DIY trick a must-try? Because it delivers professional-grade cleaning power at a fraction of the cost. Store-bought Powerwash cleaners can be expensive and often contain ingredients you might prefer to avoid. This homemade version allows you to control exactly what goes into your cleaner, opting for gentler, more natural alternatives if desired. Plus, the sheer versatility of this cleaner is astounding. From tackling greasy stovetops and grimy showers to pre-treating laundry stains and refreshing upholstery, the possibilities are virtually endless.
But the real beauty of this DIY Dawn Powerwash Cleaner lies in its adaptability. Feel free to experiment with different essential oils to customize the scent and add extra cleaning power. A few drops of tea tree oil can boost its antibacterial properties, while lemon or orange essential oils can enhance its degreasing capabilities. For tougher stains, consider adding a tablespoon of borax to the mixture for an extra cleaning punch. Just remember to always test any new additions on an inconspicuous area first to ensure they don’t damage the surface.
Don’t be afraid to adjust the ratios of ingredients to suit your specific cleaning needs. If you find the cleaner is too strong, simply dilute it with more water. Conversely, if you need extra cleaning power, add a bit more Dawn dish soap. The key is to find the perfect balance that works for you and your home.
We are confident that once you try this DIY Dawn Powerwash Cleaner, you’ll wonder how you ever lived without it. It’s a simple, effective, and affordable way to keep your home clean and fresh. So, ditch the expensive store-bought cleaners and embrace the power of DIY!
We encourage you to give this recipe a try and share your experiences with us. Let us know what variations you’ve tried, what surfaces you’ve cleaned, and what results you’ve achieved. Your feedback is invaluable and helps us refine and improve our recipes for everyone. Share your tips, tricks, and photos in the comments section below. We can’t wait to hear from you! Let’s revolutionize our cleaning routines together, one spray bottle at a time! This DIY Dawn Powerwash Cleaner is a testament to the fact that effective cleaning doesn’t have to be expensive or complicated.
Frequently Asked Questions (FAQ)
What kind of Dawn dish soap should I use?
The original blue Dawn dish soap is generally recommended for its grease-cutting power and effectiveness. However, you can experiment with other Dawn varieties, such as Dawn Platinum or Dawn Ultra. Just be aware that different formulations may affect the final cleaning power and scent of your DIY cleaner. Avoid using Dawn Free & Clear if you are looking for the degreasing power of the original formula.
Can I use a different type of dish soap instead of Dawn?
While Dawn is the preferred choice due to its superior grease-cutting abilities, you can technically use other dish soaps. However, be aware that the results may not be as effective. Some dish soaps may not be as concentrated or have the same cleaning power as Dawn, so you may need to adjust the amount used in the recipe. We recommend testing a small area first to ensure the alternative dish soap doesn’t damage the surface.
Is this DIY cleaner safe to use on all surfaces?
While this DIY cleaner is generally safe for most surfaces, it’s always a good idea to test it on an inconspicuous area first, especially on delicate or sensitive materials like wood, painted surfaces, or natural stone. Avoid using it on surfaces that are known to be damaged by water or soap.
How long does the DIY cleaner last?
This DIY cleaner typically lasts for several weeks or even months when stored properly in a sealed spray bottle. However, it’s best to use it within a few months for optimal effectiveness. If you notice any changes in color, scent, or consistency, it’s best to discard it and make a fresh batch.
Can I add essential oils to the cleaner?
Yes, you can definitely add essential oils to customize the scent and add extra cleaning power. Some popular choices include lemon, orange, tea tree, eucalyptus, and lavender. Add a few drops at a time until you achieve the desired scent and effect. Remember to research the properties of each essential oil before using it to ensure it’s safe for the surfaces you’ll be cleaning.
Can I use this cleaner to clean my oven?
While this DIY cleaner can be used to clean light grease and grime inside your oven, it may not be strong enough to tackle baked-on messes. For heavily soiled ovens, you may need to use a dedicated oven cleaner or a stronger DIY solution. Always follow the manufacturer’s instructions for your oven.
Is this cleaner safe to use around pets and children?
While this DIY cleaner is generally considered safer than many commercial cleaners, it’s still important to exercise caution when using it around pets and children. Keep the spray bottle out of their reach and avoid spraying it directly on them. If they accidentally ingest the cleaner, contact a poison control center or seek medical attention immediately.
Can I use this cleaner to pre-treat laundry stains?
Yes, this DIY cleaner can be an effective pre-treatment for laundry stains, especially grease stains. Simply spray the cleaner directly onto the stain, let it sit for a few minutes, and then wash the garment as usual. Always test the cleaner on an inconspicuous area of the fabric first to ensure it doesn’t cause any discoloration or damage.
How do I make a larger batch of this cleaner?
To make a larger batch, simply multiply the ingredients proportionally. For example, if you want to double the recipe, double the amount of water, dish soap, and rubbing alcohol. Make sure you have a large enough spray bottle or container to store the larger batch.
What if the spray nozzle gets clogged?
If the spray nozzle gets clogged, try rinsing it with warm water. You can also use a small pin or needle to clear any debris that may be blocking the nozzle. If the nozzle is still clogged, you may need to replace it.
Can I use vinegar in this recipe?
While vinegar is a popular cleaning agent, it’s not recommended to mix it with Dawn dish soap. The combination can create harmful fumes. It’s best to use vinegar and Dawn separately for different cleaning tasks.
What is the purpose of the rubbing alcohol in this recipe?
The rubbing alcohol acts as a disinfectant and helps the cleaner dry faster, preventing streaks and water spots. It also helps to dissolve grease and grime. You can use isopropyl alcohol (70% or 91%) for this recipe.
Can I use distilled water instead of tap water?
Yes, using distilled water can help prevent mineral buildup in the spray bottle and on the surfaces you’re cleaning. It can also extend the shelf life of the cleaner. However, tap water is generally fine to use as well.
How often should I clean my spray bottle?
It’s a good idea to clean your spray bottle periodically to prevent bacteria growth and ensure optimal performance. Simply rinse the bottle with warm water and soap, and then let it air dry completely before refilling it.
Leave a Comment