
DIY floor cleaner recipe: Who knew sparkling floors could be so simple and satisfying to achieve? Forget those harsh chemicals and expensive store-bought solutions! I’m about to let you in on a little secret – creating your own effective and eco-friendly floor cleaner is easier than you think.
For generations, resourceful homemakers have relied on natural ingredients to keep their homes clean and fresh. Think back to your grandmother’s era, where vinegar and baking soda were the go-to powerhouses for tackling grime. This tradition of DIY cleaning isn’t just about saving money; it’s about connecting with a simpler, more sustainable way of life. It’s about knowing exactly what you’re using in your home and protecting your family from potentially harmful chemicals.
In today’s busy world, we’re all looking for ways to simplify our lives and make healthier choices. That’s where this DIY floor cleaner recipe comes in! Not only will you save money and reduce your environmental impact, but you’ll also have the satisfaction of knowing you created a safe and effective cleaning solution yourself. Plus, you can customize the scent to your liking with essential oils! So, ditch the store-bought stuff and let’s get started on creating a floor cleaner that’s good for your home, your wallet, and the planet!
DIY Floor Cleaner: Sparkling Floors on a Budget!
Hey there, fellow DIY enthusiasts! Are you tired of spending a fortune on commercial floor cleaners that are often packed with harsh chemicals? I know I was! That’s why I decided to dive into the world of homemade floor cleaners, and let me tell you, the results have been amazing. Not only are these recipes incredibly effective at cleaning, but they’re also much gentler on your floors, your wallet, and the environment.
This guide will walk you through creating several different DIY floor cleaner recipes, tailored for various floor types. We’ll cover everything from hardwood to tile to laminate, ensuring you have the perfect solution for your specific needs. So, grab your supplies, and let’s get started!
Understanding Your Floor Type
Before we jump into the recipes, it’s crucial to understand what type of flooring you have. Using the wrong cleaner can damage your floors, leading to costly repairs. Here’s a quick rundown:
* Hardwood Floors: These are beautiful but sensitive. Avoid excessive water and harsh chemicals.
* Tile Floors: Durable and water-resistant, tile can handle stronger cleaners.
* Laminate Floors: Similar to hardwood, laminate needs gentle cleaning to prevent warping.
* Vinyl Floors: Relatively durable and easy to clean, but avoid abrasive cleaners.
* Stone Floors (Marble, Granite, etc.): Requires pH-neutral cleaners to prevent etching.
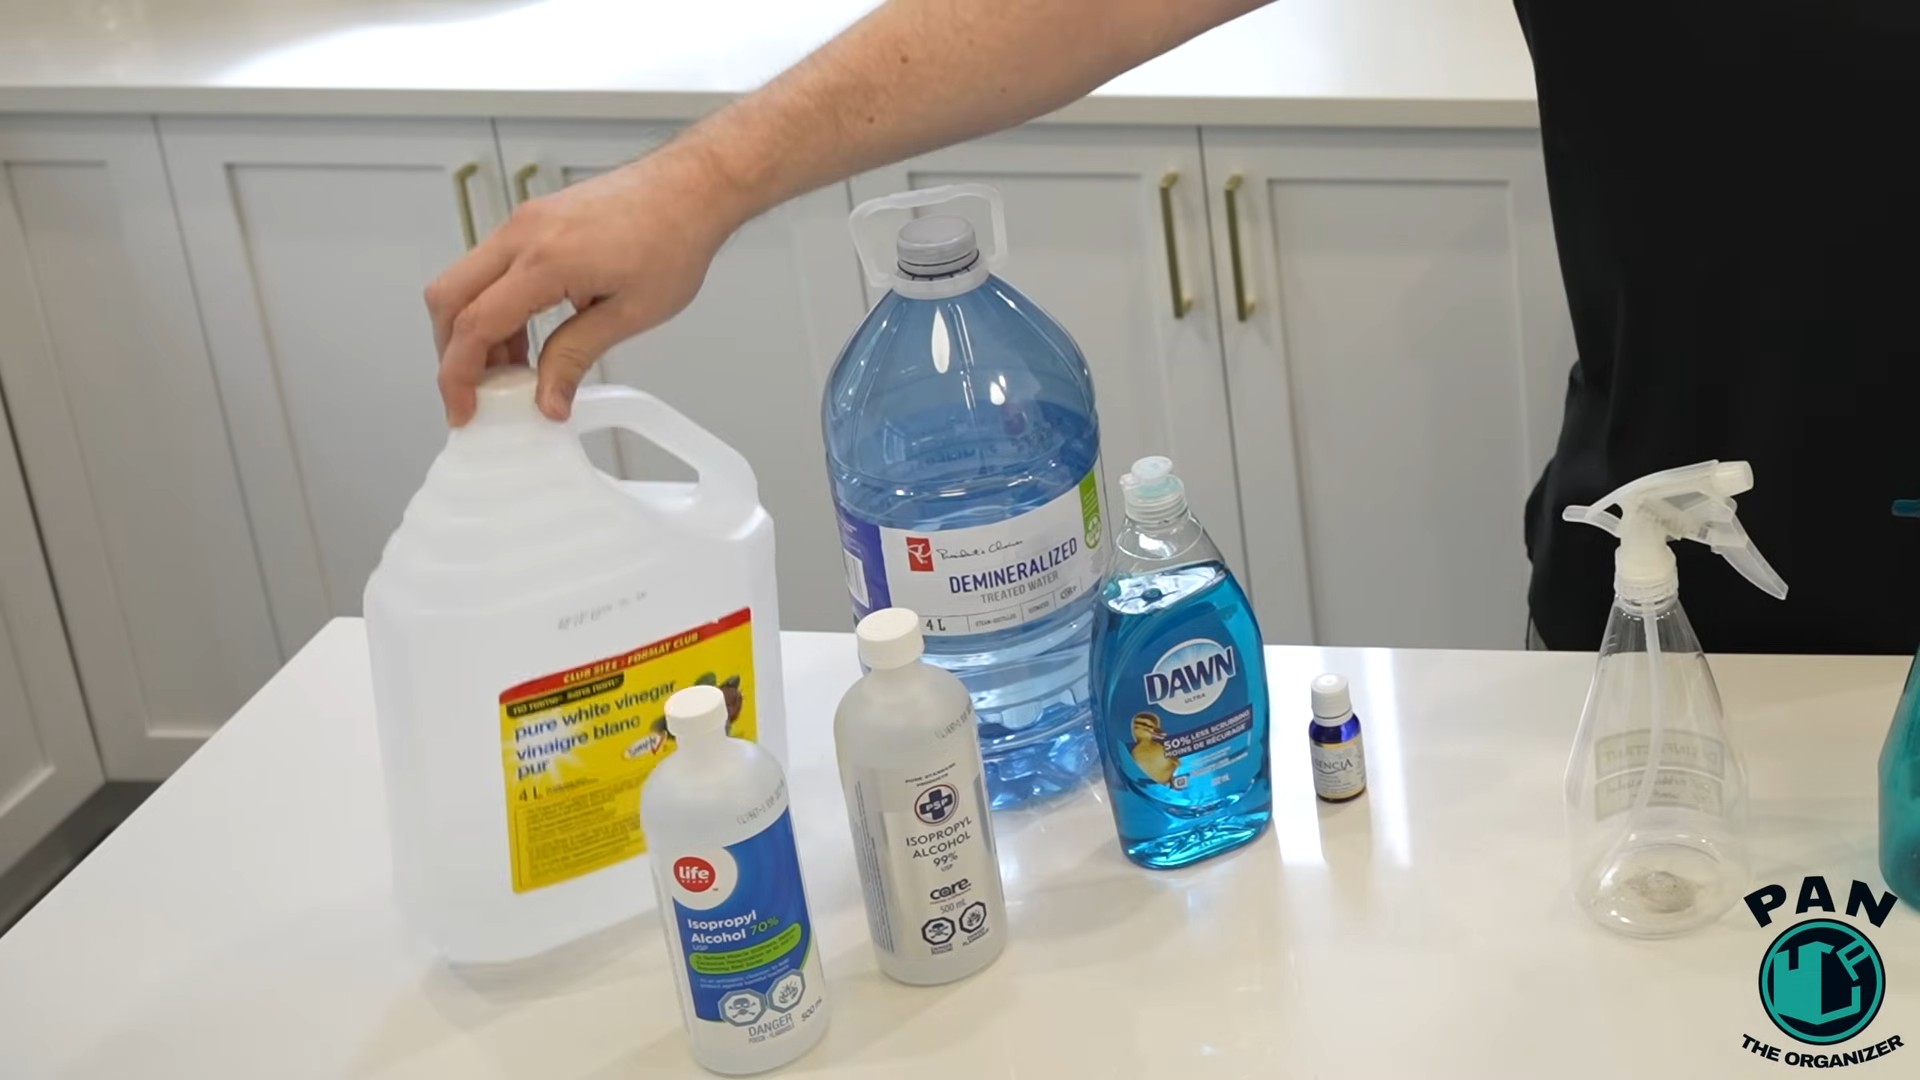
General Supplies You’ll Need
Regardless of the specific recipe, you’ll likely need these basic supplies:
* Spray bottle(s)
* Bucket
* Mop (microfiber is best!)
* Measuring cups and spoons
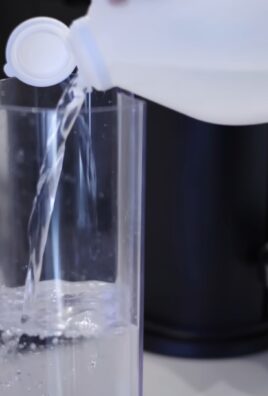
* Distilled water (tap water can leave mineral deposits)
* White vinegar (a cleaning powerhouse!)
* Baking soda (for scrubbing power)
* Essential oils (for fragrance and added cleaning benefits – optional)
* Dish soap (gentle and effective)
DIY Floor Cleaner Recipes
Now for the fun part! Here are several recipes I’ve personally tested and loved. Remember to always test a small, inconspicuous area first to ensure the cleaner doesn’t damage your floors.
Recipe 1: All-Purpose Floor Cleaner (Great for Tile and Vinyl)
This is my go-to cleaner for most of my floors. It’s simple, effective, and smells great!
Ingredients:
* 1/2 cup white vinegar
* 1 gallon warm water
* 10-15 drops of your favorite essential oil (I love lemon, lavender, or tea tree)
Instructions:
1. Combine Ingredients: In a bucket, mix the white vinegar, warm water, and essential oils.
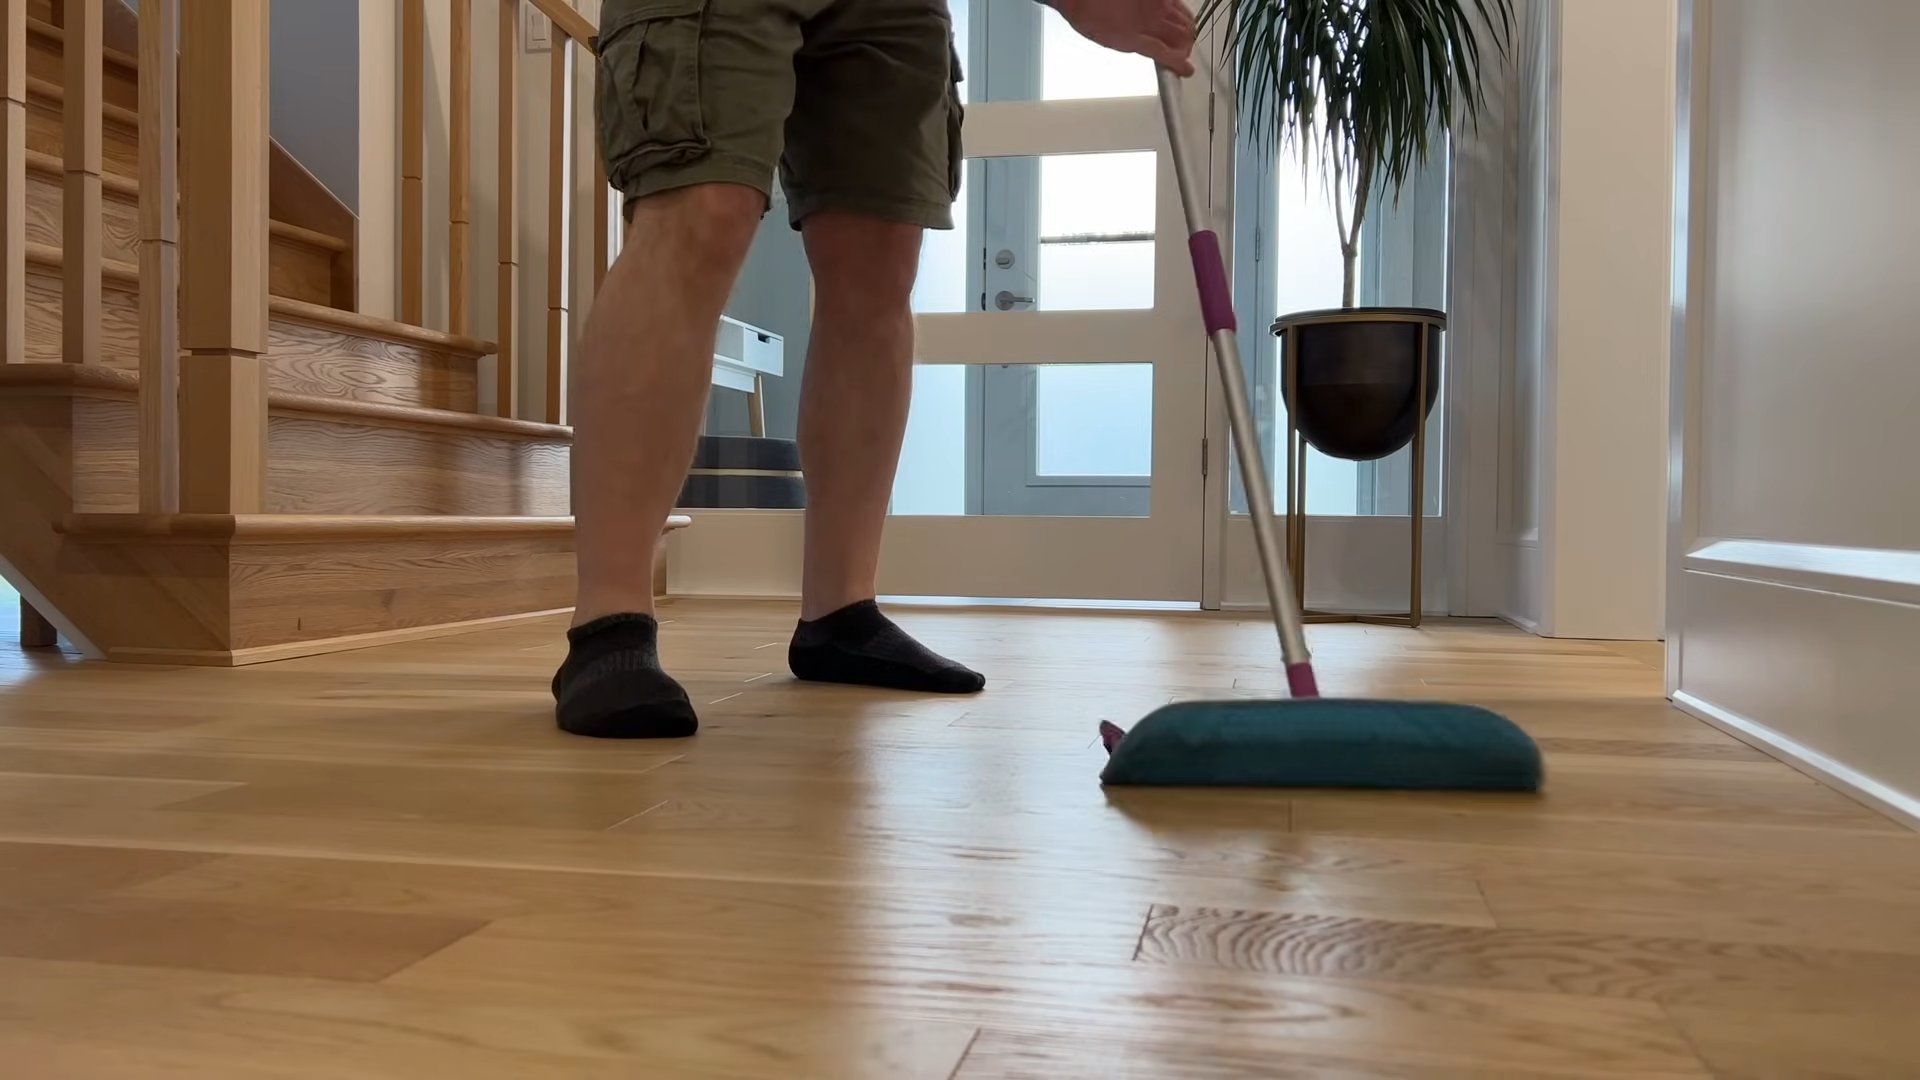
2. Mop the Floor: Dip your mop into the solution, wring out the excess water, and mop your floor as usual.
3. Rinse (Optional): If you notice any streaks, you can rinse the floor with clean water. However, with the right amount of wringing, this is usually unnecessary.
4. Dry: Allow the floor to air dry.
Recipe 2: Hardwood Floor Cleaner (Gentle and Effective)
Hardwood floors require a more delicate touch. This recipe is designed to clean without damaging the finish.
Ingredients:
* 1/4 cup white vinegar
* 1 gallon warm water
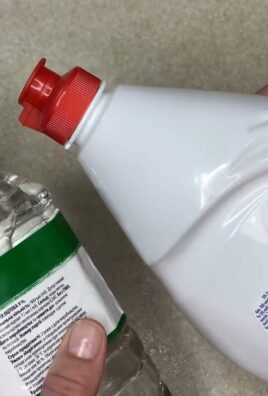
* 1 teaspoon dish soap (make sure it’s a gentle, pH-neutral formula)
Instructions:
1. Mix the Solution: In a bucket, combine the white vinegar, warm water, and dish soap.
2. Damp Mop: This is crucial! Wring out your mop *very* well. You want it to be damp, not soaking wet. Excess water can damage hardwood floors.
3. Mop in Sections: Mop the floor in small sections, making sure to dry any excess water immediately with a clean, dry cloth.
4. Dry Thoroughly: Ensure the floor is completely dry to prevent water damage.
Recipe 3: Laminate Floor Cleaner (Streak-Free Shine)
Laminate floors can be tricky, as they’re prone to streaks. This recipe is designed to leave your laminate sparkling clean.
Ingredients:
* 1/3 cup rubbing alcohol (isopropyl alcohol)
* 1/3 cup white vinegar
* 1/3 cup water
* 5-10 drops of essential oil (optional)
Instructions:
1. Combine in Spray Bottle: In a spray bottle, mix the rubbing alcohol, white vinegar, water, and essential oil (if using).
2. Spray and Wipe: Lightly spray the floor in small sections and immediately wipe with a clean, dry microfiber cloth.
3. Buff to Shine: For an extra shine, buff the floor with a clean, dry microfiber cloth after wiping.
Recipe 4: Tile Floor Cleaner (Tough on Grime)
Tile floors can handle a bit more cleaning power. This recipe is great for removing stubborn dirt and grime.
Ingredients:
* 1/2 cup baking soda
* 1/2 cup white vinegar
* 1 gallon hot water
Instructions:
1. Dissolve Baking Soda: In a bucket, dissolve the baking soda in the hot water.
2. Add Vinegar: Slowly add the white vinegar (it will fizz!).
3. Mop the Floor: Mop the floor with the solution, allowing it to sit for a few minutes to loosen any stubborn grime.
4. Scrub (If Needed): For heavily soiled areas, use a scrub brush to gently scrub the floor.
5. Rinse: Rinse the floor with clean water.
6. Dry: Allow the floor to air dry or dry with a clean cloth.
Recipe 5: Stone Floor Cleaner (pH-Neutral and Gentle)
Stone floors like marble and granite require a pH-neutral cleaner to prevent etching.
Ingredients:
* 1/4 cup pH-neutral dish soap (look for labels that specifically say “pH-neutral”)
* 1 gallon warm water
Instructions:
1. Mix the Solution: In a bucket, combine the pH-neutral dish soap and warm water.
2. Mop the Floor: Mop the floor with the solution, making sure to wring out the mop well.
3. Rinse Thoroughly: Rinse the floor thoroughly with clean water to remove any soap residue.
4. Dry: Dry the floor with a clean, soft cloth.
Troubleshooting Tips
Even with the best recipes, you might encounter some issues. Here are a few troubleshooting tips:
* Streaks: Streaks are usually caused by using too much cleaner or not wringing out your mop properly. Try using less cleaner and making sure your mop is only damp. For laminate floors, buffing with a dry cloth can help eliminate streaks.
* Dullness: If your floors look dull after cleaning, it could be due to soap residue. Make sure you’re rinsing thoroughly with clean water.
* Sticky Residue: Sticky residue is often caused by using too much dish soap. Reduce the amount of dish soap in your recipe or rinse the floor more thoroughly.
* Cloudiness: Cloudiness can be a sign of hard water. Try using distilled water in your cleaning solutions.
* Smell: If you don’t like the smell of vinegar, don’t worry! The scent dissipates quickly. You can also add essential oils to mask the vinegar smell.
Essential Oil Blends for Added Benefits
Essential oils aren’t just for fragrance; they also have cleaning and disinfecting properties. Here are a few of my favorite blends:
* Lemon & Tea Tree: This blend is great for disinfecting and leaving a fresh, clean scent.
* Lavender & Eucalyptus: This blend is calming and has antibacterial properties.
* Orange & Clove: This blend is warm and inviting, with natural cleaning power.
* Peppermint & Rosemary: This blend is invigorating and helps to repel insects.
Remember to use high-quality, pure essential oils for the best results.
Safety Precautions
While these DIY cleaners are generally safe, it’s always a good idea to take some precautions:
* Test in an Inconspicuous Area: Before cleaning your entire floor, test the cleaner in a small, hidden area to ensure it doesn’t damage the finish.
* Keep Out of Reach of Children and Pets: Store your cleaning solutions in a safe place, out of reach of children and pets.
* Wear Gloves: If you have sensitive skin, wear gloves while cleaning.
* Ventilate the Area: Open windows or turn on a fan to ventilate the area while cleaning.
* Don’t Mix Cleaners: Never mix different cleaning products, as this can create dangerous fumes.
Maintaining Your Floors
Regular
Conclusion
So, there you have it! Ditching those expensive, chemical-laden store-bought cleaners and embracing this simple, effective, and eco-friendly DIY floor cleaner recipe is more than just a trend – it’s a smart choice for your home, your health, and your wallet. We’ve walked you through the process, highlighting the ease and affordability of creating a powerful cleaning solution right in your own kitchen.
But why is this DIY approach a must-try? Beyond the cost savings, you gain complete control over the ingredients. No more deciphering confusing labels filled with unpronounceable chemicals. You know exactly what’s going onto your floors and into your home environment, making it a safer option, especially if you have children or pets. The natural ingredients are gentler on your floors, preventing damage and preserving their shine. Plus, the satisfaction of creating something useful and effective with your own two hands is incredibly rewarding.
Don’t be afraid to experiment and personalize this recipe to suit your specific needs and preferences. For a boost of disinfecting power, add a few drops of tea tree oil or eucalyptus oil. If you prefer a stronger scent, try lemon or orange essential oils. For particularly stubborn stains, create a paste of baking soda and water and apply it directly to the affected area before mopping. Consider adding a tablespoon of white vinegar for extra cleaning power, but be cautious when using it on certain types of flooring like marble or stone, as it can etch the surface. Always test in an inconspicuous area first.
This DIY floor cleaner isn’t just about cleaning; it’s about creating a healthier, more sustainable home. It’s about reducing your reliance on harsh chemicals and embracing a more natural approach to cleaning. It’s about saving money and feeling good about the products you’re using.
We truly believe that once you try this DIY floor cleaner, you’ll never go back to store-bought alternatives. The results speak for themselves: sparkling clean floors, a fresh, natural scent, and the peace of mind knowing you’re using a safe and effective cleaning solution.
So, what are you waiting for? Gather your ingredients, follow the simple steps, and experience the difference for yourself. We’re confident you’ll be amazed by the results.
We’d love to hear about your experience with this DIY floor cleaner recipe! Share your tips, variations, and before-and-after photos in the comments below. Let’s build a community of DIY enthusiasts who are passionate about creating a cleaner, healthier home. Your feedback is invaluable and helps us improve our recipes and provide even more helpful information. Let us know what kind of floors you have, what essential oils you used, and any modifications you made to the recipe. Did you find it effective on tough stains? Did you notice a difference in the overall cleanliness of your floors? Your insights will help other readers discover the best ways to use this DIY floor cleaner for their own homes.
Don’t forget to share this recipe with your friends and family! Let’s spread the word about the benefits of DIY cleaning and encourage others to embrace a more sustainable lifestyle. Together, we can make a difference, one sparkling clean floor at a time.
Frequently Asked Questions (FAQ)
What types of floors can I use this DIY floor cleaner on?
This DIY floor cleaner is generally safe for most sealed hard flooring surfaces, including tile, linoleum, vinyl, and sealed hardwood. However, it’s crucial to exercise caution and test the cleaner in an inconspicuous area first, especially on delicate surfaces like marble, natural stone, or waxed wood. The acidity of vinegar, even in diluted form, can potentially damage these types of floors over time. If you’re unsure about your flooring type, consult the manufacturer’s recommendations before using any cleaning product. For unsealed wood floors, avoid using excessive water and ensure the floor dries quickly to prevent water damage.
Can I use different essential oils in this recipe?
Absolutely! Essential oils not only add a pleasant scent but also offer additional cleaning and disinfecting properties. Lemon, orange, tea tree, eucalyptus, lavender, and peppermint are all excellent choices. Lemon and orange oils are known for their degreasing and brightening abilities, while tea tree and eucalyptus oils have antibacterial and antifungal properties. Lavender provides a calming scent, and peppermint can help repel insects. Experiment with different combinations to find your favorite scent and cleaning power. Remember to use pure, high-quality essential oils for the best results. Start with a few drops and adjust to your preference.
How often should I use this DIY floor cleaner?
The frequency of cleaning depends on the amount of foot traffic and the level of dirt accumulation in your home. For high-traffic areas, cleaning once or twice a week may be necessary. For less frequently used areas, cleaning every other week or once a month may suffice. Observe your floors and adjust your cleaning schedule accordingly. Regular cleaning with this gentle DIY floor cleaner can help prevent dirt and grime from building up, making it easier to maintain a clean and healthy home.
Can I use this cleaner on laminate floors?
Yes, this DIY floor cleaner can be used on laminate floors, but with extra caution. Laminate floors are susceptible to water damage, so it’s essential to use a minimal amount of liquid and ensure the floor dries quickly. Avoid soaking the mop or pouring excess cleaner directly onto the floor. Instead, wring out the mop thoroughly so it’s only damp. You might also consider using a microfiber mop, which is more absorbent and leaves less water behind. As always, test the cleaner in an inconspicuous area first to ensure it doesn’t damage the finish.
What if I don’t have essential oils? Can I still make this cleaner?
Yes, you can definitely make this DIY floor cleaner without essential oils. While essential oils add fragrance and some additional cleaning benefits, they are not essential for the cleaner to be effective. Simply omit the essential oils from the recipe. The combination of water, vinegar (or other cleaning agent), and dish soap will still provide a powerful cleaning solution. You can also add a squeeze of lemon juice for a natural citrus scent.
How do I store the leftover DIY floor cleaner?
Store any leftover DIY floor cleaner in a clean, airtight container, such as a spray bottle or a glass jar. Label the container clearly with the contents and the date it was made. Keep the cleaner in a cool, dark place away from direct sunlight and heat. While the ingredients are natural, it’s still best to store it out of reach of children and pets. The cleaner should be good for several weeks, but it’s always a good idea to give it a sniff before each use to ensure it hasn’t gone bad. If it smells off, discard it and make a fresh batch.
My floors are streaky after using the cleaner. What am I doing wrong?
Streaky floors can be caused by several factors. First, make sure you’re not using too much soap. A small amount of dish soap is all you need. Second, ensure you’re wringing out the mop thoroughly before mopping. Excess water can leave streaks behind. Third, try rinsing the floor with clean water after mopping to remove any soap residue. Finally, consider using a microfiber mop, which is more effective at picking up dirt and water. If you’re using vinegar, make sure it’s properly diluted, as too much vinegar can also cause streaks.
Can I use this cleaner on hardwood floors that have been recently refinished?
It’s best to wait at least 30 days after refinishing hardwood floors before using any cleaning products, including this DIY floor cleaner. Newly refinished floors need time to fully cure and harden. Using a cleaner too soon can damage the finish. After the curing period, test the cleaner in an inconspicuous area to ensure it doesn’t affect the finish. Always follow the manufacturer’s recommendations for cleaning newly refinished hardwood floors.
Is this DIY floor cleaner safe for pets?
This DIY floor cleaner is generally considered safe for pets, as it uses natural ingredients. However, it’s still important to take precautions. Ensure the floor is completely dry before allowing pets to walk on it, as some pets may be sensitive to the scent of vinegar or essential oils. If your pet has allergies or sensitivities, consult with your veterinarian before using this cleaner. Avoid using essential oils that are known to be toxic to pets, such as tea tree oil, in large quantities. Always supervise your pets while cleaning and ensure they don’t ingest the cleaner.

Leave a Comment