
Grow Backyard Turnips Easily, you say? Absolutely! Imagine stepping into your backyard and harvesting crisp, slightly peppery turnips, fresh from the earth. Forget those bland, store-bought veggies – we’re talking about homegrown goodness that bursts with flavor. For centuries, turnips have been a staple in diets across the globe, from humble peasant fare to surprisingly elegant dishes. Their resilience and adaptability have made them a reliable food source, and now, I’m going to show you how to bring that same reliability to your own backyard.
But why bother with growing your own turnips? Well, besides the superior taste, it’s incredibly rewarding to nurture something from seed to table. Plus, let’s be honest, in today’s world, knowing where your food comes from is more important than ever. This DIY guide is packed with simple tricks and hacks that will empower even the most novice gardener to grow backyard turnips easily. We’ll cover everything from soil preparation to pest control, ensuring you have a bountiful harvest. So, grab your gardening gloves, and let’s get started on this exciting journey to fresh, homegrown turnips!
Grow Your Own Delicious Turnips: A Beginner’s Guide
Okay, so you want to grow turnips in your backyard? Awesome! Turnips are surprisingly easy to cultivate, even if you’re a complete newbie like I was when I started. They’re fast-growing, relatively pest-resistant, and the entire plant is edible – the root and the greens! This guide will walk you through everything you need to know to get a bountiful harvest.
Choosing the Right Turnip Variety
First things first, let’s talk about turnip varieties. There are tons of options, each with slightly different characteristics. Here are a few popular choices:
* Purple Top White Globe: This is a classic, reliable variety. It’s known for its mild flavor and smooth, white flesh with a purple top. It’s a great all-around choice.
* Tokyo Cross: If you’re looking for a super-fast grower, Tokyo Cross is your friend. It matures in just about 35 days and has a delicate, sweet flavor. Perfect for early harvests!
* Golden Ball: As the name suggests, this turnip has a beautiful golden-yellow flesh. It’s known for its sweet and mild flavor, making it a favorite for eating raw or cooked.
* Hakurei: This Japanese turnip is incredibly tender and mild. It’s often eaten raw in salads and is ready to harvest in about 30 days.
Consider your climate and taste preferences when choosing a variety. I personally love the Purple Top White Globe for its versatility, but experiment and see what works best for you!
Preparing Your Garden Bed
Turnips aren’t too picky, but they do appreciate well-drained soil. Here’s how to get your garden bed ready:
* Sunlight: Turnips need at least 6 hours of sunlight per day. Choose a spot in your garden that gets plenty of sunshine.
* Soil: Loosen the soil to a depth of at least 12 inches. Turnips need room to grow their roots!
* Amendments: Incorporate plenty of compost or well-rotted manure into the soil. This will improve drainage and provide essential nutrients. Turnips prefer a slightly acidic soil pH (around 6.0 to 6.5). You can test your soil pH with a simple kit from your local garden center. If your soil is too alkaline, you can amend it with sulfur.
* Remove Rocks and Debris: Clear the area of any rocks, roots, or other debris that could hinder root growth.
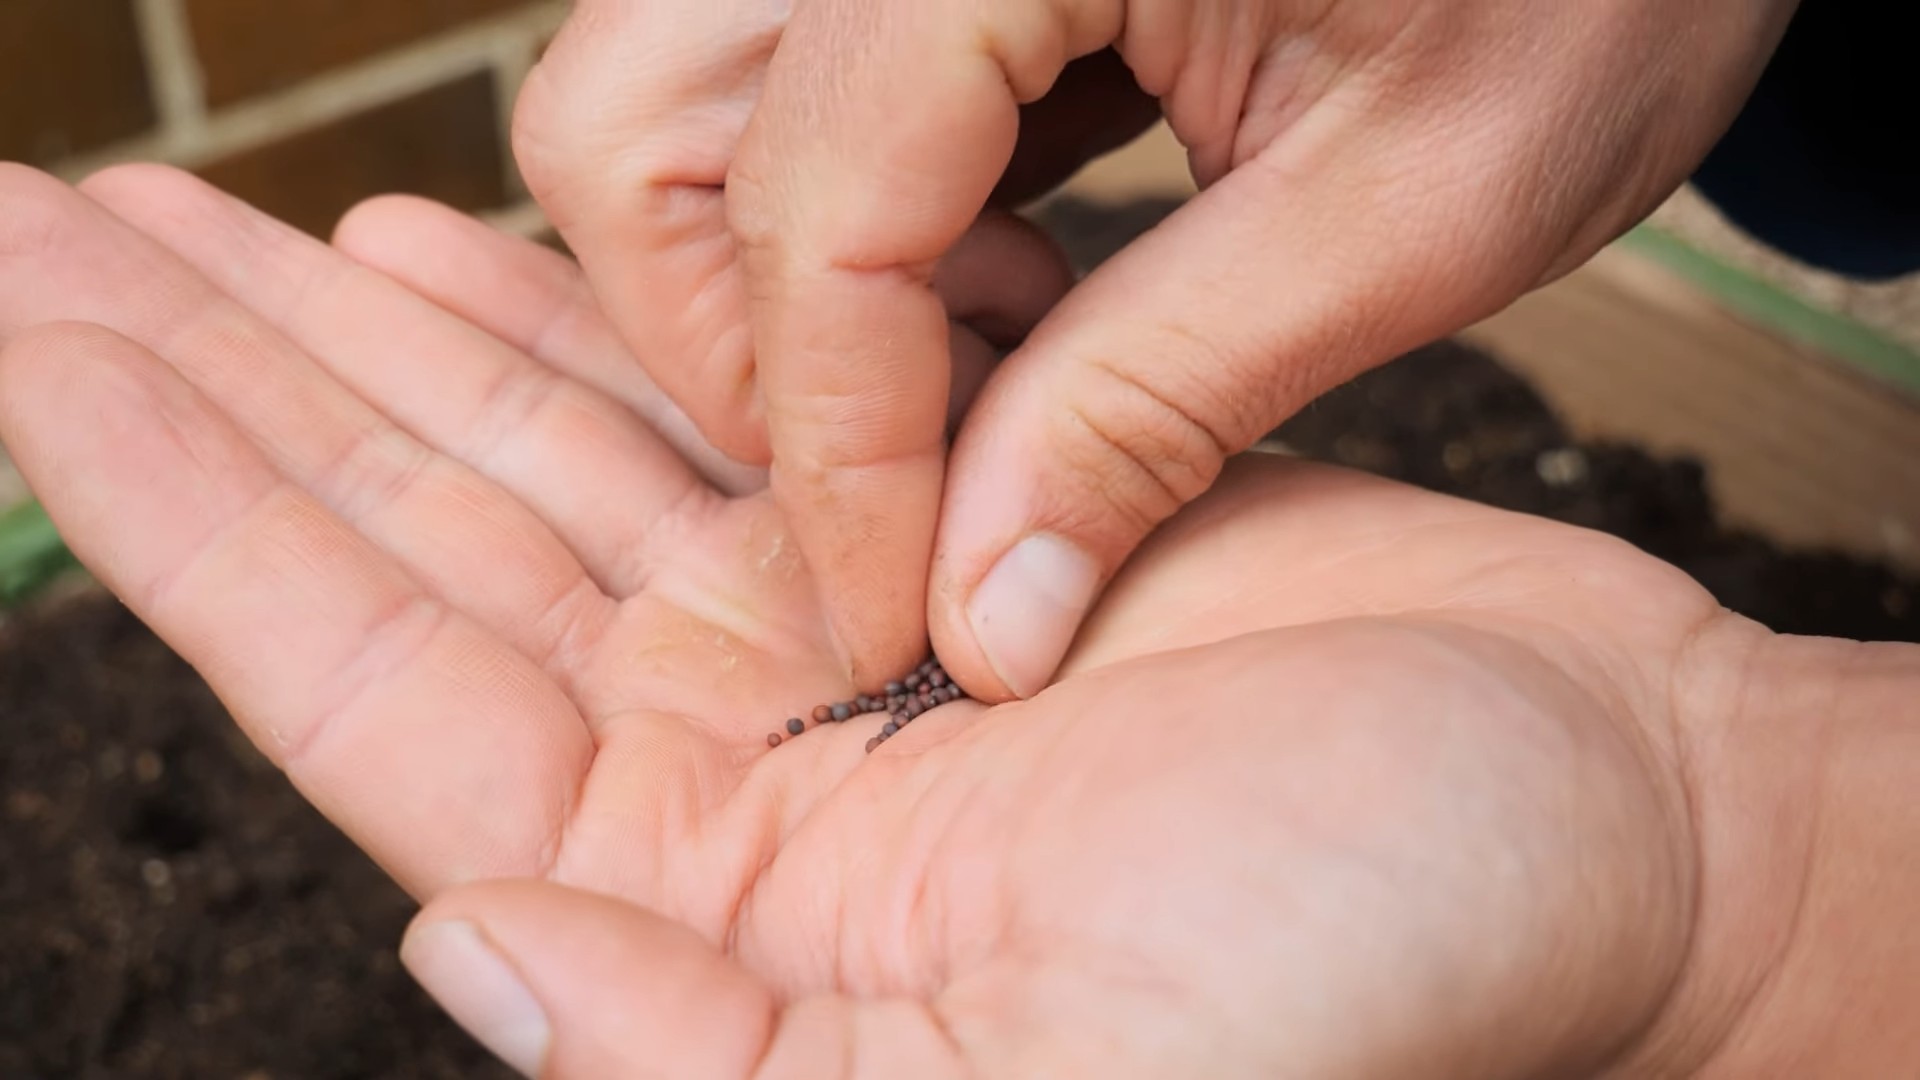
Planting Your Turnip Seeds
Timing is key when planting turnips. They thrive in cool weather, so you’ll want to plant them in early spring or late summer/early fall.
* Timing: For a spring crop, plant your seeds 4-6 weeks before the last expected frost. For a fall crop, plant them 6-8 weeks before the first expected frost.
* Spacing: Sow seeds about 1/2 inch deep and 1 inch apart in rows that are 12-18 inches apart.
* Thinning: Once the seedlings emerge (usually in about 5-7 days), thin them to 3-4 inches apart. This will give the turnips enough room to develop properly. Don’t throw away the thinnings! You can eat the young greens in salads.
* Watering: Water the seeds gently after planting and keep the soil consistently moist until the seedlings emerge.
Caring for Your Turnip Plants
Turnips are relatively low-maintenance, but here are a few things you can do to keep them happy and healthy:
* Watering: Water regularly, especially during dry spells. Turnips need consistent moisture to prevent them from becoming tough and bitter. Aim for about 1 inch of water per week.
* Weeding: Keep the garden bed free of weeds. Weeds compete with turnips for nutrients and water. Hand-pull weeds carefully to avoid disturbing the turnip roots.
* Fertilizing: If your soil is poor, you can side-dress your turnips with a balanced fertilizer a few weeks after they emerge. Follow the instructions on the fertilizer package. I usually use a liquid seaweed fertilizer diluted in water.
* Pest Control: Turnips are generally pest-resistant, but they can be susceptible to flea beetles and aphids. Check your plants regularly for signs of infestation. If you spot pests, you can try spraying them with insecticidal soap or neem oil. I prefer organic solutions whenever possible.
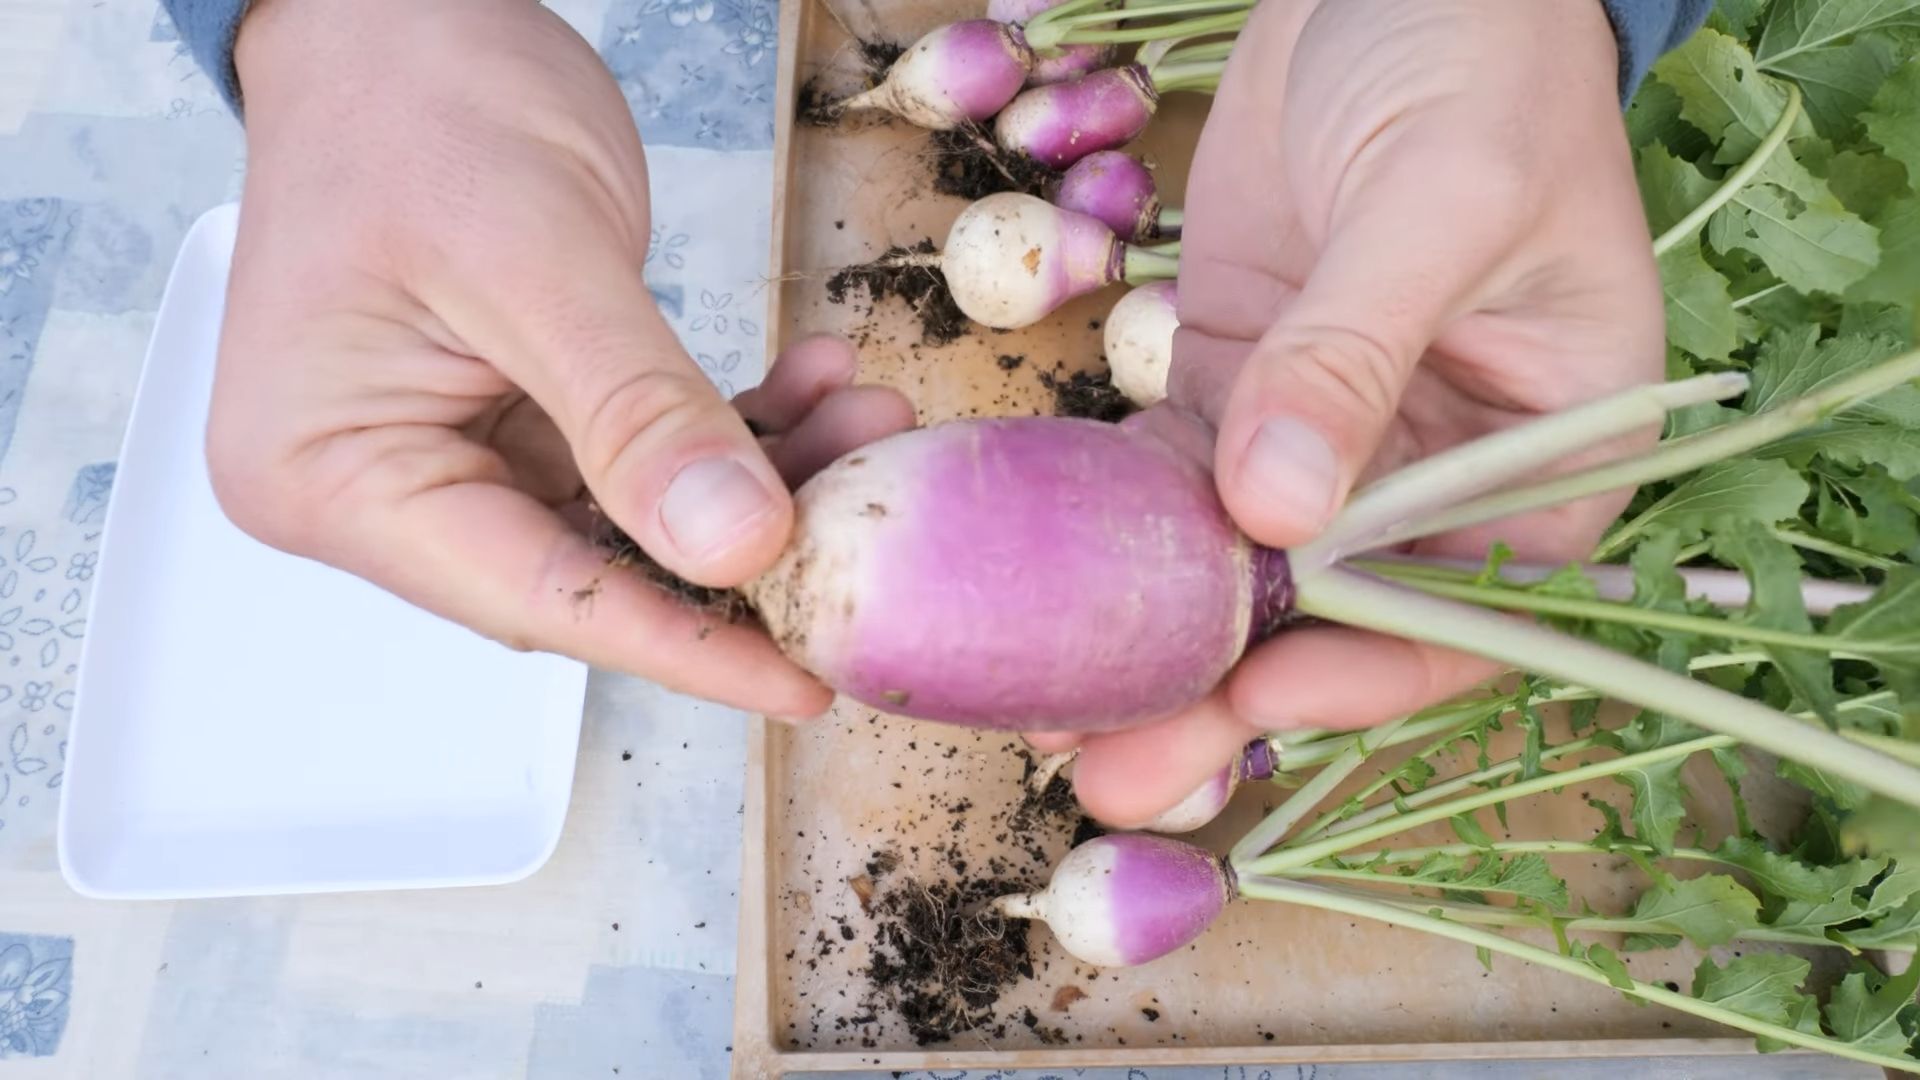
Harvesting Your Turnips
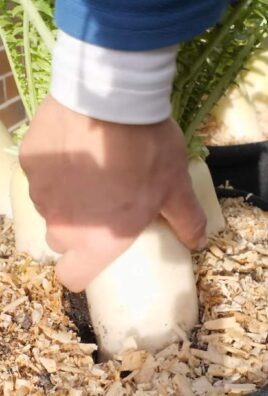
The best part! Turnips are ready to harvest when the roots are about 2-3 inches in diameter. This usually takes about 50-60 days, depending on the variety.
* Harvesting the Roots: Gently loosen the soil around the turnip with a garden fork or trowel. Then, grasp the greens near the base of the turnip and pull it straight up.
* Harvesting the Greens: You can harvest turnip greens at any time. Simply cut off the outer leaves, leaving the inner leaves to continue growing. The younger leaves are more tender and flavorful.
* Storage: Store turnips in a cool, dark place, such as a root cellar or refrigerator. Cut off the greens before storing, as they will draw moisture from the roots. Turnips can last for several months if stored properly. The greens should be used within a few days.
Troubleshooting Common Turnip Problems
Even with the best care, you might encounter a few problems along the way. Here are some common issues and how to address them:
* Bitter Turnips: Bitter turnips are often caused by inconsistent watering or hot weather. Make sure to water your turnips regularly and provide shade during the hottest part of the day.
* Small Turnips: Small turnips can be caused by overcrowding, poor soil, or lack of sunlight. Thin your seedlings properly, amend your soil with compost, and make sure your turnips are getting enough sunlight.
* Cracked Turnips: Cracked turnips are usually caused by uneven watering. Water your turnips consistently to prevent the soil from drying out and then becoming waterlogged.
* Pest Infestations: As mentioned earlier, flea beetles and aphids can be a problem. Monitor your plants regularly and take action promptly if you spot pests.
Step-by-Step Instructions: From Seed to Table
Let’s break down the entire process into easy-to-follow steps:
1. Choose Your Variety: Select a turnip variety that suits your climate and taste preferences.
2. Prepare Your Garden Bed: Find a sunny spot, loosen the soil, and amend it with compost.
3. Plant Your Seeds: Sow seeds 1/2 inch deep and 1 inch apart in rows 12-18 inches apart.
4. Water Regularly: Keep the soil consistently moist until the seedlings emerge.
5. Thin Seedlings: Thin to 3-4 inches apart once the seedlings have a few leaves.
6. Weed Regularly: Keep the garden bed free of weeds.
7. Fertilize (Optional): Side-dress with a balanced fertilizer if your soil is poor.
8. Monitor for Pests: Check your plants regularly for signs of infestation.
9. Harvest Your Turnips: Harvest when the roots are 2-3 inches in diameter.
10. Enjoy Your Harvest: Cook, roast, or eat your turnips raw!
Delicious Ways to Enjoy Your Homegrown Turnips
Now that you’ve grown your own turnips, it’s time to enjoy them! Here are a few of my favorite ways to prepare them:
* Roasted Turnips: Toss turnip cubes with olive oil, salt, pepper, and your favorite herbs (rosemary and thyme are great choices). Roast at 400°F (200°C) for 20-25 minutes, or until tender and slightly browned.
* Mashed Turnips: Boil turnip cubes until tender. Drain and mash with butter, milk, salt, and pepper. You can also add other vegetables, such as potatoes or carrots.
* Turnip Greens: Sauté turnip greens with garlic, olive oil, and a pinch of red pepper flakes. They’re delicious as a side dish or added to soups and stews.
* Turnip Soup: Make a creamy turnip soup with chicken broth, cream, and your favorite seasonings.
* Raw Turnips: Thinly slice raw turnips and add them to salads or slaws. They have a crisp, refreshing flavor.
Growing your own turnips is a rewarding experience. With a little bit of effort, you can enjoy fresh, delicious turnips from your own backyard. Happy gardening!
Conclusion
So, there you have it! Growing backyard turnips easily is not only achievable, but it’s also incredibly rewarding. From the crisp, peppery bite of the roots to the nutritious and delicious greens, turnips offer a double harvest that’s hard to beat. We’ve walked you through the simple steps, from selecting the right variety and preparing your soil to planting, nurturing, and harvesting your very own crop of these versatile vegetables.
But why is this DIY trick a must-try? Because it puts you in control of your food source. You know exactly what went into growing your turnips – no harmful pesticides, no mysterious additives, just good old-fashioned sunshine, water, and care. Plus, the flavor of homegrown turnips is simply unparalleled. They’re fresher, more vibrant, and bursting with a taste that you just can’t find in store-bought varieties.
And the best part? It’s adaptable! Feel free to experiment with different varieties of turnips. Try the classic Purple Top White Globe for its mild flavor and large roots, or go for the smaller, more delicate Tokyo Cross for a quicker harvest. You can even succession plant your turnips, sowing seeds every few weeks, to ensure a continuous supply throughout the growing season.
Consider companion planting your turnips with other vegetables like radishes or carrots. Radishes can help break up the soil and deter pests, while carrots can help improve soil drainage. You can also use the turnip greens as a natural fertilizer by chopping them up and adding them to your compost pile.
Don’t be afraid to get creative in the kitchen, too! Turnips are incredibly versatile and can be used in a variety of dishes. Roast them with other root vegetables for a hearty side dish, mash them with potatoes for a creamy and flavorful alternative, or add them to soups and stews for a boost of nutrition. The greens can be sautéed, steamed, or added to salads for a peppery kick.
Growing your own turnips is also a fantastic way to connect with nature and learn more about the food you eat. It’s a relaxing and fulfilling activity that can be enjoyed by people of all ages. Plus, it’s a great way to save money on groceries and reduce your environmental impact.
So, what are you waiting for? Grab some turnip seeds, prepare your garden bed, and get ready to experience the joy of growing your own food. We’re confident that you’ll be amazed at how easy and rewarding it is to grow backyard turnips easily.
We encourage you to try this DIY trick and share your experience with us! Let us know what varieties you planted, what challenges you faced, and what delicious dishes you created with your homegrown turnips. Share your photos and stories on social media using #BackyardTurnips and let’s inspire others to get growing! We can’t wait to hear about your success!
FAQ
What is the best time of year to plant turnips?
Turnips are a cool-season crop, meaning they thrive in cooler temperatures. The best time to plant turnips is in the late summer or early fall for a fall harvest. This allows them to mature before the ground freezes. You can also plant them in early spring for a spring harvest, but be sure to plant them early enough so they can mature before the weather gets too hot. Hot weather can cause the roots to become tough and bitter. In most regions, you can plant turnips about 4-6 weeks before the first expected frost in the fall or as soon as the ground can be worked in the spring.
How much sunlight do turnips need?
Turnips need at least 6 hours of sunlight per day to grow properly. Choose a location in your garden that receives full sun for the best results. If you live in a particularly hot climate, some afternoon shade can be beneficial to prevent the roots from becoming too bitter.
What type of soil is best for growing turnips?
Turnips prefer well-drained soil that is rich in organic matter. Before planting, amend your soil with compost or other organic material to improve its fertility and drainage. The ideal soil pH for turnips is between 6.0 and 6.8. If your soil is too acidic, you can add lime to raise the pH.
How often should I water my turnips?
Turnips need consistent moisture to grow properly. Water them regularly, especially during dry periods. Aim to keep the soil consistently moist, but not waterlogged. Overwatering can lead to root rot. A good rule of thumb is to water deeply once or twice a week, depending on the weather conditions.
How do I know when my turnips are ready to harvest?
Turnips are typically ready to harvest about 50-60 days after planting. The size of the roots will vary depending on the variety, but generally, you can harvest them when they are about 2-3 inches in diameter. You can also harvest the greens at any time, but they are most tender when they are young. To harvest the roots, gently loosen the soil around the turnip and pull it out of the ground.
What are some common pests and diseases that affect turnips?
Some common pests that can affect turnips include aphids, flea beetles, and root maggots. Diseases that can affect turnips include clubroot and powdery mildew. To prevent pests and diseases, practice good garden hygiene, such as removing weeds and debris from your garden. You can also use organic pest control methods, such as insecticidal soap or neem oil, to control pests.
Can I eat the turnip greens?
Yes, turnip greens are edible and nutritious! They are a good source of vitamins A, C, and K, as well as calcium and fiber. You can eat them raw in salads or cook them like spinach or kale. They have a slightly peppery flavor that pairs well with garlic, olive oil, and lemon juice.
How do I store turnips after harvesting?
To store turnips, remove the greens and wash the roots thoroughly. Store them in a cool, dark, and humid place, such as a refrigerator or root cellar. They can last for several months if stored properly. You can also freeze turnip greens for later use. Blanch them in boiling water for a few minutes, then cool them in ice water before freezing.
Can I grow turnips in containers?
Yes, you can grow turnips in containers, but you will need to choose a large enough container to accommodate the roots. A container that is at least 12 inches deep and 12 inches wide is recommended. Use a well-draining potting mix and water regularly.
Are there any companion plants that are beneficial for turnips?
Yes, some companion plants that are beneficial for turnips include radishes, carrots, and onions. Radishes can help break up the soil and deter pests, while carrots can help improve soil drainage. Onions can help repel pests and diseases. Avoid planting turnips near members of the cabbage family, such as broccoli and cauliflower, as they can attract the same pests and diseases.

Leave a Comment