
Grow Heirloom Tomatoes Indoors? Absolutely! Imagine biting into a juicy, sun-ripened heirloom tomato in the dead of winter, a burst of summer flavor when you need it most. Sounds like a dream, right? Well, it doesn’t have to be! For centuries, gardeners have sought ways to extend the growing season, and while greenhouses were once the domain of the wealthy, modern DIY techniques now allow us to bring the garden indoors, no matter the season.
The allure of heirloom tomatoes lies not just in their incredible taste, but also in their history. These are the varieties our grandparents and great-grandparents grew, passed down through generations, each with a unique story and flavor profile lost to mass-produced hybrids. But, let’s face it, waiting for the perfect outdoor conditions can be frustrating, especially if you live in a region with a short growing season. That’s where this DIY guide comes in!
I’m going to share some simple, effective tricks to help you grow heirloom tomatoes indoors, regardless of your experience level. We’ll cover everything from choosing the right varieties and providing adequate light to ensuring proper pollination and preventing common indoor gardening problems. Think of it as your personal roadmap to a year-round supply of delicious, homegrown heirloom tomatoes. Get ready to ditch those bland, store-bought tomatoes and experience the true taste of summer, anytime you want!
Growing Heirloom Tomatoes Indoors: A Gardener’s Guide
Hey there, fellow gardening enthusiasts! Ever dreamt of biting into a juicy, sun-ripened heirloom tomato in the dead of winter? Well, dream no more! I’m here to guide you through the wonderful world of growing heirloom tomatoes indoors. It might seem daunting, but trust me, with a little patience and the right setup, you can enjoy these flavorful beauties year-round.
Choosing the Right Heirloom Variety
First things first, not all heirloom tomatoes are created equal when it comes to indoor growing. Some varieties are simply too large and sprawling for a confined space. Here’s what I recommend considering:
* Compact Varieties: Look for “determinate” or “bush” varieties. These tend to stay smaller and more manageable. Some great options include Roma, Patio, and Tiny Tim.
* Early Maturing: Since we’re growing indoors, we want tomatoes that ripen relatively quickly. Varieties like Early Girl (though technically a hybrid, it’s often grown like an heirloom) or Stupice are good choices.
* Disease Resistance: Indoor environments can sometimes be prone to fungal diseases. Choosing varieties with some disease resistance can save you a lot of headaches. Look for varieties labeled with letters like V (Verticillium wilt), F (Fusarium wilt), N (Nematodes), or T (Tobacco Mosaic Virus).
* Flavor Preference: Ultimately, you want to grow tomatoes you’ll enjoy eating! Do some research and read reviews to find varieties with flavor profiles that appeal to you. Black Krim, Cherokee Purple, and Brandywine (though Brandywine can be a bit finicky indoors) are popular choices, but experiment to find your favorites!
Gathering Your Supplies
Before we get our hands dirty, let’s make sure we have everything we need. Here’s a checklist:
* Tomato Seeds: Obviously! Make sure they’re from a reputable source and are labeled as heirloom.
* Seed Starting Trays or Pots: I prefer using seed starting trays with individual cells. They make transplanting much easier.
* Seed Starting Mix: This is a light, sterile mix specifically designed for starting seeds. Don’t use regular potting soil!
* Potting Soil: Once the seedlings are ready to be transplanted, you’ll need a good quality potting soil.
* Grow Lights: This is crucial for indoor tomato growing. Tomatoes need a lot of light to thrive. I recommend LED grow lights, as they’re energy-efficient and provide a good spectrum of light.
* Pots: Choose pots that are at least 5 gallons in size for each tomato plant. Larger is better!
* Fertilizer: A balanced fertilizer specifically formulated for tomatoes.
* Watering Can or Spray Bottle: For gentle watering.
* Plant Labels: To keep track of your different varieties.
* Small Fan: To provide air circulation and prevent fungal diseases.
* Optional: Heat mat (to speed up germination), humidity dome (to retain moisture), stakes or cages (for support).
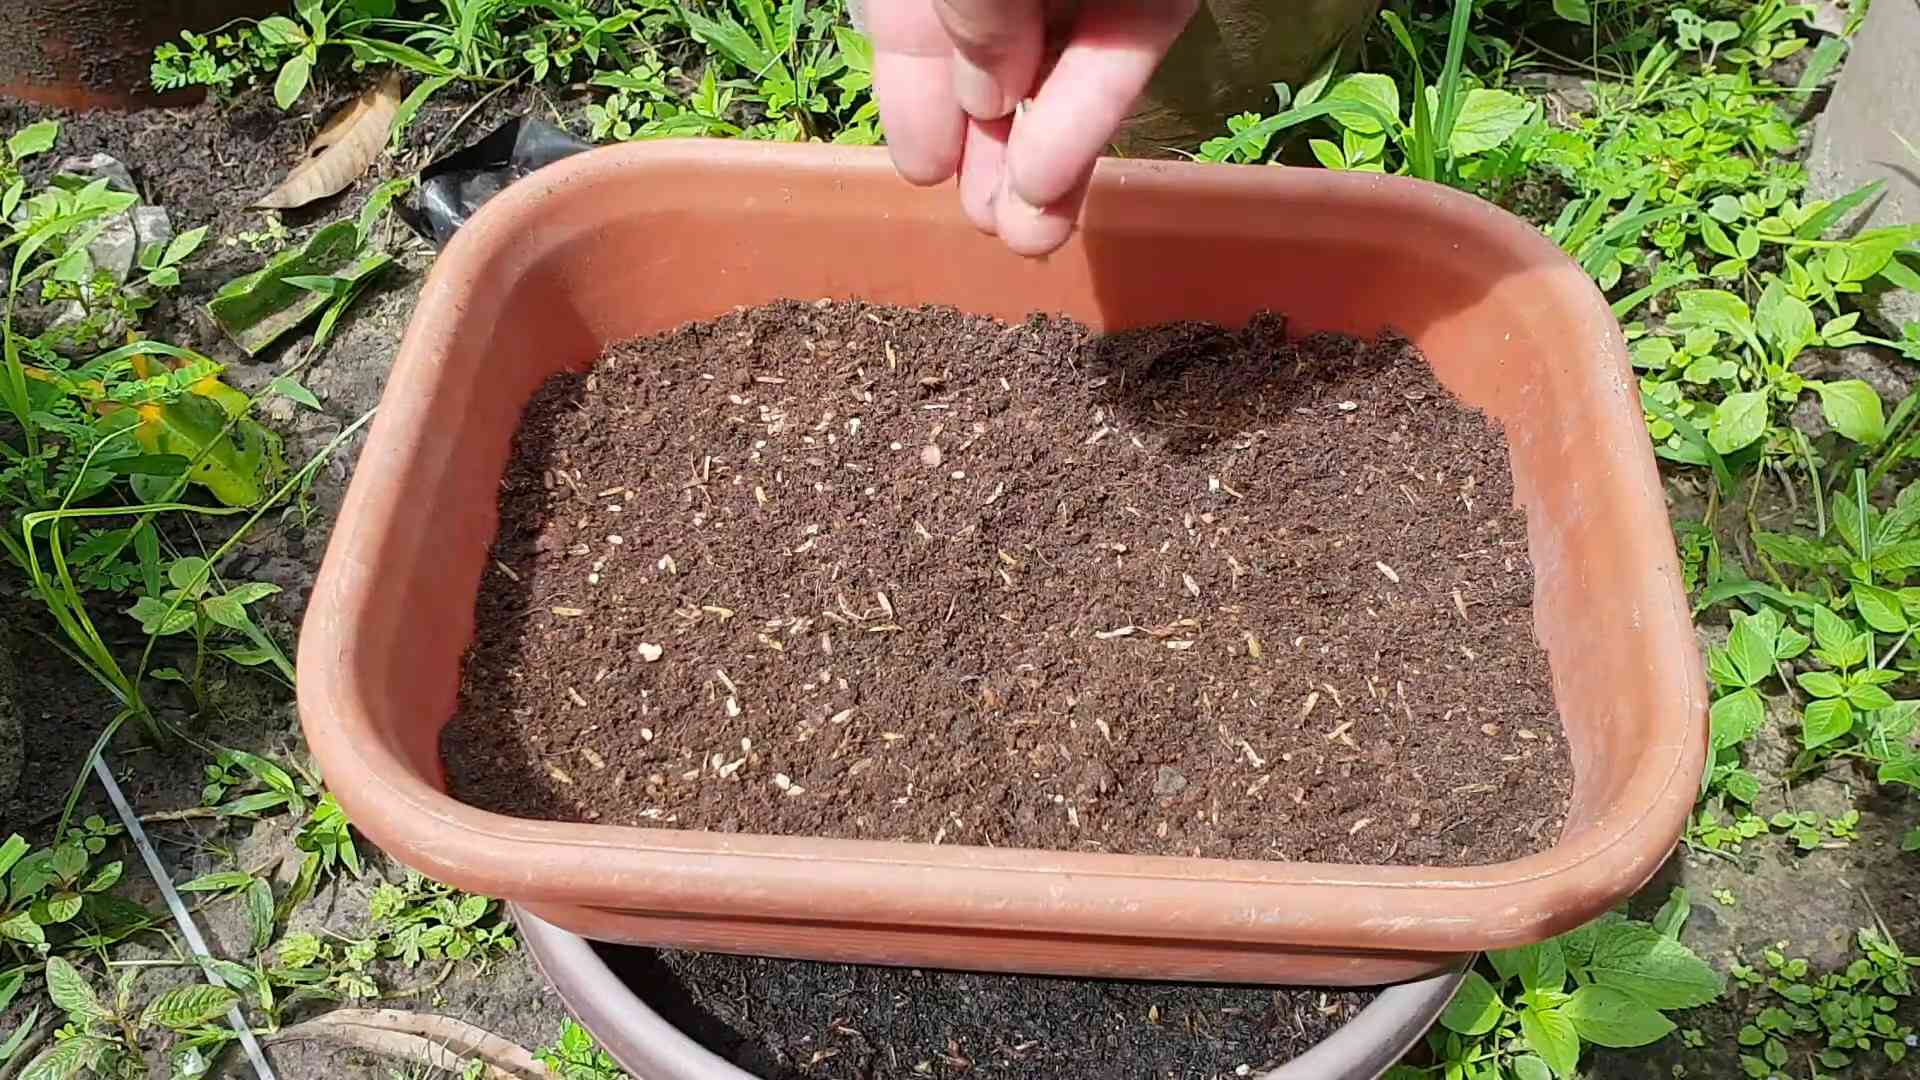
Starting Your Seeds
Now for the fun part! Let’s get those seeds germinating.
1. Prepare Your Seed Starting Trays: Fill each cell of your seed starting tray with seed starting mix. Gently tap the tray to settle the mix.
2. Sow the Seeds: Make a small indentation (about 1/4 inch deep) in the center of each cell. Place 2-3 seeds in each indentation. This increases your chances of at least one seed germinating.
3. Cover the Seeds: Gently cover the seeds with more seed starting mix.
4. Water Thoroughly: Use a spray bottle to gently moisten the soil. You want it to be damp, but not soggy.
5. Provide Warmth: Place the seed starting tray on a heat mat (optional) and cover it with a humidity dome (optional). This will help to create a warm, humid environment that’s ideal for germination.
6. Place Under Grow Lights: Position your grow lights about 2-4 inches above the seed starting tray.
7. Monitor and Water: Check the soil moisture daily. Keep the soil consistently moist, but not waterlogged. Water as needed.
8. Wait for Germination: Tomato seeds typically germinate in 5-10 days. Once the seedlings emerge, remove the humidity dome and continue to provide light and water.
Transplanting Your Seedlings
Once your seedlings have developed their first set of true leaves (the leaves that look like miniature tomato leaves, not the initial seed leaves), it’s time to transplant them into larger pots.
1. Prepare Your Pots: Fill your pots (at least 5 gallons in size) with potting soil.
2. Gently Remove Seedlings: Carefully remove the seedlings from the seed starting tray. Be gentle to avoid damaging the roots. I like to use a small spoon or fork to help lift them out.
3. Plant the Seedlings: Make a hole in the center of the potting soil large enough to accommodate the seedling’s root ball. Place the seedling in the hole and gently backfill with potting soil. You can bury the stem up to the first set of leaves. This will encourage the plant to develop more roots along the buried stem.
4. Water Thoroughly: Water the newly transplanted seedlings thoroughly.
5. Place Under Grow Lights: Return the pots to their position under the grow lights.
Caring for Your Indoor Tomato Plants
Now that your seedlings are transplanted, it’s time to provide them with the care they need to thrive.
1. Light: Tomatoes need at least 14-16 hours of light per day. Keep your grow lights on for this duration. Adjust the height of the lights as the plants grow to maintain the optimal distance (usually 2-4 inches above the top of the plant).
2. Watering: Water your tomato plants regularly, but don’t overwater. Allow the top inch of soil to dry out between waterings. When you water, water deeply, until water drains out of the bottom of the pot.
3. Fertilizing: Fertilize your tomato plants every 2-3 weeks with a balanced tomato fertilizer. Follow the instructions on the fertilizer label.
4. Air Circulation: Good air circulation is essential for preventing fungal diseases. Place a small fan near your tomato plants to provide gentle air movement.
5. Pollination: Since there are no bees or other pollinators indoors, you’ll need to hand-pollinate your tomato plants. This is easy to do. Simply use a small paintbrush or cotton swab to transfer pollen from one flower to another. You can also gently shake the plants to help release pollen. I usually do this every day or two.
6. Pruning: Prune your tomato plants regularly to remove suckers (the small shoots that grow between the main stem and the branches). This will help to improve air circulation and encourage fruit production.
7. Support: As your tomato plants grow, they’ll need support. Use stakes or cages to keep them upright.
8. Pest Control: Keep an eye out for pests like aphids, whiteflies, and spider mites. If you find any pests, treat them with an insecticidal soap or neem oil.
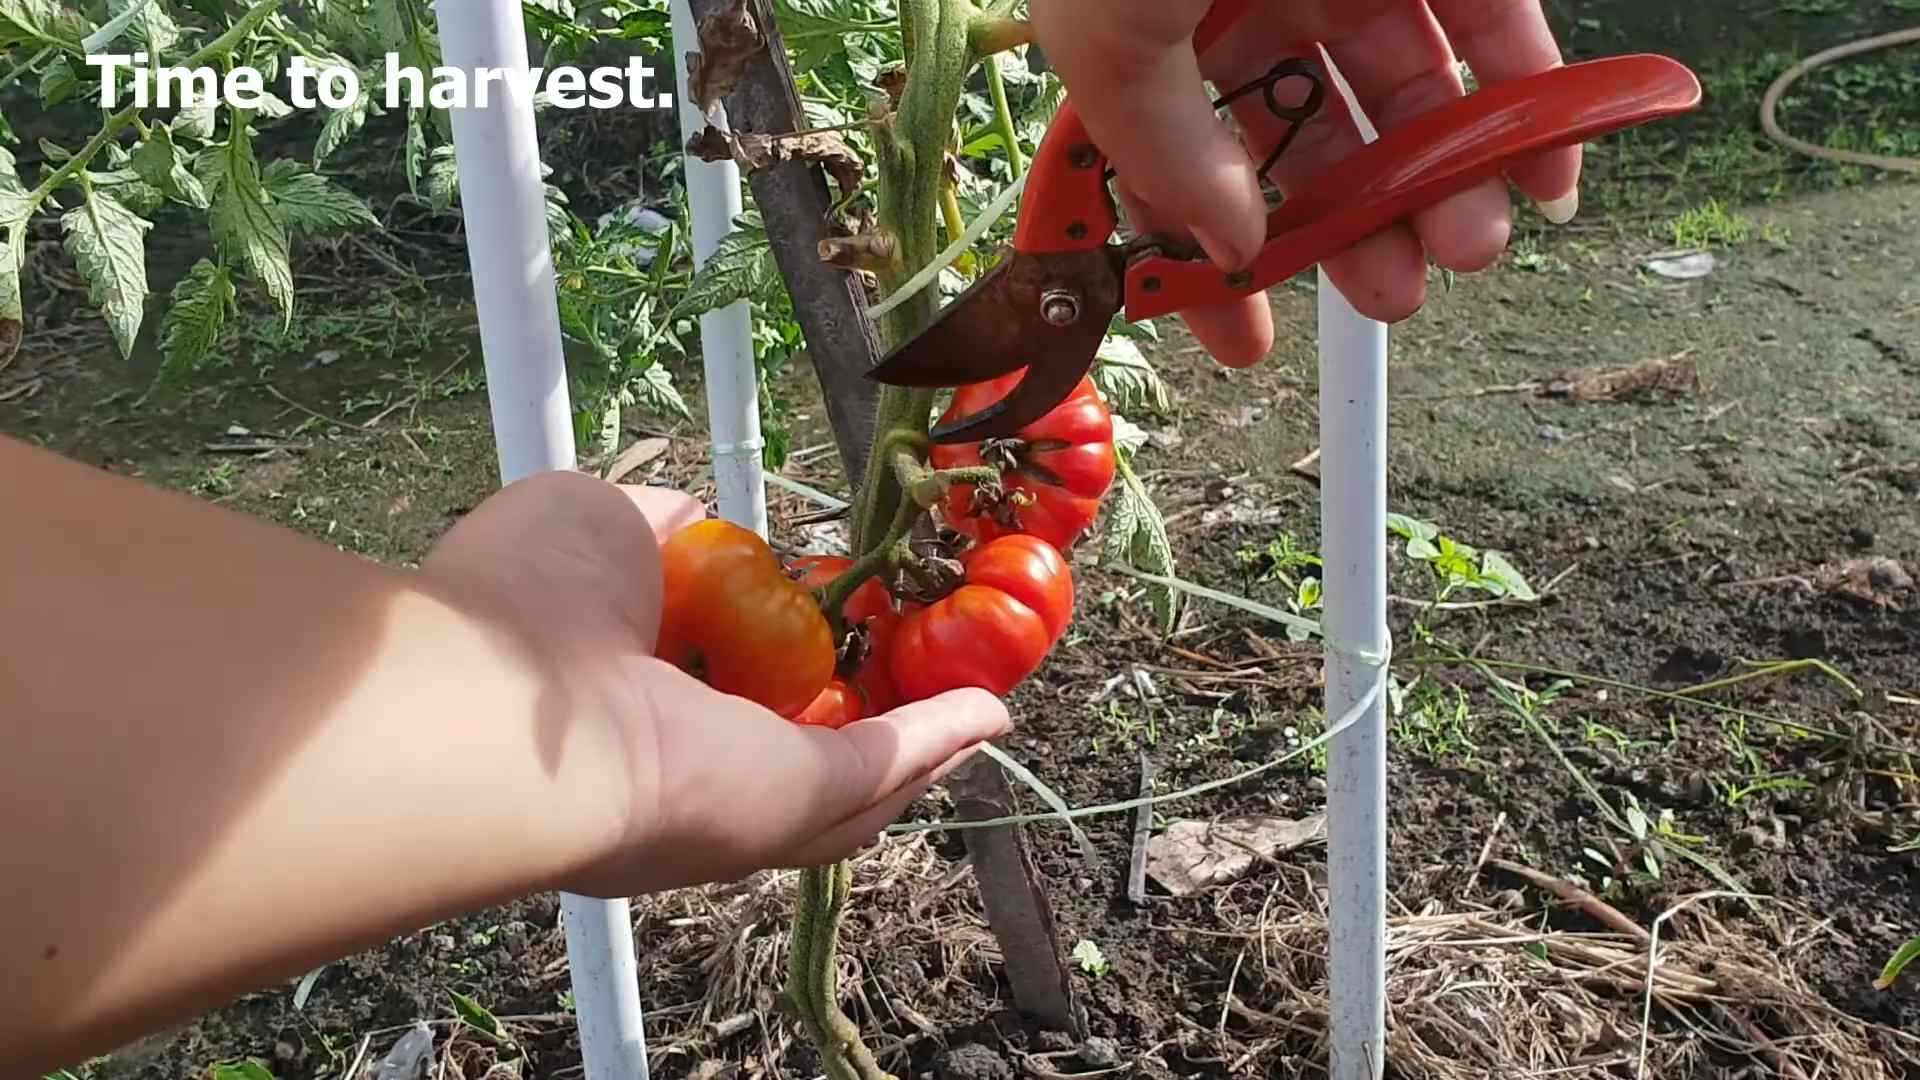
Harvesting Your Heirloom Tomatoes
The moment you’ve been waiting for! Harvesting your own homegrown heirloom tomatoes.
1. Watch for Ripening: Tomatoes are typically ready to harvest when they’re fully colored and slightly soft to the touch.
2. Gently Twist: Gently twist the tomato from the vine.
3. Enjoy! Savor the flavor of your homegrown heirloom tomatoes!
Troubleshooting Common Problems
Even with the best care, you might encounter some problems along the way. Here are a few common issues and how to address them:
* Leggy Seedlings: This is usually caused by insufficient light. Make sure your grow lights are close enough to the seedlings.
* Yellowing Leaves: This could be caused by overwatering, underwatering, or nutrient deficiencies. Check the soil moisture and adjust your watering accordingly. Fertilize your plants regularly.
* Blossom End Rot: This is caused by a calcium deficiency. Make sure your soil is well-drained and that you’re providing your plants with adequate calcium. You can add bone meal to the soil or use a calcium-rich fertilizer.
* Fungal Diseases: These are often caused by poor air circulation and high humidity. Provide good air circulation and avoid overwatering. You can also use a fungicide if necessary.
Enjoying the Fruits (or Vegetables!) of Your Labor
Growing heirloom tomatoes indoors can be a rewarding experience. There’s nothing quite like the taste of a fresh, homegrown tomato, especially when it’s one you’ve nurtured from seed to harvest. So, get started today and enjoy the deliciousness of heirloom tomatoes year-round! Happy gardening!
Conclusion
So, there you have it! Growing heirloom tomatoes indoors might seem like a daunting task, but with a little patience, the right setup, and these simple DIY tricks, you can enjoy the unparalleled flavor of these garden treasures year-round. Forget those bland, mass-produced supermarket tomatoes; imagine biting into a juicy, sun-ripened Brandywine or Cherokee Purple, bursting with flavor, all thanks to your own indoor garden.
This isn’t just about having fresh tomatoes; it’s about reconnecting with the origins of our food, preserving biodiversity, and experiencing the satisfaction of nurturing something from seed to harvest. The unique characteristics of heirloom varieties – their vibrant colors, unusual shapes, and complex flavors – make them a truly special addition to any meal.
Why is this DIY approach a must-try? Because it empowers you to control the entire growing process, from seed selection to soil composition. You can tailor the environment to perfectly suit your chosen heirloom varieties, maximizing their potential and ensuring a bountiful harvest. Plus, it’s a fantastic way to extend the growing season, allowing you to enjoy fresh, homegrown tomatoes even in the dead of winter.
Looking for variations? Consider experimenting with different lighting setups. While we’ve focused on LED grow lights, you could also explore high-pressure sodium (HPS) or metal halide (MH) lights, although these tend to generate more heat. Another variation is to try different hydroponic systems for growing your heirloom tomatoes indoors. Hydroponics can accelerate growth and reduce the risk of soilborne diseases. You can also experiment with different pruning techniques to maximize fruit production. Some growers prefer to prune heavily, removing suckers and excess foliage, while others opt for a more hands-off approach.
Don’t be afraid to get creative with your support systems. While tomato cages are a classic choice, you could also use stakes, trellises, or even hanging baskets, depending on the size and growth habit of your chosen varieties. And remember to adjust your watering and fertilizing schedule based on the specific needs of your plants.
We encourage you to embrace the challenge and embark on your own indoor heirloom tomato growing adventure. The rewards are well worth the effort. The taste of a homegrown heirloom tomato is simply unmatched, and the satisfaction of knowing you grew it yourself is priceless.
Now, we want to hear from you! Try these DIY tricks for growing heirloom tomatoes indoors and share your experiences in the comments below. What varieties are you growing? What challenges have you faced? What successes have you celebrated? Your insights can help other aspiring indoor gardeners and contribute to a thriving community of heirloom tomato enthusiasts. Let’s grow together!
Frequently Asked Questions (FAQ)
What are the best heirloom tomato varieties to grow indoors?
Choosing the right variety is crucial for success when growing heirloom tomatoes indoors. Smaller, determinate varieties tend to be more manageable in a confined space. Some excellent choices include:
* Roma: A classic paste tomato, perfect for sauces and canning. It’s relatively compact and productive.
* San Marzano: Another excellent paste tomato with a rich, sweet flavor. It’s slightly larger than Roma but still manageable indoors.
* Tiny Tim: A dwarf variety that produces small, cherry-sized tomatoes. It’s ideal for small spaces and containers.
* Patio: As the name suggests, this variety is well-suited for patios and containers. It produces medium-sized tomatoes with a good flavor.
* Black Cherry: A popular cherry tomato with a unique, smoky flavor. It’s relatively easy to grow and produces abundant yields.
Larger, indeterminate varieties like Brandywine or Cherokee Purple can also be grown indoors, but they require more space, support, and pruning.
How much light do heirloom tomatoes need indoors?
Heirloom tomatoes require a significant amount of light to thrive indoors. Aim for at least 14-16 hours of light per day. LED grow lights are an excellent choice because they provide the full spectrum of light needed for plant growth and are energy-efficient. Position the lights close to the plants (around 6-12 inches) and adjust the height as the plants grow. If you’re using natural light, supplement it with grow lights, especially during the winter months. Insufficient light can lead to leggy growth, weak stems, and poor fruit production.
What type of soil is best for growing heirloom tomatoes indoors?
A well-draining, nutrient-rich potting mix is essential for growing heirloom tomatoes indoors. Avoid using garden soil, as it can be too heavy and may contain pests or diseases. Look for a potting mix specifically formulated for vegetables or tomatoes. You can also create your own mix by combining equal parts of peat moss, perlite, and vermiculite. Adding compost or aged manure to the mix will provide additional nutrients. Ensure the soil pH is between 6.0 and 6.8 for optimal nutrient absorption.
How often should I water my indoor heirloom tomatoes?
Watering frequency depends on several factors, including the size of the pot, the type of soil, and the ambient temperature. Generally, you should water your heirloom tomatoes when the top inch of soil feels dry to the touch. Water deeply, until water drains out of the bottom of the pot. Avoid overwatering, as this can lead to root rot. During the fruiting stage, tomatoes may require more frequent watering.
What kind of fertilizer should I use for indoor heirloom tomatoes?
Heirloom tomatoes are heavy feeders and require regular fertilization. Use a balanced fertilizer with an NPK ratio (nitrogen, phosphorus, potassium) of around 10-10-10 or 14-14-14. Start fertilizing seedlings with a diluted solution once they have developed their first true leaves. As the plants grow, increase the concentration of the fertilizer according to the package directions. During the flowering and fruiting stages, switch to a fertilizer with a higher phosphorus content to promote fruit development. Organic fertilizers, such as fish emulsion or compost tea, are also excellent choices.
How do I pollinate my indoor heirloom tomatoes?
Tomatoes are self-pollinating, but they often require assistance to pollinate effectively indoors, where there are no wind or insects to help. You can hand-pollinate your tomatoes by gently shaking the plants or using a small brush to transfer pollen from one flower to another. Another option is to use a small fan to circulate air around the plants, which can help to distribute the pollen. Pollinating during the warmest part of the day, when the pollen is driest, is most effective.
How do I deal with pests and diseases on my indoor heirloom tomatoes?
Growing tomatoes indoors can help to minimize the risk of pests and diseases, but it’s still important to be vigilant. Regularly inspect your plants for signs of infestation or disease. Common pests include aphids, whiteflies, and spider mites. You can control these pests with insecticidal soap or neem oil. Diseases such as early blight and powdery mildew can be prevented by ensuring good air circulation and avoiding overwatering. If you notice signs of disease, remove the affected leaves and treat the plants with a fungicide.
How long does it take to grow heirloom tomatoes indoors?
The time it takes to grow heirloom tomatoes indoors depends on the variety, the growing conditions, and your level of care. Generally, it takes about 60-85 days from transplanting to harvest. Start seeds indoors 6-8 weeks before you plan to transplant them into larger containers. Provide adequate light, water, and nutrients, and be patient. The reward of enjoying fresh, homegrown heirloom tomatoes is well worth the wait.


Leave a Comment