
Grow Kailan Successfully, even if you think you don’t have a green thumb! Have you ever walked through a bustling Asian market, admiring the vibrant green stalks of Kailan, and wished you could recreate that freshness in your own kitchen? Well, you absolutely can! For centuries, Kailan, also known as Chinese kale, has been a staple in Asian cuisine, prized for its slightly sweet, earthy flavor and impressive nutritional benefits. From stir-fries to steamed dishes, this leafy green adds a delicious and healthy touch to any meal.
But here’s the thing: many people shy away from growing their own Kailan, assuming it’s too difficult or requires specialized knowledge. That’s where this DIY guide comes in! I’m here to show you that growing Kailan successfully at home is not only achievable but also incredibly rewarding. Imagine stepping into your backyard and harvesting fresh, organic Kailan whenever you need it. No more trips to the store, no more worrying about pesticides – just pure, homegrown goodness.
This article is packed with simple, easy-to-follow tricks and hacks that will empower you to cultivate a thriving Kailan patch, regardless of your gardening experience. We’ll cover everything from seed selection and soil preparation to pest control and harvesting techniques. So, let’s ditch the gardening myths and embark on this exciting journey to grow Kailan successfully in your very own backyard! Get ready to impress your friends and family with your newfound gardening skills and enjoy the delicious rewards of your labor.
Grow Kailan Successfully: A DIY Guide
Kailan, also known as Chinese kale or Chinese broccoli, is a delicious and nutritious leafy green that’s surprisingly easy to grow at home. I’ve been growing kailan in my backyard for years, and I’m excited to share my tips and tricks with you so you can enjoy fresh, homegrown kailan too! This guide will walk you through everything from seed starting to harvesting, ensuring you have a bountiful harvest.
Choosing the Right Kailan Variety
Before we dive into the nitty-gritty, let’s talk about kailan varieties. While most kailan looks similar, there are subtle differences in taste, leaf size, and growth habit. Here are a few popular options:
* Green Lance: This is a classic variety with thick, dark green leaves and a slightly bitter flavor. It’s a reliable choice for most climates.
* White Flowering Kailan: As the name suggests, this variety produces beautiful white flowers. The stems are tender and sweet, making it a favorite for stir-fries.
* Chinese Broccoli No. 1: This is a fast-growing variety with a mild flavor. It’s a great option if you’re looking for a quick harvest.
I personally prefer Green Lance because of its robust flavor, but feel free to experiment and find the variety that suits your taste.
Getting Started: Seed Starting or Direct Sowing
You have two options for starting your kailan: starting seeds indoors or direct sowing them in your garden. I usually start my seeds indoors to get a head start, especially if I’m planting in early spring.
Starting Seeds Indoors:
* When to Start: Start your seeds about 4-6 weeks before the last expected frost in your area.
* Materials You’ll Need:
* Seed starting trays or small pots
* Seed starting mix (a light, well-draining mix is essential)
* Kailan seeds
* Spray bottle
* Grow lights (optional, but highly recommended)
* Step-by-Step Instructions:
1. Prepare the Seed Starting Trays: Fill your seed starting trays or pots with seed starting mix. Gently tap the trays to settle the mix.
2. Sow the Seeds: Make a small indentation (about ¼ inch deep) in the center of each cell or pot. Place 2-3 kailan seeds in each indentation.
3. Cover the Seeds: Gently cover the seeds with seed starting mix.
4. Water the Seeds: Use a spray bottle to moisten the soil. Avoid overwatering, as this can lead to damping off (a fungal disease that affects seedlings).
5. Provide Light and Warmth: Place the trays in a warm location (around 70-75°F) with plenty of light. If you don’t have a sunny window, use grow lights. I usually keep my grow lights on for 14-16 hours a day.
6. Keep the Soil Moist: Check the soil moisture daily and water as needed. The soil should be consistently moist but not soggy.
7. Thin the Seedlings: Once the seedlings have developed their first true leaves (the leaves that appear after the initial seed leaves), thin them to one seedling per cell or pot. Choose the strongest, healthiest seedling and snip off the others at the soil line.
Direct Sowing:
* When to Sow: Direct sow your kailan seeds after the last expected frost in your area. You can also direct sow in late summer for a fall harvest.
* Materials You’ll Need:
* Prepared garden bed
* Kailan seeds
* Garden rake
* Watering can or hose
* Step-by-Step Instructions:
1. Prepare the Garden Bed: Choose a sunny location with well-drained soil. Amend the soil with compost or other organic matter to improve its fertility. Rake the soil to create a smooth surface.
2. Sow the Seeds: Sow the seeds about ½ inch deep and 1-2 inches apart in rows.
3. Cover the Seeds: Gently cover the seeds with soil.
4. Water the Seeds: Water the soil thoroughly.
5. Thin the Seedlings: Once the seedlings have emerged and have a few true leaves, thin them to 6-12 inches apart.
Transplanting Seedlings (If You Started Indoors)
Once your seedlings have developed several sets of true leaves and the weather has warmed up, it’s time to transplant them into your garden.
* When to Transplant: Transplant your seedlings after the last expected frost in your area. Choose a cloudy day to minimize transplant shock.
* Materials You’ll Need:
* Hardened-off seedlings
* Prepared garden bed
* Trowel
* Watering can or hose
* Step-by-Step Instructions:
1. Harden Off the Seedlings: Before transplanting, you need to harden off your seedlings. This process gradually acclimates them to outdoor conditions. Start by placing the seedlings outdoors in a sheltered location for a few hours each day, gradually increasing the amount of time they spend outdoors over the course of a week.
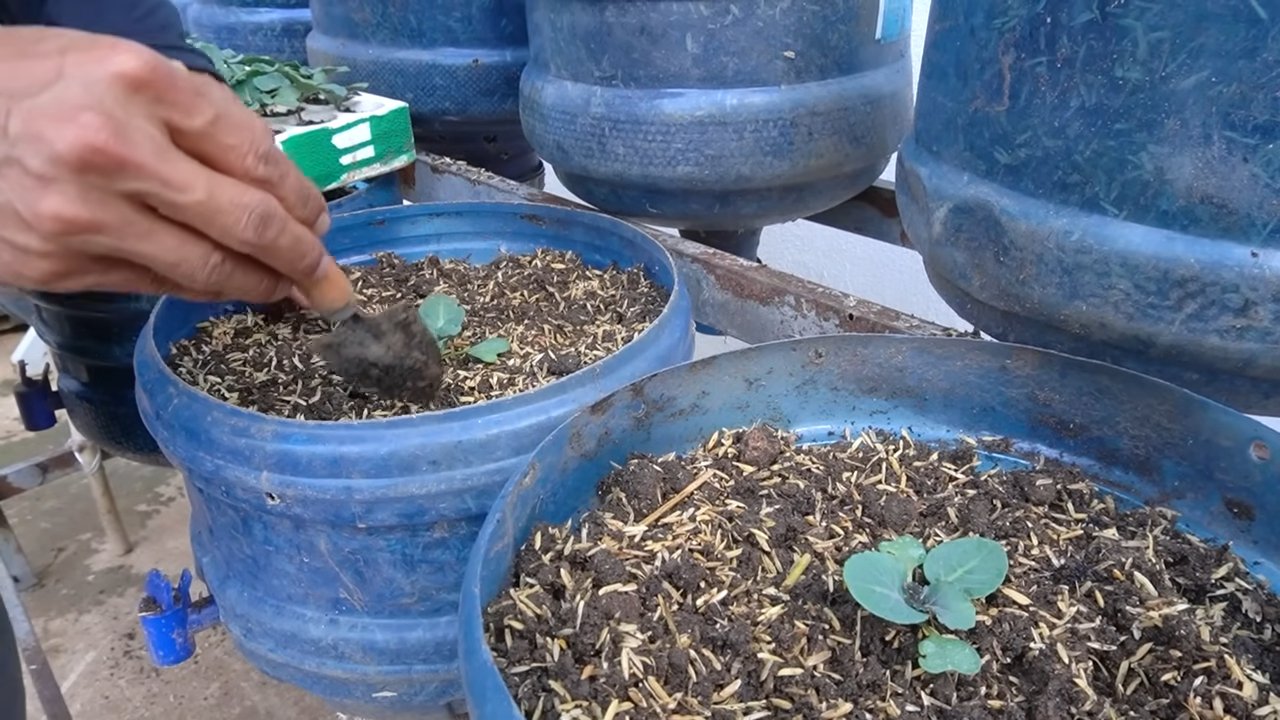
2. Prepare the Planting Holes: Dig holes in your prepared garden bed, spacing them 6-12 inches apart. The holes should be slightly larger than the root balls of the seedlings.
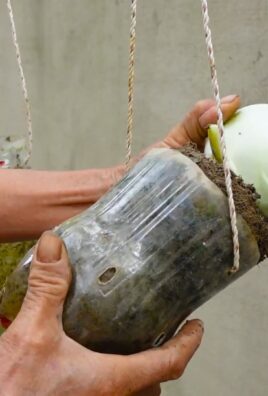
3. Remove the Seedlings from Their Containers: Gently remove the seedlings from their containers. If the roots are tightly bound, gently loosen them with your fingers.
4. Plant the Seedlings: Place the seedlings in the holes, making sure the top of the root ball is level with the soil surface.
5. Fill the Holes: Fill the holes with soil and gently firm the soil around the seedlings.
6. Water the Seedlings: Water the seedlings thoroughly.
Caring for Your Kailan Plants
Once your kailan plants are in the ground, it’s important to provide them with proper care to ensure a healthy and productive harvest.
* Sunlight: Kailan needs at least 6 hours of sunlight per day.
* Watering: Water your kailan plants regularly, especially during dry periods. Aim to keep the soil consistently moist but not soggy. I usually water deeply once or twice a week, depending on the weather.
* Fertilizing: Fertilize your kailan plants every 2-3 weeks with a balanced fertilizer. You can also amend the soil with compost or other organic matter. I like to use a liquid seaweed fertilizer, as it provides essential nutrients and helps to improve plant health.
* Weeding: Keep your garden bed free of weeds, as they can compete with your kailan plants for nutrients and water. I usually hand-weed my garden bed regularly.
* Pest Control: Kailan can be susceptible to pests such as aphids, cabbage worms, and flea beetles. Inspect your plants regularly for signs of pests and take action as needed. I like to use organic pest control methods, such as insecticidal soap or neem oil. You can also cover your plants with row covers to protect them from pests.
* Mulching: Mulch around your kailan plants to help retain moisture, suppress weeds, and regulate soil temperature. I like to use straw or wood chips as mulch.
Harvesting Your Kailan
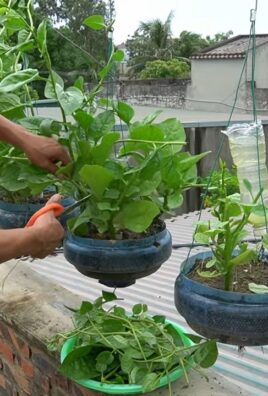
The best part of growing kailan is, of course, harvesting it! You can start harvesting your kailan leaves when they are about 6-8 inches long.
* When to Harvest: You can harvest kailan leaves continuously throughout the growing season. The plants will continue to produce new leaves as you harvest them.
* How to Harvest: Use a sharp knife or scissors to cut the leaves from the plant. Start with the outer leaves and work your way inwards. You can also harvest the entire plant by cutting it off at the base.
* Storing Your Harvest: Store your harvested kailan leaves in the refrigerator for up to a week. To keep them fresh, wrap them in a damp paper towel and place them in a plastic bag.
Enjoying Your Homegrown Kailan
Kailan is a versatile vegetable that can be used in a variety of dishes. Here are a few of my favorite ways to enjoy it:
* Stir-fries: Kailan is a classic ingredient in stir-fries. Simply chop it up and add it to your favorite stir-fry recipe.
* Steaming: Steaming kailan is a quick and easy way to cook it. Steam it for a few minutes until it’s tender-crisp.
* Boiling: Boiling kailan is another simple cooking method. Boil it for
Conclusion
So, there you have it! Growing your own Kailan isn’t just a gardening project; it’s an investment in fresh, flavorful, and nutritious meals. We’ve walked you through the simple yet effective steps to cultivate this leafy green right in your backyard or even in containers on your balcony. From selecting the right seeds to nurturing your plants with the proper care, you’re now equipped with the knowledge to achieve a bountiful harvest.
Why is this DIY trick a must-try? Because store-bought Kailan simply can’t compare to the vibrant taste and crisp texture of homegrown produce. You control the growing environment, ensuring your Kailan is free from harmful pesticides and packed with all the goodness nature intended. Plus, there’s an undeniable satisfaction in harvesting something you’ve nurtured from seed to table. It’s a rewarding experience that connects you to your food in a meaningful way.
But the journey doesn’t end here! Feel free to experiment with different varieties of Kailan. Some prefer the sweeter, more tender baby Kailan, while others enjoy the robust flavor of mature leaves. You can also explore companion planting to enhance growth and deter pests. Consider planting herbs like rosemary or thyme nearby, or even marigolds to keep those pesky insects away. Another variation is to try succession planting, sowing seeds every few weeks to ensure a continuous supply of fresh Kailan throughout the growing season.
Don’t be afraid to get your hands dirty and embrace the learning process. Gardening is all about experimentation and adapting to your specific environment. Observe your plants closely, adjust your watering and fertilizing schedule as needed, and don’t be discouraged by occasional setbacks. Every challenge is an opportunity to learn and improve your gardening skills.
We are confident that with a little patience and dedication, you’ll be enjoying delicious, homegrown Kailan in no time. So, grab your seeds, prepare your soil, and embark on this exciting gardening adventure. We encourage you to try this DIY trick and experience the joy of growing your own food.
And most importantly, we want to hear about your experience! Share your tips, successes, and challenges in the comments below. Let’s create a community of Kailan enthusiasts who can learn from each other and inspire others to embrace the joys of homegrown goodness. Show us your pictures of your thriving Kailan plants! Let’s spread the word about the benefits of growing your own food and encourage everyone to give it a try. Happy gardening!
Frequently Asked Questions (FAQ)
What is the best time of year to plant Kailan?
The best time to plant Kailan depends on your local climate. Generally, Kailan thrives in cooler weather, so the ideal planting times are early spring or late summer/early fall. In regions with mild winters, you can even grow Kailan throughout the winter months. Avoid planting during the hottest part of summer, as high temperatures can cause the plants to bolt (go to seed prematurely), resulting in bitter-tasting leaves. Check your local frost dates and aim to plant a few weeks before the last expected frost in spring or a few weeks after the first expected frost in fall.
How much sunlight does Kailan need?
Kailan requires at least 6 hours of direct sunlight per day to thrive. While it can tolerate some partial shade, especially during the hottest part of the day, insufficient sunlight can lead to leggy growth and reduced yields. If you’re growing Kailan indoors, supplement natural light with grow lights to ensure adequate illumination.
What type of soil is best for growing Kailan?
Kailan prefers well-drained, fertile soil that is rich in organic matter. The ideal soil pH is between 6.0 and 7.5. Before planting, amend your soil with compost, aged manure, or other organic materials to improve drainage, fertility, and water retention. If your soil is heavy clay, consider adding sand or perlite to improve drainage.
How often should I water my Kailan plants?
Water your Kailan plants regularly, especially during dry periods. Aim to keep the soil consistently moist but not waterlogged. Water deeply at the base of the plants, avoiding wetting the leaves, which can increase the risk of fungal diseases. The frequency of watering will depend on factors such as weather conditions, soil type, and plant size. Check the soil moisture regularly and water when the top inch feels dry to the touch.
What are some common pests and diseases that affect Kailan?
Kailan can be susceptible to various pests and diseases, including aphids, cabbage worms, flea beetles, and fungal diseases like downy mildew and clubroot. To prevent pest and disease problems, practice good garden hygiene, such as removing plant debris and weeds regularly. Inspect your plants frequently for signs of infestation or disease and take action promptly. Use organic pest control methods, such as insecticidal soap or neem oil, to control pests. Ensure good air circulation around your plants to prevent fungal diseases. Crop rotation can also help to reduce the risk of soilborne diseases.
How do I harvest Kailan?
You can begin harvesting Kailan leaves when they are about 6-8 inches long. Harvest the outer leaves first, leaving the inner leaves to continue growing. This allows you to enjoy a continuous harvest over several weeks. Use a sharp knife or scissors to cut the leaves cleanly from the stem. Avoid tearing the leaves, as this can damage the plant and make it more susceptible to disease.
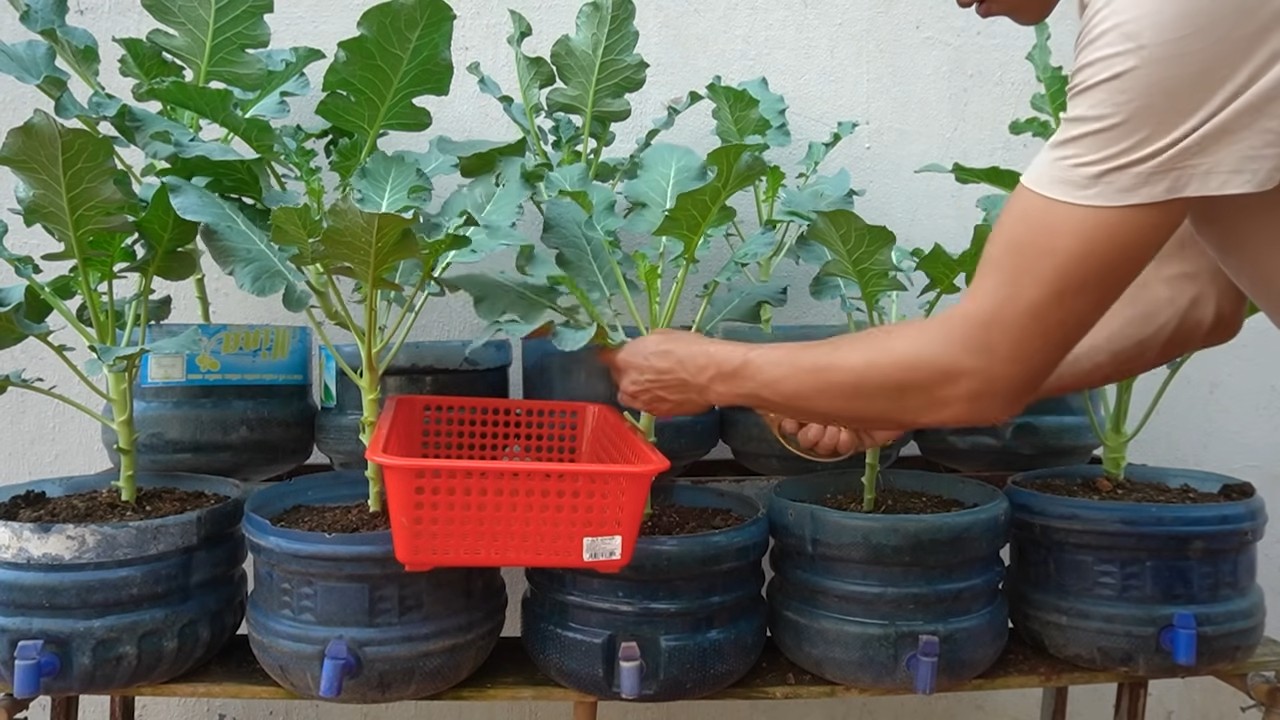
Can I grow Kailan in containers?
Yes, Kailan can be successfully grown in containers. Choose a container that is at least 12 inches deep and wide to provide ample space for the roots to grow. Use a high-quality potting mix that is well-draining and rich in organic matter. Ensure that the container has drainage holes to prevent waterlogging. Place the container in a sunny location that receives at least 6 hours of direct sunlight per day. Water regularly and fertilize every few weeks with a balanced fertilizer.
How do I store harvested Kailan?
To store harvested Kailan, wash the leaves thoroughly and pat them dry. Wrap the leaves in a damp paper towel and place them in a plastic bag or container in the refrigerator. Stored properly, Kailan can last for up to a week in the refrigerator.
Can I eat Kailan raw?
Yes, you can eat Kailan raw, especially the young, tender leaves. Raw Kailan has a slightly peppery flavor and can be added to salads, smoothies, or used as a garnish. Mature Kailan leaves can be a bit tougher and more fibrous, so they are best cooked.
What are some ways to cook Kailan?
Kailan can be cooked in a variety of ways, including steaming, stir-frying, sautéing, and boiling. It can also be added to soups, stews, and casseroles. When cooking Kailan, avoid overcooking it, as this can make it bitter and mushy. Cook it until it is tender-crisp. Kailan pairs well with garlic, ginger, soy sauce, sesame oil, and other Asian flavors.

Leave a Comment