
Grow Kitchen Microgreens Easily and unlock a world of fresh, flavorful, and nutrient-packed goodness right on your countertop! Have you ever dreamt of snipping vibrant greens just moments before adding them to your salad, sandwich, or smoothie? Well, dream no more! This DIY guide is your passport to becoming a microgreen maestro, even if you think you have a black thumb.
Microgreens, tiny seedlings of edible plants, have a surprisingly rich history. While their modern popularity is relatively recent, the concept of sprouting seeds for food dates back centuries, with evidence suggesting ancient civilizations in China and Egypt utilized sprouted grains and legumes. Today, they’re experiencing a resurgence, and for good reason! They offer a concentrated burst of vitamins, minerals, and antioxidants, often exceeding the nutritional value of their mature counterparts.
But why should you bother to grow kitchen microgreens easily? In today’s fast-paced world, convenience and health are paramount. Microgreens provide a quick, accessible, and incredibly nutritious way to enhance your diet. Plus, they’re a fantastic way to add a pop of color and flavor to your meals, especially during the colder months when fresh produce can be scarce or expensive. I’m going to show you how to bypass the grocery store and cultivate your own thriving microgreen garden with minimal effort and maximum reward. Get ready to transform your kitchen into a miniature edible oasis!
Grow Kitchen Microgreens Easily: A Beginner’s Guide
Hey there, fellow food enthusiasts! Ever wanted to add a burst of fresh flavor and nutrients to your meals without even leaving your kitchen? Well, you’re in the right place! I’m going to walk you through the super simple process of growing your own microgreens right on your countertop. Trust me, it’s easier than you think, and the rewards are delicious!
What are Microgreens Anyway?
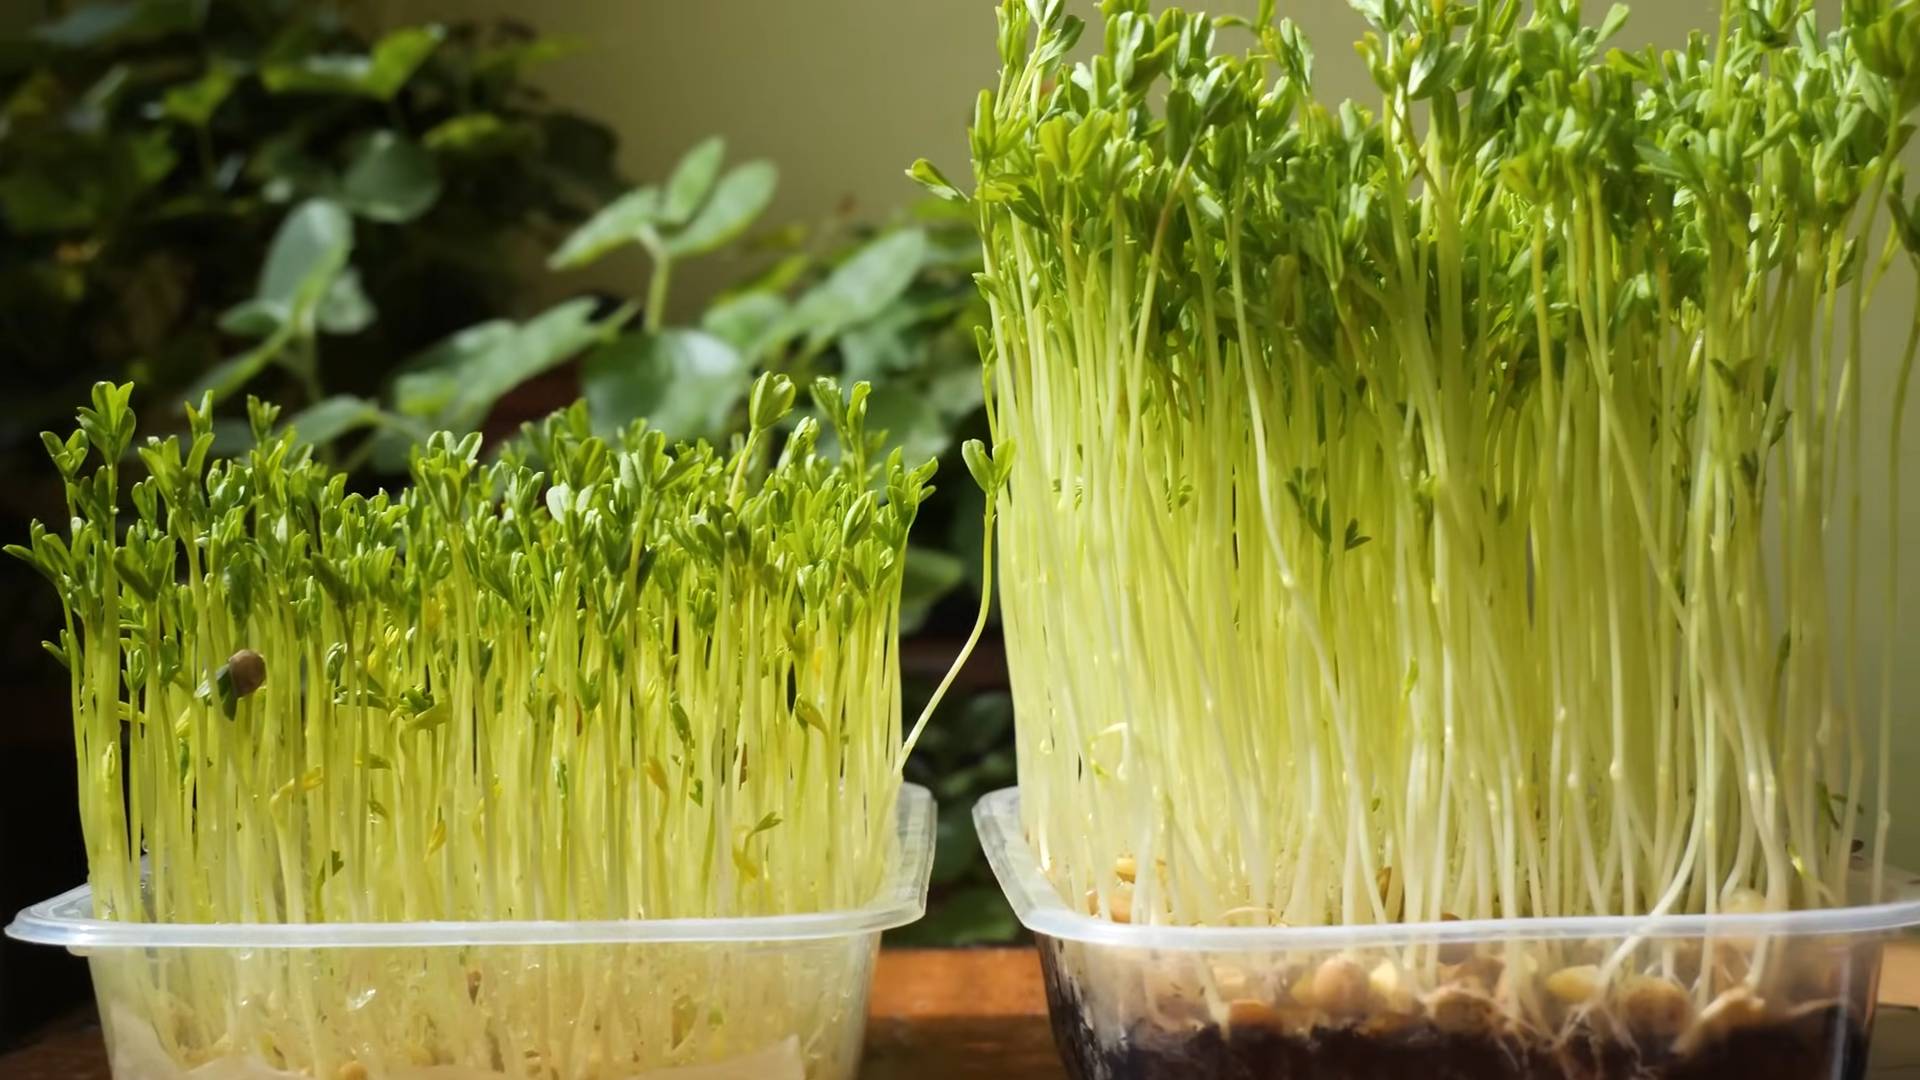
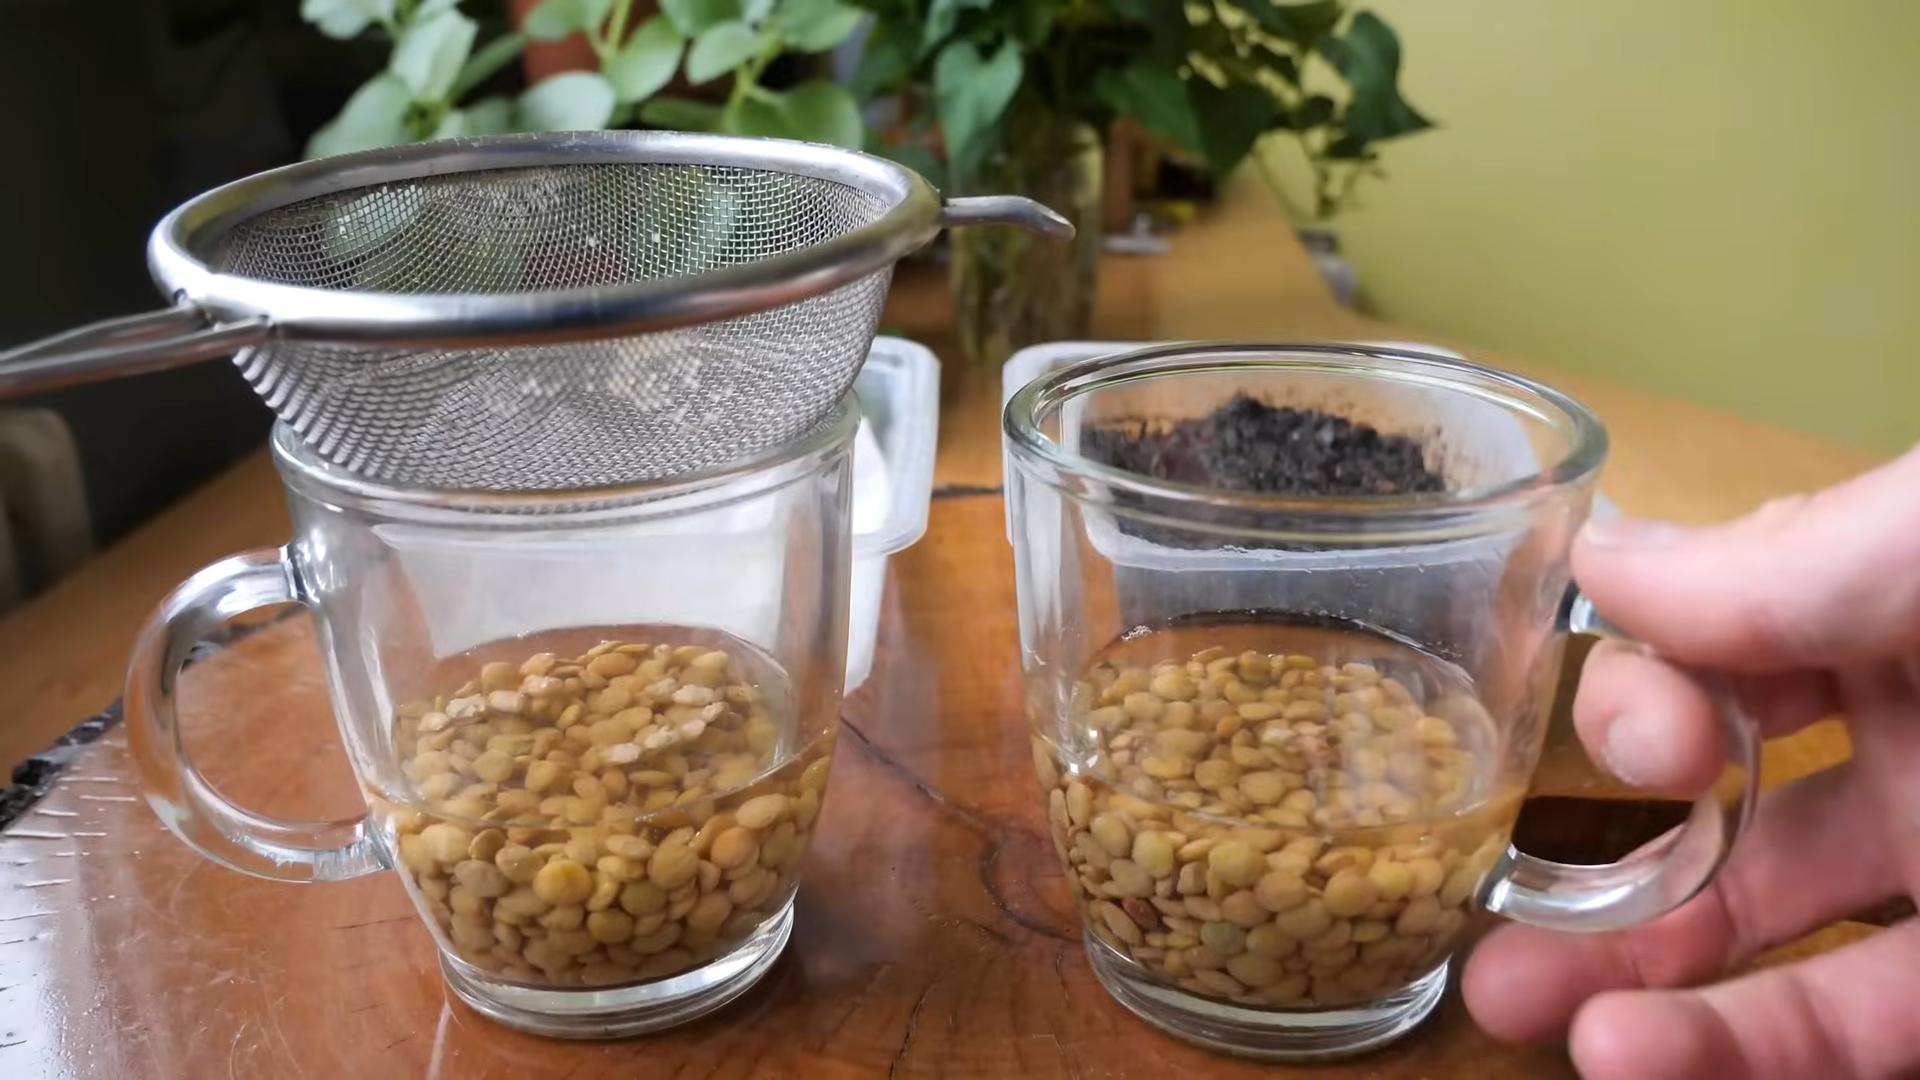
Microgreens are basically baby versions of vegetables and herbs. They’re harvested when they’re just a few inches tall, usually about 7-14 days after germination. Don’t confuse them with sprouts, which are grown in water and eaten whole (root, stem, and seed). Microgreens are cut above the soil line, so you’re just eating the stem and leaves.
Why bother with microgreens? They’re packed with vitamins, minerals, and antioxidants, often more concentrated than their mature counterparts. Plus, they add a fantastic visual appeal and a burst of flavor to salads, sandwiches, soups, and just about anything else you can imagine.
Choosing Your Microgreen Seeds
The first step to microgreen success is selecting the right seeds. Not all seeds are created equal, and some are better suited for microgreen production than others.
Here are some popular and easy-to-grow microgreen options:
* **Radish:** Spicy and peppery, a great addition to salads and sandwiches.
* **Broccoli:** Mild and slightly sweet, packed with nutrients.
* **Sunflower:** Nutty and crunchy, a delicious snack on its own.
* **Pea Shoots:** Sweet and tender, perfect for stir-fries and salads.
* **Mustard:** Pungent and flavorful, adds a kick to any dish.
* **Arugula:** Peppery and slightly bitter, a classic microgreen choice.
* **Beet:** Earthy and vibrant, adds color and flavor to your meals.
* **Kale:** Mild and nutritious, a great source of vitamins.
* **Cilantro:** Fresh and citrusy, a favorite for Mexican and Asian cuisine.
* **Basil:** Aromatic and flavorful, adds a touch of Italian flair.
Important Note: Make sure you’re using seeds specifically intended for sprouting or microgreens. Avoid using seeds that have been treated with fungicides or other chemicals, as these are not safe for consumption.
Gathering Your Supplies
Before we dive into the growing process, let’s make sure you have everything you need. This is a pretty low-cost project, and you probably already have some of these items on hand.
Here’s what you’ll need:
* **Seeds:** Choose your favorite microgreen varieties.
* **Growing Trays:** You’ll need two trays – one with drainage holes and one without. The tray without holes will act as a water reservoir. You can find these at most garden centers or online. I often reuse plastic takeout containers for this!
* **Growing Medium:** Coco coir, seed starting mix, or potting soil will work. Avoid using garden soil, as it can contain pests and diseases.
* **Spray Bottle:** For misting your microgreens.
* **Water:** Filtered water is best.
* **Light Source:** A sunny windowsill or a grow light. Microgreens need plenty of light to thrive.
* **Weight (Optional):** A small plate or book to weigh down the seeds during germination.
Step-by-Step Guide to Growing Microgreens
Okay, let’s get our hands dirty! Here’s a detailed guide to growing your own microgreens:
1. Prepare Your Growing Tray
* First, grab your growing tray with drainage holes.
* Fill the tray with your chosen growing medium, leaving about an inch of space at the top.
* Gently level the surface of the soil.
* Thoroughly moisten the soil with your spray bottle. You want it to be damp but not soggy.
2. Sow Your Seeds
* This is where the magic happens! Sprinkle your seeds evenly over the surface of the soil. Don’t overcrowd them, as this can lead to mold and poor growth. A good rule of thumb is to aim for about 1/4 inch between seeds.
* Once you’ve sown your seeds, gently mist them with water.
3. Weigh Down the Seeds (Optional but Recommended)
* Cover the seeds with a small plate or book. This helps to ensure good seed-to-soil contact and promotes even germination.
* Leave the weight in place for 1-3 days, depending on the type of seed. Check the seed packet for specific recommendations.
4. Germination and Initial Growth
* Remove the weight and place the tray in a dark, warm location. This encourages germination.
* Mist the seeds with water 1-2 times per day, keeping the soil consistently moist.
* After a few days, you should start to see the seeds sprouting.
5. Introducing Light
* Once the seeds have sprouted, move the tray to a sunny windowsill or under a grow light.
* If using a grow light, position it a few inches above the seedlings.
* Rotate the tray regularly to ensure even light exposure.
6. Watering and Maintenance
* Continue to mist the microgreens with water 1-2 times per day, keeping the soil moist but not waterlogged.
* You can also bottom-water the microgreens by pouring water into the tray without drainage holes. The soil will absorb the water from the bottom up.
* Monitor the microgreens for any signs of mold or disease. If you see any, remove the affected areas immediately. Good airflow is key to preventing these issues.
7. Harvesting Your Microgreens
* Your microgreens will be ready to harvest in about 7-14 days, depending on the variety.
* They’re ready when they have developed their first set of true leaves (the leaves that look like miniature versions of the mature plant).
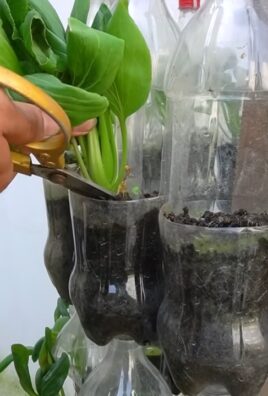
* To harvest, use a sharp pair of scissors or a knife to cut the microgreens just above the soil line.
* Gently rinse the microgreens with water and pat them dry.
8. Enjoy Your Harvest!
* Your freshly harvested microgreens are now ready to be enjoyed!
* Add them to salads, sandwiches, soups, smoothies, or use them as a garnish for your favorite dishes.
* Store any leftover microgreens in an airtight container in the refrigerator for up to a week.
Troubleshooting Tips
Even with the best intentions, sometimes things don’t go exactly as planned. Here are a few common issues you might encounter and how to fix them:
* **Mold:** Mold is a common problem with microgreens, especially in humid environments. To prevent mold, ensure good airflow, avoid overwatering, and use a clean growing medium. If you see mold, remove the affected areas immediately and consider spraying the remaining microgreens with a diluted hydrogen peroxide solution (1 part hydrogen peroxide to 10 parts water).
* **Leggy Growth:** Leggy growth occurs when the microgreens are not getting enough light. Move the tray to a sunnier location or use a grow light.
* **Slow Germination:** Slow germination can be caused by several factors, including cold temperatures, dry soil, or old seeds. Ensure that the seeds are kept warm and moist, and use fresh seeds.
* **Uneven Growth:** Uneven growth can be caused by uneven light exposure or uneven watering. Rotate the tray regularly and ensure that the soil is evenly moist.
Experiment and Have Fun!
The best part about growing microgreens is the opportunity to experiment and discover your favorite varieties. Don’t be afraid to try different seeds, growing mediums, and techniques. With a little practice, you’ll be growing delicious and nutritious microgreens in no time!
I hope this guide has inspired you to start your own microgreen garden. It’s a rewarding and easy way to add fresh flavor and nutrients to your diet. Happy growing!
Conclusion
So, there you have it! Growing your own kitchen microgreens is not only incredibly simple, but it’s also a game-changer for adding fresh, vibrant flavor and a nutritional boost to your meals. Forget those expensive, pre-packaged containers from the grocery store that wilt before you even get a chance to use them. With this easy DIY trick, you can have a constant supply of delicious, homegrown goodness right at your fingertips.
The beauty of this method lies in its accessibility. You don’t need a green thumb, fancy equipment, or a ton of space. Just a few basic supplies and a little bit of patience are all it takes to transform your kitchen counter into a miniature garden. Think of the possibilities! Imagine sprinkling peppery radish microgreens on your avocado toast, adding a burst of color and flavor to your salads with vibrant beet greens, or garnishing your soups with delicate sunflower shoots. The culinary applications are endless.
But the benefits extend beyond just taste and convenience. Growing your own microgreens is also a fantastic way to reduce your environmental impact. You’re cutting down on transportation costs, packaging waste, and the carbon footprint associated with commercial agriculture. Plus, you’ll have the satisfaction of knowing exactly where your food comes from and how it was grown.
Ready to take your microgreen game to the next level? Consider experimenting with different seed varieties. Broccoli, kale, arugula, and even cilantro can be grown as microgreens, each offering its own unique flavor profile and nutritional benefits. You can also try using different growing mediums, such as coconut coir or hemp mats, to see which works best for you. Another fun variation is to create your own custom microgreen mixes, combining different seeds to create a unique blend of flavors and textures.
This DIY trick for growing kitchen microgreens is a must-try for anyone looking to add more fresh, healthy, and flavorful ingredients to their diet. It’s easy, affordable, and incredibly rewarding.
We encourage you to give it a try and see for yourself how simple and satisfying it is to grow your own microgreens. Don’t be afraid to experiment and find what works best for you. And most importantly, share your experience with us! We’d love to hear about your successes, your challenges, and any tips or tricks you discover along the way. Post photos of your microgreen creations on social media using #KitchenMicrogreensDIY and let’s inspire others to join the microgreen revolution! Let us know what your favorite microgreens are and how you like to use them. We can’t wait to see what you grow!
Frequently Asked Questions (FAQ)
What exactly are microgreens?
Microgreens are essentially baby vegetable plants that are harvested after the cotyledon leaves (the first leaves to emerge from the seed) have developed and sometimes after the first set of true leaves appear. They are typically harvested within 7-21 days of germination, depending on the variety. They are larger than sprouts but smaller than baby greens, and they pack a concentrated punch of flavor and nutrients. Think of them as a supercharged version of their mature counterparts.
What kind of seeds can I use to grow microgreens?
The possibilities are vast! Some of the most popular and easy-to-grow microgreens include:
* Radish: Offers a peppery, slightly spicy flavor.
* Broccoli: Mild and slightly earthy.
* Kale: Similar to mature kale, but milder.
* Arugula: Peppery and slightly bitter.
* Sunflower: Nutty and slightly sweet.
* Pea shoots: Sweet and tender.
* Beet: Earthy and vibrant in color.
* Mustard: Spicy and pungent.
* Cilantro: The same distinct cilantro flavor.
However, it’s crucial to use seeds specifically intended for sprouting or microgreens. Avoid using seeds that have been treated with fungicides or other chemicals, as these are not safe for consumption. Look for seeds labeled as “organic” or “untreated” to ensure they are safe and healthy.
How much light do microgreens need?
Microgreens need plenty of light to thrive. While they can germinate in the dark, they require light as soon as the cotyledon leaves emerge. Ideally, they should receive at least 6-8 hours of direct sunlight per day. If you don’t have access to enough natural light, you can use a grow light. Position the grow light a few inches above the microgreens and keep it on for 12-16 hours per day. Insufficient light can result in leggy, pale microgreens that are less flavorful and nutritious.
How often should I water my microgreens?
Maintaining consistent moisture is key to successful microgreen growing. The growing medium should be kept moist but not soggy. Water your microgreens once or twice a day, depending on the humidity and temperature. The best way to water them is to use a spray bottle to gently mist the surface of the growing medium. Avoid overwatering, as this can lead to mold growth. If you notice any mold, remove the affected area immediately and improve air circulation.
How do I harvest my microgreens?
Harvesting microgreens is easy! Once they have reached the desired size (usually when the cotyledon leaves are fully developed and the first set of true leaves are starting to emerge), simply use a pair of scissors or a sharp knife to cut them just above the soil line. Wash them gently before using them in your recipes. It’s best to harvest microgreens just before you plan to use them, as they are most flavorful and nutritious when freshly cut.
Can I reuse the growing medium?
While you can technically reuse the growing medium, it’s generally not recommended. After harvesting your microgreens, the growing medium will likely contain leftover roots and seeds, which can attract pests and diseases. It’s best to start with fresh growing medium each time to ensure the health and safety of your microgreens. You can compost the used growing medium to reduce waste.
How long do microgreens last after harvesting?
Microgreens are best consumed fresh, but they can be stored in the refrigerator for up to a week. To store them, gently wash them and pat them dry with a paper towel. Then, place them in a sealed container or a plastic bag lined with a paper towel. The paper towel will help absorb excess moisture and prevent them from wilting.
What are the nutritional benefits of microgreens?
Microgreens are packed with vitamins, minerals, and antioxidants. Studies have shown that they can contain significantly higher levels of nutrients than their mature counterparts. For example, red cabbage microgreens have been found to contain up to 40 times more vitamin E and six times more vitamin C than mature red cabbage. The specific nutritional content of microgreens varies depending on the variety, but they are generally a good source of vitamins A, C, E, and K, as well as minerals like potassium, iron, and zinc.
Can I grow microgreens indoors year-round?
Absolutely! One of the great things about growing microgreens is that you can do it indoors year-round, regardless of the weather outside. As long as you provide them with enough light, water, and a suitable growing medium, you can enjoy fresh, homegrown microgreens any time of year.
What if my microgreens are growing mold?
Mold growth is a common issue when growing microgreens, especially in humid environments. To prevent mold, ensure good air circulation by placing a small fan near your microgreens. Avoid overwatering and use a well-draining growing medium. If you do notice mold, remove the affected area immediately and spray the remaining microgreens with a diluted solution of hydrogen peroxide (1 part hydrogen peroxide to 10 parts water).

Leave a Comment