
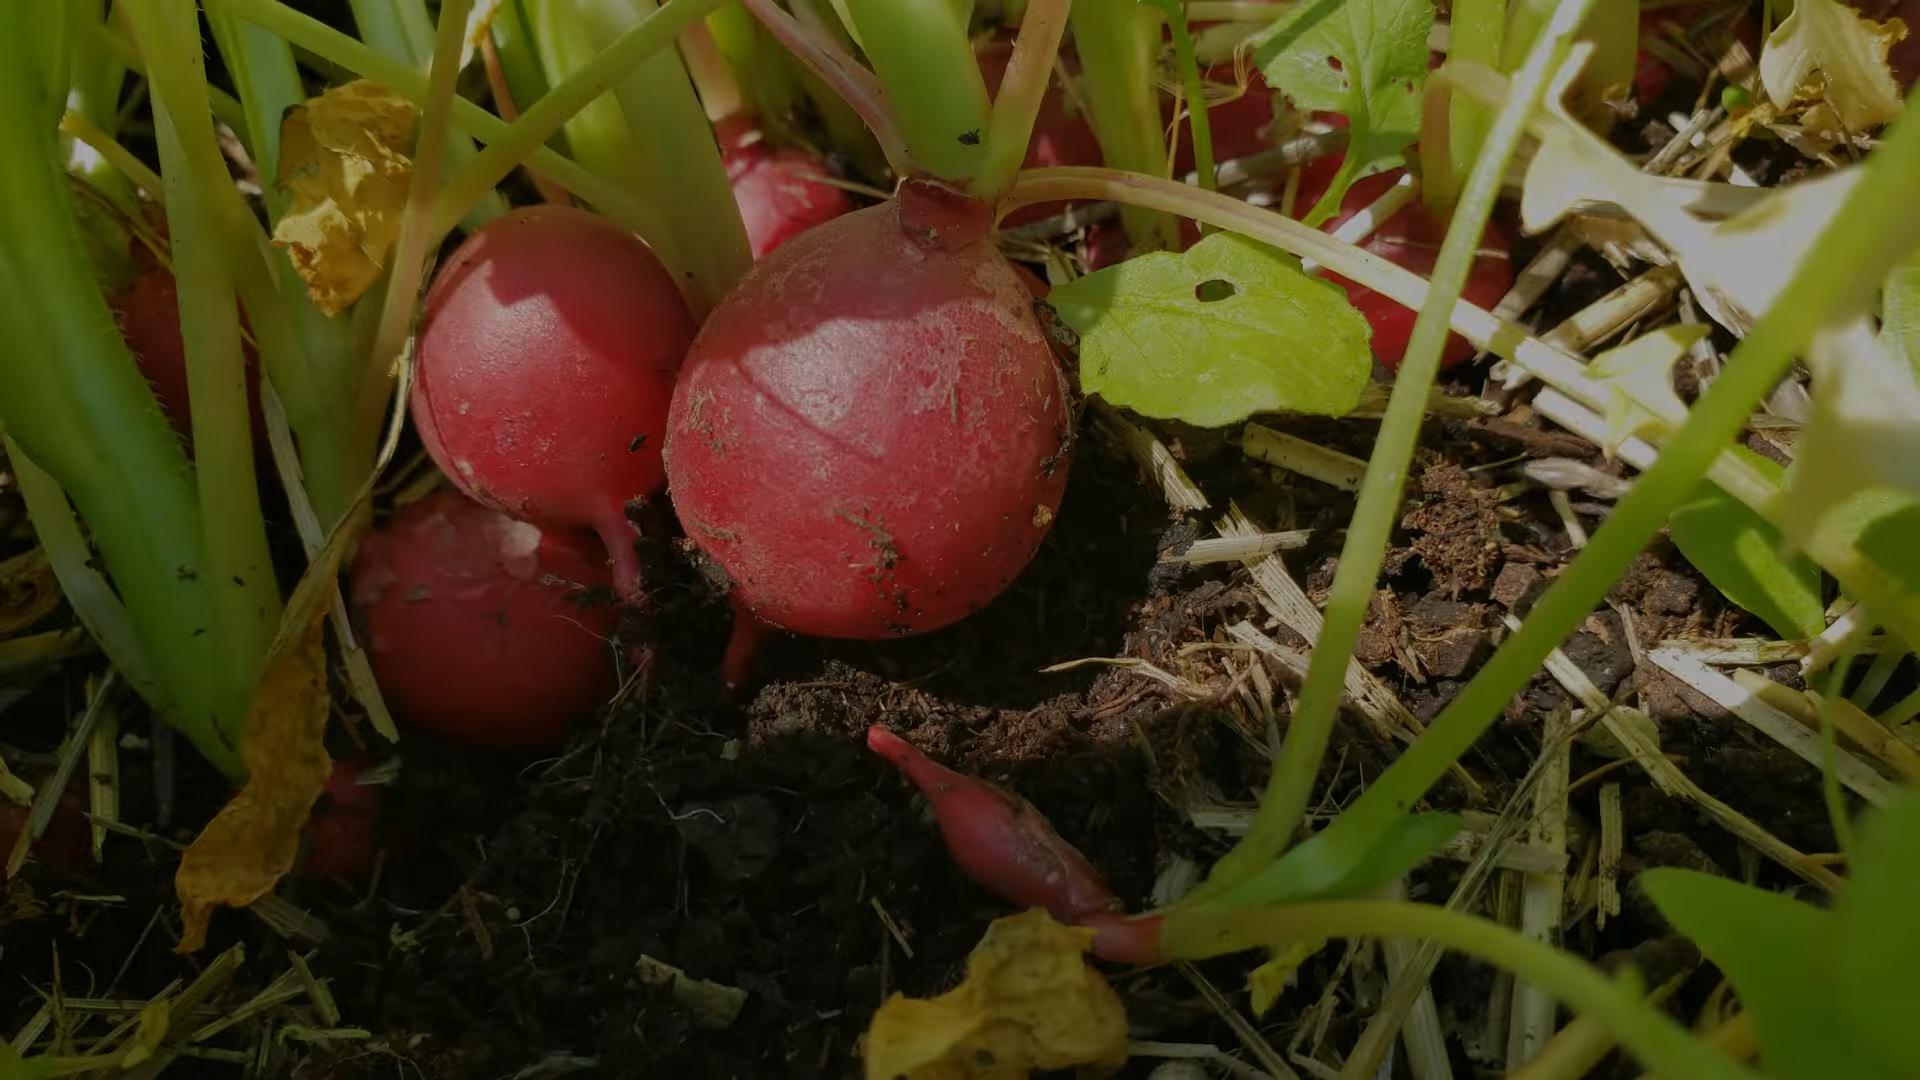
Grow Radishes at Home? Absolutely! Imagine plucking crisp, peppery radishes straight from your own backyard, adding a zesty kick to your salads and snacks. Forget those bland, store-bought versions – we’re talking about vibrant, flavorful radishes bursting with freshness. This isn’t just about gardening; it’s about connecting with nature and enjoying the fruits (or rather, roots!) of your labor.
Radishes have a surprisingly rich history, dating back to ancient times. They were cultivated in Egypt before the pyramids were even built! Throughout history, they’ve been valued for their quick growth and nutritional benefits. Now, you can easily bring this ancient tradition into your modern life.
Let’s face it, in today’s busy world, finding time for gardening can seem daunting. But what if I told you that you could grow radishes at home with minimal effort and maximum reward? This DIY guide is packed with simple tricks and hacks that will transform even the most novice gardener into a radish-growing pro. We’ll cover everything from choosing the right variety to harvesting your bounty, ensuring you have a continuous supply of these delightful root vegetables. So, ditch the grocery store radishes and get ready to experience the joy of homegrown goodness!
DIY Floating Shelves: A Beginner’s Guide
Hey there, fellow DIY enthusiasts! I’m so excited to share one of my favorite projects with you: creating beautiful, modern floating shelves. These shelves are not only stylish but also incredibly functional, adding a touch of elegance and extra storage to any room. Don’t be intimidated; even if you’re a beginner, I’ll walk you through every step of the process. Let’s get started!
Materials You’ll Need
Before we dive in, let’s gather all the necessary materials. Trust me, having everything organized beforehand will make the whole process much smoother.
* **Wood for the Shelves:** You can use any type of wood you like, but I recommend using a hardwood like oak, maple, or walnut for durability and a beautiful finish. Pine is a more budget-friendly option, but it’s softer and may require more care. The thickness will depend on the weight you plan to put on the shelves, but 1-2 inches is generally a good range. Decide on the length and depth of your shelves beforehand.
* **Metal Shelf Brackets (Hidden):** These are the key to the “floating” effect. Make sure to choose brackets that are rated for the weight you intend to put on the shelves. Look for heavy-duty steel brackets with multiple mounting points. The length of the bracket should be about 2/3 the depth of your shelf for optimal support.
* **Wood Screws:** You’ll need wood screws to attach the brackets to the wall studs and to secure the shelves to the brackets. Choose screws that are long enough to penetrate deeply into the studs but not so long that they poke through the front of the shelf.
* **Wall Anchors (Optional):** If you can’t find studs where you want to mount your shelves, you’ll need to use wall anchors. Choose anchors that are appropriate for the type of wall you have (drywall, plaster, etc.) and that are rated for the weight you intend to put on the shelves.
* **Wood Glue:** This will help to create a strong and durable bond between the shelf and the bracket.
* **Wood Filler (Optional):** If your wood has any imperfections or knots, you can use wood filler to smooth them out before finishing.
* **Sandpaper:** You’ll need various grits of sandpaper (e.g., 80, 120, 220) to smooth the wood before finishing.
* **Wood Stain or Paint:** Choose a stain or paint that complements your decor.
* **Wood Finish (Polyurethane, Varnish, or Oil):** This will protect the wood and give it a beautiful sheen.
* **Safety Glasses:** Always protect your eyes when working with power tools.
* **Dust Mask:** Protect your lungs from dust when sanding.
* **Gloves:** Protect your hands from stain, paint, and finish.
Tools You’ll Need
Having the right tools will make this project much easier and more enjoyable.
* **Stud Finder:** This is essential for locating wall studs to ensure your shelves are securely mounted.
* **Level:** You’ll need a level to ensure your shelves are perfectly horizontal.
* **Drill:** You’ll need a drill to pre-drill holes for the screws and to drive the screws into the studs.
* **Screwdriver:** You’ll need a screwdriver to tighten the screws.
* **Measuring Tape:** For accurate measurements.
* **Pencil:** For marking measurements and drilling locations.
* **Clamps:** To hold the shelf and bracket together while the glue dries.
* **Sandpaper Block or Orbital Sander:** For sanding the wood.
* **Paintbrushes or Rags:** For applying stain, paint, and finish.
* **Miter Saw or Hand Saw (Optional):** If you need to cut the wood to size.
Step-by-Step Instructions
Alright, let’s get to the fun part! Follow these steps carefully, and you’ll have beautiful floating shelves in no time.
1. Prepare the Wood
1. **Cut the Wood to Size:** If you haven’t already, cut the wood to the desired length and depth using a miter saw or hand saw. Make sure the cuts are straight and clean.
2. **Sand the Wood:** Start with a coarser grit sandpaper (e.g., 80 grit) to remove any imperfections or rough spots. Then, gradually move to finer grits (e.g., 120 grit, then 220 grit) to smooth the wood. Sand with the grain to avoid scratches.
3. **Fill Imperfections (Optional):** If your wood has any knots or imperfections, apply wood filler to fill them in. Let the filler dry completely, then sand it smooth.
4. **Clean the Wood:** Use a tack cloth or a damp cloth to remove any dust from the wood. This will ensure a smooth and even finish.
2. Stain or Paint the Wood
1. **Apply Stain or Paint:** Apply the stain or paint evenly to the wood using a brush or rag. Follow the manufacturer’s instructions for application and drying time. For stain, apply it in the direction of the grain. For paint, apply thin, even coats to avoid drips and runs.
2. **Let it Dry:** Allow the stain or paint to dry completely according to the manufacturer’s instructions. This is crucial for a durable and beautiful finish.
3. **Apply Additional Coats (Optional):** If you want a deeper color or more coverage, apply additional coats of stain or paint, allowing each coat to dry completely before applying the next.
4. **Lightly Sand Between Coats (Optional):** After each coat of stain or paint has dried, lightly sand the surface with fine-grit sandpaper (e.g., 320 grit) to remove any imperfections and create a smooth surface for the next coat.
3. Apply the Finish
1. **Apply the Finish:** Apply a coat of polyurethane, varnish, or oil to protect the wood and give it a beautiful sheen. Follow the manufacturer’s instructions for application and drying time. Apply thin, even coats to avoid drips and runs.
2. **Let it Dry:** Allow the finish to dry completely according to the manufacturer’s instructions.
3. **Apply Additional Coats (Optional):** For added protection and durability, apply additional coats of finish, allowing each coat to dry completely before applying the next.
4. **Lightly Sand Between Coats (Optional):** After each coat of finish has dried, lightly sand the surface with fine-grit sandpaper (e.g., 400 grit) to remove any imperfections and create a smooth surface for the next coat.
4. Attach the Brackets to the Shelves
1. **Measure and Mark:** Measure and mark the locations for the brackets on the back of the shelf. Make sure the brackets are evenly spaced and aligned. The number of brackets you need will depend on the length of the shelf and the weight you plan to put on it.
2. **Pre-Drill Holes:** Pre-drill holes for the screws to prevent the wood from splitting. Use a drill bit that is slightly smaller than the diameter of the screws.
3. **Apply Wood Glue:** Apply a thin layer of wood glue to the back of the brackets where they will contact the shelf.
4. **Attach the Brackets:** Attach the brackets to the shelf using wood screws. Make sure the screws are tight but not over-tightened.
5. **Clamp (Optional):** Use clamps to hold the shelf and brackets together while the glue dries. This will ensure a strong and durable bond.
6. **Let the Glue Dry:** Allow the glue to dry completely according to the manufacturer’s instructions.
5. Mount the Shelves to the Wall
1. **Locate the Studs:** Use a stud finder to locate the wall studs where you want to mount the shelves. Mark the locations of the studs with a pencil.
2. **Mark Bracket Locations on the Wall:** Hold the shelf against the wall at the desired height and use a level to ensure it is perfectly horizontal. Mark the locations of the bracket mounting holes on the wall.
3. **Pre-Drill Holes in the Wall:** Pre-drill holes in the wall at the marked locations. If you are drilling into studs, use a drill bit that is slightly smaller than the diameter of the screws. If you are drilling into drywall or plaster, use a drill bit that is appropriate for the type of wall anchor you are using.
4. **Install Wall Anchors (If Needed):** If you are not drilling into studs, install wall anchors in the pre-drilled holes. Follow the manufacturer’s instructions for installing the anchors.
5. **Attach the Shelves to the Wall:** Align the brackets with the pre-drilled holes in the wall and attach the shelves using wood screws. Make sure the screws are tight but not over-tightened.
6. **Check for Level:** Use a level to ensure the shelves are still perfectly horizontal. If necessary, adjust the screws to level the shelves.
Tips and Tricks for Success
* Invest in
Conclusion
So, there you have it! Growing radishes at home is not only incredibly simple, but it’s also a remarkably rewarding experience. Forget those bland, store-bought radishes that lack that peppery punch. With just a few simple steps, you can cultivate your own vibrant, crisp, and flavorful radishes right in your backyard or even on your windowsill.
Why is this DIY trick a must-try? Because it puts you in control. You control the soil, the watering, and the harvesting, ensuring you get the freshest, most delicious radishes possible. Plus, it’s a fantastic way to connect with nature, learn about the growing process, and enjoy the satisfaction of eating something you’ve nurtured from seed to table. It’s also a budget-friendly way to add a healthy and flavorful ingredient to your meals.
But the fun doesn’t stop there! Feel free to experiment with different radish varieties. Try French Breakfast radishes for their mild flavor and elongated shape, or opt for Cherry Belle radishes for their classic round shape and vibrant red color. You can even explore less common varieties like Watermelon radishes, which boast a stunning pink interior.
Consider companion planting to enhance your radish garden. Carrots and lettuce are excellent companions, as they help deter pests and improve soil conditions. You can also interplant radishes with slower-growing crops like tomatoes or peppers, as they mature quickly and won’t compete for resources.
Don’t be afraid to get creative with your radish harvest! Beyond adding them to salads, try roasting them for a sweeter, more mellow flavor. Pickling radishes is another fantastic way to preserve their freshness and add a tangy kick to your meals. You can even use radish greens in salads or stir-fries – they’re packed with nutrients and have a slightly peppery taste.
We wholeheartedly encourage you to give this DIY radish growing trick a try. It’s a simple, satisfying, and delicious way to enhance your gardening skills and enjoy the fruits (or rather, vegetables) of your labor. Once you’ve experienced the joy of harvesting your own homegrown radishes, you’ll never go back to store-bought again.
And most importantly, we want to hear about your experience! Share your radish growing adventures with us in the comments below. Tell us what varieties you tried, what challenges you faced, and what delicious dishes you created with your homegrown harvest. Your insights and experiences will inspire others to embark on their own radish-growing journey. Let’s cultivate a community of radish enthusiasts! So, get your hands dirty and start growing radishes at home today!
Frequently Asked Questions (FAQ)
What is the best time of year to plant radishes?
Radishes are cool-season crops, meaning they thrive in cooler temperatures. The best time to plant them is in early spring or late summer/early fall. Avoid planting during the hottest months of summer, as the heat can cause them to bolt (go to seed) and become bitter. In spring, plant as soon as the soil can be worked. For a fall harvest, plant about 4-6 weeks before the first expected frost. Successive planting every 1-2 weeks will ensure a continuous harvest.
How much sunlight do radishes need?
Radishes need at least 6 hours of sunlight per day to grow properly. However, they can tolerate partial shade, especially during the hottest part of the day. If you’re growing radishes indoors, place them near a sunny window or use grow lights to provide adequate light.
What kind of soil is best for growing radishes?
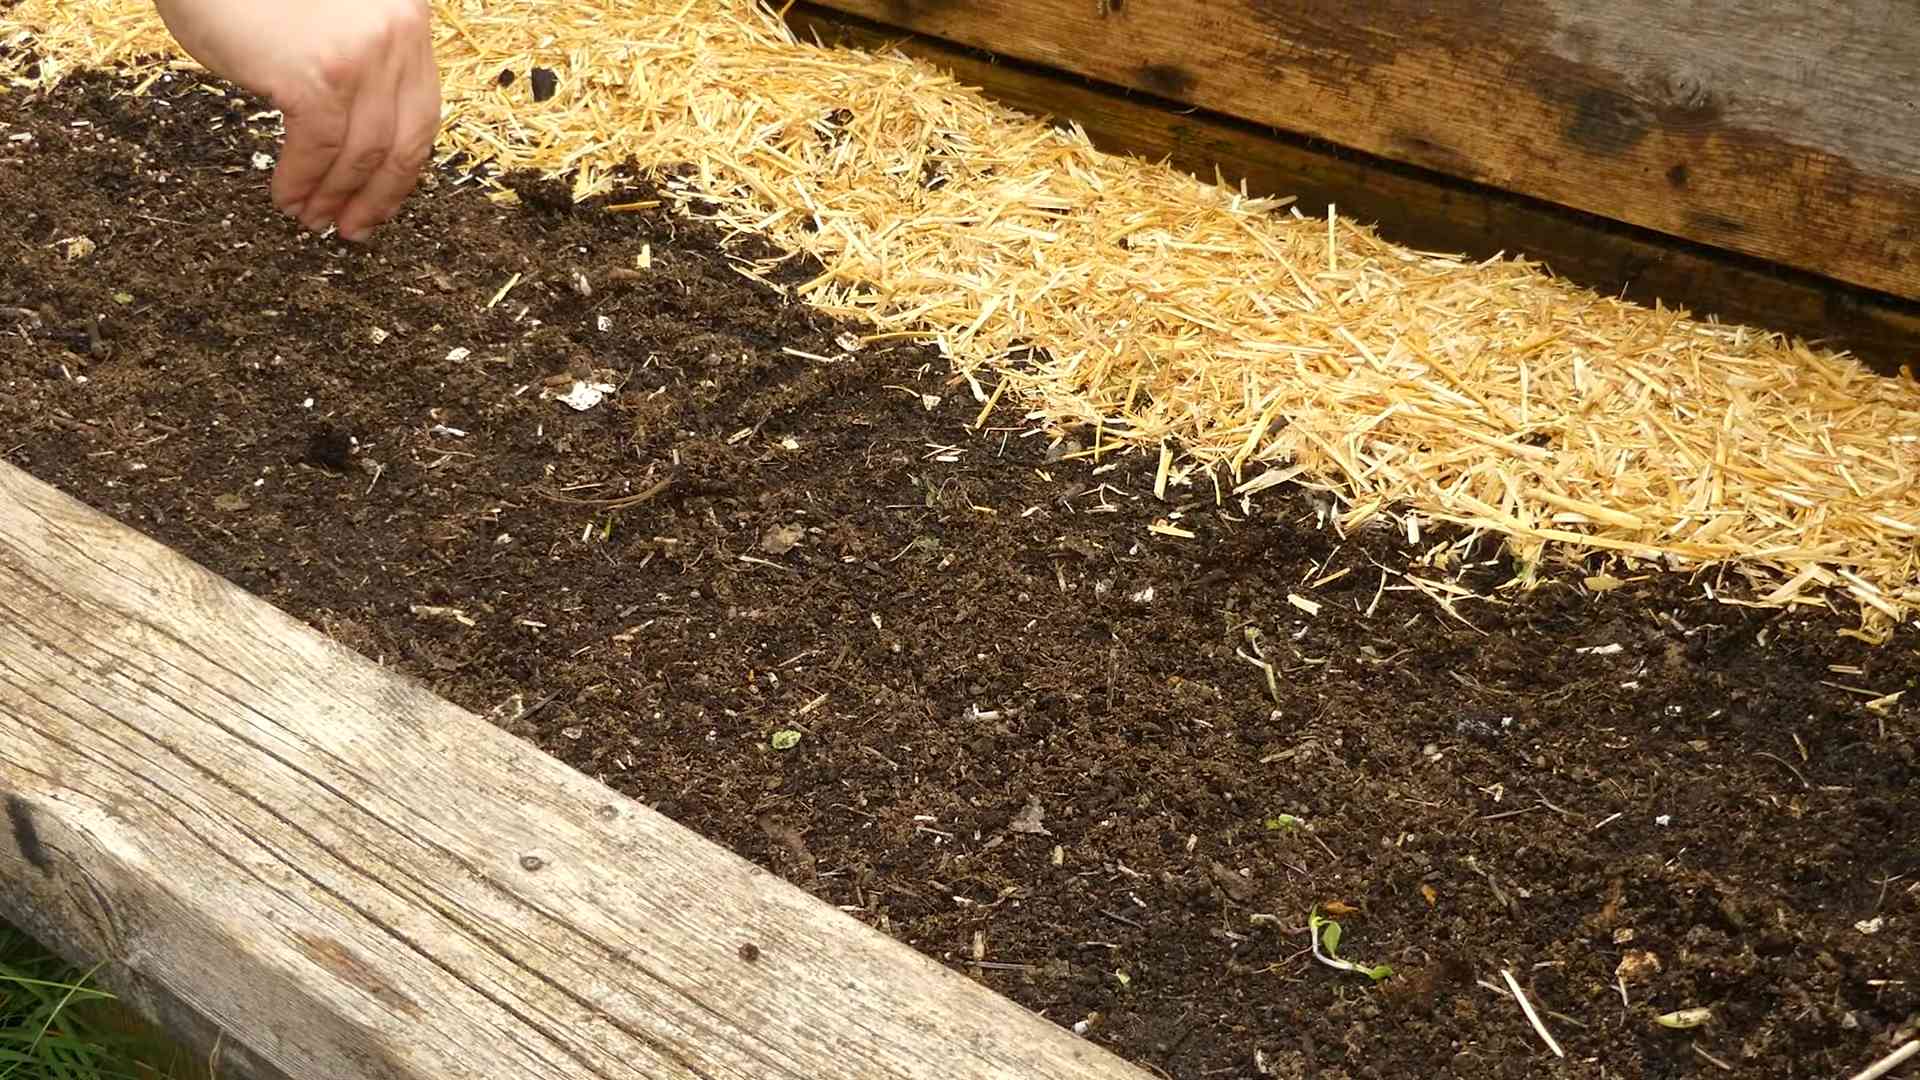
Radishes prefer loose, well-drained soil that is rich in organic matter. Amend heavy clay soil with compost or other organic materials to improve drainage and aeration. The ideal soil pH for radishes is between 6.0 and 7.0. Avoid soils that are compacted or rocky, as they can hinder root development.
How often should I water radishes?
Radishes need consistent moisture to grow quickly and develop crisp, tender roots. Water them regularly, especially during dry periods. Aim to keep the soil consistently moist but not waterlogged. Overwatering can lead to root rot, while underwatering can cause the radishes to become tough and bitter. A good rule of thumb is to water deeply whenever the top inch of soil feels dry.
How long does it take for radishes to mature?
Radishes are one of the fastest-growing vegetables. Most varieties mature in just 3-4 weeks. Check the seed packet for specific maturity times for the variety you are growing.
How do I know when radishes are ready to harvest?
Radishes are ready to harvest when the roots reach the size specified on the seed packet. Gently loosen the soil around the radish and pull it out of the ground. Don’t let them get too large, as they can become woody and bitter. It’s better to harvest them when they are slightly smaller than the recommended size.
Why are my radishes cracking?
Cracking is often caused by inconsistent watering. When the soil dries out and then is suddenly flooded with water, the radishes can grow too quickly and crack. To prevent cracking, water radishes regularly and consistently, especially during dry periods. Mulching around the plants can also help retain moisture in the soil.
Why are my radishes all tops and no bottoms?
Several factors can contribute to this problem. Insufficient sunlight, overcrowding, and poor soil can all lead to radishes that are mostly tops. Make sure your radishes are getting at least 6 hours of sunlight per day, thin them to the recommended spacing, and amend the soil with compost or other organic matter.
Can I eat radish greens?
Yes, radish greens are edible and nutritious! They have a slightly peppery taste similar to the roots. You can use them in salads, stir-fries, soups, or pesto. Harvest the greens when they are young and tender for the best flavor.
How do I store radishes?
Remove the greens from the radishes, leaving about an inch of stem attached. Store the radishes in a plastic bag in the refrigerator. They will keep for several weeks. You can also store them in a container of water in the refrigerator, changing the water every few days.
Are there any pests or diseases that affect radishes?
Radishes are generally pest-resistant, but they can be susceptible to flea beetles, root maggots, and aphids. Flea beetles can be controlled with row covers or insecticidal soap. Root maggots can be prevented by rotating crops and using floating row covers. Aphids can be washed off with a strong stream of water or treated with insecticidal soap. Diseases are less common but can include fungal issues in overly wet conditions. Ensure good air circulation and avoid overwatering to minimize disease risk.
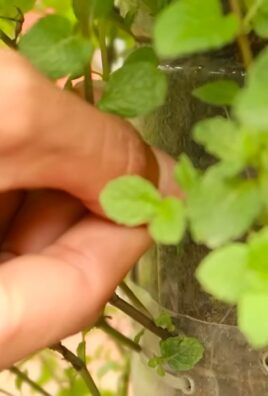
Can I grow radishes in containers?
Absolutely! Radishes are well-suited for container gardening. Choose a container that is at least 6 inches deep and has drainage holes. Use a good-quality potting mix and follow the same planting and care instructions as for growing radishes in the ground. Container-grown radishes may need more frequent watering, as the soil in containers tends to dry out more quickly.
Leave a Comment