
Growing bean sprouts at home is easier than you might think, and I’m here to show you how! Forget those pricey trips to the grocery store for a handful of sprouts. Imagine having a constant supply of fresh, crunchy bean sprouts right on your kitchen counter. Sounds good, right?
For centuries, bean sprouts have been a staple in Asian cuisine, adding a delightful texture and nutritional boost to everything from stir-fries to salads. In many cultures, they symbolize prosperity and growth, making them more than just a tasty ingredient. But you don’t need to be a culinary expert to enjoy these little powerhouses.
In today’s busy world, we’re all looking for ways to eat healthier and save money. That’s where this DIY guide comes in. Growing bean sprouts at home is not only incredibly simple and cost-effective, but it’s also a fun and rewarding project. Plus, you’ll know exactly where your food is coming from, avoiding any unwanted additives or preservatives. I’ll walk you through the entire process, step-by-step, so you can enjoy fresh, homegrown bean sprouts in just a few days. Get ready to unleash your inner gardener and enjoy the delicious benefits!
Growing Bean Sprouts at Home: A Simple DIY Guide
Hey there, fellow sprout enthusiasts! I’m so excited to share my tried-and-true method for growing delicious and nutritious bean sprouts right in your own kitchen. Forget buying them at the store – this is way more fun, cheaper, and you get the satisfaction of watching your little sprouts come to life. Plus, they taste amazing in salads, stir-fries, and sandwiches!
What You’ll Need
Before we dive in, let’s gather our supplies. The beauty of this project is that you probably already have most of these things lying around.
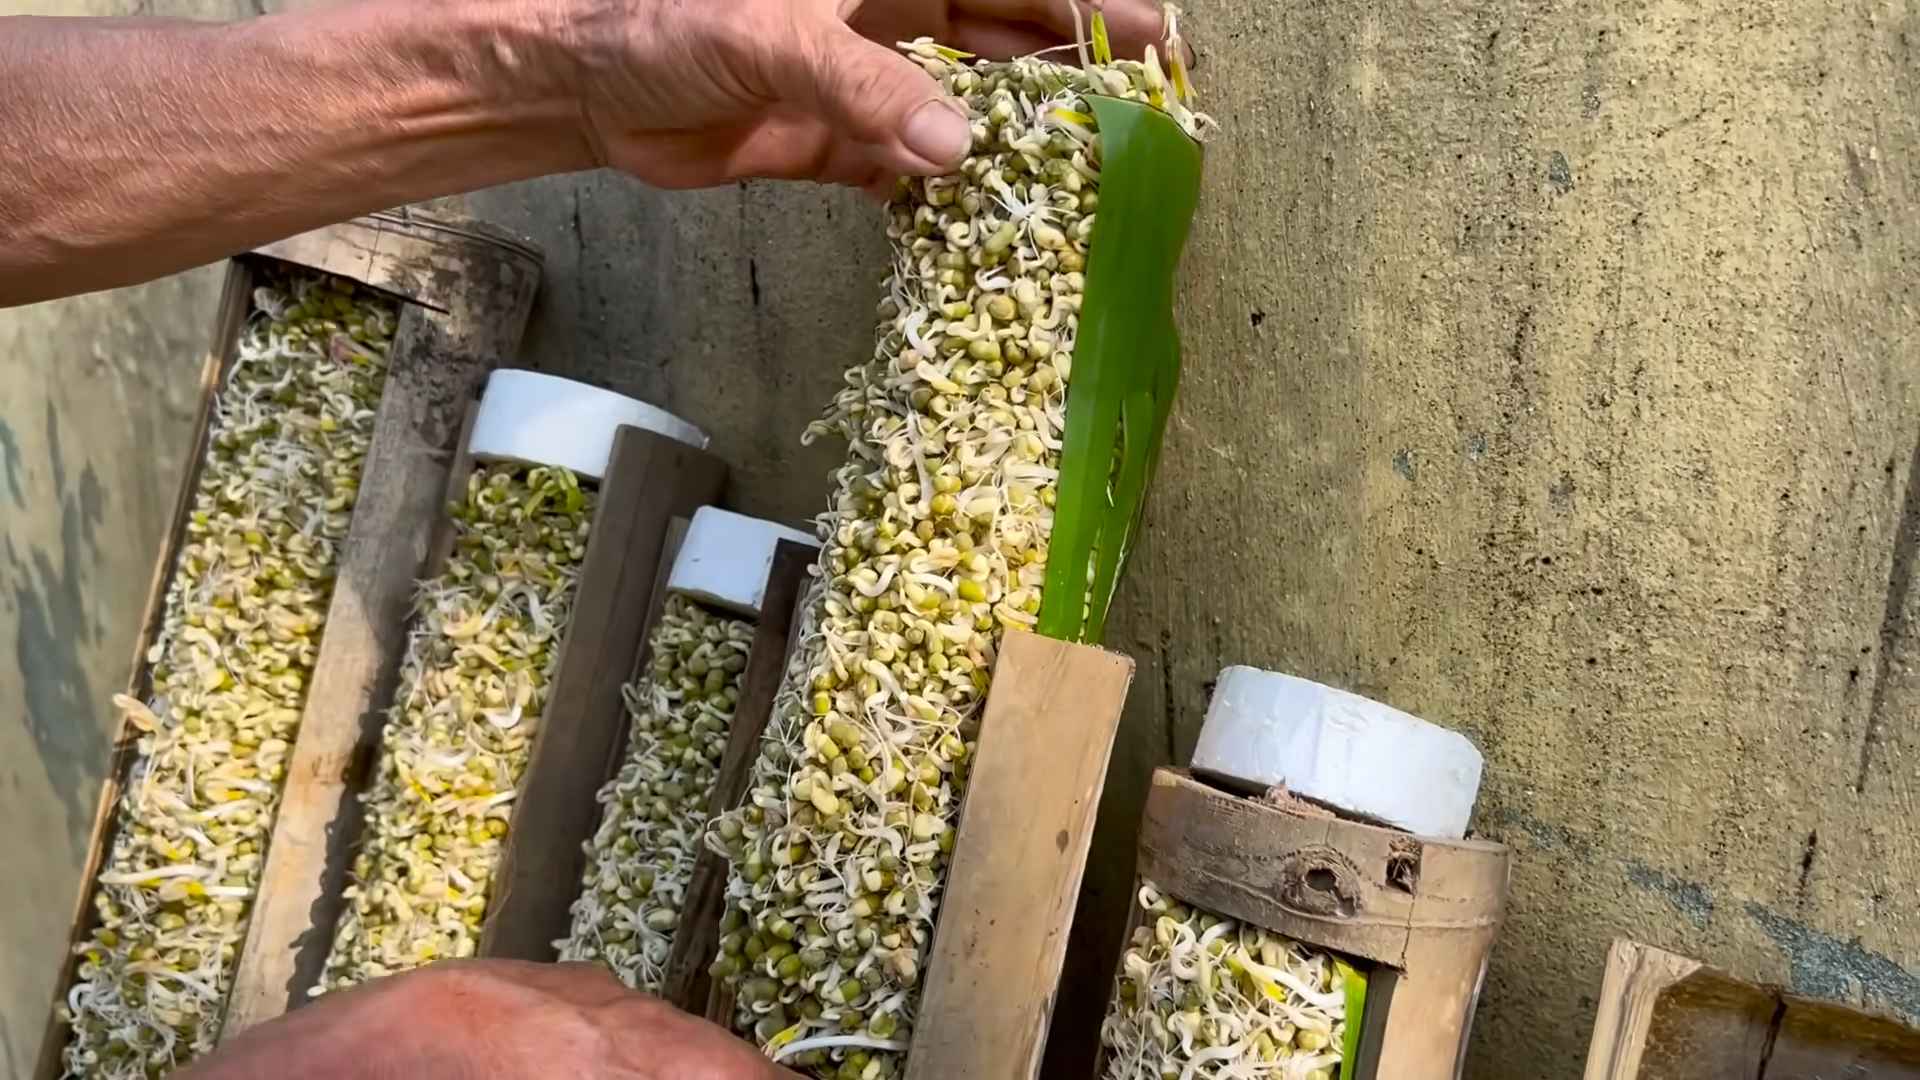
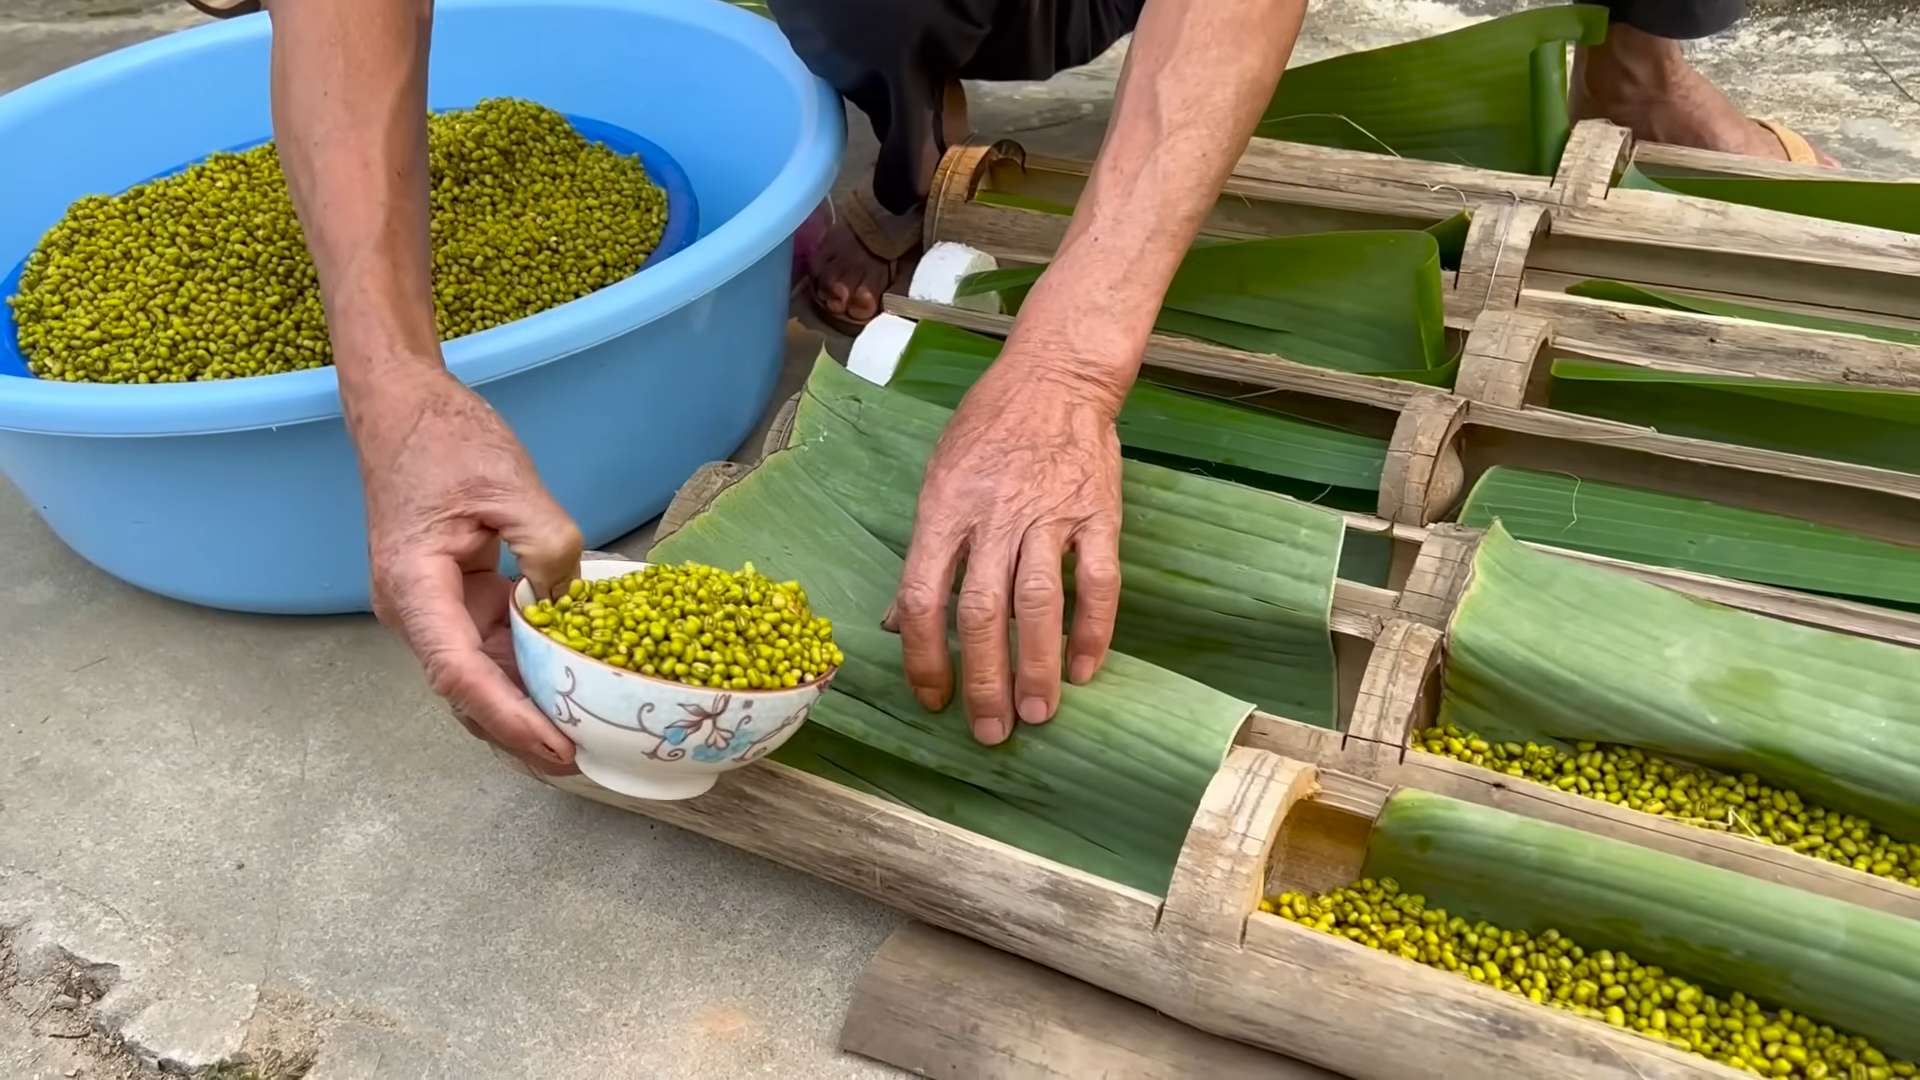
* **Beans:** Mung beans are the most common and easiest to sprout, but you can also use adzuki beans, lentils, or even chickpeas. Just make sure they’re whole, dried beans meant for cooking, not split or processed. I usually buy organic mung beans to avoid any potential pesticides.
* **A Wide-Mouth Jar:** A quart-sized mason jar works perfectly. You can also use a clean glass container or even a plastic container, as long as it’s food-grade.
* **Sprouting Lid or Cheesecloth:** You’ll need something to cover the jar and allow for drainage. A sprouting lid is ideal (you can find them online or at some health food stores), but a piece of cheesecloth secured with a rubber band works just as well.
* **Water:** Filtered water is best, but tap water is usually fine too.
* **A Dark Place:** Bean sprouts need darkness to germinate properly. A cupboard, pantry, or even a covered box will do the trick.
* **A Bowl or Tray:** To catch any drips from the jar.
The Sprouting Process: Step-by-Step
Okay, let’s get sprouting! This process takes about 3-5 days, so get ready for a little daily routine.
1. **Soaking the Beans:** The first step is to soak the beans. This rehydrates them and kicks off the germination process.
* Rinse about 1/4 to 1/2 cup of beans under cool water to remove any debris.
* Place the rinsed beans in your jar.
* Add plenty of cool water – about 2-3 times the volume of the beans. They’ll expand as they soak.
* Cover the jar with your sprouting lid or cheesecloth and secure it with a rubber band.
* Let the beans soak for 8-12 hours, or even overnight. I usually soak them before I go to bed so they’re ready to go in the morning.
2. **Draining and Rinsing:** After soaking, it’s time to drain and rinse the beans. This is a crucial step to prevent mold and keep your sprouts healthy.
* Drain the soaking water through the sprouting lid or cheesecloth.
* Rinse the beans thoroughly with cool water, making sure to get all the little nooks and crannies.
* Drain the water completely. You want the beans to be moist but not sitting in water.
3. **Sprouting in Darkness:** Now comes the fun part – watching them sprout!
* Place the jar upside down in your bowl or tray at an angle. This allows for proper drainage and air circulation.
* Put the jar in your dark place.
* Rinse and drain the beans 2-3 times a day. This is really important! It keeps them hydrated and prevents mold growth. I usually do it in the morning, afternoon, and before bed.
* Make sure to drain the water completely after each rinse.
4. **Monitoring and Troubleshooting:** Keep an eye on your sprouts as they grow.
* You should start to see little tails emerging from the beans within a day or two.
* If you notice any mold (it will look fuzzy and usually smells bad), discard the entire batch. Mold is a sign that the beans aren’t draining properly or that the environment is too humid.
* If the sprouts seem dry, increase the frequency of rinsing.
* If the sprouts are growing too slowly, make sure they’re in a dark place and that you’re rinsing them regularly.
5. **Greening the Sprouts (Optional):** This step is optional, but it can enhance the flavor and nutritional value of your sprouts.
* On the last day of sprouting, expose the sprouts to indirect sunlight for a few hours. This will cause them to turn slightly green.
* Be careful not to expose them to direct sunlight, as this can overheat them and damage them.
6. **Harvesting and Storing:** Once the sprouts have reached your desired length (usually about 1-2 inches), it’s time to harvest them!
* Give the sprouts one final rinse.
* Remove any unsprouted beans or bean hulls. This can be a bit tedious, but it’s worth it for a cleaner final product.
* Dry the sprouts thoroughly. You can use a salad spinner or pat them dry with a clean towel.
* Store the sprouts in an airtight container in the refrigerator. They should last for about a week.
Tips and Tricks for Sprout Success
Here are a few extra tips to help you grow the best bean sprouts ever:
* Use fresh beans: Older beans may have a lower germination rate.
* Maintain good hygiene: Wash your hands and all equipment thoroughly before starting. This will help prevent mold growth.
* Don’t over-soak: Soaking the beans for too long can cause them to rot.
* Ensure proper drainage: This is the most important factor in preventing mold.
* Experiment with different beans: Once you’ve mastered mung beans, try sprouting other types of beans and lentils.
* Enjoy your sprouts! Add them to salads, stir-fries, sandwiches, or even eat them on their own.
Troubleshooting Common Issues
Even with the best intentions, sometimes things can go wrong. Here’s how to troubleshoot some common problems:
* **Mold:** As mentioned before, mold is a sign of poor drainage or excessive humidity. Discard the batch and start over, making sure to rinse and drain the beans more frequently.
* **Slow Growth:** Slow growth can be caused by several factors, including old beans, insufficient rinsing, or lack of darkness. Make sure you’re using fresh beans, rinsing them regularly, and keeping them in a dark place.
* **Rotting Beans:** Rotting beans are usually caused by over-soaking or poor drainage. Make sure you’re not soaking the beans for too long and that they’re draining properly.
* **Bitter Taste:** A bitter taste can be caused by exposing the sprouts to too much light. Keep them in a dark place until the last day, when you can expose them to indirect sunlight for a few hours.
Why Grow Your Own Bean Sprouts?
Besides being a fun and rewarding project, growing your own bean sprouts offers several benefits:
* Freshness: Homegrown sprouts are much fresher than store-bought ones.
* Cost-Effectiveness: Growing your own sprouts is significantly cheaper than buying them at the store.
* Nutritional Value: Bean sprouts are packed with vitamins, minerals, and enzymes.
* Control: You have complete control over the growing process, ensuring that your sprouts are free from pesticides and other harmful chemicals.
* Sustainability: Growing your own sprouts reduces your carbon footprint by eliminating the need for transportation and packaging.
Different Types of Beans to Sprout
While mung beans are the easiest and most common, don’t be afraid to experiment! Here are a few other options:
* **Adzuki Beans:** These have a slightly sweeter flavor than mung beans.
* **Lentils:** Lentils sprout quickly and have a mild, earthy flavor.
* **Chickpeas:** Chickpeas take a bit longer to sprout, but they have a nutty flavor and a satisfying crunch.
* **Radish Seeds:** While not technically beans, radish seeds sprout quickly and add a spicy kick to your salads.
* **Alfalfa Seeds:** These are tiny but mighty, packed with nutrients and a delicate flavor.
Enjoying Your Homegrown Sprouts
Now that you’ve successfully grown your own bean sprouts, it’s time to enjoy them! Here are a few ideas:
* **Salads:** Add sprouts to your favorite salads for a boost of flavor and nutrition.
* **Stir-Fries:** Toss sprouts into stir-fries for a crunchy texture and a mild flavor.
* **Sandwiches:** Use sprouts as a topping for sandwiches and wraps.
* **Soups:** Add sprouts to soups just before serving for a fresh, crunchy garnish.
* **Spring Rolls:** Include sprouts in your spring rolls for added texture and flavor.
* **On Their Own:** Simply eat them raw as a healthy snack!
So there you have it! My complete guide to growing bean sprouts at home. I hope you found this helpful and that you’re inspired to give it
Conclusion
So, there you have it! Growing bean sprouts at home is not only incredibly easy and cost-effective, but it also provides you with a constant supply of fresh, nutritious sprouts right at your fingertips. Forget those limp, sad-looking sprouts from the grocery store – with this simple DIY trick, you can enjoy crisp, flavorful bean sprouts whenever you want.
Why is this a must-try? Because it empowers you to take control of your food source, even in a small way. You know exactly what’s going into your sprouts – no hidden preservatives or questionable growing practices. Plus, the satisfaction of watching those tiny seeds transform into crunchy sprouts is surprisingly rewarding. It’s a mini-gardening project that even the most novice gardener can conquer.
But the fun doesn’t stop there! Feel free to experiment with different types of beans. Mung beans are the classic choice, but you can also try adzuki beans, lentils, or even chickpeas. Each variety will offer a slightly different flavor and texture, allowing you to customize your sprout experience. You can also play around with the sprouting time to achieve your preferred level of sprout length and crunch. Some people prefer shorter, more delicate sprouts, while others like them longer and more robust.
Consider adding your freshly grown bean sprouts to salads, sandwiches, stir-fries, or even as a topping for soups. They add a delightful crunch and a boost of vitamins and minerals to any dish. You can also use them to make delicious spring rolls or add them to your favorite Asian-inspired recipes. The possibilities are endless!
We truly believe that this DIY trick for growing bean sprouts at home is a game-changer. It’s a simple, sustainable, and satisfying way to add fresh, healthy ingredients to your diet. So, what are you waiting for? Give it a try! We’re confident that you’ll be amazed at how easy and rewarding it is.
And most importantly, we want to hear about your experience! Share your photos, tips, and variations in the comments below. Let us know what types of beans you tried, what dishes you used your sprouts in, and any challenges you encountered along the way. Your feedback will not only help other readers but also inspire us to continue sharing simple and effective DIY food projects. Let’s build a community of sprout enthusiasts! We are excited to see your bean sprout creations.
Frequently Asked Questions (FAQs)
Q: What types of beans work best for sprouting?
A: While mung beans are the most commonly used and readily available for sprouting, you can successfully sprout a variety of other beans and legumes. Adzuki beans, lentils (brown or green), chickpeas, and even certain types of peas can be sprouted. However, it’s crucial to ensure that the beans you choose are specifically intended for sprouting or cooking, and not ornamental varieties, as these may be treated with chemicals that are unsafe for consumption. Avoid sprouting kidney beans, as they contain toxins that are only destroyed through thorough cooking. Always research the specific type of bean you’re considering to ensure it’s safe and suitable for sprouting.
Q: How long does it take to grow bean sprouts at home?
A: The sprouting process typically takes between 3 to 5 days, depending on the type of bean, the temperature, and the humidity levels in your environment. Mung beans usually sprout within 3 to 4 days, while other varieties may take a day or two longer. You’ll know your sprouts are ready when they have reached your desired length and have developed small roots. It’s important to rinse the sprouts regularly during the sprouting process to prevent mold growth and ensure they stay fresh.
Q: What if my bean sprouts start to smell bad?
A: A foul odor is a sign of bacterial contamination or mold growth. This usually happens when the sprouts aren’t rinsed frequently enough or if the sprouting environment is too warm and humid. If you notice a bad smell, it’s best to discard the entire batch of sprouts to avoid any potential health risks. To prevent this, ensure you rinse your sprouts at least twice a day with fresh, cool water. Also, make sure your sprouting container has adequate drainage and ventilation.
Q: Can I sprout beans that I bought from the grocery store?
A: Yes, you can sprout beans purchased from the grocery store, but it’s important to choose beans that are specifically labeled for cooking or sprouting. Avoid beans that are labeled as “treated” or “ornamental,” as these may contain chemicals that are harmful to consume. Organic beans are generally a safer option, as they are less likely to have been treated with pesticides or other chemicals. Before sprouting, thoroughly inspect the beans for any signs of damage or mold.
Q: How do I store bean sprouts after they’ve sprouted?
A: Once your bean sprouts have reached your desired length, rinse them thoroughly and drain them well. Store them in an airtight container lined with a paper towel in the refrigerator. The paper towel will help absorb excess moisture and keep the sprouts fresh for longer. Properly stored bean sprouts can last for up to a week in the refrigerator.
Q: Are there any health benefits to eating bean sprouts?
A: Yes, bean sprouts are a nutritional powerhouse! They are a good source of vitamins, minerals, and enzymes. They are particularly rich in vitamin C, vitamin K, and folate. Bean sprouts are also a good source of fiber, which can aid in digestion and promote gut health. Additionally, they are low in calories and fat, making them a healthy addition to any diet. The sprouting process also increases the bioavailability of certain nutrients, making them easier for your body to absorb.
Q: Can I eat bean sprouts raw?
A: While many people enjoy eating bean sprouts raw, it’s important to be aware of the potential risks of foodborne illness. Raw bean sprouts can sometimes harbor bacteria like Salmonella or E. coli. To minimize this risk, it’s crucial to rinse your sprouts thoroughly before eating them. If you are concerned about food safety, you can lightly cook your bean sprouts by steaming, stir-frying, or blanching them for a few minutes. This will help kill any harmful bacteria while still preserving their flavor and texture. Individuals with weakened immune systems, pregnant women, and young children should always cook bean sprouts before consuming them.
Q: My sprouts are growing mold. What did I do wrong?
A: Mold growth is a common problem when sprouting beans, and it’s usually caused by insufficient rinsing or poor ventilation. To prevent mold, ensure you rinse your sprouts at least twice a day with fresh, cool water. Make sure to drain them thoroughly after rinsing to prevent excess moisture from accumulating. Also, ensure your sprouting container has adequate ventilation to allow air to circulate. If you live in a humid environment, you may need to rinse your sprouts more frequently. If you notice any signs of mold, discard the entire batch of sprouts to avoid any potential health risks.
Q: Can I use a jar with a regular lid for sprouting?
A: While you can technically use a jar with a regular lid, it’s not ideal for sprouting. A regular lid doesn’t provide adequate ventilation or drainage, which can lead to mold growth. It’s best to use a sprouting jar with a mesh lid or a cheesecloth secured with a rubber band. These options allow for proper drainage and ventilation, which are essential for successful sprouting. You can also purchase specialized sprouting lids that are designed to fit standard mason jars.
Q: What is the best temperature for sprouting beans?
A: The ideal temperature for sprouting beans is between 70°F and 75°F (21°C and 24°C). Avoid sprouting beans in direct sunlight or in areas that are too hot or too cold. A consistent temperature will help ensure even and healthy sprout growth. If your home is too cold, you can try placing your sprouting container in a slightly warmer location, such as near a radiator or in a sunny windowsill (but avoid direct sunlight).
Q: Can I reuse the water that I use to rinse my sprouts?
A: No, it’s not recommended to reuse the water that you use to rinse your sprouts. The water will contain bacteria and other contaminants that can promote mold growth. Always use fresh, cool water for rinsing your sprouts.
Q: How do I know when my bean sprouts are ready to harvest?
A: Your bean sprouts are ready to harvest when they have reached your desired length and have developed small roots. The ideal length will vary depending on the type of bean and your personal preference. Generally, sprouts that are about 1-2 inches long are considered ready to harvest. You can taste a few sprouts to check their flavor and texture. They should be crisp and slightly sweet.
Q: Can I sprout beans in soil?
A: While you can sprout beans in soil, it’s not necessary for growing bean sprouts for consumption. The method described in this article, which involves sprouting beans in a jar or container with water, is simpler and more efficient for producing edible sprouts. Sprouting beans in soil is more commonly used for growing bean plants for their beans or foliage.
Leave a Comment