
Growing beans indoors might sound like a challenge reserved for seasoned gardeners, but trust me, it’s a surprisingly rewarding and accessible project for anyone, even if you’re a complete beginner like I once was! Imagine harvesting fresh, crisp beans right from your windowsill, adding a burst of homegrown goodness to your meals, regardless of the weather outside.
For centuries, beans have been a staple crop in cultures around the world, providing essential nutrients and playing a vital role in sustainable agriculture. From the ancient Incas who cultivated beans in the Andes Mountains to the modern-day gardener seeking fresh produce, the humble bean has always held a special place. But what if you don’t have a sprawling garden? That’s where the magic of indoor gardening comes in!
In today’s busy world, finding time and space for a traditional garden can be tough. That’s why learning how to grow beans indoors is so valuable. It allows you to enjoy the benefits of fresh, homegrown produce without needing acres of land. Plus, it’s a fantastic way to connect with nature, reduce your carbon footprint, and add a touch of green to your living space. This DIY guide will provide you with simple, step-by-step instructions and clever hacks to ensure your indoor bean-growing adventure is a success. Get ready to discover the joy of growing beans indoors and enjoy the delicious rewards of your efforts!
Growing Beans Indoors: A Beginner’s Guide to Bountiful Harvests
Hey there, fellow plant enthusiasts! Ever dreamt of fresh, homegrown beans even when the weather outside is frightful? Well, dream no more! Growing beans indoors is totally achievable, and I’m here to guide you through the entire process. It’s easier than you might think, and the reward of snapping into a crisp, homegrown bean in the middle of winter is absolutely worth it.
Choosing the Right Beans and Setting Up Your Space
Before we get our hands dirty, let’s talk about bean varieties and the ideal environment for our indoor garden.
* Bush Beans vs. Pole Beans: This is crucial! For indoor growing, bush beans are your best bet. They’re compact and don’t require extensive climbing support like pole beans. Pole beans can be grown indoors, but they need a large trellis and a lot more space, which isn’t always practical.
* Popular Bush Bean Varieties: Some great choices for indoor growing include ‘Blue Lake Bush’, ‘Contender’, ‘Provider’, and ‘Bush Kentucky Wonder’. These varieties are known for their productivity and relatively compact size.
* Light Requirements: Beans need a lot of light – at least 6-8 hours of direct sunlight per day. If you don’t have a sunny windowsill, don’t worry! You can easily supplement with grow lights. Fluorescent or LED grow lights work wonders.
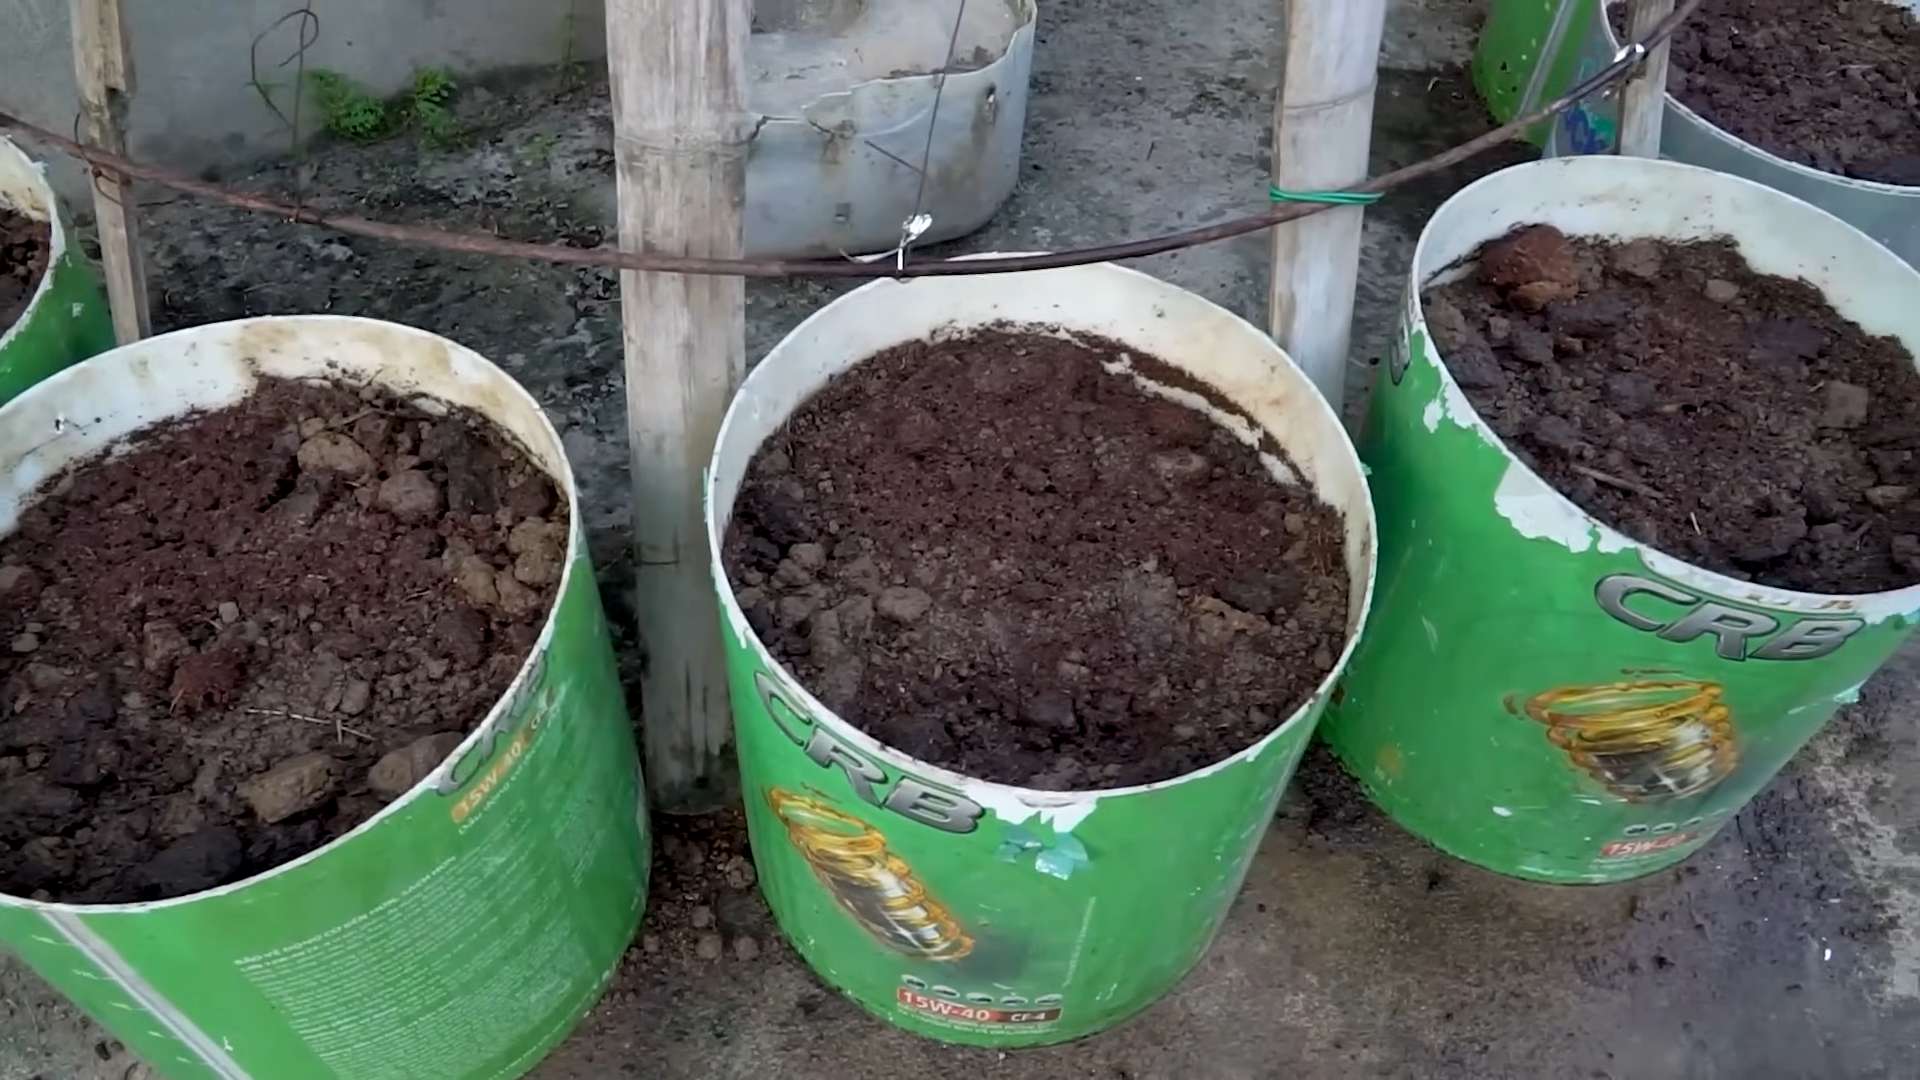
* Potting Mix: Use a well-draining potting mix. Avoid using garden soil, as it can compact and not drain properly in containers. A mix of peat moss, perlite, and vermiculite is a good option.
* Container Size: Choose pots that are at least 6 inches deep and wide for each plant. This gives the roots enough room to grow. I prefer using 8-inch pots for a little extra space.
* Drainage: Make sure your pots have drainage holes! Beans don’t like sitting in soggy soil.
Planting Your Bean Seeds
Now for the fun part – planting!
1. Soaking the Seeds (Optional): Soaking bean seeds in water for a few hours before planting can help speed up germination. I usually soak mine for 2-4 hours. Don’t soak them for too long, or they might rot.
2. Filling the Pots: Fill your pots with the potting mix, leaving about an inch of space at the top.
3. Planting Depth: Plant the bean seeds about 1 inch deep.
4. Spacing: If you’re planting multiple seeds in one pot, space them about 2-3 inches apart.
5. Watering: Gently water the soil until it’s moist but not soggy.
6. Placement: Place the pots in a sunny windowsill or under grow lights. If using grow lights, position them a few inches above the soil surface.
7. Temperature: Beans germinate best in temperatures between 65-75°F (18-24°C).
Caring for Your Indoor Bean Plants
Once your bean seeds have sprouted, it’s time to provide them with the care they need to thrive.
* Watering: Water regularly, keeping the soil consistently moist but not waterlogged. Check the soil moisture by sticking your finger about an inch deep. If it feels dry, it’s time to water.
* Fertilizing: Feed your bean plants with a balanced liquid fertilizer every 2-3 weeks. Follow the instructions on the fertilizer label. I like using a fertilizer with an N-P-K ratio of 10-10-10.
* Light: Ensure your bean plants are getting enough light. If they’re not getting at least 6 hours of direct sunlight, supplement with grow lights. Signs of insufficient light include leggy growth (long, spindly stems) and pale leaves.
* Air Circulation: Good air circulation helps prevent fungal diseases. You can improve air circulation by opening a window or using a small fan.
* Pest Control: Keep an eye out for pests like aphids, spider mites, and whiteflies. If you spot any pests, treat them with insecticidal soap or neem oil. I always prefer organic solutions whenever possible.
* Support (If Needed): While bush beans are generally self-supporting, some varieties might benefit from a small stake or cage, especially as they start producing beans.
Pollination: Helping Your Beans Set Fruit
Beans are self-pollinating, meaning they don’t require insects to transfer pollen. However, indoor plants sometimes need a little help.
* Hand-Pollination: You can hand-pollinate your bean plants by gently shaking the plants or using a small paintbrush to transfer pollen from one flower to another. I usually do this every few days when the plants are flowering.
* Air Circulation: As mentioned earlier, good air circulation can also help with pollination.
Harvesting Your Indoor Bean Crop
The moment you’ve been waiting for – harvesting your homegrown beans!
* Harvest Time: Beans are typically ready to harvest about 50-60 days after planting.
* Signs of Ripeness: The beans should be firm and plump, but not too large or tough. They should snap easily when bent.
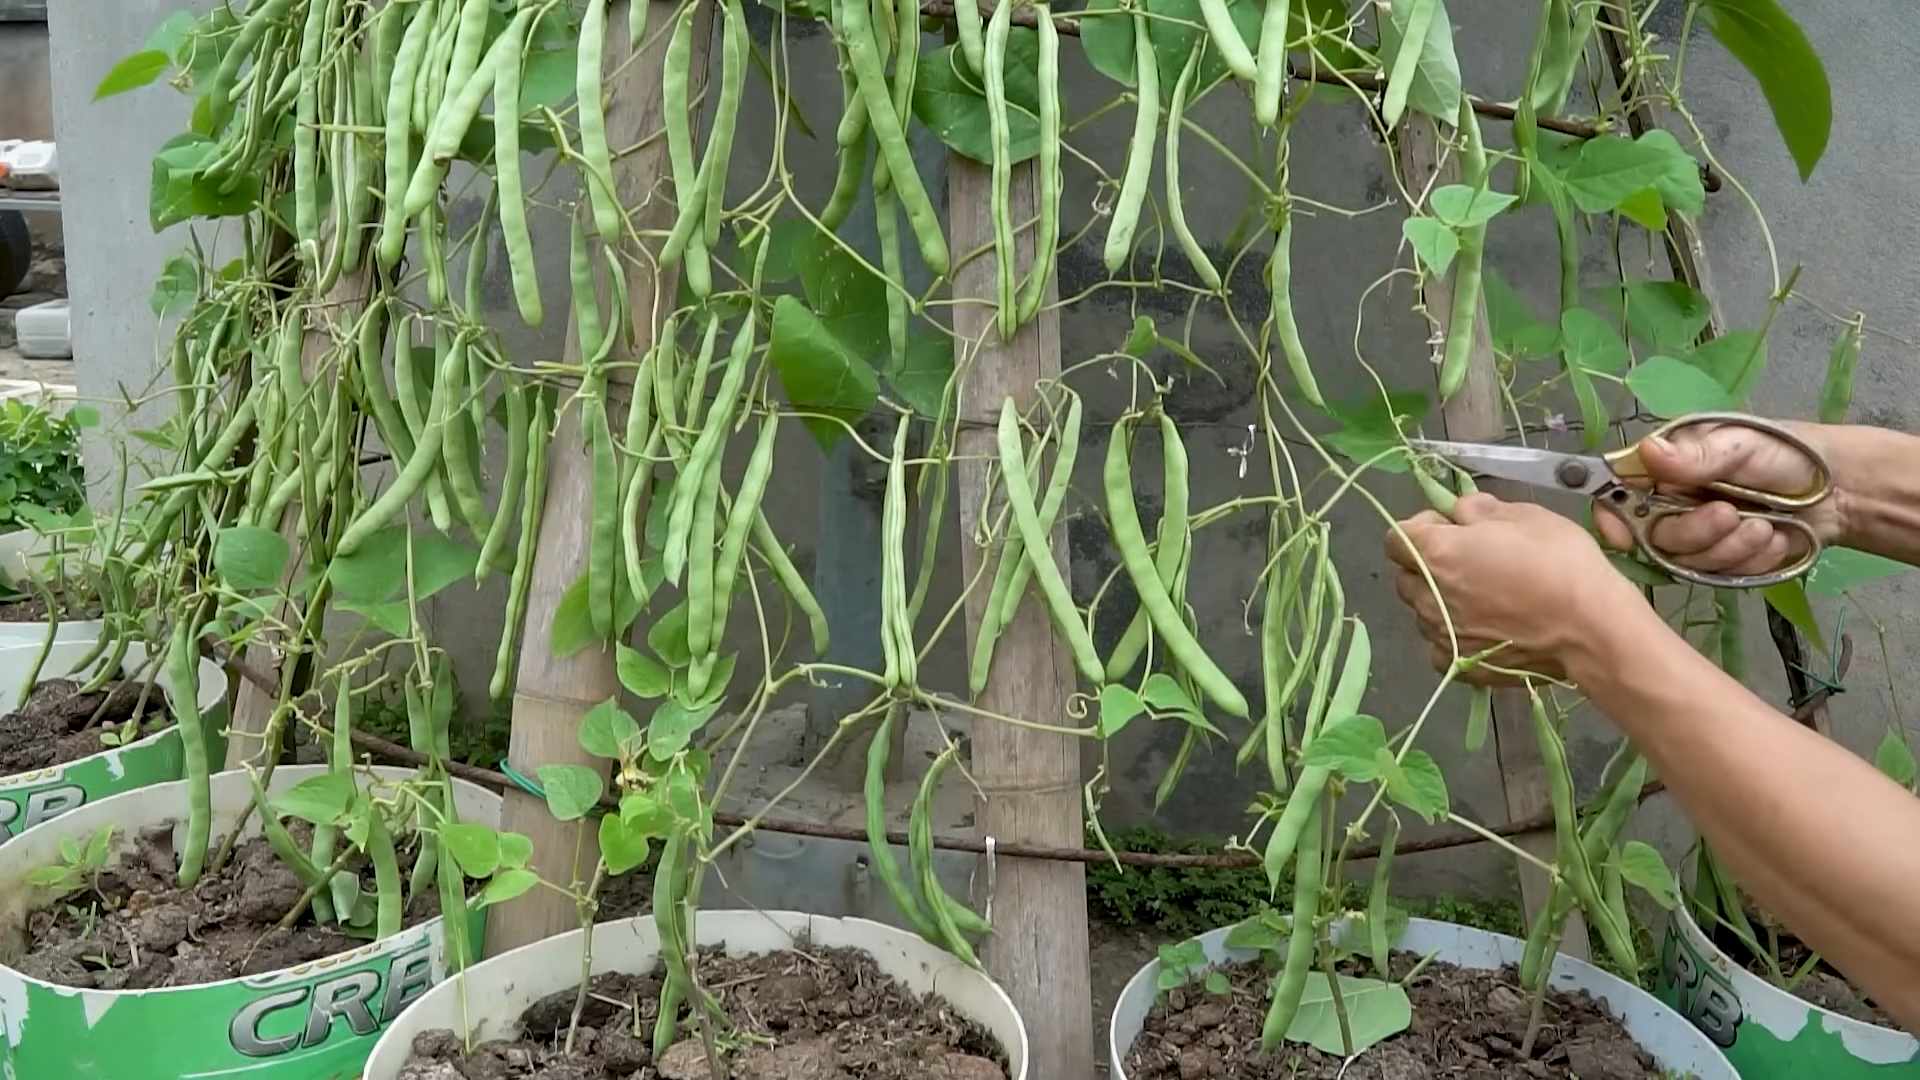
* Harvesting Technique: Gently snap the beans off the plant. Avoid pulling, as this can damage the plant.
* Regular Harvesting: Harvest beans regularly to encourage the plant to produce more.
Troubleshooting Common Problems
Even with the best care, you might encounter some challenges along the way. Here are some common problems and how to address them:
* Yellowing Leaves: This could be a sign of overwatering, underwatering, nutrient deficiency, or pest infestation. Check the soil moisture, fertilize if necessary, and inspect for pests.
* Leggy Growth: This indicates insufficient light. Provide more light, either through a sunnier location or grow lights.
* Lack of Flowers: This could be due to insufficient light, improper watering, or lack of nutrients. Ensure your plants are getting enough light, water, and fertilizer.
* Pest Infestation: Treat pests with insecticidal soap or neem oil.
* Fungal Diseases: Improve air circulation and avoid overwatering.
Extending Your Bean Harvest
Want to keep those fresh beans coming? Here are a few tips for extending your harvest:
* Succession Planting: Plant new bean seeds every 2-3 weeks to ensure a continuous harvest.
* Proper Care: Continue to provide your bean plants with the care they need, including regular watering, fertilizing, and pest control.
* Harvesting Regularly: As mentioned earlier, harvesting beans regularly encourages the plant to produce more.
Saving Bean Seeds for Next Year
If you want to save seeds from your bean plants for next year, here’s how:
1. Allow Beans to Mature: Let some of the beans on the plant mature completely. They will become dry and hard.
2. Harvest the Dry Beans: Harvest the dry beans from the plant.
3. Dry the Seeds: Spread the seeds out on a tray and let them dry completely in a cool, dry place for a few weeks.
4. Store the Seeds: Store the dried seeds in an airtight container in a cool, dry place.
Enjoying Your Homegrown Beans
Now that you’ve harvested your homegrown beans, it’s time to enjoy them! Freshly picked beans are delicious steamed, sautéed, or added to salads and soups. You can also freeze or can your beans for later use.
Growing beans indoors is a rewarding experience that allows you to enjoy fresh, homegrown produce year-round. With a little bit of care and attention, you can have a bountiful harvest of delicious beans right in your own home. Happy gardening!
Conclusion
So, there you have it! Growing beans indoors isn’t just a whimsical gardening experiment; it’s a genuinely rewarding and surprisingly simple way to bring fresh, homegrown goodness right into your kitchen. We’ve walked through the steps, addressed the potential challenges, and hopefully, inspired you to ditch the store-bought beans and embrace the satisfaction of cultivating your own.
Why is this a must-try? Because beyond the convenience of having fresh beans readily available, you’re connecting with nature in a tangible way. You’re witnessing the miracle of growth firsthand, learning about plant life cycles, and enjoying the unparalleled flavor of beans picked at their peak ripeness. Plus, it’s a fantastic way to introduce children to the wonders of gardening and healthy eating habits.
But the best part? The possibilities are endless! Feel free to experiment with different bean varieties. Bush beans are generally more compact and well-suited for indoor growing, but don’t let that stop you from trying pole beans if you have the space and a sturdy trellis. Consider exploring heirloom varieties for unique flavors and colors. You can also play around with different potting mixes to see what works best for your growing environment. Some gardeners swear by adding a bit of compost tea to their watering routine for an extra nutrient boost.
For a fun twist, try growing beans in a vertical garden setup. This not only saves space but also adds a visually appealing element to your indoor garden. You can use repurposed pallets, hanging planters, or even create your own DIY vertical garden structure.
Don’t be afraid to get creative with your support systems, either. While bamboo stakes and trellises are classic choices, you can also use branches, twine, or even repurposed materials like old ladders or clothes racks. The key is to provide adequate support for the bean plants as they grow and climb.
Remember, growing beans indoors is a journey of learning and discovery. There will be successes and setbacks along the way, but that’s all part of the fun. The most important thing is to be patient, observant, and willing to adapt your approach as needed.
We wholeheartedly encourage you to give this DIY trick a try. It’s a simple, affordable, and incredibly rewarding way to enhance your culinary experience and connect with nature. Once you’ve harvested your first batch of homegrown beans, we’d love to hear about your experience! Share your photos, tips, and stories in the comments below. Let’s create a community of indoor bean growers and inspire others to embrace the joy of homegrown goodness. Happy growing!
Frequently Asked Questions (FAQ)
What are the best bean varieties to grow indoors?
While many bean varieties can be grown indoors, bush beans are generally the most suitable due to their compact size and growth habit. Some popular choices include:
* Provider: A reliable and early-maturing bush bean variety.
* Blue Lake Bush: Known for its excellent flavor and disease resistance.
* Contender: A high-yielding bush bean with stringless pods.
* Roma II: A flat-podded bush bean with a rich, nutty flavor.
If you have ample space and a sturdy trellis, you can also try growing pole beans indoors. However, be prepared to provide adequate support and ensure they receive sufficient sunlight.
How much sunlight do indoor bean plants need?
Bean plants require at least 6-8 hours of direct sunlight per day to thrive. If you don’t have a sunny window, you can supplement with grow lights. Position the grow lights about 6-12 inches above the plants and keep them on for 12-16 hours per day.
What type of soil is best for growing beans indoors?
A well-draining potting mix is essential for growing beans indoors. You can use a commercially available potting mix or create your own by combining equal parts of peat moss, perlite, and vermiculite. Avoid using garden soil, as it can be too heavy and may contain pests or diseases.
How often should I water my indoor bean plants?
Water your bean plants regularly, keeping the soil consistently moist but not waterlogged. Check the soil moisture level daily and water when the top inch feels dry to the touch. Avoid overwatering, as this can lead to root rot.
Do I need to fertilize my indoor bean plants?
Yes, bean plants benefit from regular fertilization. Use a balanced liquid fertilizer diluted to half strength every 2-3 weeks. You can also add compost tea to your watering routine for an extra nutrient boost.
How long does it take for beans to mature indoors?
The time it takes for beans to mature indoors varies depending on the variety and growing conditions. Generally, bush beans mature in 50-60 days, while pole beans take 60-75 days.
How do I know when my beans are ready to harvest?
Beans are ready to harvest when the pods are firm, plump, and easily snap off the plant. Avoid letting the pods become too large or tough, as this can affect their flavor and texture.
What are some common pests and diseases that affect indoor bean plants?
Common pests that can affect indoor bean plants include aphids, spider mites, and whiteflies. You can control these pests by spraying the plants with insecticidal soap or neem oil. Common diseases include powdery mildew and root rot. Prevent these diseases by providing good air circulation and avoiding overwatering.
Can I grow beans indoors year-round?
Yes, you can grow beans indoors year-round as long as you provide adequate light, water, and nutrients. However, you may need to adjust your growing conditions depending on the season. For example, you may need to supplement with grow lights during the winter months.
What if my bean plants are not producing beans?
There are several reasons why your bean plants may not be producing beans. Some common causes include:
* Insufficient sunlight: Ensure your plants are receiving at least 6-8 hours of direct sunlight per day.
* Lack of pollination: While beans are self-pollinating, you can help the process by gently shaking the plants or using a small brush to transfer pollen from one flower to another.
* Nutrient deficiencies: Fertilize your plants regularly with a balanced liquid fertilizer.
* Extreme temperatures: Maintain a consistent temperature between 65-75°F.
* Overwatering or underwatering: Adjust your watering schedule to keep the soil consistently moist but not waterlogged.
By addressing these potential issues, you can increase your chances of a successful bean harvest.

Leave a Comment