
Growing Celery at Home might seem like a challenge reserved for seasoned gardeners, but I’m here to tell you it’s totally achievable, even if you’re a beginner! Forget those bland, store-bought stalks – imagine the crisp, refreshing taste of homegrown celery, bursting with flavor and packed with nutrients.
Celery has a fascinating history, dating back to ancient times where it was valued more for its medicinal properties than its culinary uses. The ancient Greeks even used celery leaves to crown victors in athletic competitions! While we might not be awarding any Olympic medals for our gardening efforts, the satisfaction of harvesting your own celery is a victory in itself.
Why bother with the effort of growing celery at home? Well, for starters, you’ll have access to fresher, more flavorful celery than you can typically find in supermarkets. Plus, you’ll know exactly what went into growing it – no harmful pesticides or chemicals! In this article, I’m going to share some simple, DIY tricks and hacks that will make growing celery at home a breeze. From starting seeds to harvesting your bounty, I’ll guide you through every step of the process. Get ready to enjoy the delicious rewards of your own homegrown celery!
Growing Celery at Home: A Beginner’s Guide
Hey there, fellow gardening enthusiasts! Ever thought about growing your own celery? It’s easier than you might think, and the taste of homegrown celery is absolutely unbeatable – crisp, fresh, and bursting with flavor. Plus, you’ll know exactly where it came from and what went into growing it. I’m going to walk you through everything you need to know to successfully grow celery right in your own backyard (or even in containers!).
What You’ll Need
Before we dive in, let’s gather our supplies. Here’s a list of everything you’ll need to get started:
* **Celery Seeds or a Celery Stalk:** You can start from seeds, which takes a bit longer, or you can regrow celery from the base of a store-bought stalk. I’ll cover both methods.
* **Seed Starting Tray (if starting from seeds):** These trays provide the perfect environment for germination.
* **Potting Mix:** Use a high-quality seed starting mix for seeds and a well-draining potting mix for transplants.
* **Gardening Gloves:** Protect your hands!
* **Watering Can or Hose:** For gentle watering.
* **Fertilizer:** A balanced, slow-release fertilizer or liquid fertilizer.
* **Garden Trowel:** For transplanting.
* **Mulch (optional):** To help retain moisture and suppress weeds.
* **A Sunny Spot:** Celery needs at least 6 hours of sunlight per day.
* **Well-Draining Soil:** Celery thrives in rich, moist soil.
Starting from Seeds: A Patient Gardener’s Approach
Growing celery from seeds requires a little more patience, as it takes longer for the plants to mature. But it’s a rewarding experience!
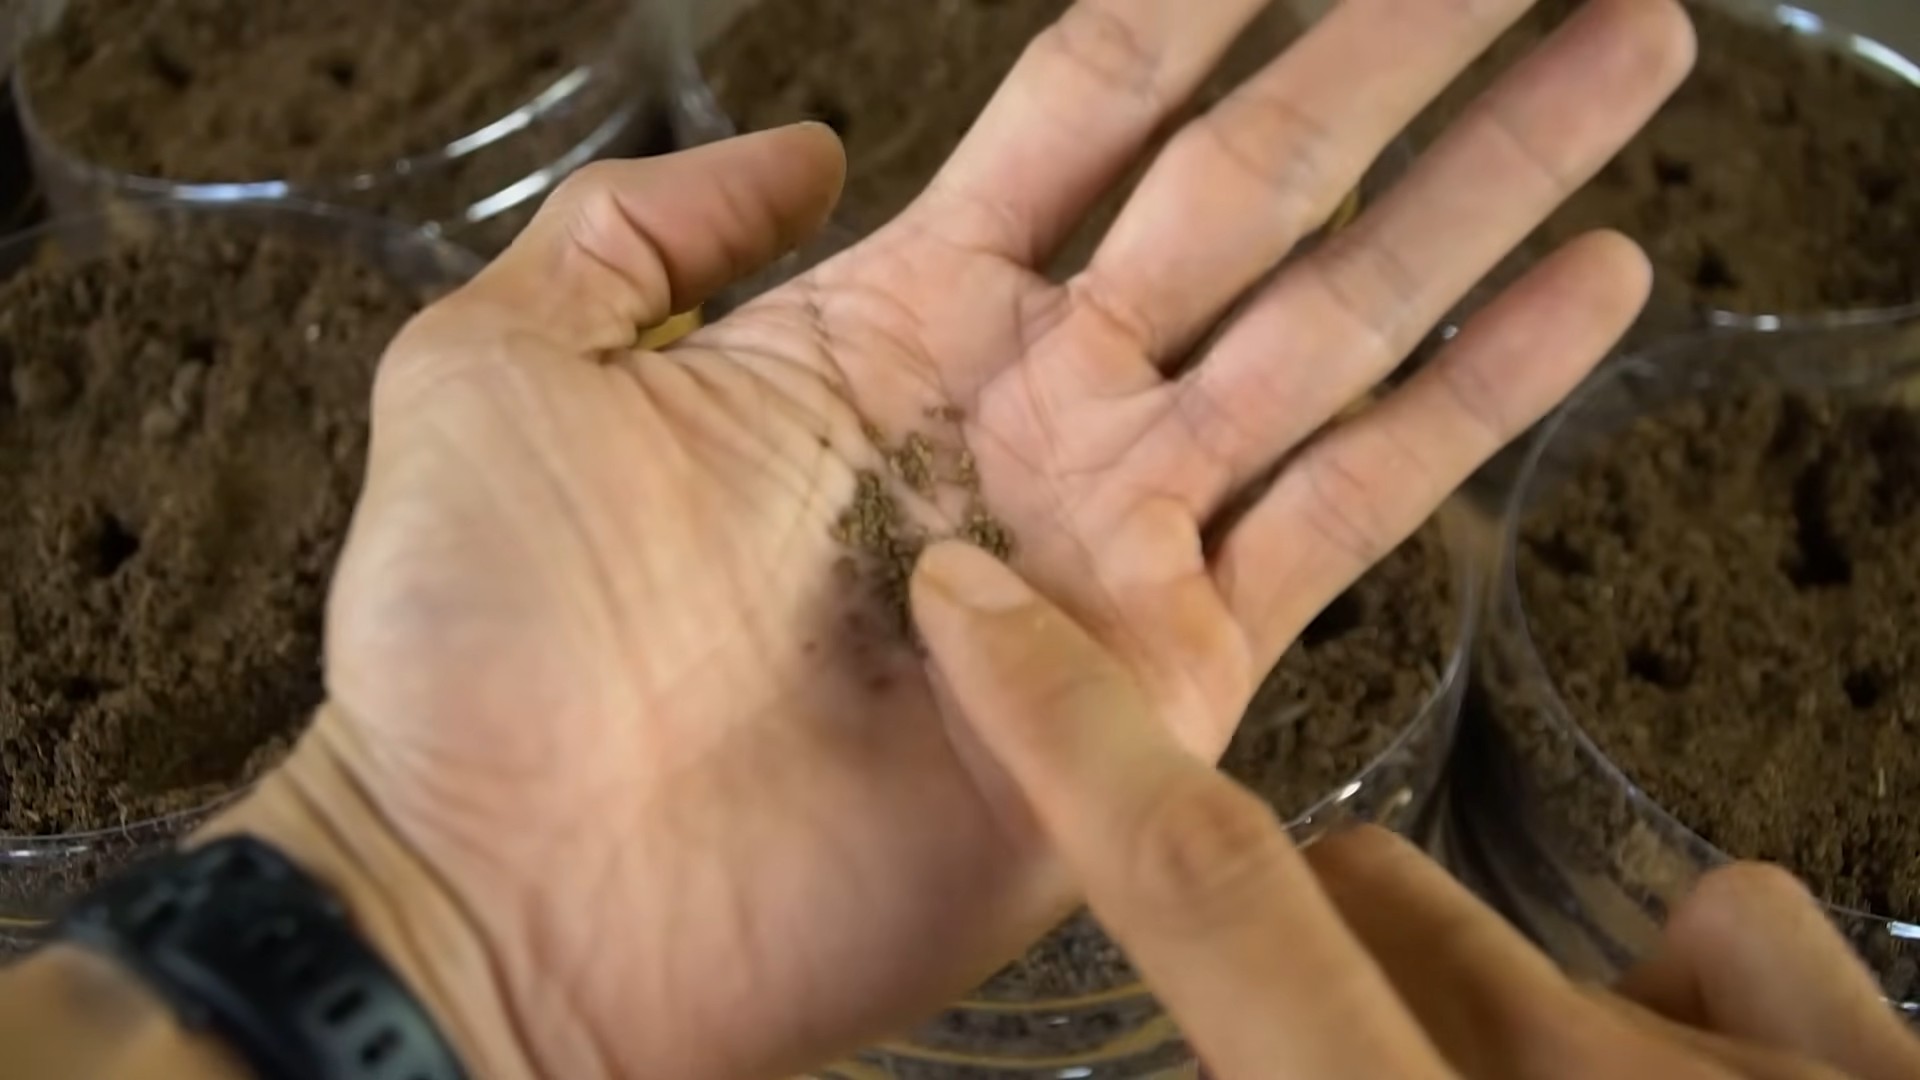
1. **Sowing the Seeds:** Celery seeds are tiny, so handle them with care.
* Fill your seed starting tray with moist seed starting mix.
* Sprinkle the celery seeds evenly over the surface of the soil. Don’t bury them too deep; they need light to germinate. Gently press them into the soil.
* Lightly mist the soil with water.
* Cover the tray with a clear plastic lid or plastic wrap to create a humid environment.
2. **Germination:** Celery seeds can be a bit finicky to germinate.
* Place the tray in a warm location (around 70-75°F or 21-24°C) with indirect sunlight.
* Keep the soil consistently moist, but not soggy. Mist the soil regularly.
* Germination can take anywhere from 14 to 21 days, so be patient!
* Once the seedlings emerge, remove the plastic cover to allow for better air circulation.
3. **Growing the Seedlings:** Once your seedlings have sprouted, it’s time to nurture them.
* Provide the seedlings with plenty of light. If you don’t have enough natural light, you can use a grow light.
* Water the seedlings regularly, keeping the soil consistently moist.
* Once the seedlings have developed a few sets of true leaves (the leaves that look like miniature celery stalks), you can start fertilizing them with a diluted liquid fertilizer. Follow the instructions on the fertilizer package.
4. **Hardening Off:** Before transplanting your seedlings outdoors, you need to “harden them off.” This process gradually acclimates the seedlings to outdoor conditions.
* Start by placing the seedlings outdoors in a sheltered location for a few hours each day.
* Gradually increase the amount of time they spend outdoors each day, exposing them to more sunlight and wind.
* After about a week, the seedlings should be ready to be transplanted into your garden.
Regrowing Celery from a Stalk: The Quick and Easy Method
This method is super simple and a great way to get a head start on your celery growing!
1. **Prepare the Celery Base:**
* After using a celery stalk, save the base (the part where the stalks are connected).
* Place the celery base in a shallow dish or glass filled with about an inch of water.
* Make sure the cut end is facing up and the roots (if any) are submerged in water.
2. **Encourage Root Growth:**
* Place the dish in a sunny windowsill.
* Change the water every day or two to prevent it from getting cloudy.
* Within a few days, you should start to see new roots emerging from the bottom of the celery base and new leaves sprouting from the top.
3. **Transplanting to Soil:**
* Once the roots are about an inch or two long, it’s time to transplant the celery base into soil.
* Choose a pot that is at least 6 inches in diameter and fill it with well-draining potting mix.
* Dig a hole in the center of the pot that is large enough to accommodate the celery base and its roots.
* Carefully remove the celery base from the water and place it in the hole.
* Gently fill the hole with soil, making sure to cover the roots.
* Water the celery plant thoroughly.
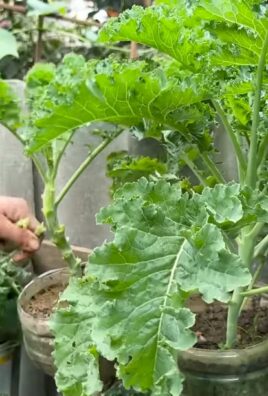
Planting and Growing Celery in the Garden
Whether you started from seeds or regrew a stalk, the next steps are the same.
1. **Choosing the Right Location:**
* Celery needs at least 6 hours of sunlight per day.
* Choose a location with well-draining soil that is rich in organic matter.
* Celery prefers slightly acidic soil with a pH between 6.0 and 6.8.
2. **Preparing the Soil:**
* Before planting, amend the soil with compost or other organic matter to improve drainage and fertility.
* Till the soil to a depth of at least 12 inches.
* Remove any rocks or debris.
3. **Transplanting Celery Plants:**
* Space the celery plants about 6-8 inches apart in rows that are 12-18 inches apart.
* Dig a hole that is large enough to accommodate the root ball of the celery plant.
* Carefully remove the celery plant from its pot or seed starting tray.
* Place the celery plant in the hole and gently fill the hole with soil.
* Water the celery plant thoroughly.
4. **Watering and Fertilizing:**
* Celery needs consistent moisture to thrive. Water the plants regularly, especially during hot, dry weather. Aim for about 1-2 inches of water per week.
* Fertilize the celery plants every 2-3 weeks with a balanced fertilizer. Follow the instructions on the fertilizer package.
5. **Blanching (Optional):**
* Blanching is the process of excluding light from the celery stalks to make them more tender and less bitter. This is optional, but it can improve the flavor of your celery.
* About 2-3 weeks before harvest, you can blanch the celery stalks by wrapping them with newspaper, cardboard, or soil. Leave the tops of the stalks exposed to sunlight.
6. **Pest and Disease Control:**
* Celery can be susceptible to a few pests and diseases, such as aphids, celery leaf tiers, and early blight.
* Inspect your plants regularly for signs of pests or diseases.
* If you find any pests, you can try spraying the plants with insecticidal soap or neem oil.
* To prevent diseases, make sure to provide good air circulation and avoid overwatering.
Harvesting Your Homegrown Celery
The moment you’ve been waiting for!
1. **When to Harvest:**
* Celery is typically ready to harvest about 80-100 days after planting.
* The stalks should be at least 6-8 inches long and thick enough to snap easily.
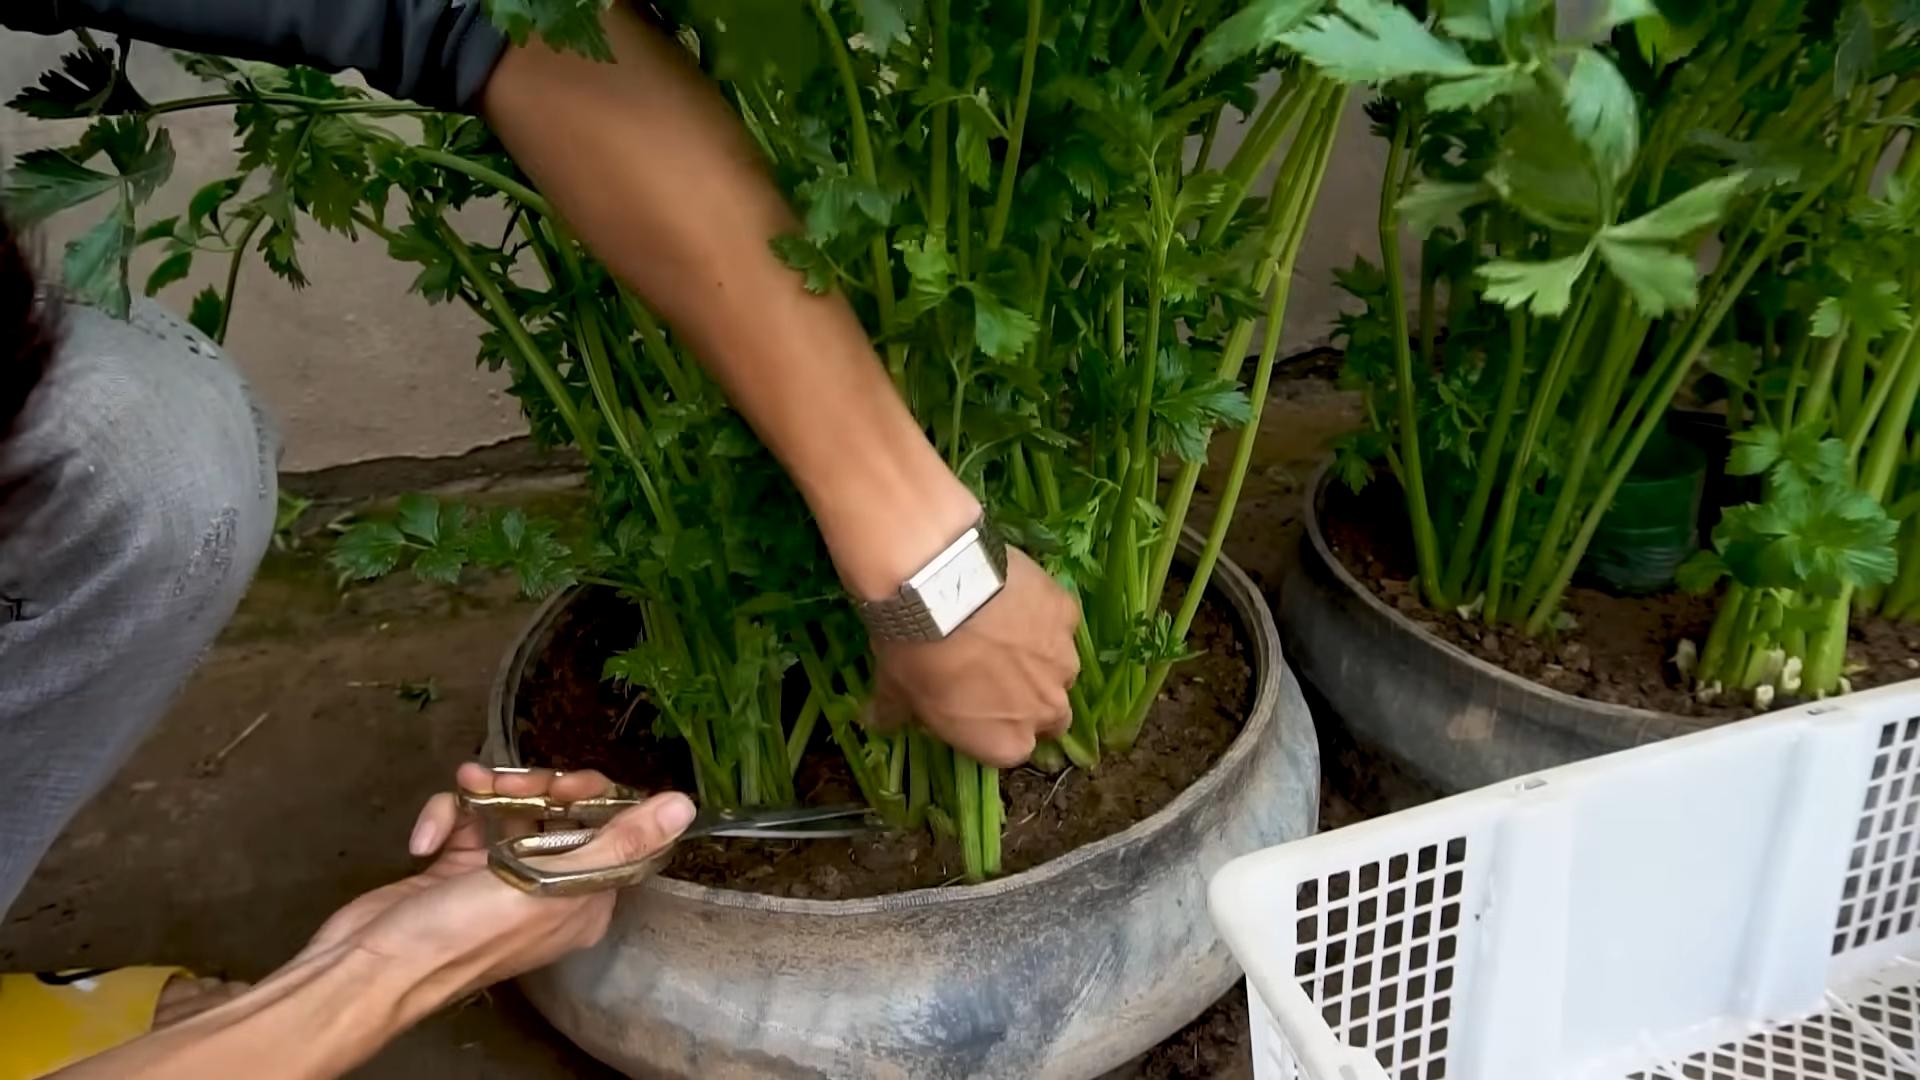
2. **How to Harvest:**
* You can harvest the entire plant at once or harvest individual stalks as needed.
* To harvest the entire plant, use a sharp knife to cut the celery at the base of the plant.
* To harvest individual stalks, simply snap them off at the base of the plant.
3. **Storing Your Celery:**
* Freshly harvested celery can be stored in the refrigerator for up to 2 weeks.
* Wrap the celery in a damp paper towel and place it in a plastic bag.
Troubleshooting
Even with the best care, you might encounter some challenges. Here are a few common problems and how to address them:
* **Yellowing Leaves:** This could be a sign of nutrient deficiency. Try fertilizing with a balanced fertilizer.
* **Stunted Growth:** This could be due to poor soil, lack of sunlight, or pests. Make sure your celery is getting enough sunlight and nutrients, and check for pests.
* **Bol
Conclusion
So, there you have it! Growing celery at home isn’t just a quirky gardening experiment; it’s a gateway to fresher, more flavorful celery, reduced grocery bills, and a deeper connection to the food you eat. Forget those limp, pre-cut stalks from the supermarket – imagine the crisp, vibrant crunch of celery you’ve nurtured from start to finish. This DIY trick, while requiring a bit of patience, is incredibly rewarding, offering a sustainable and satisfying way to enjoy this versatile vegetable.
But the benefits extend beyond the taste. Think about the environmental impact. By growing your own celery, you’re reducing your carbon footprint associated with transportation and packaging. You’re also in control of the growing process, ensuring your celery is free from harmful pesticides and herbicides. It’s a win-win for your health and the planet.
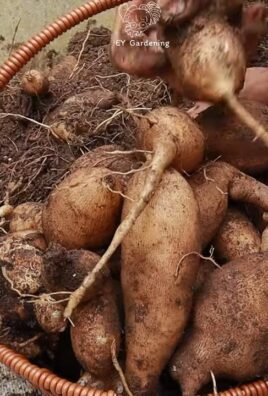
And don’t think you’re limited to just the standard green variety! Experiment with different types of celery. There’s golden celery, which offers a slightly sweeter flavor, or even celeriac, the root of the celery plant, which can be used in soups and stews. You can also adjust the growing conditions to influence the flavor. For example, providing more sunlight can result in a sweeter, more intense celery flavor.
Consider companion planting to further enhance your celery growing experience. Plant celery alongside onions, garlic, or marigolds to deter pests and improve soil health. You can also use the celery leaves in salads, soups, and stir-fries, minimizing waste and maximizing the use of your homegrown bounty.
Ready to ditch the store-bought celery and embrace the satisfaction of growing your own? We encourage you to give this DIY trick a try. It’s a simple, cost-effective, and environmentally friendly way to enjoy fresh, delicious celery.
Once you’ve harvested your first batch of homegrown celery, don’t forget to share your experience with us! We’d love to hear about your successes, challenges, and any variations you’ve tried. Post photos of your celery plants, share your favorite celery recipes, and let us know what you’ve learned along the way. Together, we can create a community of home gardeners who are passionate about growing their own food. So, grab your seeds, prepare your soil, and get ready to enjoy the unparalleled taste of homegrown celery!
Frequently Asked Questions (FAQs)
What are the best celery varieties to grow at home?
Choosing the right celery variety is crucial for success. Some popular and relatively easy-to-grow varieties for home gardeners include ‘Utah Tall Green,’ ‘Golden Self-Blanching,’ and ‘Giant Red.’ ‘Utah Tall Green’ is a classic choice, known for its crisp stalks and robust flavor. ‘Golden Self-Blanching’ is a heritage variety that naturally blanches (turns pale yellow) as it grows, resulting in a milder, sweeter flavor. ‘Giant Red’ offers a unique visual appeal with its reddish-purple stalks and a slightly peppery taste. Consider your local climate and growing conditions when selecting a variety. Some varieties are more heat-tolerant or cold-hardy than others. Also, think about your culinary preferences. Do you prefer a strong, assertive celery flavor or a milder, sweeter one?
How long does it take to grow celery from seed?
Growing celery from seed requires patience, as it can take anywhere from 120 to 150 days from seed to harvest. The germination process itself can be slow and somewhat challenging. It’s best to start celery seeds indoors about 10-12 weeks before the last expected frost. Use a seed-starting mix and keep the soil consistently moist. Celery seeds need light to germinate, so don’t bury them too deeply. Once the seedlings are large enough to handle, transplant them into individual pots. Harden them off gradually before transplanting them outdoors after the danger of frost has passed.
What are the ideal growing conditions for celery?
Celery thrives in cool, moist conditions. It prefers a sunny location with at least six hours of sunlight per day, but it can tolerate some partial shade, especially in hotter climates. The soil should be rich, well-drained, and consistently moist. Celery is a heavy feeder, so amend the soil with plenty of compost or well-rotted manure before planting. The ideal soil pH is between 6.0 and 6.8. Consistent watering is essential, especially during hot, dry periods. Mulching around the plants can help retain moisture and suppress weeds.
What are common pests and diseases that affect celery?
Celery can be susceptible to several pests and diseases, including celery leaf tier, aphids, carrot rust fly, early blight, and pink rot. Regularly inspect your plants for signs of infestation or disease. Celery leaf tiers are caterpillars that feed on the leaves, causing damage and reducing plant vigor. Aphids are small, sap-sucking insects that can weaken plants and transmit diseases. Carrot rust flies lay their eggs near the base of the plants, and the larvae burrow into the roots, causing damage. Early blight is a fungal disease that causes brown spots on the leaves. Pink rot is another fungal disease that can cause the stalks to rot. To prevent pests and diseases, practice good garden hygiene, such as removing plant debris and weeds. Use organic pest control methods, such as insecticidal soap or neem oil, to control aphids and other pests. Ensure good air circulation to prevent fungal diseases.
How do I harvest celery?
You can harvest celery stalks as needed once they reach a usable size, typically around 6-8 inches tall. Use a sharp knife to cut the stalks at the base of the plant. You can harvest individual stalks or the entire plant at once. If you only harvest a few stalks at a time, the plant will continue to produce more. For the best flavor and texture, harvest celery before it becomes too mature, as older stalks can become tough and bitter.
Can I regrow celery from the base?
Yes, you can regrow celery from the base, also known as the root end. This is a great way to get a second harvest from your celery. After using the stalks, cut off the base about 2 inches from the bottom. Place the base in a shallow dish of water, with the cut side facing up. Place the dish in a sunny location and change the water every day or two. After a few days, you should see new roots and leaves starting to grow. Once the roots are well-developed, you can transplant the celery base into a pot or directly into the garden.
How do I store celery after harvesting?
Proper storage is essential to keep your homegrown celery fresh and crisp. After harvesting, remove any damaged or yellowing leaves. Wrap the celery stalks tightly in a damp paper towel and place them in a plastic bag or container in the refrigerator. This will help retain moisture and prevent the celery from drying out. Celery stored properly can last for several weeks in the refrigerator. You can also freeze celery for longer storage. Chop the celery into small pieces and blanch it in boiling water for a few minutes. Then, cool it quickly in ice water and drain it well. Pack the blanched celery into freezer bags or containers and freeze it for up to several months. Frozen celery is best used in cooked dishes, such as soups and stews.
Leave a Comment