
Growing Chayote for Beginners can seem daunting, but trust me, it’s more rewarding than you think! Have you ever dreamt of harvesting your own unique, pear-shaped vegetable right from your backyard? Imagine the satisfaction of serving a dish featuring a homegrown ingredient that’s both delicious and packed with nutrients. Well, that dream can become a reality, even if you’re a complete gardening novice.
Chayote, also known as vegetable pear or mirliton, has a fascinating history, deeply rooted in Mesoamerican cultures. For centuries, it has been a staple food, prized for its versatility and ease of cultivation. It’s not just a food source; it’s a symbol of resourcefulness and sustainable living.
In today’s world, where we’re increasingly conscious of where our food comes from, growing chayote for beginners offers a fantastic opportunity to connect with nature and reduce our reliance on store-bought produce. Plus, with rising food costs, wouldn’t it be amazing to have a readily available source of fresh vegetables right outside your door? This guide will break down the process into simple, manageable steps, ensuring that even the most inexperienced gardener can successfully cultivate this amazing plant. So, grab your gardening gloves, and let’s embark on this exciting journey together!
Growing Chayote: A Beginner’s Guide to This Versatile Vine
Okay, so you’re thinking about growing chayote? Awesome! I’m here to tell you, it’s easier than you might think, and the rewards are delicious. Chayote, also known as vegetable pear, mirliton, or christophene, is a fantastic vine that produces pear-shaped fruits you can use in countless dishes. Plus, the entire plant is edible – the shoots, leaves, roots, and even the seeds! Let’s dive into how you can successfully grow this amazing plant.
Understanding Chayote: A Quick Overview
Before we get our hands dirty, let’s understand what we’re dealing with. Chayote is a member of the squash family, and it’s a vigorous vine that needs space to spread. It thrives in warm climates, but with a little planning, you can grow it even in cooler regions. The most important thing to remember is that you typically plant the entire fruit, not just the seeds.
What You’ll Need: Gathering Your Supplies
Before we start, let’s make sure you have everything you need. This will save you time and frustration later on.
* Chayote Fruit: This is the most crucial ingredient! Look for a mature, unblemished fruit at your local grocery store or farmers market. It should be plump and starting to sprout. If it’s already sprouting, even better!
* Large Container (Optional): If you live in a cooler climate, you might want to start your chayote indoors in a large container (at least 5 gallons) to give it a head start.
* Well-Draining Soil: Chayote isn’t too picky, but it prefers well-draining soil rich in organic matter. A mix of compost, potting soil, and perlite works well.
* Trellis or Support Structure: This is essential! Chayote vines can grow up to 30-40 feet long, so they need a strong trellis, fence, or arbor to climb on.
* Gardening Gloves: Protect your hands!
* Shovel or Trowel: For planting.
* Watering Can or Hose: To keep your chayote happy and hydrated.
* Fertilizer (Optional): A balanced fertilizer can help boost growth, but it’s not strictly necessary.
Step-by-Step Planting Guide: From Fruit to Vine
Okay, let’s get planting! Here’s a detailed guide to get you started.
Phase 1: Sprouting Your Chayote (Optional but Recommended)
This step is optional, but I highly recommend it, especially if you live in a cooler climate. Sprouting the chayote indoors gives it a head start and increases your chances of success.
1. Prepare the Fruit: Gently wash the chayote fruit to remove any dirt or debris.
2. Position the Fruit: Place the fruit horizontally in a large container filled with moist (not soggy!) potting mix. Make sure the stem end (the end that was attached to the vine) is slightly exposed.
3. Bury Partially: Cover about two-thirds of the fruit with the potting mix, leaving the top third exposed.
4. Water Regularly: Keep the soil consistently moist, but not waterlogged.
5. Provide Warmth and Light: Place the container in a warm, sunny location. A south-facing window is ideal.
6. Wait Patiently: It can take several weeks for the chayote to sprout. Be patient and keep the soil moist. You’ll know it’s working when you see a sprout emerging from the top of the fruit.
Phase 2: Planting Outdoors
Once the weather warms up and the danger of frost has passed, it’s time to transplant your sprouted chayote (or plant the unsprouted fruit directly) outdoors.
1. Choose a Sunny Location: Chayote needs at least 6-8 hours of sunlight per day.
2. Prepare the Soil: Dig a hole that’s twice as wide and as deep as the chayote fruit. Amend the soil with plenty of compost or well-rotted manure to improve drainage and fertility.
3. Install Your Trellis: Before you plant, make sure your trellis or support structure is in place. Remember, this vine will get big!
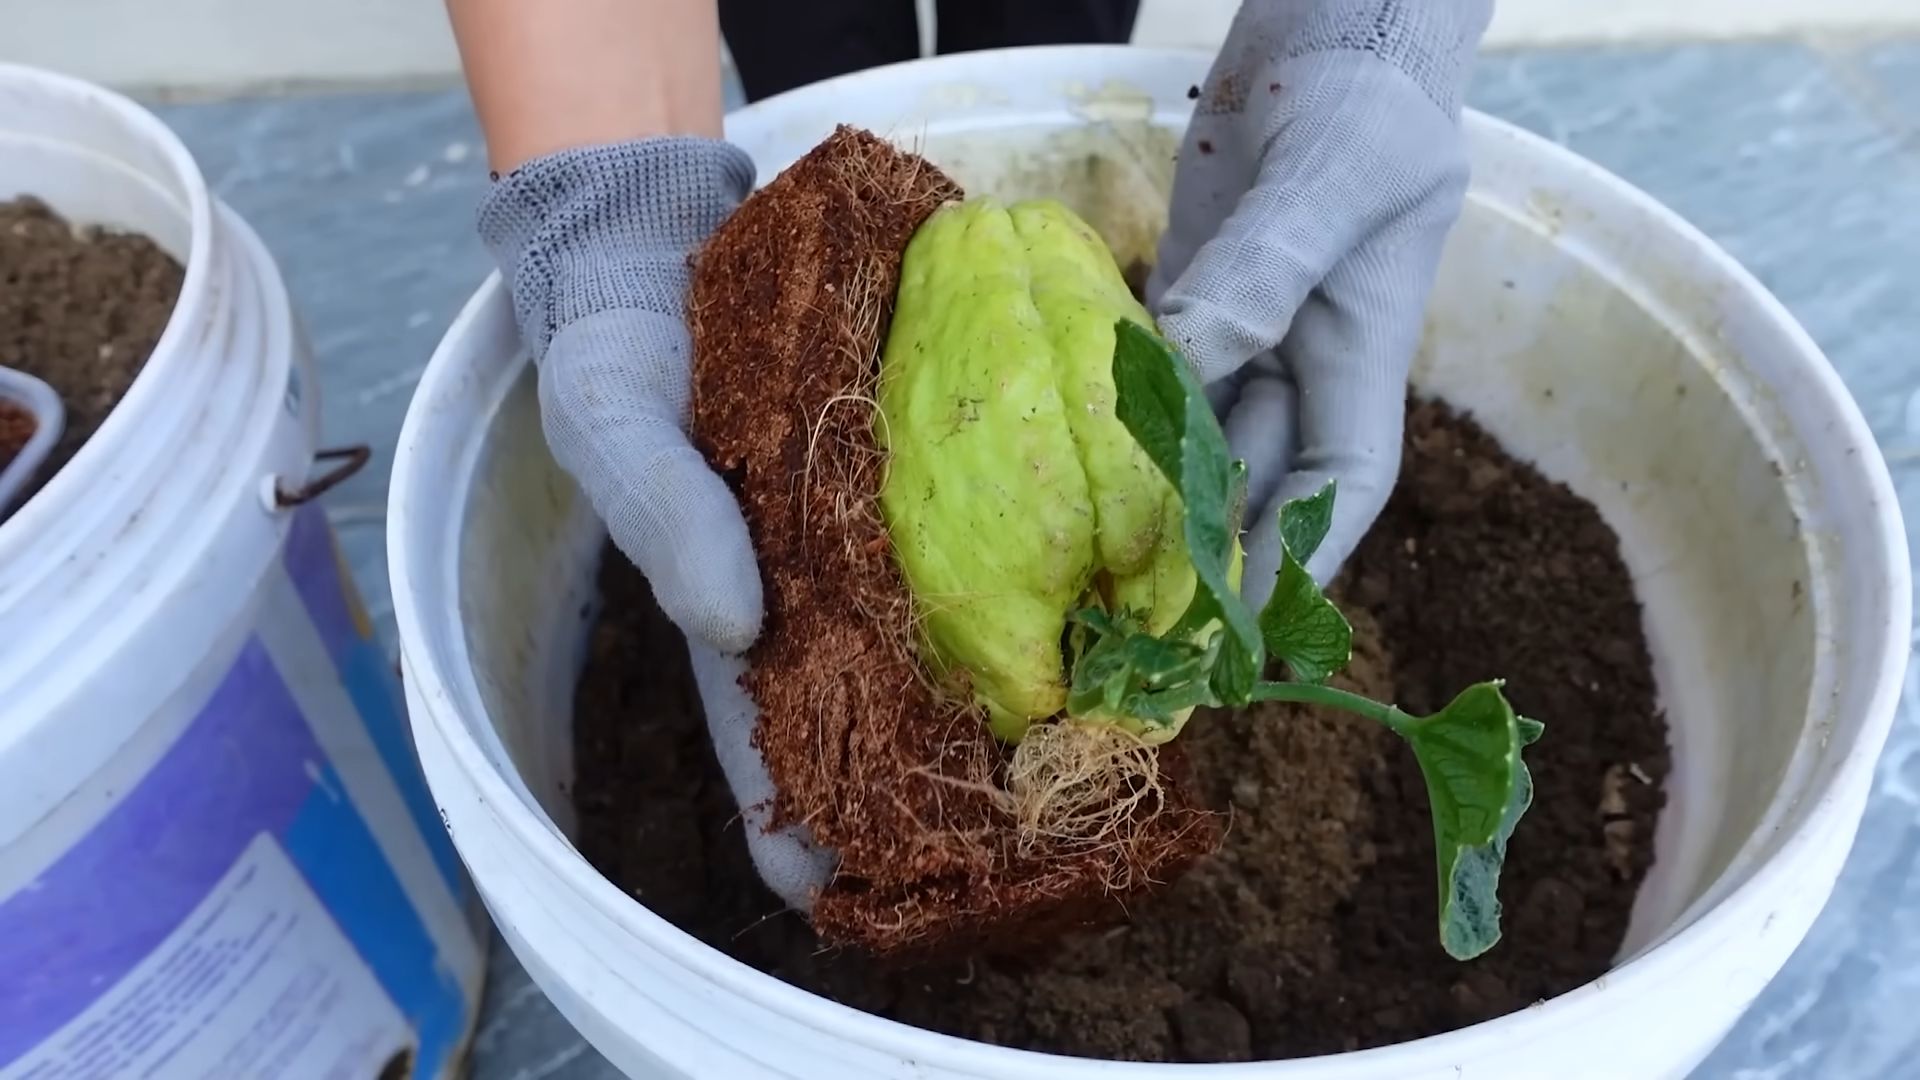
4. Plant the Chayote: Gently remove the sprouted chayote from the container (if you sprouted it indoors). If you’re planting an unsprouted fruit, simply place it horizontally in the hole, with the stem end slightly exposed.
5. Cover and Water: Backfill the hole with soil, covering about two-thirds of the fruit. Water thoroughly.
6. Mulch (Optional): Add a layer of mulch around the base of the plant to help retain moisture and suppress weeds.
Caring for Your Chayote Vine: Keeping it Happy and Healthy
Now that your chayote is planted, it’s time to provide it with the care it needs to thrive.
* Watering: Water regularly, especially during dry periods. Chayote needs consistent moisture to produce fruit. Aim for about 1-2 inches of water per week.
* Fertilizing: While not essential, fertilizing can boost growth and fruit production. Use a balanced fertilizer (10-10-10) every few weeks during the growing season. Follow the instructions on the fertilizer package.
* Pruning: Pruning isn’t strictly necessary, but it can help control the size of the vine and improve air circulation. Remove any dead or damaged vines. You can also trim back the vine if it’s getting too unruly.
* Pest and Disease Control: Chayote is generally pest and disease resistant, but keep an eye out for common garden pests like aphids and squash bugs. If you spot any pests, treat them with insecticidal soap or neem oil. Good air circulation can help prevent fungal diseases.
* Training the Vine: As the vine grows, gently guide it onto the trellis or support structure. This will help it climb and spread properly.
Harvesting Your Chayote: Enjoying the Fruits of Your Labor
Harvest time is the most rewarding part! Here’s how to know when your chayote is ready to pick.
* Timing: Chayote fruits are typically ready to harvest in the fall, about 30-45 days after flowering.
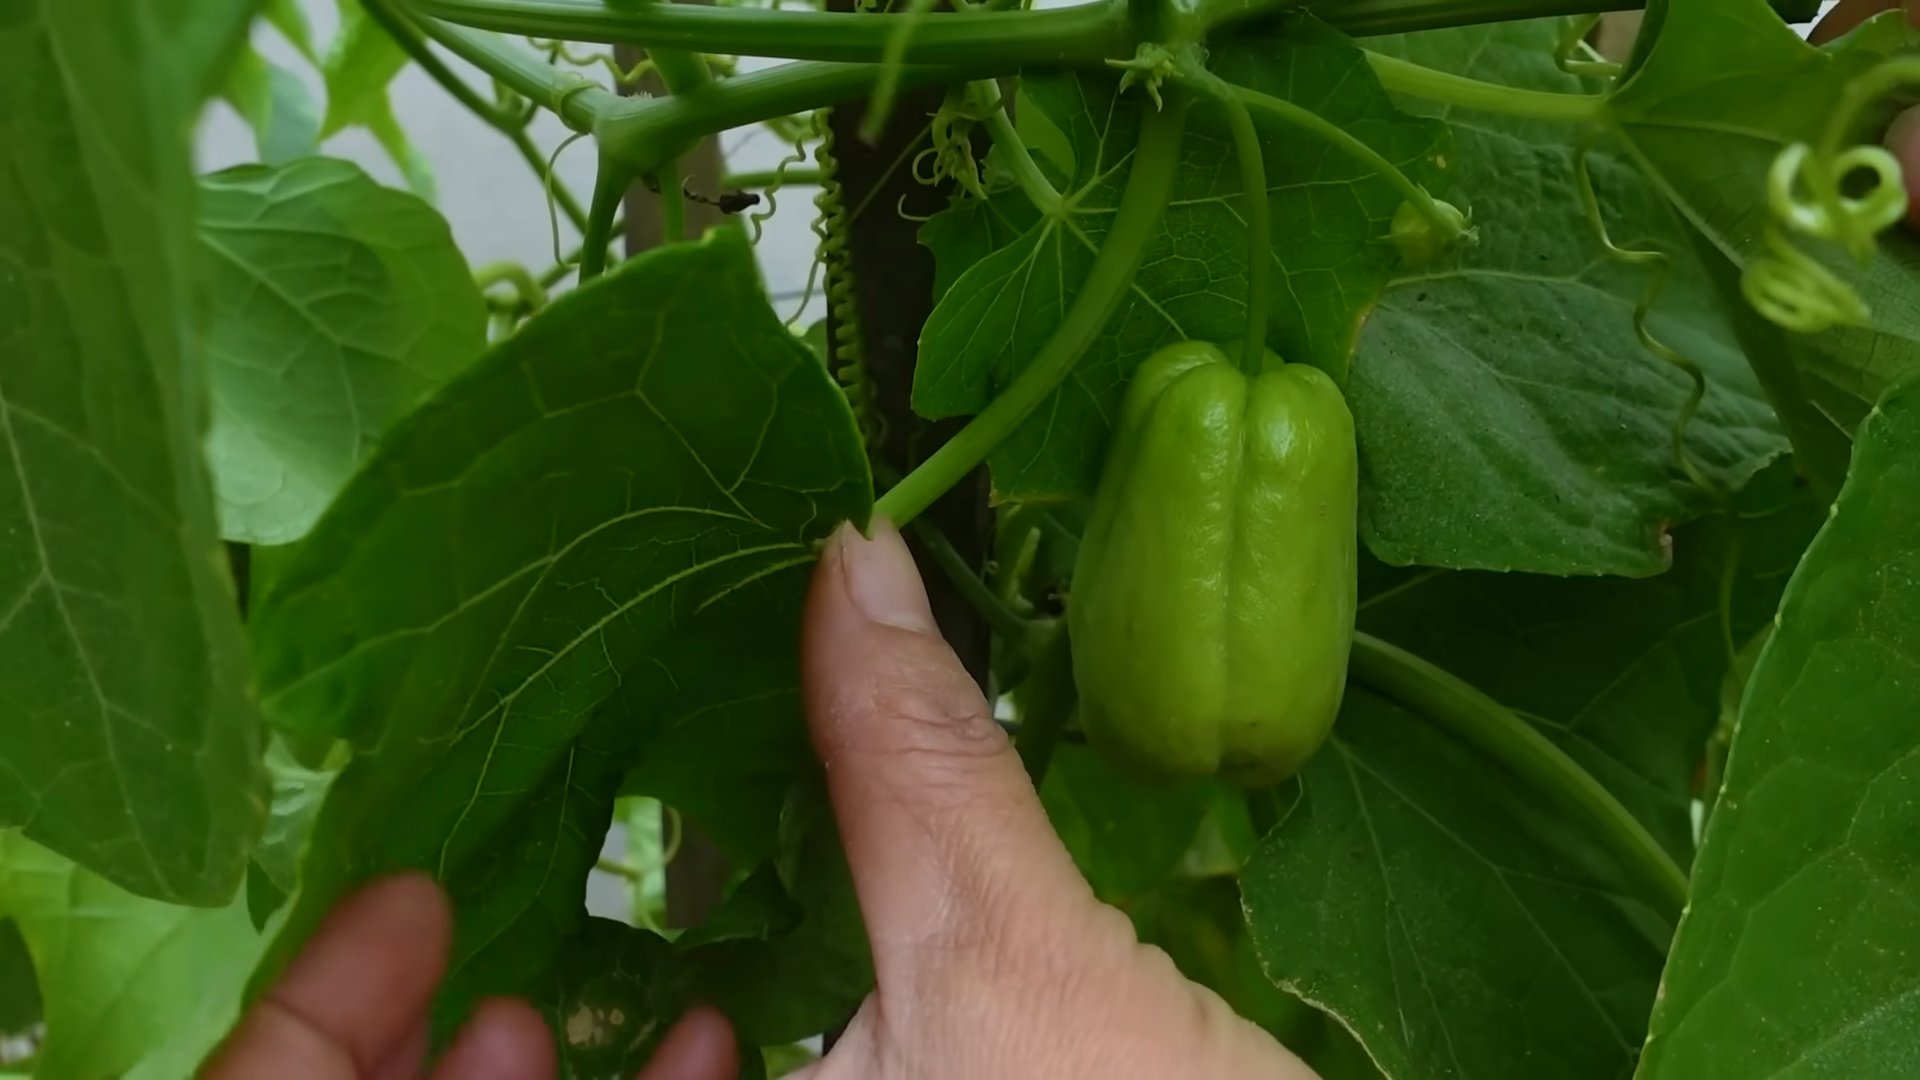
* Appearance: The fruit should be firm and smooth, with a light green color. It should be about 4-6 inches long.
* Tenderness: The skin should be tender enough to pierce with your fingernail.
* Harvesting: Use a sharp knife or pruners to cut the fruit from the vine, leaving a short stem attached.
* Storage: Chayote fruits can be stored in the refrigerator for several weeks.
Culinary Uses: So Many Ways to Enjoy Chayote!
Chayote is incredibly versatile in the kitchen. You can use it in a variety of dishes, both sweet and savory. Here are just a few ideas:
* Raw: Grated or sliced thinly in salads. It has a mild, slightly sweet flavor.
* Boiled or Steamed: As a side dish, similar to squash or zucchini.
* Stir-Fried: In Asian-inspired dishes.
* Baked or Roasted: With other vegetables.
* Pickled: A tangy and refreshing treat.
* In Soups and Stews: Adds a mild flavor and texture.
* In Desserts: Believe it or not, chayote can be used in pies and cakes!
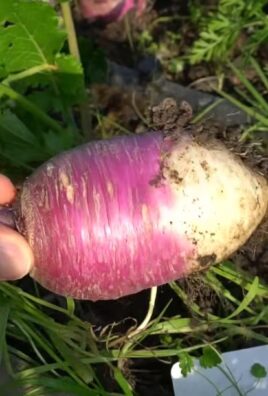
Don’t forget the other edible parts! The young shoots and leaves can be steamed or stir-fried like spinach. The root, which is larger and more starchy, can be boiled or roasted like a potato. Even the seed inside the fruit is edible and has a nutty flavor.
Troubleshooting: Common Issues and Solutions
Even with the best care, you might encounter some challenges. Here are a few common issues and how to address them:
* No Fruit Production: This could be due to a lack of pollination, insufficient sunlight, or poor soil. Make sure your plant is getting enough sunlight and water. You can also try hand-pollinating the flowers.
* Yellowing Leaves: This could be a sign of overwatering, nutrient deficiency, or pest infestation. Check the soil moisture and adjust your watering accordingly. Fertilize with a balanced fertilizer. Inspect the leaves for pests.
* Slow Growth: This could be due to cool temperatures, poor soil, or insufficient sunlight. Make sure your plant is getting enough sunlight and warmth. Amend the soil with compost or well-rotted manure.
Final Thoughts: Enjoy the Journey!
Growing chayote is a rewarding experience. It’s a versatile and delicious vegetable that’s relatively easy to grow. With a little patience and care
Conclusion
So, there you have it! Growing chayote, even for beginners, is entirely achievable and incredibly rewarding. We’ve walked through the process, from selecting your first fruit to understanding the plant’s unique needs. The beauty of this DIY trick – propagating from a mature fruit – is its simplicity and accessibility. You don’t need specialized equipment or years of gardening experience. All you need is a healthy chayote fruit and a little patience.
Why is this a must-try? Because you’re not just growing a vegetable; you’re cultivating a resilient, versatile plant that can provide you with a continuous harvest for years to come. Imagine the satisfaction of harvesting your own chayote, knowing you nurtured it from a single fruit. Think of the delicious meals you can create, from stir-fries and soups to salads and even desserts. And consider the environmental benefits of growing your own food, reducing your reliance on commercially produced vegetables.
But the benefits don’t stop there. Chayote is a vigorous vine, and while we’ve focused on growing it for its fruit, the shoots and leaves are also edible and nutritious. This makes it a truly sustainable and productive addition to any garden.
Variations and Suggestions:
* Trellis Design: Experiment with different trellis designs to find what works best for your space and the plant’s growth habit. A sturdy A-frame trellis, a pergola, or even a strong fence can provide excellent support.
* Soil Amendments: While chayote isn’t overly fussy about soil, enriching it with compost or well-rotted manure will significantly boost its growth and fruit production. Consider adding bone meal to the planting hole to encourage strong root development.
* Companion Planting: Plant companion plants like beans, peas, or nitrogen-fixing cover crops near your chayote to improve soil health and attract beneficial insects. Avoid planting it near aggressive rooters that might compete for nutrients.
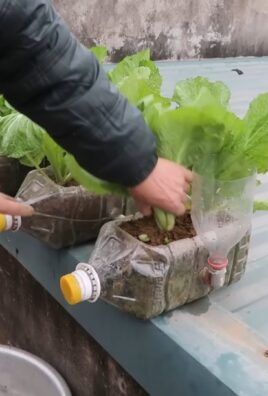
* Container Growing: While chayote thrives best in the ground, you can try growing it in a large container (at least 20 gallons) if you have limited space. Ensure the container has excellent drainage and provide a sturdy trellis.
* Climate Considerations: If you live in an area with harsh winters, consider growing chayote in a container that can be moved indoors during the colder months. Alternatively, you can heavily mulch the base of the plant to protect the roots from frost.
We truly believe that anyone can successfully grow chayote with this simple DIY trick. It’s a fantastic way to connect with nature, learn about plant propagation, and enjoy the delicious rewards of your labor.
So, what are you waiting for? Grab a mature chayote fruit, follow the steps outlined in this article, and embark on your chayote-growing adventure. We’re confident you’ll be amazed by the results.
Don’t forget to share your experiences with us! We’d love to hear about your successes, challenges, and any unique variations you’ve tried. Share your photos and stories on social media using #DIYChayote or tag us in your posts. Let’s build a community of chayote growers and inspire others to try this rewarding DIY project. Happy gardening!
Frequently Asked Questions (FAQ)
What is the best time of year to start growing chayote?
The ideal time to start germinating your chayote fruit is in late winter or early spring, about 6-8 weeks before the last expected frost. This allows the seedling to develop a strong root system before being transplanted outdoors when the weather warms up. If you live in a frost-free climate, you can start the process at any time of year.
How long does it take for a chayote fruit to germinate?
Germination time can vary depending on factors like temperature and humidity. Generally, it takes anywhere from 2 to 4 weeks for the sprout to emerge from the fruit. Be patient and ensure the fruit remains consistently moist but not waterlogged.
What kind of soil is best for growing chayote?
Chayote prefers well-draining soil that is rich in organic matter. A loamy soil with a slightly acidic to neutral pH (6.0-7.0) is ideal. Amend heavy clay soils with compost, aged manure, or other organic materials to improve drainage and aeration. Sandy soils can be improved by adding organic matter to increase water retention.
How much sunlight does chayote need?
Chayote thrives in full sun, requiring at least 6-8 hours of direct sunlight per day. However, in extremely hot climates, some afternoon shade can be beneficial to prevent the leaves from scorching.
How often should I water my chayote plant?
Water your chayote plant regularly, especially during dry periods. Keep the soil consistently moist but not waterlogged. Water deeply at the base of the plant, avoiding wetting the foliage to minimize the risk of fungal diseases. Mulching around the base of the plant can help retain moisture and suppress weeds.
How do I fertilize my chayote plant?
Feed your chayote plant with a balanced fertilizer (e.g., 10-10-10) every 4-6 weeks during the growing season. You can also use organic fertilizers like compost tea or fish emulsion. Avoid over-fertilizing, as this can lead to excessive foliage growth at the expense of fruit production.
How do I prune my chayote vine?
Pruning is essential for managing the size and shape of your chayote vine and promoting fruit production. Prune away any dead, damaged, or diseased branches. You can also prune back excessive growth to improve air circulation and sunlight penetration. Regular pruning will encourage the plant to produce more fruiting shoots.
What are some common pests and diseases that affect chayote?
Chayote is generally resistant to pests and diseases, but it can be susceptible to problems like aphids, spider mites, and squash bugs. Inspect your plant regularly for signs of infestation and take appropriate action, such as spraying with insecticidal soap or neem oil. Fungal diseases like powdery mildew can also occur, especially in humid conditions. Improve air circulation and avoid overhead watering to prevent these diseases.
When can I harvest chayote fruit?
Chayote fruit is typically ready to harvest about 4-6 weeks after flowering. The fruit should be firm and smooth, with a light green color. You can harvest the fruit at different stages of maturity, depending on your preference. Younger fruits are more tender and have a milder flavor, while older fruits are firmer and have a slightly sweeter taste.
Can I eat the chayote leaves and shoots?
Yes, the leaves and shoots of the chayote plant are also edible and nutritious. They can be cooked like spinach or other leafy greens. Harvest young, tender shoots and leaves for the best flavor and texture.
My chayote plant is growing vigorously, but it’s not producing any fruit. What could be the problem?
There are several reasons why your chayote plant might not be producing fruit. It could be due to insufficient sunlight, poor pollination, or over-fertilization with nitrogen. Ensure your plant is getting at least 6-8 hours of direct sunlight per day. You can also try hand-pollinating the flowers to improve fruit set. Avoid over-fertilizing with nitrogen, as this can promote excessive foliage growth at the expense of fruit production.
Is chayote a perennial or an annual?
Chayote is a perennial plant in warm climates (USDA zones 8-10). In colder climates, it is typically grown as an annual, as the plant will die back in the winter. However, you can try to overwinter the roots by heavily mulching the base of the plant or digging up the roots and storing them in a cool, dry place until spring.
Can I grow chayote in a container?
Yes, you can grow chayote in a large container (at least 20 gallons) if you have limited space. Ensure the container has excellent drainage and provide a sturdy trellis for the vine to climb on. Container-grown chayote plants may require more frequent watering and fertilization than those grown in the ground.
How do I store chayote fruit?
Chayote fruit can be stored in the refrigerator for several weeks. Wrap the fruit in a plastic bag to prevent it from drying out. You can also freeze chayote fruit for longer storage. Blanch the fruit for a few minutes before freezing to preserve its texture and flavor.
What are some ways to cook with chayote?
Chayote is a versatile vegetable that can be used in a variety of dishes. It can be eaten raw in salads, stir-fried, baked, boiled, or added to soups and stews. It has a mild flavor that pairs well with a variety of seasonings and sauces. You can also use chayote in desserts, such as pies and cakes.
This **DIY chayote** growing method is truly a game changer for home gardeners!
Leave a Comment