
Growing garlic in bags might sound unconventional, but trust me, it’s a game-changer for any home gardener, especially if you’re short on space or dealing with challenging soil! For centuries, garlic has been revered not only for its pungent flavor but also for its medicinal properties. From ancient Egyptians using it to boost immunity to Roman soldiers consuming it for strength, garlic boasts a rich and fascinating history. But let’s face it, not everyone has the perfect garden plot to cultivate this culinary staple.
That’s where this DIY trick comes in! I’m going to show you how to bypass the limitations of traditional gardening and successfully grow your own flavorful garlic, even if you only have a balcony or patio. Imagine the satisfaction of harvesting plump, juicy garlic cloves grown with your own hands, ready to elevate your favorite dishes. No more relying on store-bought garlic with questionable origins! This method is not only space-saving but also allows for better control over soil conditions and drainage, leading to healthier and more abundant harvests. So, are you ready to unlock the secrets of growing garlic in bags and enjoy a bountiful harvest of this versatile and delicious ingredient? Let’s get started!
Knoblauch im Sack: Dein DIY-Guide für eine reiche Ernte auf kleinstem Raum
Hey Gartenfreunde! Habt ihr auch nicht den riesigen Garten, von dem ihr immer geträumt habt, aber trotzdem Lust auf frischen Knoblauch aus eigener Ernte? Dann habe ich genau das Richtige für euch: Knoblauch im Sack anbauen! Das ist super einfach, platzsparend und liefert trotzdem eine ordentliche Ernte. Ich zeige euch, wie es geht!
Was du brauchst: Die Materialliste
Bevor wir loslegen, hier eine Liste mit allem, was du für dein Knoblauch-Sack-Projekt brauchst:
* Sack: Ein robuster Jutesack, Kartoffelsack oder ein anderer atmungsaktiver Sack (ca. 50-70 Liter Volumen ist ideal). Achte darauf, dass er sauber ist. Du kannst auch einen stabilen Pflanzsack aus dem Gartencenter verwenden.
* Knoblauchzehen: Am besten Bio-Knoblauch aus dem Supermarkt oder vom Bauernmarkt. Achte darauf, dass die Zehen fest und gesund aussehen. Vermeide Knoblauch aus dem letzten Jahr, da dieser möglicherweise nicht mehr keimfähig ist.
* Pflanzerde: Hochwertige Pflanzerde ist wichtig für eine gute Nährstoffversorgung. Du kannst auch deine eigene Erde mischen (siehe unten).
* Kompost oder organischer Dünger: Für einen zusätzlichen Nährstoffkick.
* Kies oder Blähton: Für eine gute Drainage am Boden des Sacks.
* Gießkanne: Zum Bewässern.
* Schere oder Messer: Zum Schneiden des Sacks (optional).
* Handschuhe: Um deine Hände sauber zu halten.
* Etikett und Stift: Zum Beschriften des Sacks (optional).
Die Vorbereitung: Der Grundstein für eine erfolgreiche Ernte
Bevor wir mit dem Pflanzen beginnen, müssen wir ein paar Vorbereitungen treffen. Das ist wichtig, damit der Knoblauch sich wohlfühlt und gut wächst.
1. Den Sack vorbereiten: Wenn du einen neuen Jutesack verwendest, kannst du ihn kurz in Wasser einweichen, um ihn etwas weicher zu machen. Das ist aber kein Muss. Überprüfe den Sack auf Löcher und repariere sie gegebenenfalls. Wenn du möchtest, kannst du den oberen Rand des Sacks umschlagen, um ihn stabiler zu machen.
2. Drainage schaffen: Am Boden des Sacks verteilen wir eine Schicht Kies oder Blähton. Das sorgt für eine gute Drainage und verhindert Staunässe, die Knoblauch gar nicht mag. Eine Schicht von etwa 5-10 cm ist ideal.
3. Erde mischen: Wenn du deine eigene Erde mischen möchtest, kannst du folgende Mischung verwenden: 1/3 Gartenerde, 1/3 Kompost und 1/3 Sand. Das sorgt für eine gute Durchlässigkeit und Nährstoffversorgung. Ansonsten kannst du einfach hochwertige Pflanzerde verwenden.
4. Knoblauchzehen vorbereiten: Trenne die Knoblauchzehen vorsichtig voneinander. Achte darauf, dass du sie nicht beschädigst. Wähle die größten und gesündesten Zehen aus. Du kannst die äußere Schale der Zehen dranlassen.
Das Pflanzen: Jetzt geht’s los!
Jetzt kommt der spannende Teil: Das Pflanzen der Knoblauchzehen!
1. Den Sack befüllen: Fülle den Sack mit der vorbereiteten Erde, bis er etwa zu einem Drittel gefüllt ist.
2. Die erste Schicht pflanzen: Setze die Knoblauchzehen mit der Spitze nach oben in die Erde. Der Abstand zwischen den Zehen sollte etwa 10-15 cm betragen. Drücke die Zehen leicht in die Erde, sodass sie etwa 5 cm tief sitzen.
3. Erde auffüllen: Fülle den Sack mit weiterer Erde auf, bis die Zehen bedeckt sind.
4. Die zweite Schicht pflanzen (optional): Wenn du mehr Knoblauch pflanzen möchtest, kannst du eine zweite Schicht pflanzen. Achte darauf, dass die Zehen der zweiten Schicht versetzt zu den Zehen der ersten Schicht angeordnet sind.
5. Erde auffüllen: Fülle den Sack mit Erde auf, bis er fast voll ist. Lasse etwa 5 cm Platz zum Rand.
6. Gießen: Gieße den Sack gründlich an, sodass die Erde gut durchfeuchtet ist. Achte darauf, dass das Wasser gut abfließen kann.
Die Pflege: Damit dein Knoblauch prächtig gedeiht
Damit dein Knoblauch im Sack prächtig gedeiht, ist die richtige Pflege wichtig.
1. Standort: Stelle den Sack an einen sonnigen Standort. Knoblauch braucht viel Sonne, um gut zu wachsen.
2. Bewässerung: Gieße den Knoblauch regelmäßig, aber nicht zu viel. Die Erde sollte immer leicht feucht sein, aber nicht nass. Vermeide Staunässe.
3. Düngung: Dünge den Knoblauch regelmäßig mit Kompost oder organischem Dünger. Das sorgt für eine gute Nährstoffversorgung. Beginne mit dem Düngen etwa 4-6 Wochen nach dem Pflanzen.
4. Unkraut entfernen: Entferne regelmäßig Unkraut, das im Sack wächst. Unkraut kann dem Knoblauch Nährstoffe und Licht wegnehmen.
5. Schutz vor Schädlingen: Kontrolliere den Knoblauch regelmäßig auf Schädlinge. Bei Bedarf kannst du natürliche Schädlingsbekämpfungsmittel einsetzen.
6. Winterschutz: Knoblauch ist winterhart, aber in sehr kalten Regionen kann es sinnvoll sein, den Sack mit Vlies oder Stroh abzudecken.
Die Ernte: Der Lohn deiner Mühe
Nach etwa 8-9 Monaten ist es endlich soweit: Die Erntezeit ist gekommen!
1. Erntezeitpunkt: Der Knoblauch ist reif, wenn die Blätter gelb werden und absterben.
2. Ernten: Ziehe die Knoblauchknollen vorsichtig aus der Erde.
3. Trocknen: Lasse die Knoblauchknollen an einem trockenen und luftigen Ort trocknen. Das dauert etwa 2-3 Wochen.
4. Lagern: Lagere den getrockneten Knoblauch an einem kühlen und trockenen Ort. Du kannst ihn auch zu Zöpfen flechten und aufhängen.
Zusätzliche Tipps und Tricks für den Knoblauch-Anbau im Sack
* Sortenwahl: Es gibt verschiedene Knoblauchsorten. Informiere dich, welche Sorten für deine Region am besten geeignet sind.
* Fruchtfolge: Knoblauch sollte nicht jedes Jahr am selben Standort angebaut werden. Wechsle den Standort, um Krankheiten und Schädlingen vorzubeugen.
* Begleitpflanzen: Gute Begleitpflanzen für Knoblauch sind Erdbeeren, Tomaten und Karotten.
* Knoblauchblüten: Wenn der Knoblauch Blüten bildet, kannst du diese entfernen, um die Knollenbildung zu fördern. Die Blüten sind aber auch essbar und können in der Küche verwendet werden.
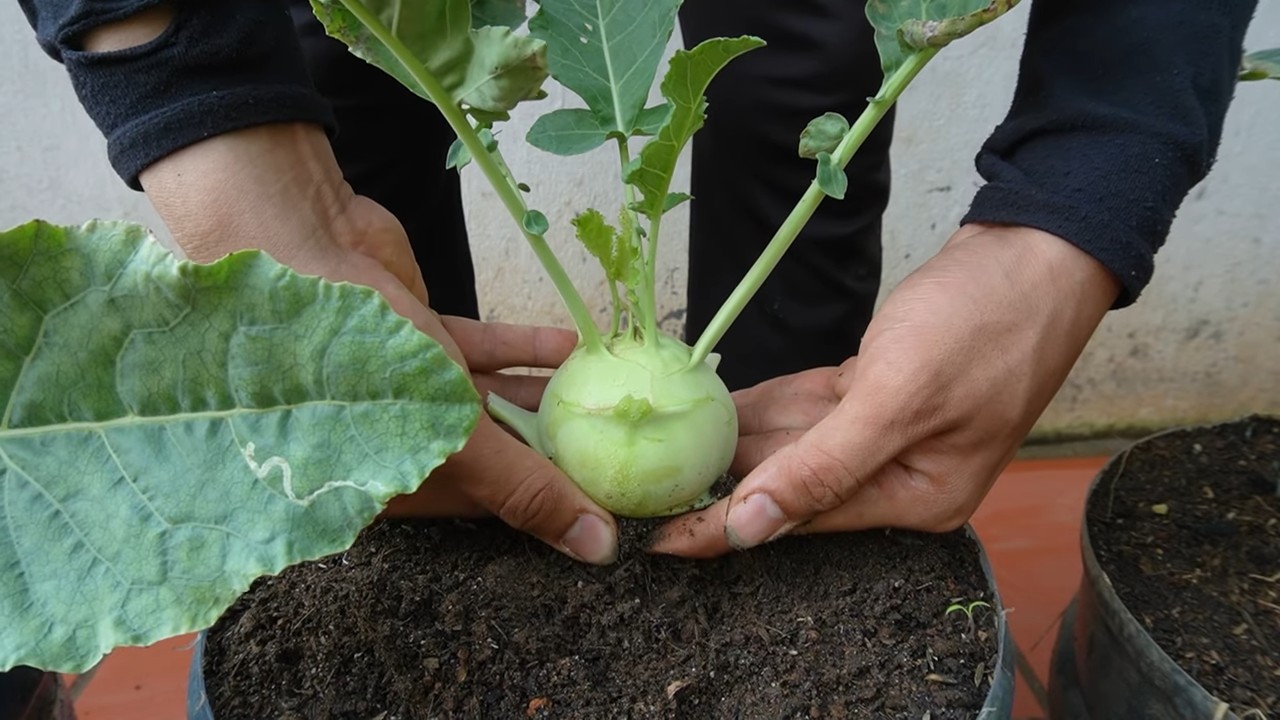
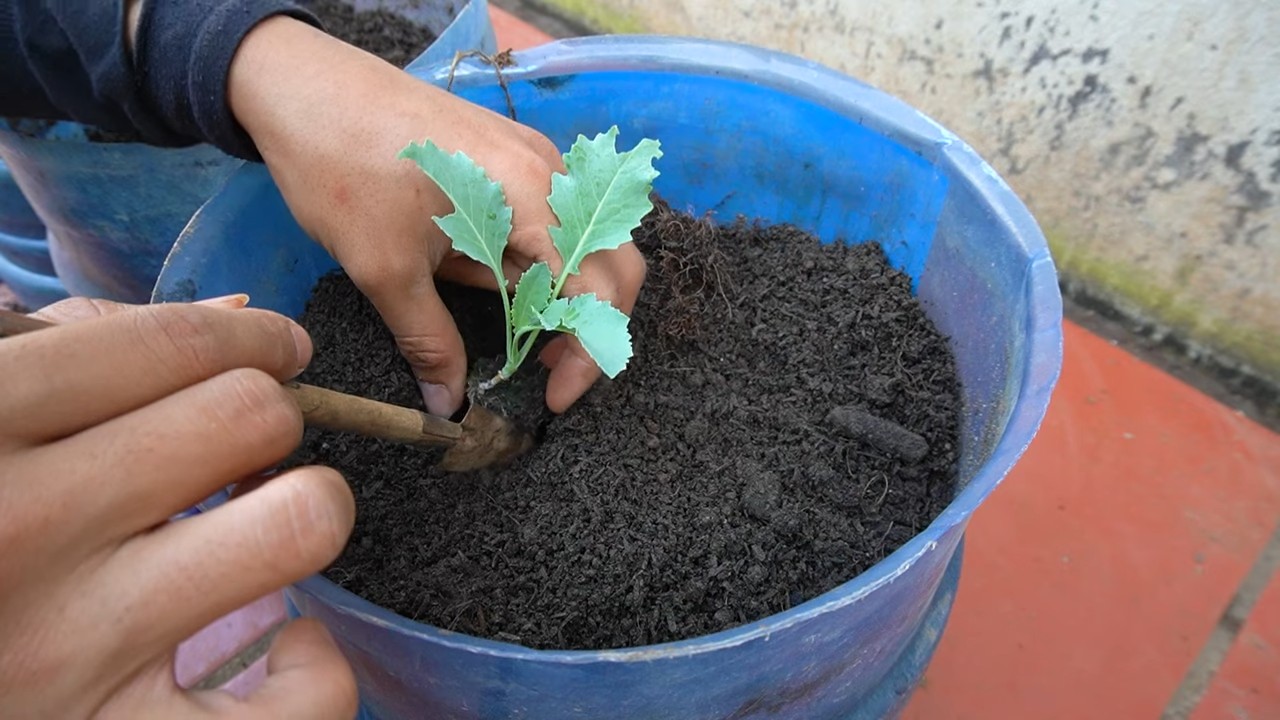
* Knoblauch im Topf: Wenn du keinen Sack verwenden möchtest, kannst du Knoblauch auch in einem Topf anbauen. Achte darauf, dass der Topf ausreichend groß ist und eine gute Drainage hat.
Häufige Probleme und Lösungen
* Gelbe Blätter: Gelbe Blätter können ein Zeichen für Nährstoffmangel, Staunässe oder Schädlingsbefall sein. Überprüfe die Erde, gieße weniger oder dünge den Knoblauch.
* Kleine Knollen: Kleine Knollen können ein Zeichen für Nährstoffmangel, zu wenig Sonne oder zu dichte Bepflanzung sein. Dünge den Knoblauch, stelle ihn an einen sonnigeren Standort oder dünne die Pflanzen aus.
* Schädlinge: Knoblauch kann von verschiedenen Schädlingen befallen werden, wie z.B. Zwiebelfliegen oder Knoblauchmilben. Setze natürliche Schädlingsbekämpfungsmittel ein oder entferne befallene Pflanzen.
Ich hoffe, dieser Guide hilft dir dabei, deinen eigenen Knoblauch im Sack anzubauen. Es ist wirklich einfacher als man denkt und der Geschmack von selbst angebautem Knoblauch ist einfach unschlagbar! Viel Spaß beim Gärtnern!
Conclusion
So, there you have it! Growing garlic in bags is not just a gardening trend; it’s a game-changer for anyone, regardless of space or experience. We’ve walked through the simple steps, highlighted the benefits, and addressed potential concerns. But why is this DIY trick a must-try?
Firstly, it democratizes garlic cultivation. No sprawling garden? No problem! A sunny balcony, a patio, or even a well-lit windowsill can become your personal garlic farm. This accessibility makes fresh, homegrown garlic a reality for apartment dwellers, urban gardeners, and anyone with limited outdoor space.
Secondly, it offers unparalleled control. You dictate the soil composition, the watering schedule, and the overall environment. This level of control translates to healthier, more robust garlic bulbs, free from the pests and diseases that often plague in-ground gardens. You can tailor the growing conditions to perfectly suit your local climate and the specific garlic variety you’re cultivating.
Thirdly, it’s incredibly rewarding. There’s a unique satisfaction in nurturing a plant from a single clove to a fully formed bulb. Harvesting your own garlic, knowing you’ve guided its growth from start to finish, is an experience that connects you to the natural world in a profound way. The intense aroma and flavor of homegrown garlic are simply unmatched by anything you can buy in a store.
But don’t stop there! Experiment with different garlic varieties. Try growing elephant garlic for its massive cloves and milder flavor, or explore heirloom varieties for unique tastes and textures. Consider companion planting in your bags. Herbs like rosemary and thyme can deter pests and enhance the flavor of your garlic. You can also try different types of containers. While we focused on bags, large pots or even repurposed containers can work just as well. Just ensure they have adequate drainage.
Ready to embark on your garlic-growing adventure? We wholeheartedly encourage you to give this DIY trick a try. It’s easy, affordable, and incredibly rewarding. And remember, the beauty of gardening lies in experimentation. Don’t be afraid to tweak the process, adapt it to your specific needs, and learn from your experiences.
We’re confident that you’ll be amazed by the results. Imagine the satisfaction of cooking with your own homegrown garlic, knowing that you nurtured it from a tiny clove to a flavorful bulb. The possibilities are endless!
So, grab some garlic cloves, gather your supplies, and get planting! And most importantly, share your experience with us. We’d love to hear about your successes, your challenges, and any tips or tricks you discover along the way. Let’s build a community of bag-grown garlic enthusiasts and spread the joy of homegrown goodness! Share your pictures and stories on social media using #BagGarlic or tag us in your posts. We can’t wait to see what you grow! This method of growing garlic in bags is a simple and effective way to enjoy fresh, homegrown garlic, no matter where you live.
Frequently Asked Questions (FAQ)
What kind of bags should I use for growing garlic?
The best bags for growing garlic are typically fabric grow bags. These bags are made from breathable material, allowing for good air circulation and drainage, which is crucial for healthy garlic growth. Avoid using plastic bags, as they can trap moisture and lead to root rot. Look for bags that are at least 10-12 inches in diameter and depth to provide enough space for the garlic bulbs to develop. You can also use large pots or containers, but ensure they have drainage holes.
What type of soil is best for growing garlic in bags?
Garlic thrives in well-draining, fertile soil. A good mix consists of equal parts potting mix, compost, and perlite or vermiculite. The potting mix provides a base for the soil, the compost adds nutrients and improves drainage, and the perlite or vermiculite enhances aeration. Avoid using heavy clay soil, as it can become waterlogged and hinder garlic growth. You can also amend your existing garden soil with compost and perlite to improve its suitability for growing garlic in bags.
How often should I water my garlic plants in bags?
Water your garlic plants regularly, especially during dry periods. The soil should be kept consistently moist but not waterlogged. Check the soil moisture by sticking your finger about an inch deep. If the soil feels dry, it’s time to water. Water deeply, allowing the water to drain out of the bottom of the bag. Reduce watering during the dormant period in late spring or early summer when the leaves start to turn yellow and brown.
How much sunlight do garlic plants need when grown in bags?
Garlic needs at least 6-8 hours of direct sunlight per day to thrive. Place your bags in a sunny location where they will receive ample sunlight. If you live in a particularly hot climate, you may need to provide some afternoon shade to prevent the soil from drying out too quickly. If you don’t have a sunny spot, you can supplement with grow lights, but natural sunlight is always preferable.
When is the best time to plant garlic in bags?
The best time to plant garlic in bags is in the fall, typically 4-6 weeks before the first expected frost. This allows the garlic cloves to establish roots before winter sets in. In colder climates, you may need to mulch around the bags to protect the garlic from freezing temperatures. In warmer climates, you can plant garlic in late fall or early winter.
How do I know when my garlic is ready to harvest from bags?
Garlic is typically ready to harvest in late spring or early summer, about 8-9 months after planting. The leaves will start to turn yellow and brown, and the stems may begin to fall over. To check if the bulbs are ready, gently dig up one bulb and examine it. The bulb should be well-formed and the cloves should be plump and easily separated.
Can I grow different varieties of garlic in bags?
Yes, you can grow different varieties of garlic in bags. There are two main types of garlic: hardneck and softneck. Hardneck garlic is more cold-hardy and produces a flower stalk called a scape. Softneck garlic is more common in warmer climates and doesn’t typically produce a scape. Experiment with different varieties to find the ones that grow best in your climate and that you enjoy the most.
What are some common pests and diseases that affect garlic grown in bags?
Common pests that can affect garlic include aphids, thrips, and onion maggots. Diseases include white rot, downy mildew, and rust. To prevent pests and diseases, use healthy planting material, practice good sanitation, and avoid overwatering. You can also use organic pest control methods, such as insecticidal soap or neem oil.
Can I reuse the soil in my garlic bags?
It’s generally not recommended to reuse the soil in your garlic bags without amending it. Garlic is a heavy feeder and depletes the soil of nutrients. After harvesting your garlic, remove the old soil and replace it with fresh soil or amend the existing soil with compost and other organic matter. This will ensure that your next crop of garlic has the nutrients it needs to thrive.
What if I don’t have a green thumb? Can I still grow garlic in bags?
Absolutely! Growing garlic in bags is a very forgiving process, even for beginners. The key is to follow the basic guidelines we’ve outlined: use well-draining soil, water regularly, provide plenty of sunlight, and choose a suitable garlic variety for your climate. Don’t be afraid to experiment and learn from your mistakes. Gardening is a journey, and even experienced gardeners encounter challenges. The most important thing is to have fun and enjoy the process!
Leave a Comment