
Growing Kale in Plastic Bottle: Unlock the secrets to a thriving garden, even in the smallest of spaces! Have you ever dreamed of fresh, homegrown kale but felt limited by a lack of garden space? I’m here to tell you that you can absolutely cultivate your own delicious, nutrient-packed kale, even if all you have is a plastic bottle!
For centuries, resourceful gardeners have found innovative ways to maximize their yields, often out of necessity. From ancient rooftop gardens to modern-day urban farms, the spirit of ingenuity has always been at the heart of successful gardening. This DIY trick taps into that very spirit, offering a sustainable and space-saving solution for growing your own greens.
In today’s world, where access to fresh, healthy produce can be a challenge, and where sustainability is more important than ever, learning how to grow your own food is a game-changer. This method of growing kale in plastic bottle is not only incredibly easy and affordable, but it also reduces waste by repurposing plastic bottles. Imagine the satisfaction of harvesting your own vibrant kale leaves, knowing you’ve contributed to a healthier lifestyle and a greener planet. Let’s dive in and discover how you can transform a simple plastic bottle into a mini-kale garden!
DIY Vertical Kale Garden: Upcycling Plastic Bottles
Hey there, fellow gardening enthusiasts! I’m super excited to share a fun and eco-friendly project with you: creating a vertical kale garden using recycled plastic bottles. Not only is this a great way to grow your own fresh, nutritious kale, but it also helps reduce plastic waste. Plus, it’s a fantastic space-saver, perfect for balconies, patios, or even small indoor spaces. Let’s get started!
Materials You’ll Need
Before we dive in, let’s gather all the necessary materials. Trust me, having everything ready beforehand will make the process much smoother.
* Plastic Bottles: You’ll need several plastic bottles of the same size. I recommend using 2-liter bottles, but any size will work as long as they are sturdy. Make sure they are clean and dry.
* Potting Soil: Choose a high-quality potting mix that’s well-draining. Kale loves rich soil, so consider adding some compost or aged manure.
* Kale Seeds or Seedlings: You can start from seeds or buy small kale seedlings from your local nursery. Seedlings will give you a head start.
* Scissors or Utility Knife: For cutting the plastic bottles. Be careful!
* Drill or Nail and Hammer: To create drainage holes and hanging points.
* Rope or Twine: To hang the bottles vertically. Choose a strong material that can withstand the weight of the soil and plants.
* Measuring Tape or Ruler: To ensure consistent spacing.
* Permanent Marker: To mark cutting lines and drainage hole locations.
* Watering Can or Spray Bottle: For watering your kale plants.
* Gloves: To protect your hands. (Optional, but recommended!)
Preparing the Plastic Bottles
This is where the magic begins! We’ll transform those ordinary plastic bottles into mini-planters.
1. Clean the Bottles: Thoroughly wash the plastic bottles with soap and water to remove any residue. Rinse them well and let them dry completely. This is crucial to prevent any contamination that could harm your kale plants.
2. Cut the Bottles: Using your scissors or utility knife, carefully cut each bottle in half horizontally. I usually cut them about halfway down, but you can adjust the height depending on the size of your bottles and how much soil you want each planter to hold. Safety first! Always cut away from yourself and use a stable surface.
3. Create Drainage Holes: Now, we need to make sure the water can drain properly. Use your drill or nail and hammer to create several small drainage holes in the bottom of each bottle half. I usually make about 4-5 holes per half. This prevents waterlogging, which can lead to root rot.
4. Mark Hanging Points: Decide where you want to hang your bottles. On the top half of each bottle (the part with the bottle neck), mark two points on opposite sides, near the cut edge. These will be where you thread the rope or twine for hanging.
5. Create Hanging Holes: Using your drill or nail and hammer, carefully create holes at the marked points. Make sure the holes are large enough to accommodate your rope or twine.
Planting the Kale
Now for the fun part – planting your kale!
1. Prepare the Soil: If you’re using compost or aged manure, mix it thoroughly with your potting soil. This will provide extra nutrients for your kale plants.
2. Fill the Bottom Half: Fill the bottom half of each bottle with potting soil, leaving about an inch of space at the top. Gently pat down the soil to remove any air pockets.
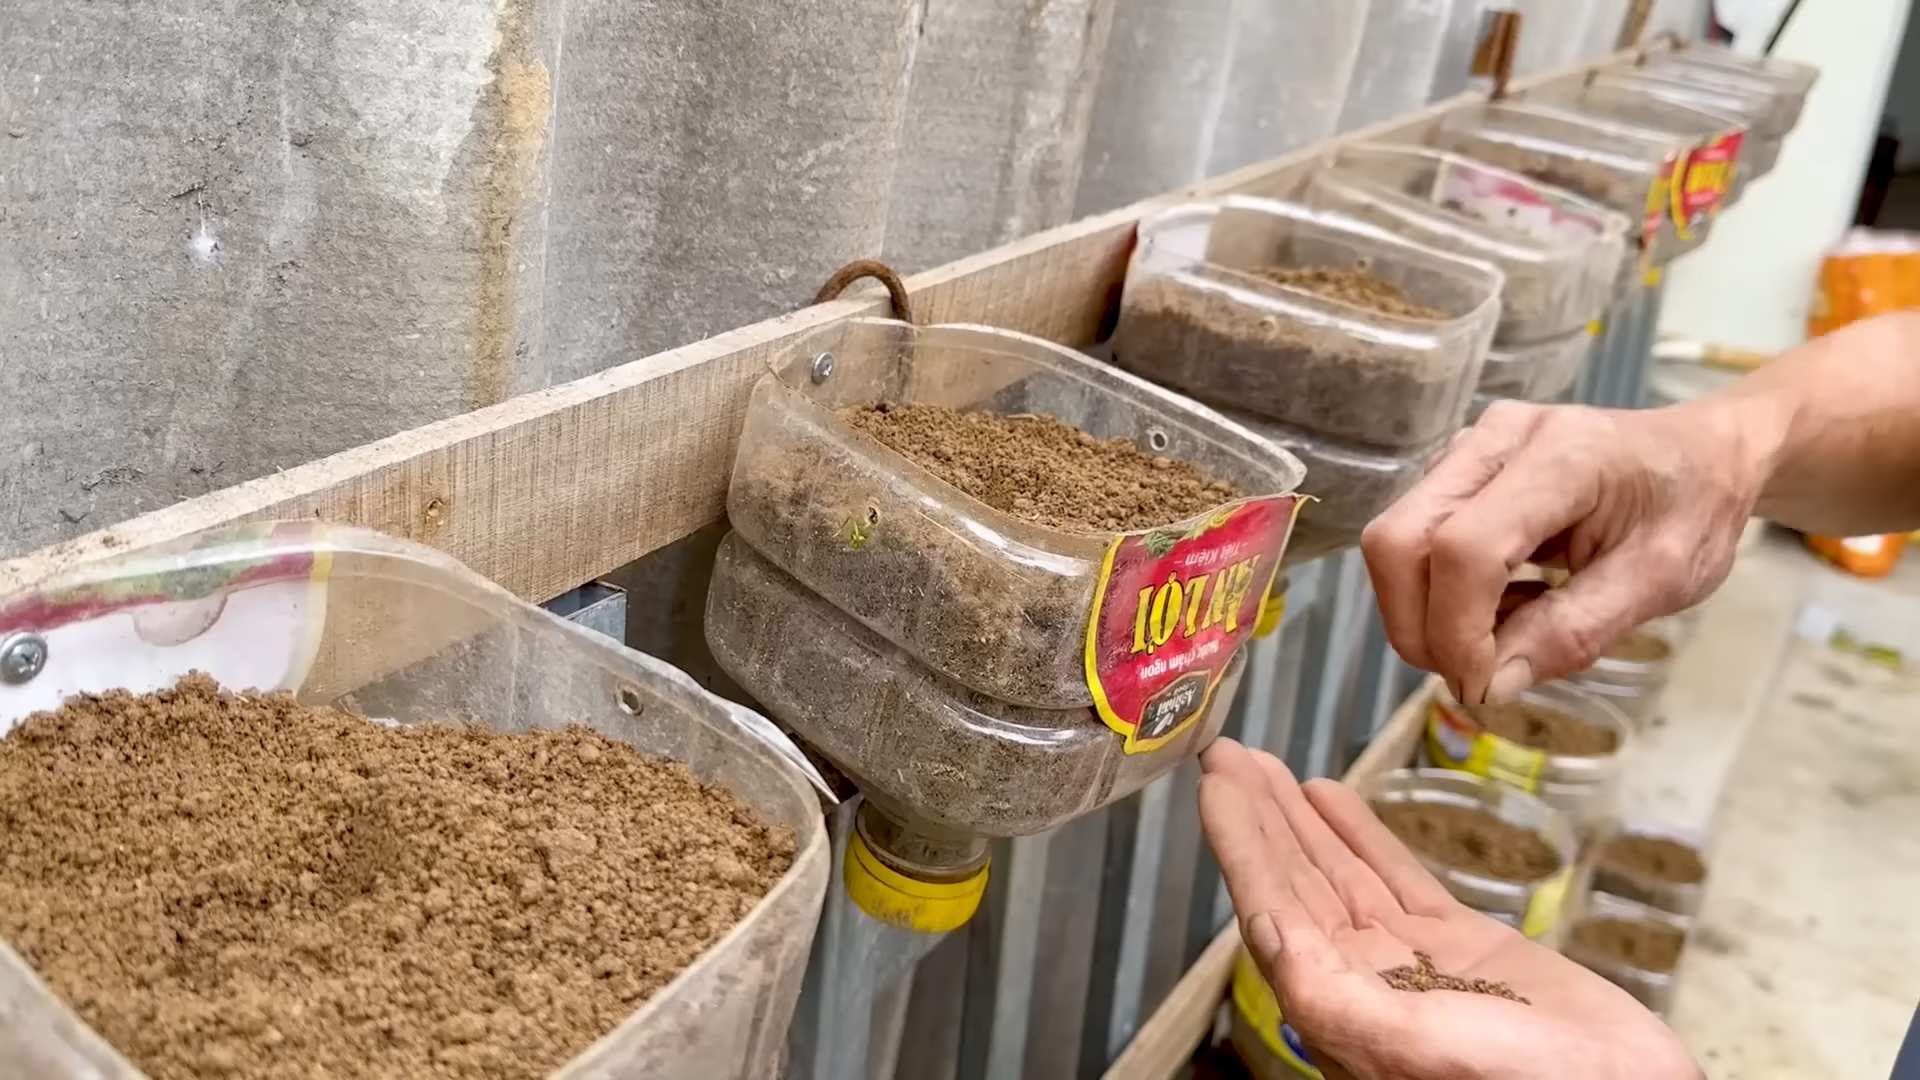
3. Plant the Seeds or Seedlings:
* From Seeds: Sow the kale seeds according to the instructions on the seed packet. I usually plant a few seeds per bottle half and then thin them out later, keeping the strongest seedling. Cover the seeds with a thin layer of soil and gently water them.
* From Seedlings: Carefully remove the kale seedlings from their containers and gently loosen the roots. Dig a small hole in the soil in each bottle half and plant the seedlings, making sure the top of the root ball is level with the soil surface. Gently pat down the soil around the seedlings.
4. Water Thoroughly: After planting, water the soil thoroughly until water drains out of the drainage holes. This helps settle the soil and ensures the roots are well-hydrated.
Assembling the Vertical Garden
Time to put it all together and create your vertical kale garden!
1. Thread the Rope or Twine: Cut lengths of rope or twine long enough to hang your bottles vertically with adequate spacing between them. Thread the rope through the hanging holes in the top half of each bottle.
2. Secure the Bottom Half: Place the bottom half of each bottle (the part filled with soil and kale) inside the top half, resting on the cut edge. The top half acts as a support and helps to hold the bottom half in place.
3. Hang the Bottles: Find a suitable location to hang your vertical garden. Make sure it receives at least 6 hours of sunlight per day. Hang the bottles from a sturdy support, such as a fence, balcony railing, or even a strong hook.
4. Adjust Spacing: Adjust the spacing between the bottles to allow for adequate sunlight and airflow. I usually space them about 12-18 inches apart.
Caring for Your Kale
Now that your vertical kale garden is set up, it’s important to provide proper care to ensure your plants thrive.
1. Watering: Water your kale plants regularly, especially during hot, dry weather. Check the soil moisture by sticking your finger into the soil. If the top inch feels dry, it’s time to water. Avoid overwatering, as this can lead to root rot.
2. Fertilizing: Kale is a heavy feeder, so it benefits from regular fertilization. Use a balanced liquid fertilizer or compost tea every 2-3 weeks. Follow the instructions on the fertilizer package.
3. Sunlight: Kale needs at least 6 hours of sunlight per day. If you’re growing your kale indoors, you may need to supplement with grow lights.
4. Pest Control: Keep an eye out for pests such as aphids, cabbage worms, and slugs. Handpick any pests you find or use organic pest control methods, such as insecticidal soap or neem oil.
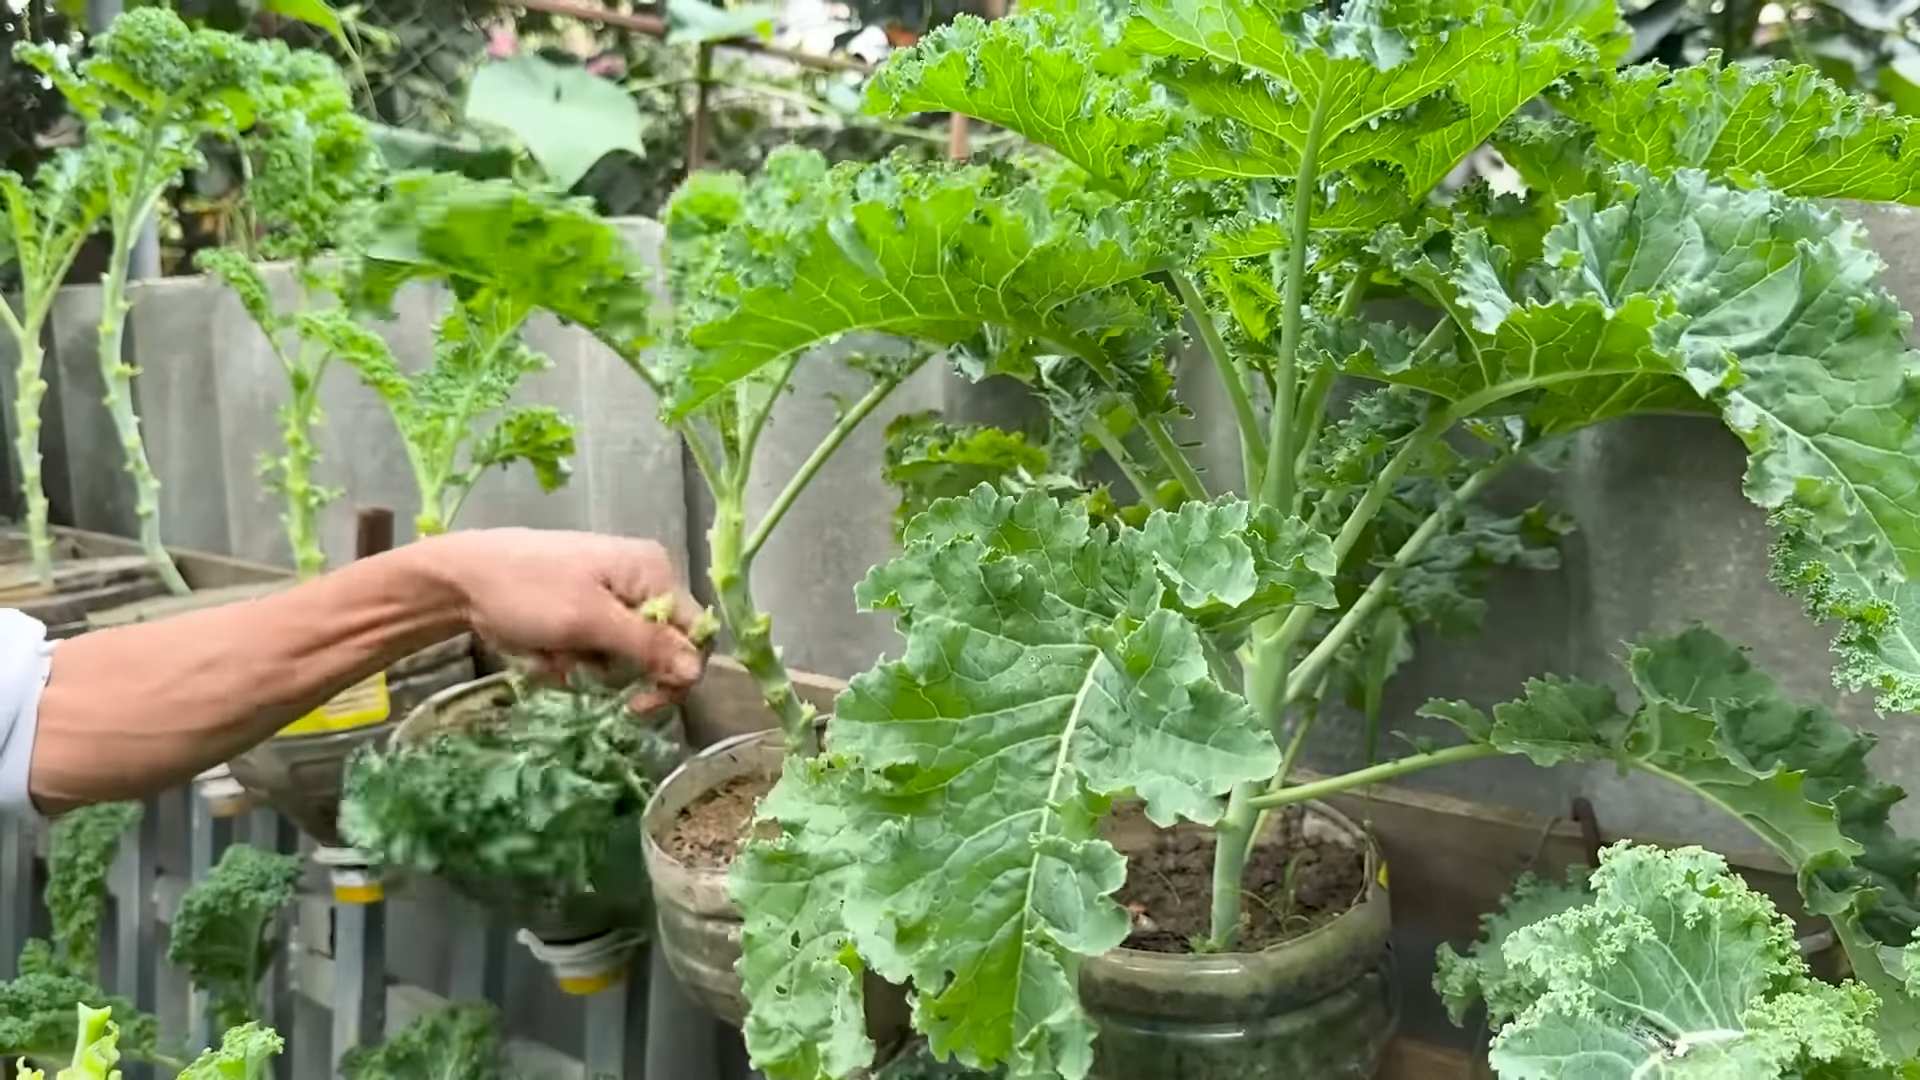
5. Harvesting: You can start harvesting kale leaves when they are about 4-6 inches long. Harvest the outer leaves first, leaving the inner leaves to continue growing. This encourages the plant to produce more leaves.
Troubleshooting
Even with the best care, you might encounter some challenges. Here are a few common problems and how to address them:
* Yellowing Leaves: This could be a sign of overwatering, underwatering, or nutrient deficiency. Check the soil moisture and adjust your watering schedule accordingly. Fertilize your plants with a balanced fertilizer.
* Stunted Growth: This could be due to insufficient sunlight, poor soil, or pest infestation. Move your plants to a sunnier location, amend the soil with compost, and check for pests.
* Holes in Leaves: This is usually caused by cabbage worms or slugs. Handpick the pests or use organic pest control methods.
Tips for Success
Here are a few extra tips to help you succeed with your vertical kale garden:
* Choose the Right Kale Variety: Some kale varieties are better suited for container gardening than others. Consider dwarf varieties like Dwarf Blue Curled or Red Russian.
* Rotate Your Crops: If you’re growing kale in the same bottles year after year, rotate your crops to prevent soilborne diseases.
* Provide Support: As your kale plants grow taller, they may need additional support. Use stakes or twine to keep them from falling over.
* Monitor the Weather: Kale is a cool-season crop and can tolerate light frost. However, protect your plants from extreme heat or cold.
* Enjoy Your Harvest! Kale is a versatile vegetable that can be used in salads, smoothies, soups, and stir-fries. Enjoy the fruits (or rather, leaves) of your labor!
I hope you found this guide helpful. Growing your own kale in a vertical garden is a rewarding experience that’s both good for you and good for the environment. Happy gardening!
Conclusion
So, there you have it! Growing kale in plastic bottles isn’t just a quirky gardening experiment; it’s a genuinely effective and rewarding way to cultivate fresh, nutritious greens, even if you’re short on space or gardening experience. We’ve walked you through the simple steps, highlighting the benefits of this upcycling method and providing tips for success.
Why is this DIY trick a must-try? Because it’s sustainable, cost-effective, and incredibly accessible. You’re repurposing waste, reducing your carbon footprint, and gaining access to a constant supply of fresh kale, packed with vitamins and minerals. Forget those wilted, overpriced bunches at the grocery store! With a little effort, you can have vibrant, healthy kale right at your fingertips.
But the beauty of this method lies in its adaptability. Feel free to experiment with different varieties of kale. Curly kale, Lacinato kale (also known as dinosaur kale), and Red Russian kale all thrive in container environments. You can also adjust the size of the plastic bottle to suit your needs. Larger bottles will provide more room for root development, potentially leading to larger, more productive plants. Consider using a self-watering system by adding a wick that draws water from a reservoir at the bottom of the bottle. This is especially helpful if you live in a hot climate or tend to forget to water your plants regularly.
Another variation to consider is companion planting. Plant herbs like basil or thyme alongside your kale. These herbs can help deter pests and attract beneficial insects, creating a healthier ecosystem for your kale plants. Plus, you’ll have fresh herbs to use in your cooking!
Don’t be afraid to get creative with your bottle gardens. Paint them, decorate them, or hang them from a balcony railing to create a visually appealing and functional green space. The possibilities are endless!
Ultimately, the success of your plastic bottle kale garden depends on your willingness to experiment and learn. Pay attention to your plants, observe their growth patterns, and adjust your watering and fertilizing schedule as needed. Remember, gardening is a journey, not a destination.
We are confident that you’ll find this DIY project to be both enjoyable and rewarding. It’s a fantastic way to connect with nature, learn about the growing process, and enjoy the delicious taste of homegrown kale.
So, grab those plastic bottles, gather your supplies, and get ready to embark on your kale-growing adventure! We encourage you to try this simple yet effective method of growing kale in plastic bottles. Once you’ve harvested your first batch of homegrown kale, we’d love to hear about your experience. Share your photos, tips, and stories in the comments below. Let’s build a community of plastic bottle gardeners and inspire others to embrace sustainable and accessible gardening practices. Happy gardening!
Frequently Asked Questions (FAQ)
What type of plastic bottle is best for growing kale?
Ideally, you should use food-grade plastic bottles, such as those used for water, juice, or soda. Avoid using bottles that have contained harsh chemicals or cleaning products, as these could contaminate the soil and harm your plants. PET (Polyethylene Terephthalate) bottles, commonly used for water and soda, are generally considered safe for gardening. Make sure to thoroughly clean the bottles with soap and water before using them.
How often should I water my kale plants in plastic bottles?
The frequency of watering depends on several factors, including the weather, the size of the bottle, and the type of soil you’re using. Generally, you should water your kale plants when the top inch of soil feels dry to the touch. During hot, sunny weather, you may need to water them daily, while during cooler, cloudy weather, you may only need to water them every few days. Avoid overwatering, as this can lead to root rot. Ensure the bottle has adequate drainage holes to prevent water from accumulating at the bottom.
What kind of soil should I use for growing kale in plastic bottles?
A well-draining potting mix is essential for growing healthy kale in plastic bottles. Avoid using garden soil, as it can be too heavy and compact, hindering root growth. A good potting mix should contain a blend of peat moss, perlite, and vermiculite. You can also add compost to the mix to provide additional nutrients. Look for a potting mix specifically formulated for vegetables or herbs.
How much sunlight does kale need when grown in plastic bottles?
Kale thrives in full sun, which means it needs at least 6 hours of direct sunlight per day. If you’re growing your kale indoors, place the bottles near a sunny window or use grow lights to supplement the natural light. Insufficient sunlight can lead to leggy growth and reduced yields. Rotate the bottles regularly to ensure that all sides of the plants receive adequate sunlight.
What kind of fertilizer should I use for my kale plants?
Kale is a heavy feeder, so it benefits from regular fertilization. Use a balanced fertilizer, such as a 10-10-10 or 20-20-20, diluted to half strength. You can also use organic fertilizers, such as compost tea or fish emulsion. Fertilize your kale plants every 2-3 weeks during the growing season. Avoid over-fertilizing, as this can burn the roots.
How do I protect my kale plants from pests and diseases?
Regularly inspect your kale plants for signs of pests or diseases. Common pests that affect kale include aphids, cabbage worms, and flea beetles. You can control these pests by handpicking them off the plants, spraying them with insecticidal soap, or using neem oil. To prevent diseases, ensure good air circulation around the plants and avoid overwatering. If you notice any signs of disease, such as yellowing leaves or spots, remove the affected leaves immediately.
When can I harvest my kale?
You can start harvesting kale leaves when they are about 4-6 inches long. Harvest the outer leaves first, leaving the inner leaves to continue growing. This will encourage the plant to produce more leaves. You can harvest kale throughout the growing season, even after a light frost. In fact, some people believe that kale tastes even better after a frost.
Can I grow kale in plastic bottles indoors during the winter?
Yes, you can grow kale in plastic bottles indoors during the winter, provided you have adequate light and warmth. Place the bottles near a sunny window or use grow lights to supplement the natural light. Keep the temperature consistent and avoid drafts. You may need to adjust your watering and fertilizing schedule during the winter months, as the plants will grow more slowly.
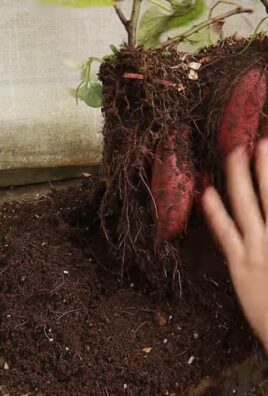
How long will my kale plants last in plastic bottles?
With proper care, your kale plants can last for several months in plastic bottles. However, they may eventually become root-bound, which can limit their growth. If you notice that your plants are starting to decline, you can transplant them into larger containers or into the garden.
Is growing kale in plastic bottles organic?
Whether or not your kale is organic depends on the soil, fertilizer, and pest control methods you use. If you use organic potting mix, organic fertilizer, and organic pest control methods, then your kale will be considered organic. Look for products that are certified organic by a reputable organization.

Leave a Comment