
Growing water spinach pots might sound intimidating, but trust me, it’s one of the most rewarding and surprisingly simple DIY projects you can embark on! Forget those wilting bunches at the grocery store; imagine stepping outside and harvesting fresh, crisp water spinach right from your own patio. For centuries, water spinach, also known as Ong Choy, has been a staple in Asian cuisine, prized for its delicious flavor and impressive nutritional benefits. It’s a vibrant green leafy vegetable that adds a delightful crunch to stir-fries, soups, and salads.
But why should you bother with growing water spinach pots? Well, beyond the sheer joy of nurturing something from seed to table, it’s about taking control of your food source. In a world where we’re increasingly conscious of where our food comes from, this DIY project offers a sustainable and healthy alternative. Plus, let’s be honest, store-bought vegetables can sometimes lack that fresh, vibrant taste. Growing water spinach pots ensures you always have access to the freshest, most flavorful greens imaginable. I’m going to show you some easy tricks and hacks that will have you harvesting your own water spinach in no time, even if you have limited space or gardening experience. Get ready to unleash your inner gardener!
Growing Water Spinach (Kangkong) in Pots: A Beginner’s Guide
Hey there, fellow gardening enthusiasts! Ever thought about growing your own fresh, delicious water spinach, also known as kangkong? It’s surprisingly easy, even if you don’t have a sprawling garden. I’m going to walk you through how to cultivate this leafy green right in pots, bringing a taste of Southeast Asia to your kitchen. Get ready to enjoy stir-fries, soups, and salads bursting with homegrown goodness!
What You’ll Need
Before we dive in, let’s gather our supplies. This is a pretty straightforward project, so you probably have some of these items already.
* Water Spinach Seeds or Cuttings: You can find seeds online or at your local garden center. Cuttings from mature plants also work great!
* Pots: Choose pots that are at least 12 inches in diameter and 10 inches deep. Water spinach loves water, so bigger is generally better.
* Potting Mix: A good quality potting mix is essential. I like to use a mix that’s rich in organic matter.
* Water: Obvious, right? But water spinach needs a lot of it!
* Fertilizer: A balanced liquid fertilizer will help your plants thrive.
* Sunlight: Water spinach needs at least 6 hours of sunlight per day.
* Optional: A tray to place under the pot to retain water.
Choosing Your Planting Method: Seeds vs. Cuttings
You have two main options for starting your water spinach: seeds or cuttings. Both are relatively easy, but cuttings offer a quicker harvest.
* Seeds: Starting from seeds takes a bit longer, but it’s a rewarding process. You’ll need to germinate the seeds before planting them in the pots.
* Cuttings: Using cuttings is faster and easier. Simply take cuttings from a mature plant and root them in water before planting.
Germinating Water Spinach Seeds (If Using Seeds)
If you’re going the seed route, here’s how to get them started:
1. Soak the Seeds: Place the water spinach seeds in a bowl of warm water and let them soak for 24 hours. This helps soften the seed coat and encourages germination.
2. Prepare a Seed Tray or Small Pots: Fill a seed tray or small pots with moist potting mix.
3. Sow the Seeds: Sow the seeds about 1/2 inch deep in the potting mix. Space them about 1 inch apart.
4. Cover and Water: Gently cover the seeds with more potting mix and water thoroughly.
5. Create a Humid Environment: Cover the seed tray or pots with a plastic bag or clear plastic wrap to create a humid environment. This helps retain moisture and promotes germination.
6. Place in a Warm Location: Place the seed tray or pots in a warm location with indirect sunlight.
7. Keep Moist: Keep the potting mix consistently moist, but not waterlogged.
8. Wait for Germination: The seeds should germinate in about 7-14 days. Once the seedlings emerge, remove the plastic covering.
Rooting Water Spinach Cuttings (If Using Cuttings)
If you’re using cuttings, this is even simpler:
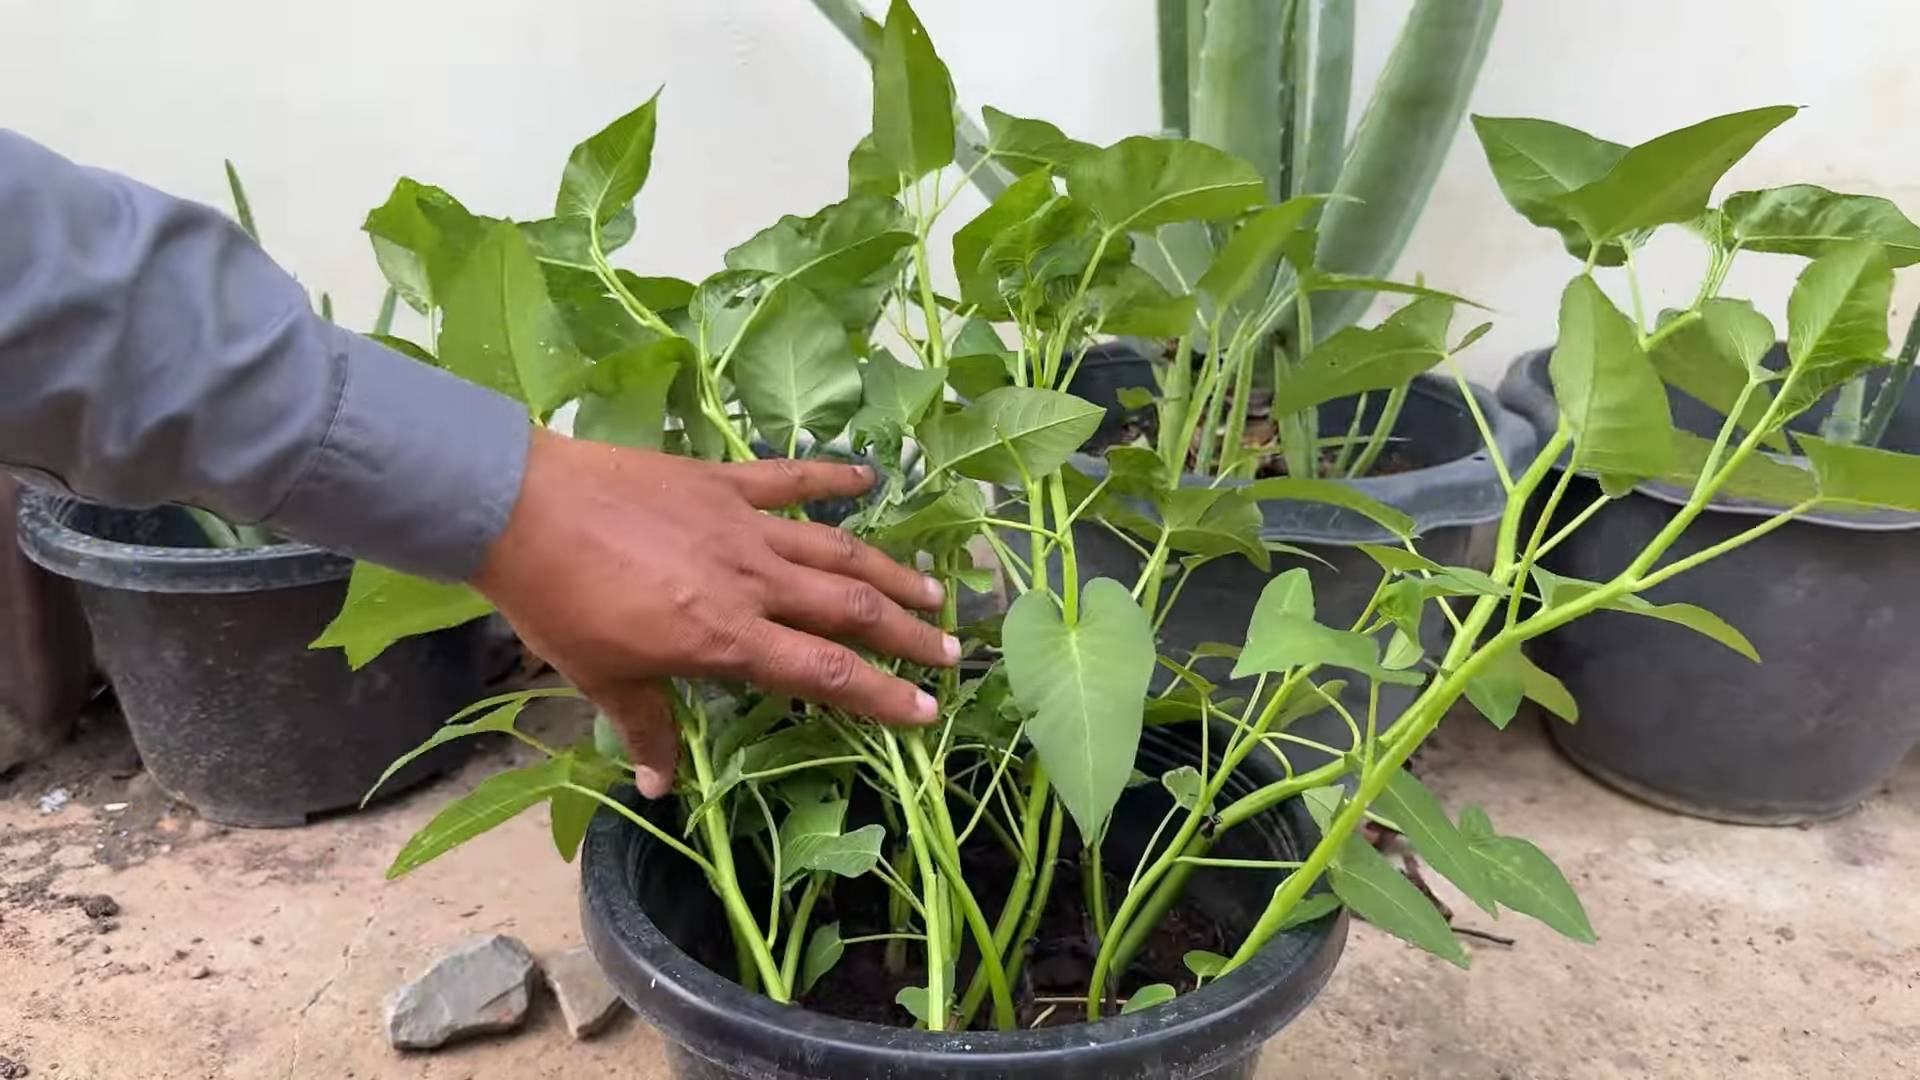
1. Take Cuttings: Take cuttings from a mature water spinach plant. The cuttings should be about 6-8 inches long and have several nodes (the points where leaves grow).
2. Remove Lower Leaves: Remove the leaves from the bottom 2 inches of the cuttings.
3. Place in Water: Place the cuttings in a glass or jar of water, ensuring that the nodes are submerged.
4. Change Water Regularly: Change the water every 1-2 days to prevent bacterial growth.
5. Wait for Roots: Roots should start to develop in about 5-7 days.
6. Plant Once Rooted: Once the roots are about 1-2 inches long, the cuttings are ready to be planted.
Planting Your Water Spinach
Now for the fun part – getting those plants into their new homes!
1. Prepare the Pots: Fill the pots with potting mix, leaving about 1-2 inches of space at the top.
2. Transplant Seedlings or Cuttings:
* Seedlings: Gently remove the seedlings from the seed tray or small pots and plant them in the prepared pots. Space them about 4-6 inches apart.
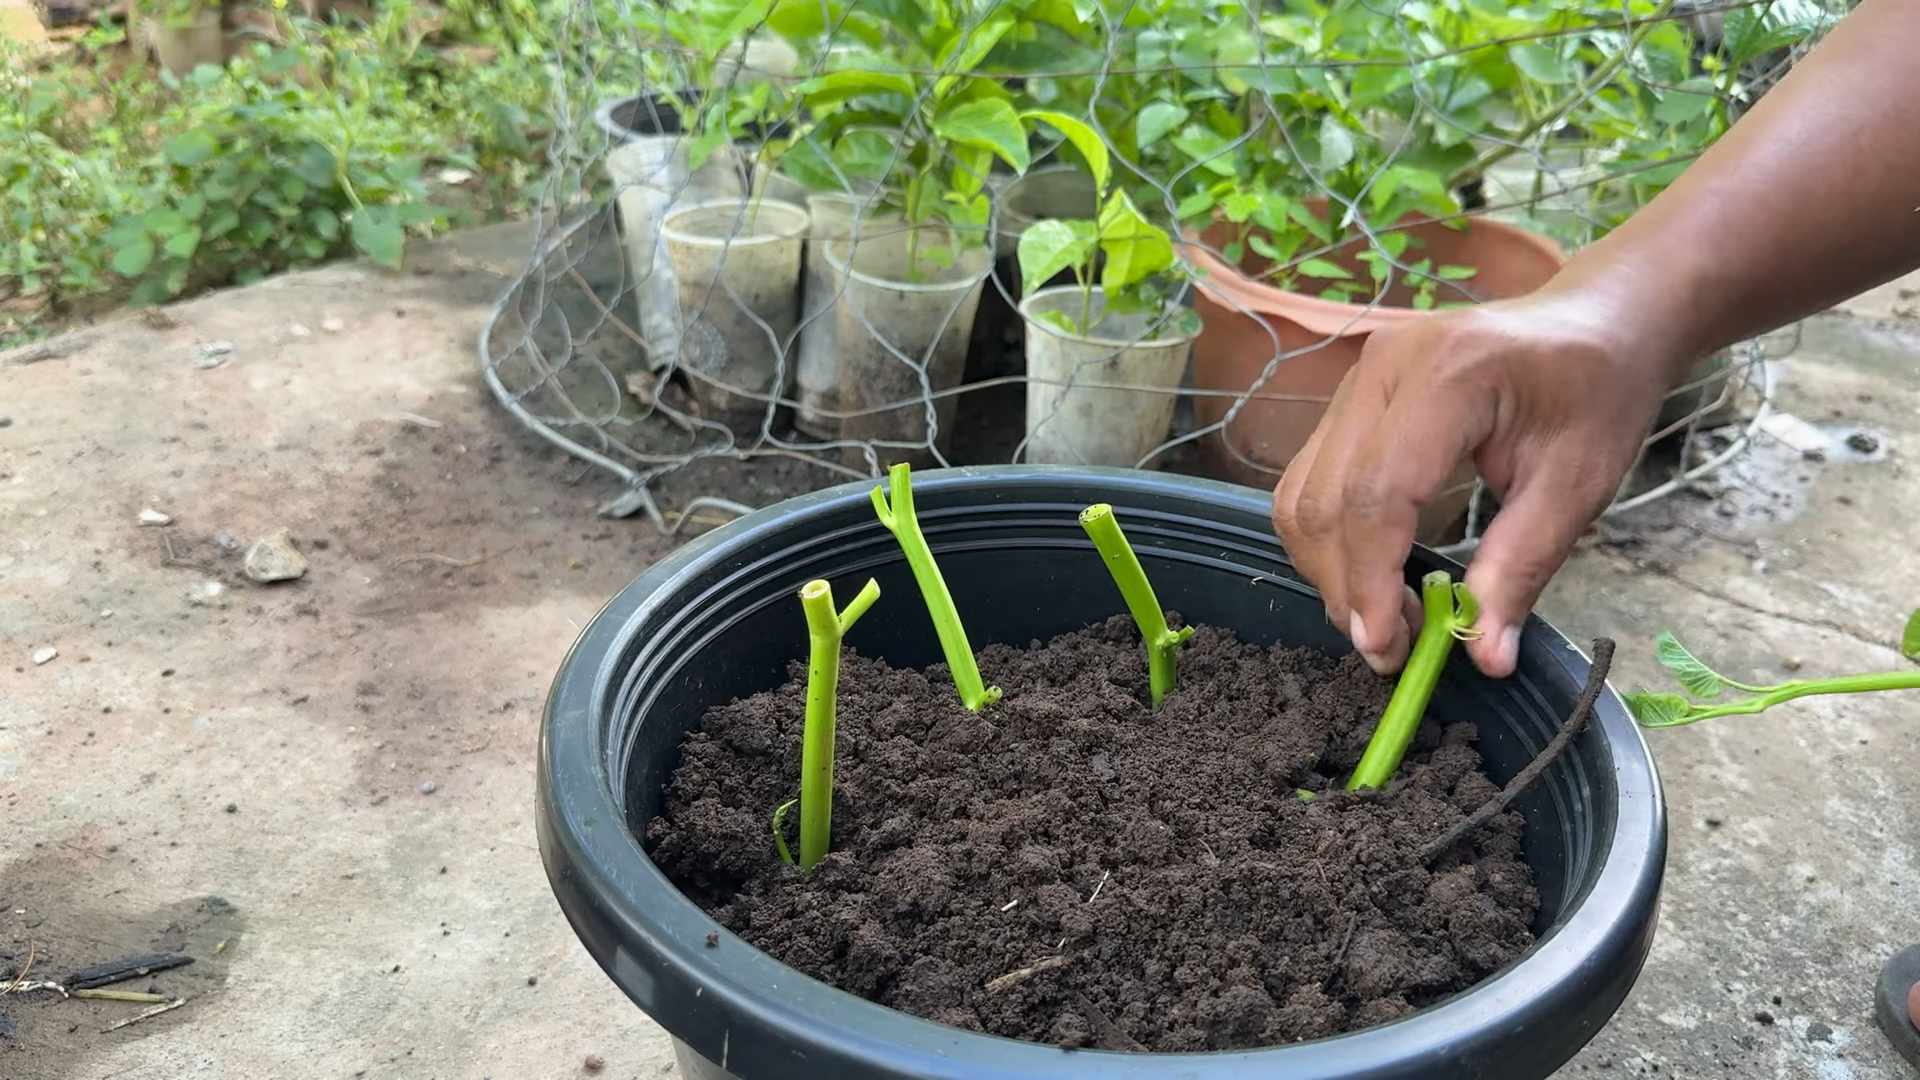
* Cuttings: Plant the rooted cuttings in the prepared pots. Space them about 4-6 inches apart.
3. Water Thoroughly: Water the plants thoroughly after planting.
4. Add Water Tray (Optional): Place the pots in a tray filled with water to help retain moisture.
Caring for Your Water Spinach
Water spinach is relatively low-maintenance, but here are a few tips to keep it happy and thriving:
1. Watering: Water spinach loves water, so keep the soil consistently moist. Water daily, especially during hot weather. You can even submerge the bottom of the pot in a tray of water to mimic its natural environment.
2. Sunlight: Ensure your plants get at least 6 hours of sunlight per day. If you don’t have enough natural sunlight, you can supplement with grow lights.
3. Fertilizing: Feed your water spinach with a balanced liquid fertilizer every 2-3 weeks. This will help promote healthy growth and abundant harvests.
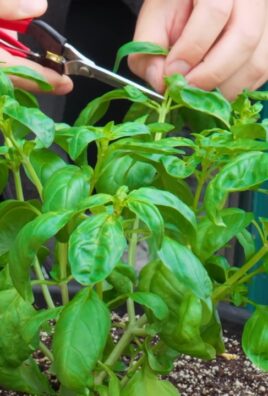
4. Pruning: Regular pruning encourages bushier growth. Simply pinch off the tips of the stems to promote branching.
5. Pest Control: Water spinach is generally pest-resistant, but keep an eye out for aphids or other common garde
Hey there, fellow gardening enthusiasts! Ever thought about growing your own fresh, delicious water spinach, also known as kangkong? It’s surprisingly easy, even if you don’t have a sprawling garden. I’m going to walk you through how to cultivate this leafy green right in pots, bringing a taste of Southeast Asia to your kitchen. Get ready to enjoy stir-fries, soups, and salads bursting with homegrown goodness!
What You’ll Need
Before we dive in, let’s gather our supplies. This is a pretty straightforward project, so you probably have some of these items already.
* Water Spinach Seeds or Cuttings: You can find seeds online or at your local garden center. Cuttings from mature plants also work great!
* Pots: Choose pots that are at least 12 inches in diameter and 10 inches deep. Water spinach loves water, so bigger is generally better.
* Potting Mix: A good quality potting mix is essential. I like to use a mix that’s rich in organic matter.
* Water: Obvious, right? But water spinach needs a lot of it!
* Fertilizer: A balanced liquid fertilizer will help your plants thrive.
* Sunlight: Water spinach needs at least 6 hours of sunlight per day.
* Optional: A tray to place under the pot to retain water.
Choosing Your Planting Method: Seeds vs. Cuttings
You have two main options for starting your water spinach: seeds or cuttings. Both are relatively easy, but cuttings offer a quicker harvest.
* Seeds: Starting from seeds takes a bit longer, but it’s a rewarding process. You’ll need to germinate the seeds before planting them in the pots.
* Cuttings: Using cuttings is faster and easier. Simply take cuttings from a mature plant and root them in water before planting.
Germinating Water Spinach Seeds (If Using Seeds)
If you’re going the seed route, here’s how to get them started:
1. Soak the Seeds: Place the water spinach seeds in a bowl of warm water and let them soak for 24 hours. This helps soften the seed coat and encourages germination.
2. Prepare a Seed Tray or Small Pots: Fill a seed tray or small pots with moist potting mix.
3. Sow the Seeds: Sow the seeds about 1/2 inch deep in the potting mix. Space them about 1 inch apart.
4. Cover and Water: Gently cover the seeds with more potting mix and water thoroughly.
5. Create a Humid Environment: Cover the seed tray or pots with a plastic bag or clear plastic wrap to create a humid environment. This helps retain moisture and promotes germination.
6. Place in a Warm Location: Place the seed tray or pots in a warm location with indirect sunlight.
7. Keep Moist: Keep the potting mix consistently moist, but not waterlogged.
8. Wait for Germination: The seeds should germinate in about 7-14 days. Once the seedlings emerge, remove the plastic covering.
Rooting Water Spinach Cuttings (If Using Cuttings)
If you’re using cuttings, this is even simpler:
1. Take Cuttings: Take cuttings from a mature water spinach plant. The cuttings should be about 6-8 inches long and have several nodes (the points where leaves grow).
2. Remove Lower Leaves: Remove the leaves from the bottom 2 inches of the cuttings.
3. Place in Water: Place the cuttings in a glass or jar of water, ensuring that the nodes are submerged.
4. Change Water Regularly: Change the water every 1-2 days to prevent bacterial growth.
5. Wait for Roots: Roots should start to develop in about 5-7 days.
6. Plant Once Rooted: Once the roots are about 1-2 inches long, the cuttings are ready to be planted.
Planting Your Water Spinach
Now for the fun part – getting those plants into their new homes!
1. Prepare the Pots: Fill the pots with potting mix, leaving about 1-2 inches of space at the top.
2. Transplant Seedlings or Cuttings:
* Seedlings: Gently remove the seedlings from the seed tray or small pots and plant them in the prepared pots. Space them about 4-6 inches apart.
* Cuttings: Plant the rooted cuttings in the prepared pots. Space them about 4-6 inches apart.
3. Water Thoroughly: Water the plants thoroughly after planting.
4. Add Water Tray (Optional): Place the pots in a tray filled with water to help retain moisture.
Caring for Your Water Spinach
Water spinach is relatively low-maintenance, but here are a few tips to keep it happy and thriving:
1. Watering: Water spinach loves water, so keep the soil consistently moist. Water daily, especially during hot weather. You can even submerge the bottom of the pot in a tray of water to mimic its natural environment.
2. Sunlight: Ensure your plants get at least 6 hours of sunlight per day. If you don’t have enough natural sunlight, you can supplement with grow lights.
3. Fertilizing: Feed your water spinach with a balanced liquid fertilizer every 2-3 weeks. This will help promote healthy growth and abundant harvests.
4. Pruning: Regular pruning encourages bushier growth. Simply pinch off the tips of the stems to promote branching.
5. Pest Control: Water spinach is generally pest-resistant, but keep an eye out for aphids or other common garden pests. If you spot any pests, you can treat them with insecticidal soap or neem oil.
Harvesting Your Water Spinach
The best part! You can start harvesting your water spinach about 4-6 weeks after planting.
1. Harvesting Method: Use scissors or a sharp knife to cut the stems about 6 inches from the base of the plant.
2. Encourage Regrowth: Leave a few leaves on the plant to encourage regrowth.
3. Regular Harvesting: Harvest regularly to promote continuous production. The more you harvest, the more your plants will grow!
4. Enjoy Your Harvest: Use your fresh water spinach in stir-fries, soups, salads, or any other dish that calls for leafy greens.
Troubleshooting
Even with the best care, you might encounter a few challenges. Here are some common issues and how to address them:
* Yellowing Leaves: This could be a sign of overwatering, underwatering, or nutrient deficiency. Check the soil moisture and adjust your watering schedule accordingly. Fertilize regularly to ensure your plants are getting enough nutrients.
* Slow Growth: This could be due to insufficient sunlight, poor soil, or lack of fertilizer. Make sure your plants are getting enough sunlight and fertilize regularly. Consider amending the soil with compost or other organic matter.
* Pests: Keep an eye out for aphids, spider mites, or other common garden pests. Treat them with insecticidal soap or neem oil.
Tips for Success
Here are a few extra tips to help you succeed with growing water spinach in pots:
* Choose the Right Pot: Make sure your pot is large enough to accommodate the plant’s growth. A pot that is too small will restrict root growth and limit the plant’s ability to absorb water and nutrients.
* Use a Good Quality Potting Mix: A good quality potting mix will provide the necessary nutrients and drainage for your plants. Avoid using garden soil, as it can be too heavy and compact.
* Water Regularly: Water spinach needs a lot of water, so keep the soil consistently moist. Water daily, especially during hot weather.
* Fertilize Regularly: Fertilize your plants every 2-3 weeks to promote healthy growth and abundant harvests.
* Prune Regularly: Regular pruning encourages bushier growth and prevents the plants from becoming leggy.
* Protect from Frost: Water spinach is sensitive to frost, so protect your plants if temperatures are expected to drop below freezing. You can move the pots indoors or cover them with a blanket or tarp.
Enjoying Your Homegrown Water Spinach
Growing your own water spinach is a rewarding experience. Not only do you get to enjoy fresh, delicious greens, but you also get the satisfaction of knowing that you grew them yourself. So, grab your pots, seeds or cuttings, and get started today! You’ll be enjoying homegrown water spinach in no time. Happy gardening!
Conclusion
So, there you have it! Growing water spinach in pots is not just a gardening project; it’s a gateway to fresh, delicious, and readily available greens right at your fingertips. We’ve walked you through the simple steps, from selecting the right pot and soil to nurturing your plants and harvesting your bounty. But why is this DIY trick a must-try?
Firstly, consider the convenience. No more last-minute trips to the grocery store for wilted, overpriced water spinach. Imagine stepping out onto your balcony or into your garden and picking crisp, vibrant leaves just moments before adding them to your stir-fries, soups, or salads. The flavor is unparalleled – fresher, more intense, and bursting with the taste of homegrown goodness.
Secondly, think about the cost savings. Once you’ve established your water spinach pots, you’ll be enjoying a continuous supply of greens with minimal ongoing expense. Compare that to the recurring cost of buying water spinach from the store, and the savings quickly add up.
Thirdly, and perhaps most importantly, growing your own water spinach is incredibly rewarding. There’s a unique satisfaction in nurturing a plant from seed or cutting to harvest, knowing that you’ve played a direct role in providing healthy food for yourself and your family. It’s a connection to nature that can be deeply fulfilling.
But the beauty of this DIY project lies in its adaptability. Feel free to experiment with different pot sizes and materials. Try using recycled containers to reduce waste and add a touch of personality to your garden. You can also explore different growing mediums, such as hydroponics, for a more advanced and efficient approach.
Consider these variations to enhance your water spinach growing experience:
* Vertical Gardening: If space is limited, try growing water spinach in vertical planters or hanging baskets. This not only maximizes your growing area but also adds a visually appealing element to your garden.
* Companion Planting: Plant water spinach alongside other compatible vegetables, such as basil or mint, to deter pests and improve overall plant health.
* Succession Planting: Plant new seeds or cuttings every few weeks to ensure a continuous harvest throughout the growing season.
* Fertilizer Experimentation: While we recommended a balanced fertilizer, feel free to experiment with different organic fertilizers, such as compost tea or fish emulsion, to see what works best for your plants.
We are confident that you’ll find growing water spinach in pots to be a simple, rewarding, and delicious experience. Don’t be afraid to get your hands dirty and experiment with different techniques. The most important thing is to have fun and enjoy the process.
So, what are you waiting for? Grab a pot, some soil, and some water spinach seeds or cuttings, and get started today! We encourage you to try this DIY trick and share your experiences with us. Let us know what works best for you, what challenges you encounter, and what delicious dishes you create with your homegrown water spinach. Share your photos and stories on social media using #HomegrownWaterSpinach. We can’t wait to see what you create!
Frequently Asked Questions (FAQ)
What is the best time of year to start growing water spinach in pots?
Water spinach thrives in warm weather, so the best time to start growing it is during the late spring or early summer, after the last frost has passed. The ideal temperature range for water spinach is between 70°F and 85°F (21°C and 29°C). If you live in a region with mild winters, you may be able to grow water spinach year-round. However, in colder climates, you’ll need to bring your pots indoors or provide them with protection from the cold.
How much sunlight does water spinach need?
Water spinach requires at least 6 hours of direct sunlight per day to thrive. Choose a location for your pots that receives plenty of sunlight throughout the day. If you’re growing water spinach indoors, you may need to supplement with artificial lighting, such as grow lights, to ensure that your plants receive enough light.
What type of soil is best for growing water spinach in pots?
Water spinach prefers a rich, well-draining soil that is high in organic matter. A good potting mix for water spinach should contain a blend of compost, peat moss, and perlite or vermiculite. You can also amend your soil with aged manure or other organic fertilizers to provide your plants with the nutrients they need. The soil pH should be slightly acidic to neutral, around 6.0 to 7.0.
How often should I water my water spinach plants?
Water spinach is a water-loving plant, so it’s important to keep the soil consistently moist. Water your plants regularly, especially during hot, dry weather. Check the soil moisture level daily and water when the top inch of soil feels dry to the touch. Avoid overwatering, as this can lead to root rot. A good rule of thumb is to water deeply until water drains out of the bottom of the pot.
What kind of fertilizer should I use for water spinach?
Water spinach benefits from regular fertilization. Use a balanced fertilizer with equal amounts of nitrogen, phosphorus, and potassium (e.g., 10-10-10) every 2-3 weeks. You can also use organic fertilizers, such as compost tea, fish emulsion, or seaweed extract. Follow the instructions on the fertilizer package for proper application rates. Avoid over-fertilizing, as this can burn the roots of your plants.
How do I harvest water spinach?
You can start harvesting water spinach about 4-6 weeks after planting. To harvest, simply cut the stems about 6 inches from the base of the plant. The plant will continue to produce new shoots, so you can harvest multiple times throughout the growing season. Harvest in the morning for the best flavor.
What are some common pests and diseases that affect water spinach?
Water spinach is generally resistant to pests and diseases, but it can be susceptible to aphids, spider mites, and whiteflies. These pests can be controlled with insecticidal soap or neem oil. Water spinach can also be affected by fungal diseases, such as powdery mildew and leaf spot. These diseases can be prevented by providing good air circulation and avoiding overwatering. If you notice any signs of pests or diseases, treat your plants promptly to prevent them from spreading.
Can I grow water spinach from cuttings?
Yes, growing water spinach from cuttings is a very effective method. Take cuttings that are about 6-8 inches long and remove the lower leaves. Place the cuttings in a glass of water until roots develop, which usually takes about a week or two. Once the roots are about an inch long, you can transplant the cuttings into pots filled with potting mix.
Is water spinach safe to eat?
Yes, water spinach is generally safe to eat. However, it’s important to wash the leaves thoroughly before eating to remove any dirt or debris. If you’re concerned about pesticide contamination, you can grow your water spinach organically or purchase it from a reputable source. Avoid eating water spinach that has been grown in contaminated water, as it can accumulate heavy metals and other toxins.
How do I store water spinach after harvesting?
Water spinach is best used fresh, but it can be stored in the refrigerator for a few days. To store, wrap the leaves in a damp paper towel and place them in a plastic bag. Store in the crisper drawer of your refrigerator. Avoid storing water spinach for too long, as it will wilt and lose its flavor.
Leave a Comment