
Hanging Watermelon Setup: Ever dreamt of a whimsical garden where watermelons dangle like ornaments, defying gravity and adding a touch of magic to your backyard? I know I have! For centuries, gardeners have sought innovative ways to maximize space and yield, and while the traditional watermelon patch is a classic, it’s time to think outside the box (or, in this case, inside a hanging basket!).
The concept of vertical gardening, including hanging fruits and vegetables, isn’t new. Cultures around the world have long practiced similar techniques, from the hanging gardens of Babylon (though legendary, they represent the spirit of innovative cultivation) to modern-day urban farmers utilizing every inch of available space. But why should you try a hanging watermelon setup? Well, beyond the sheer novelty and visual appeal, it offers several practical benefits. It keeps your precious melons off the ground, protecting them from pests, rot, and soil-borne diseases. Plus, it’s a fantastic space-saver, perfect for smaller gardens or balconies.
In this DIY guide, I’ll walk you through the steps to create your own hanging watermelon haven. We’ll cover everything from choosing the right variety to building a sturdy support system, ensuring your juicy prize grows strong and healthy. Get ready to impress your neighbors and enjoy the sweetest, most uniquely grown watermelon you’ve ever tasted! Let’s get started!
DIY Hanging Watermelon Planter: A Sweet Summer Project
Hey there, fellow DIY enthusiasts! I’m so excited to share this fun and fruity project with you: a hanging watermelon planter! It’s a unique and eye-catching way to display your favorite trailing plants, and it’s surprisingly easy to make. Plus, you get to eat the watermelon afterwards – win-win!
What You’ll Need
Before we dive in, let’s gather our supplies. Here’s what you’ll need to create your own hanging watermelon planter:
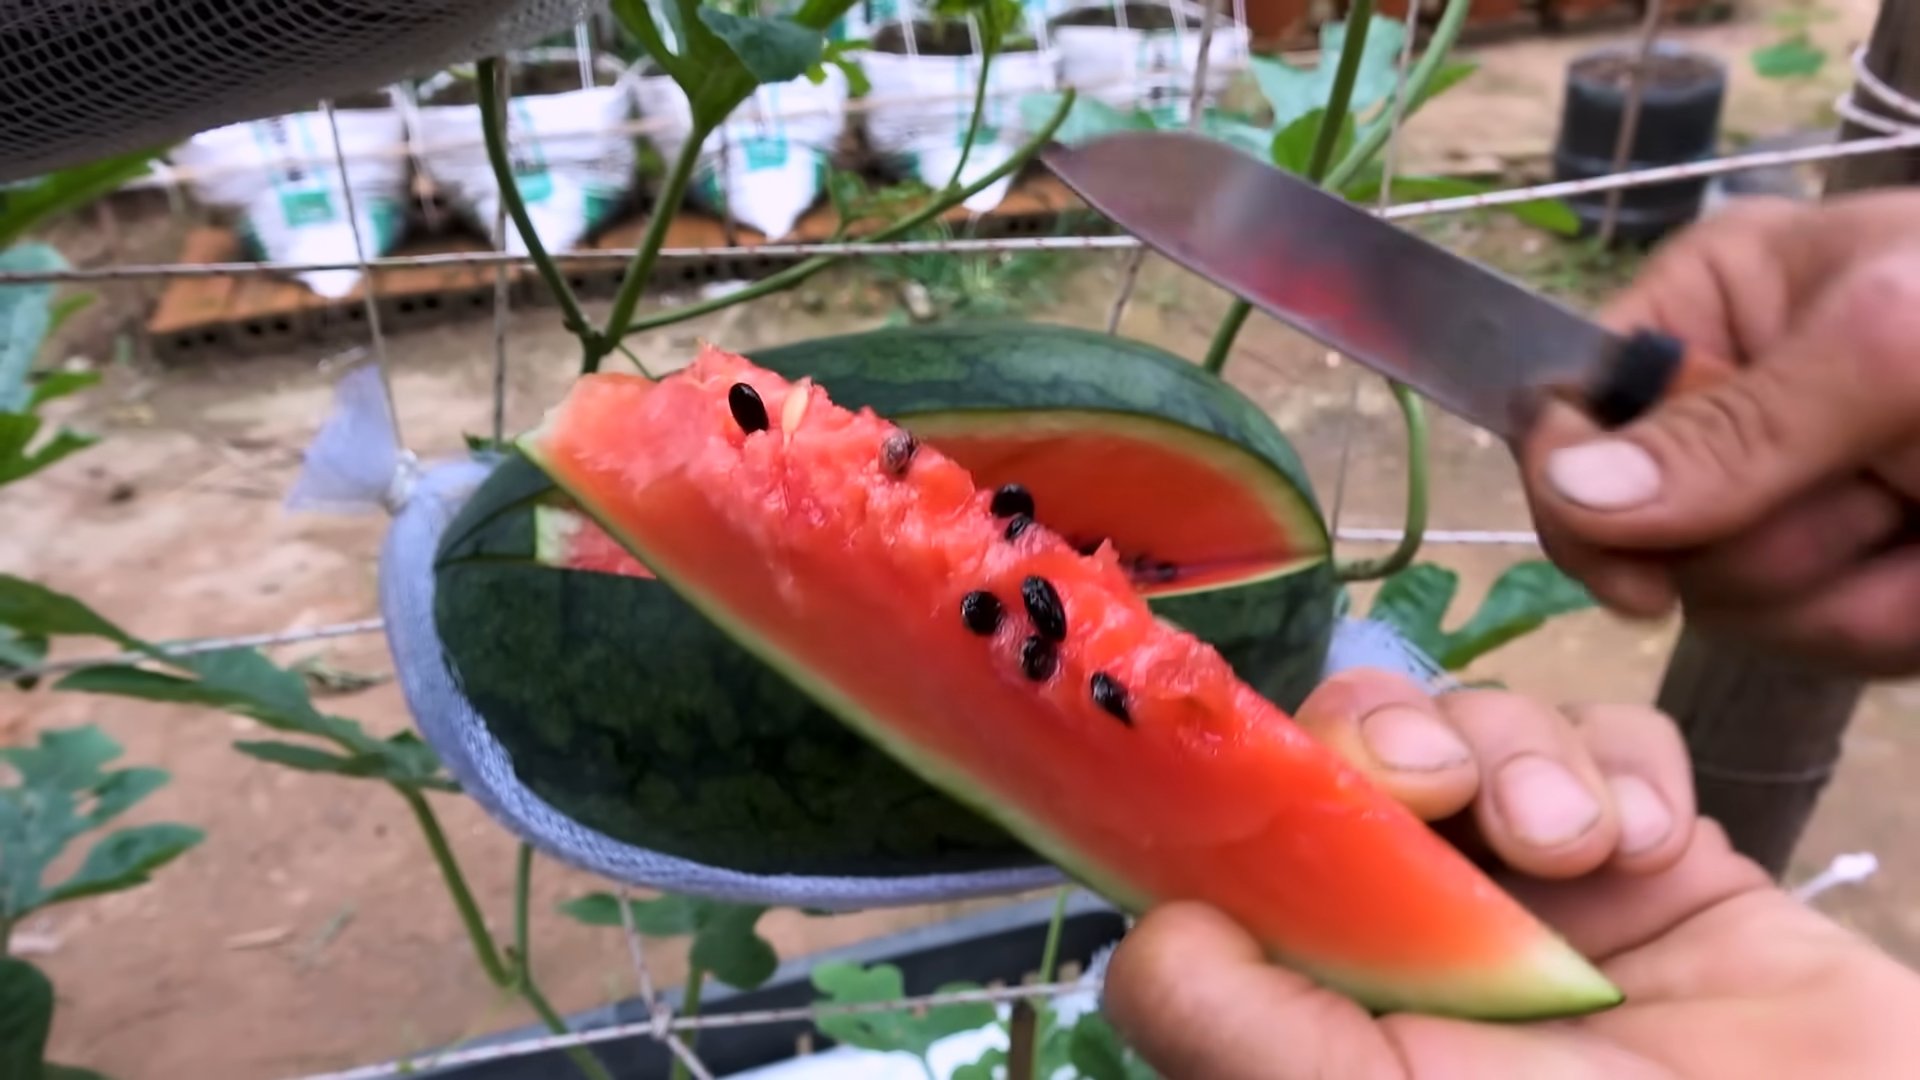
* A large, ripe watermelon (the rounder, the better!)
* A sharp knife (a serrated knife works well)
* A large spoon or ice cream scoop
* Drill with a large drill bit (at least ½ inch)
* Strong rope or macrame cord (enough for hanging)
* Potting soil
* Your favorite trailing plants (petunias, ivy geraniums, trailing succulents – the possibilities are endless!)
* Optional: Sandpaper
* Optional: Waterproof sealant or paint (for extending the planter’s life)
* Optional: Gloves (to keep your hands clean)
Choosing Your Watermelon
The key to a successful watermelon planter is starting with the right watermelon! Here’s what I look for:
* Size and Shape: A large, round watermelon is ideal. It gives you plenty of space for planting and creates a visually appealing shape.
* Ripeness: Choose a watermelon that sounds hollow when you tap it. A dull thud means it’s likely overripe.
* Firmness: The watermelon should be firm to the touch, without any soft spots.
* Stem: Look for a dry, brown stem. This indicates that the watermelon is ripe.
Preparing the Watermelon
Okay, let’s get our hands dirty! This is where the fun begins.
1. Mark the Opening: Decide how large you want the opening of your planter to be. I usually aim for about half the diameter of the watermelon. Use a marker or pen to draw a circle or oval on the top of the watermelon. This will be your cutting guide.
2. Cut the Opening: Carefully use your sharp knife to cut along the marked line. I find it helpful to score the line first, then gradually deepen the cut. Be patient and take your time to avoid slipping.
3. Scoop Out the Flesh: Once you’ve cut through the rind, use your large spoon or ice cream scoop to remove the watermelon flesh. This can be a bit messy, so I recommend doing it outside or over a large bowl. Make sure to scrape the sides and bottom of the watermelon clean. You want to create a hollow cavity for your plants. Don’t throw away the watermelon flesh! You can eat it, make juice, or even freeze it for smoothies.
4. Smooth the Edges (Optional): If the edges of the opening are rough, you can use sandpaper to smooth them down. This will give your planter a more polished look.
5. Drill Drainage Holes: This is crucial for preventing your plants from becoming waterlogged. Use your drill and a large drill bit (at least ½ inch) to drill several drainage holes in the bottom of the watermelon. I usually drill about 4-6 holes, evenly spaced.
6. Apply Sealant (Optional): To extend the life of your watermelon planter, you can apply a waterproof sealant or paint to the inside and outside of the rind. This will help prevent it from rotting too quickly. Let the sealant dry completely before moving on to the next step. I’ve found that even without sealant, the planter lasts a good few weeks, which is plenty of time to enjoy its unique charm.
Creating the Hanging System
Now, let’s get this watermelon ready to hang!
1. Drill Hanging Holes: Decide where you want to position your hanging ropes. I usually go for four evenly spaced holes around the top of the watermelon. Use your drill and a large drill bit to drill the holes. Make sure the holes are large enough to accommodate your rope or cord.
2. Thread the Rope: Cut four equal lengths of rope or macrame cord. Thread each piece of rope through one of the drilled holes. Tie a secure knot on the inside of the watermelon to prevent the rope from slipping out.
3. Gather the Ropes: Gather the four ropes together at the top and tie them in a secure knot. This will be the point from which you hang your planter. Make sure the knot is strong and can support the weight of the watermelon, soil, and plants. You can also use a metal ring or hook to gather the ropes for added security.
Planting Your Watermelon Planter
Almost there! Now for the fun part – planting!
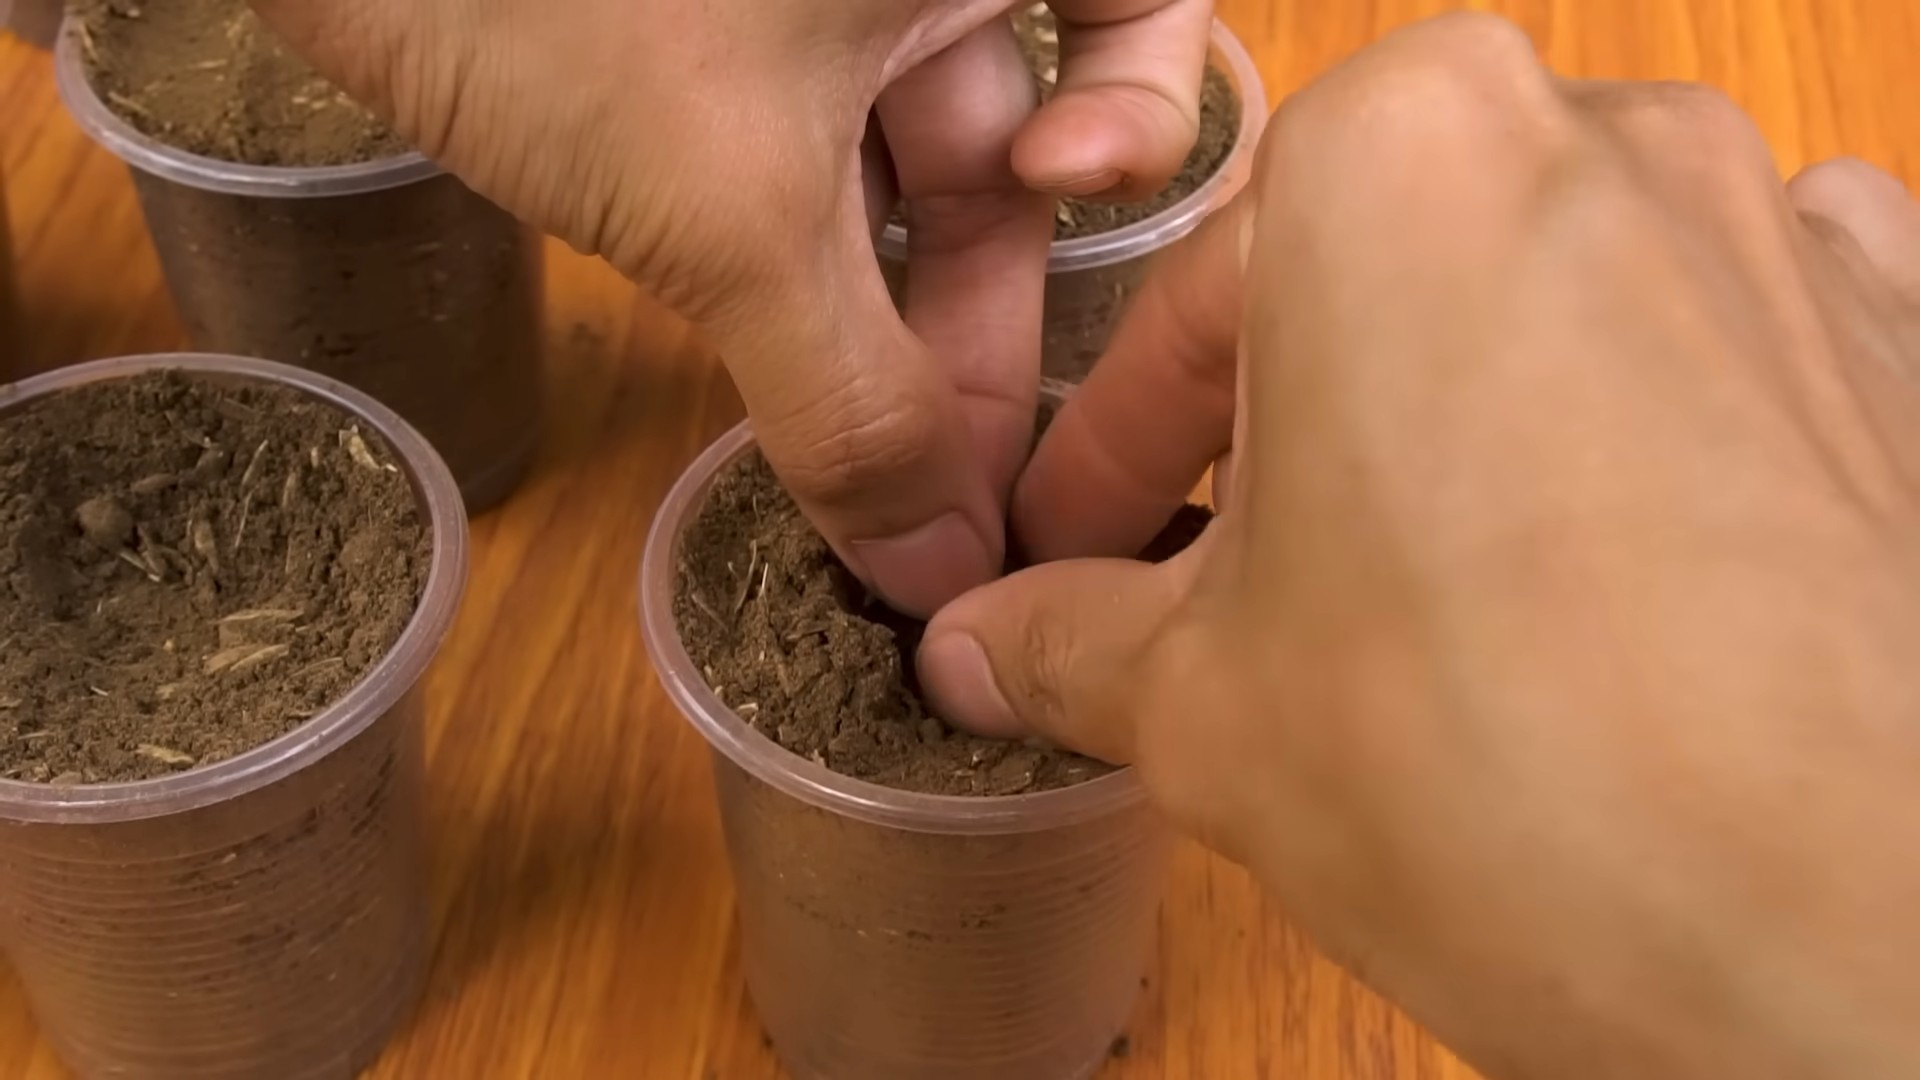
1. Add Potting Soil: Fill the watermelon cavity with potting soil, leaving a few inches of space at the top.
2. Plant Your Flowers: Gently remove your chosen plants from their containers and arrange them in the potting soil. I like to use a mix of colors and textures to create a visually appealing display. Trailing plants like petunias, ivy geraniums, and trailing succulents work particularly well.
3. Water Thoroughly: Water your plants thoroughly after planting. This will help settle the soil and encourage the roots to grow.
Hanging and Maintaining Your Watermelon Planter
You’ve done it! Your hanging watermelon planter is ready to be displayed.
1. Choose a Location: Select a location that receives plenty of sunlight and is protected from strong winds. A covered porch or patio is ideal.
2. Hang Your Planter: Hang your watermelon planter from a sturdy hook or beam. Make sure the hook can support the weight of the planter.
3. Water Regularly: Water your plants regularly, especially during hot weather. Check the soil moisture by sticking your finger into the soil. If it feels dry, it’s time to water.
4. Fertilize as Needed: Fertilize your plants every few weeks with a balanced liquid fertilizer. This will help them stay healthy and vibrant.
5. Enjoy! Sit back, relax, and enjoy your unique and beautiful hanging watermelon planter!
Troubleshooting
Even with the best planning, sometimes things don’t go exactly as expected. Here are a few common issues you might encounter and how to address them:
* Watermelon Rotting: Watermelons are, after all, fruits and will decompose over time. If you notice signs of rotting (soft spots, mold), it’s time to replace the watermelon. You can carefully remove the plants and replant them in a new watermelon or a traditional pot. Using a sealant can help prolong the life of the planter.
* Plants Wilting: Wilting plants usually indicate a lack of water. Make sure you’re watering your plants regularly, especially during hot weather. If the soil is consistently dry, you may need to water more frequently.
* Hanging System Failure: Always use strong rope or cord and secure knots to prevent the hanging system from failing. Regularly inspect the ropes for wear and tear and replace them if necessary.
* Pests: Keep an eye out for pests like aphids or spider mites. Treat infestations promptly with insecticidal soap or neem oil.
Alternative Ideas and Variations
Want to get even more creative? Here are a few ideas to customize your hanging watermelon planter:
* Paint the Watermelon: Use acrylic paints to decorate the outside of the watermelon with fun designs or patterns.
* Add Succulents: Succulents are drought-tolerant and require less watering, making them a great option for a watermelon planter.
* Use a Different Fruit: While watermelon is the classic choice, you could also try using a cantaloupe or honeydew melon.
* Create a Mini Garden: Plant a variety of herbs or vegetables in your watermelon planter for a unique and edible display.
* Add Lights: String battery-operated fairy lights around the watermelon for a magical nighttime glow.
I hope you enjoyed this DIY tutorial! I can’t wait to see your own hanging watermelon planters. Happy planting!
Conclusion
So, there you have it! Creating your own hanging watermelon setup isn’t just a fun project; it’s a game-changer for summer gatherings, backyard barbecues, and even just a refreshing afternoon treat. Forget struggling with awkward slices and messy juice spills. This DIY trick transforms a simple watermelon into an interactive, visually appealing, and incredibly convenient serving station.
Why is this a must-try? Because it elevates the humble watermelon from a simple fruit to a centerpiece. It’s a conversation starter, a kid-friendly activity (with adult supervision, of course!), and a surprisingly elegant way to serve a crowd. Plus, think of the Instagram potential!
But the beauty of this project lies in its adaptability. Feel free to experiment with different types of melons. Cantaloupe, honeydew, or even a combination of several smaller melons can create a vibrant and colorful display. You can also get creative with the hanging mechanism. Instead of rope, consider using sturdy chains for a more rustic look, or even repurpose macrame plant hangers for a bohemian vibe.
Consider adding a spigot to the bottom of the watermelon to easily dispense the juice. This is especially useful if you’re planning on infusing the watermelon with other flavors, such as mint, lime, or even a splash of vodka for an adult-friendly version. You could also carve out small bowls around the top opening to hold dips like yogurt, honey, or even a spicy chili lime seasoning for dipping the watermelon chunks.
Don’t be afraid to personalize your hanging watermelon setup to match your own style and needs. The key is to have fun and enjoy the process!
We’re confident that once you try this DIY trick, you’ll never go back to serving watermelon the old way. It’s a simple, effective, and incredibly satisfying project that will impress your guests and make your summer gatherings even more memorable.
So, grab a watermelon, gather your supplies, and get ready to create a show-stopping centerpiece that everyone will be talking about. We can’t wait to see your creations! Share your photos and experiences with us on social media using #HangingWatermelonMagic. Let’s spread the joy of this refreshing and innovative way to enjoy summer’s favorite fruit! We are sure you will love this hanging watermelon setup.
Frequently Asked Questions (FAQ)
What type of watermelon works best for a hanging setup?
The ideal watermelon for a hanging setup is a round, firm watermelon with a thick rind. This will provide the necessary structural integrity to support its weight when suspended. Seedless watermelons are generally preferred for ease of eating, but seeded varieties will work just as well. Avoid watermelons that are overly ripe or have soft spots, as they may be more prone to cracking or collapsing under their own weight. A watermelon weighing between 10-15 pounds is a good starting point, but you can adjust the size depending on your desired serving capacity and the strength of your hanging mechanism.
What kind of rope should I use to hang the watermelon?
When selecting rope for your hanging watermelon setup, prioritize strength and durability. Natural fiber ropes like jute or hemp can add a rustic aesthetic, but synthetic ropes like nylon or polypropylene are generally stronger and more resistant to moisture and rot. Ensure the rope you choose has a weight capacity that significantly exceeds the weight of your watermelon, even when it’s full of juice. A rope with a breaking strength of at least 50 pounds is recommended. Consider the thickness of the rope as well; a thicker rope will be easier to grip and will distribute the weight more evenly. Before hanging, inspect the rope for any signs of wear or damage, and replace it if necessary.
How do I prevent the watermelon from splitting or cracking?
To minimize the risk of your watermelon splitting or cracking, handle it with care throughout the process. Avoid dropping or bumping the watermelon, as this can create weak points in the rind. When drilling holes for the rope, use a slow and steady pressure to prevent the rind from cracking. Distribute the weight evenly by using multiple ropes or a harness-style hanging system. Avoid overfilling the watermelon with juice or other liquids, as this can add extra stress to the rind. If you notice any small cracks appearing, you can try sealing them with a food-safe sealant or tape to prevent them from spreading.
How long will a hanging watermelon last?
The lifespan of a hanging watermelon depends on several factors, including the ripeness of the watermelon, the ambient temperature, and how frequently it’s being accessed. Generally, a cut watermelon will last for 3-5 days in the refrigerator. However, a hanging watermelon is exposed to air and temperature fluctuations, which can shorten its lifespan. To maximize its freshness, store the hanging watermelon in a cool, shaded area away from direct sunlight. Cover the cut opening with plastic wrap or a beeswax wrap to prevent it from drying out. If you’re not planning on consuming the entire watermelon within a day or two, it’s best to remove the remaining fruit and store it in an airtight container in the refrigerator.
Can I add other fruits or liquids to the watermelon?
Absolutely! One of the great things about a hanging watermelon setup is its versatility. You can add a variety of other fruits, such as berries, melon balls, or citrus slices, to create a colorful and flavorful fruit salad. You can also infuse the watermelon with different liquids, such as fruit juice, lemonade, or even alcoholic beverages like vodka or rum. When adding liquids, be mindful of the weight and avoid overfilling the watermelon. Consider using a spigot to easily dispense the infused juice. Experiment with different flavor combinations to find your perfect summer refreshment. Mint, lime, ginger, and basil are all excellent additions to watermelon-based drinks.
Is it safe to hang a watermelon around children?
Safety is paramount when setting up a hanging watermelon, especially if children are present. Ensure the hanging mechanism is strong and secure, and that the watermelon is hung at a height that is out of reach of young children. Supervise children closely when they are near the hanging watermelon, and teach them not to swing or pull on it. Be aware of the potential for the watermelon to fall, and take precautions to prevent injuries. Consider placing a soft surface, such as a blanket or pillows, underneath the hanging watermelon to cushion any potential falls. If you’re concerned about safety, you can opt for a smaller watermelon or a less elaborate hanging system.
How do I clean the watermelon after use?
Cleaning the watermelon after use is essential to prevent the growth of bacteria and mold. Remove any remaining fruit and liquids from the watermelon. Wash the inside and outside of the watermelon with warm, soapy water. Use a scrub brush to remove any stubborn residue. Rinse the watermelon thoroughly with clean water. Allow the watermelon to air dry completely before storing it. If you’re planning on reusing the watermelon for another hanging setup, inspect it carefully for any signs of damage or wear. Discard the watermelon if it’s cracked, moldy, or otherwise compromised.
What are some creative variations of the hanging watermelon setup?
The possibilities are endless when it comes to creative variations of the hanging watermelon setup. Consider carving the watermelon into a unique shape, such as a basket or a face. You can also decorate the watermelon with edible markers or fruit carvings. Instead of hanging the watermelon from a single point, try creating a harness-style hanging system using multiple ropes or straps. You can also add decorative elements, such as flowers, ribbons, or lights, to enhance the visual appeal of the hanging watermelon. For a themed party, coordinate the decorations and fruit fillings to match the theme. Get creative and have fun experimenting with different ideas!

Leave a Comment