
Home Hacks and Gadgets: Unlock the secrets to a smarter, more efficient home! Ever feel like your house could be working with you, not against you? I know I have! We’ve all been there, wrestling with tangled cords, struggling to reach that high shelf, or just wishing there was a better way to organize the chaos. Well, get ready to say goodbye to those frustrations because this article is packed with ingenious DIY solutions that will transform your living space.
From clever storage ideas to time-saving cleaning tips, we’re diving deep into the world of Home Hacks and Gadgets that are both practical and fun. Think of it as a modern twist on age-old resourcefulness. Throughout history, people have always found innovative ways to make their lives easier, from ancient Roman plumbing to the ingenious contraptions of the Victorian era. This spirit of invention lives on in the DIY movement, empowering us to create custom solutions tailored to our unique needs.
Why do you need these DIY tricks and hacks? Because life is too short to spend it battling household annoyances! These simple, yet effective, solutions will save you time, money, and stress. Plus, you’ll get the satisfaction of knowing you created something amazing with your own two hands. So, grab your toolbox, put on your thinking cap, and let’s get hacking!
Growing Zucchini All Season Long: My Foolproof DIY Guide
Hey there, fellow gardeners! I’m so excited to share my secrets for harvesting zucchini all season long. Forget those frustrating periods of feast or famine – with a little planning and some simple techniques, you can enjoy a steady supply of this versatile veggie from spring until frost. I’ve been doing this for years, and trust me, it’s easier than you think!
Understanding Zucchini Growth and Challenges
Before we dive into the nitty-gritty, let’s talk zucchini basics. These guys are fast growers, which is both a blessing and a curse. They produce like crazy, but they’re also susceptible to pests, diseases, and environmental stressors. To keep them happy and productive all season, we need to address these challenges head-on.
* Pest Patrol: Squash vine borers, squash bugs, and aphids are common zucchini enemies.
* Disease Defense: Powdery mildew and blossom end rot can wreak havoc on your harvest.
* Environmental Control: Zucchini needs consistent moisture, warm temperatures, and plenty of sunlight.
Phase 1: Starting Seeds Indoors (Early Spring)
Getting a head start indoors is crucial for extending your zucchini season, especially if you live in a cooler climate. I usually start my seeds about 4-6 weeks before the last expected frost.
1. Gather Your Supplies: You’ll need zucchini seeds (choose varieties with different maturity dates for continuous harvest!), seed starting trays or small pots, seed starting mix, a spray bottle, and a heat mat (optional, but helpful).
2. Prepare the Seed Starting Mix: Moisten the seed starting mix with water until it’s damp but not soggy.
3. Sow the Seeds: Plant 2-3 seeds per cell or pot, about 1 inch deep.
4. Water Gently: Use a spray bottle to mist the soil surface. Avoid overwatering, which can lead to damping off.
5. Provide Warmth: Place the trays or pots on a heat mat to maintain a soil temperature of 70-80°F (21-27°C). This will speed up germination.
6. Provide Light: Once the seeds germinate (usually within 5-10 days), remove them from the heat mat and place them under grow lights or in a sunny window. Make sure they get at least 12-14 hours of light per day.
7. Thin Seedlings: Once the seedlings have their first true leaves (the second set of leaves), thin them to one plant per cell or pot. Choose the strongest, healthiest-looking seedling.
8. Harden Off: About a week before transplanting, gradually acclimate the seedlings to outdoor conditions. Start by placing them outside for an hour or two each day, increasing the time each day. This will help them adjust to the sun, wind, and temperature changes.
Phase 2: Direct Sowing (Late Spring/Early Summer)
Even if you start seeds indoors, direct sowing is essential for a continuous harvest. I usually sow seeds directly into the garden every 2-3 weeks throughout the spring and early summer.
1. Choose a Sunny Location: Zucchini needs at least 6-8 hours of sunlight per day.
2. Prepare the Soil: Amend the soil with compost or well-rotted manure to improve drainage and fertility. Zucchini are heavy feeders!
3. Sow the Seeds: Plant the seeds about 1 inch deep and 2-3 feet apart.
4. Water Thoroughly: Water the soil well after planting.
5. Protect from Pests: Use row covers to protect the seedlings from pests like squash bugs and cucumber beetles. Remove the row covers once the plants start to flower to allow for pollination.
Phase 3: Succession Planting for Continuous Harvest
This is the key to zucchini abundance! Succession planting simply means planting new seeds or seedlings every few weeks to ensure a continuous supply of zucchini.
1. Plan Your Planting Schedule: Determine how often you want to harvest zucchini and plan your planting schedule accordingly. I usually plant new seeds or seedlings every 2-3 weeks.
2. Choose Varieties with Different Maturity Dates: Select zucchini varieties with different maturity dates (the number of days from planting to harvest). This will help you stagger your harvest. For example, you could plant a variety that matures in 50 days and another that matures in 60 days.
3. Keep Planting: Continue planting new seeds or seedlings throughout the spring and early summer. Even if your first planting is already producing, keep planting!
Phase 4: Watering and Fertilizing
Zucchini needs consistent moisture and plenty of nutrients to thrive.
1. Water Deeply and Regularly: Water deeply and regularly, especially during hot, dry weather. Aim for about 1 inch of water per week. Avoid overhead watering, which can promote fungal diseases. I prefer using a soaker hose or drip irrigation.
2. Fertilize Regularly: Fertilize your zucchini plants every 2-3 weeks with a balanced fertilizer or compost tea. Zucchini are heavy feeders, so they need plenty of nutrients to produce a good harvest. I like to use a fertilizer that’s high in phosphorus and potassium, which promotes flowering and fruit production.
3. Mulch: Apply a layer of mulch around the plants to help retain moisture, suppress weeds, and regulate soil temperature. I use straw or wood chips.
Phase 5: Pest and Disease Control
Keeping pests and diseases at bay is crucial for a successful zucchini harvest.
1. Inspect Plants Regularly: Check your plants regularly for signs of pests or diseases. The earlier you catch a problem, the easier it will be to control.
2. Handpick Pests: Handpick pests like squash bugs and squash vine borers whenever you see them. This is a simple but effective way to control these pests.
3. Use Insecticidal Soap or Neem Oil: For larger infestations, use insecticidal soap or neem oil. These are both relatively safe and effective options.
4. Prevent Powdery Mildew: Powdery mildew is a common problem on zucchini plants. To prevent it, provide good air circulation, avoid overhead watering, and apply a fungicide if necessary. I’ve found that a mixture of baking soda and water (1 teaspoon baking soda per quart of water) can be effective in preventing powdery mildew.
5. Address Blossom End Rot: Blossom end rot is caused by a calcium deficiency. To prevent it, make sure your soil is well-drained and that you’re watering consistently. You can also add calcium to the soil by amending it with bone meal or crushed eggshells.
Phase 6: Pollination Assistance (If Needed)
Zucchini plants have separate male and female flowers. The female flowers need to be pollinated in order to produce fruit. If you’re not seeing any fruit develop, you may need to hand-pollinate the flowers.
1. Identify Male and Female Flowers: Male flowers have a long, thin stem, while female flowers have a small zucchini-like fruit at the base.
2. Hand-Pollinate: In the morning, when the flowers are open, use a small paintbrush to transfer pollen from the male flower to the female flower. Gently brush the pollen onto the stigma (the sticky part in the center of the female flower).
3. Repeat as Needed: Repeat this process every day until you see fruit developing.
Phase 7: Harvesting and Enjoying Your Zucchini
Harvest your zucchini when they are young and tender, about 6-8 inches long. Use a sharp knife to cut the zucchini from the plant, leaving a short stem attached.
1. Harvest Regularly: Harvest your zucchini regularly to encourage the plant to produce more fruit.
2. Store Properly: Store zucchini in the refrigerator for up to a week.
3. Get Creative in the Kitchen: Enjoy your zucchini in a variety of dishes, such as zucchini bread, zucchini noodles, grilled zucchini, and zucchini fritters. The possibilities are endless!
Choosing the Right Zucchini Varieties
Selecting the right zucchini varieties is crucial for extending your harvest season. Here are a few of my favorites:
* Black Beauty: A classic, reliable variety that produces dark green, cylindrical fruit. Matures in about 50 days.
* Early Crookneck: A yellow zucchini with a curved neck. Matures in about 50 days.
* Costata Romanesco: An Italian heirloom variety with ribbed, flavorful fruit. Matures in about 55 days.
* Golden Zucchini: A bright yellow zucchini that adds a pop of color to your garden and your plate. Matures in about 55 days.
* Eight Ball: A round zucchini that’s perfect for stuffing. Matures in about 60 days.
By planting a mix of these varieties, you can enjoy a continuous harvest of zucchini all season long.
Troubleshooting Common Zucchini Problems
Even with the best
Conclusion
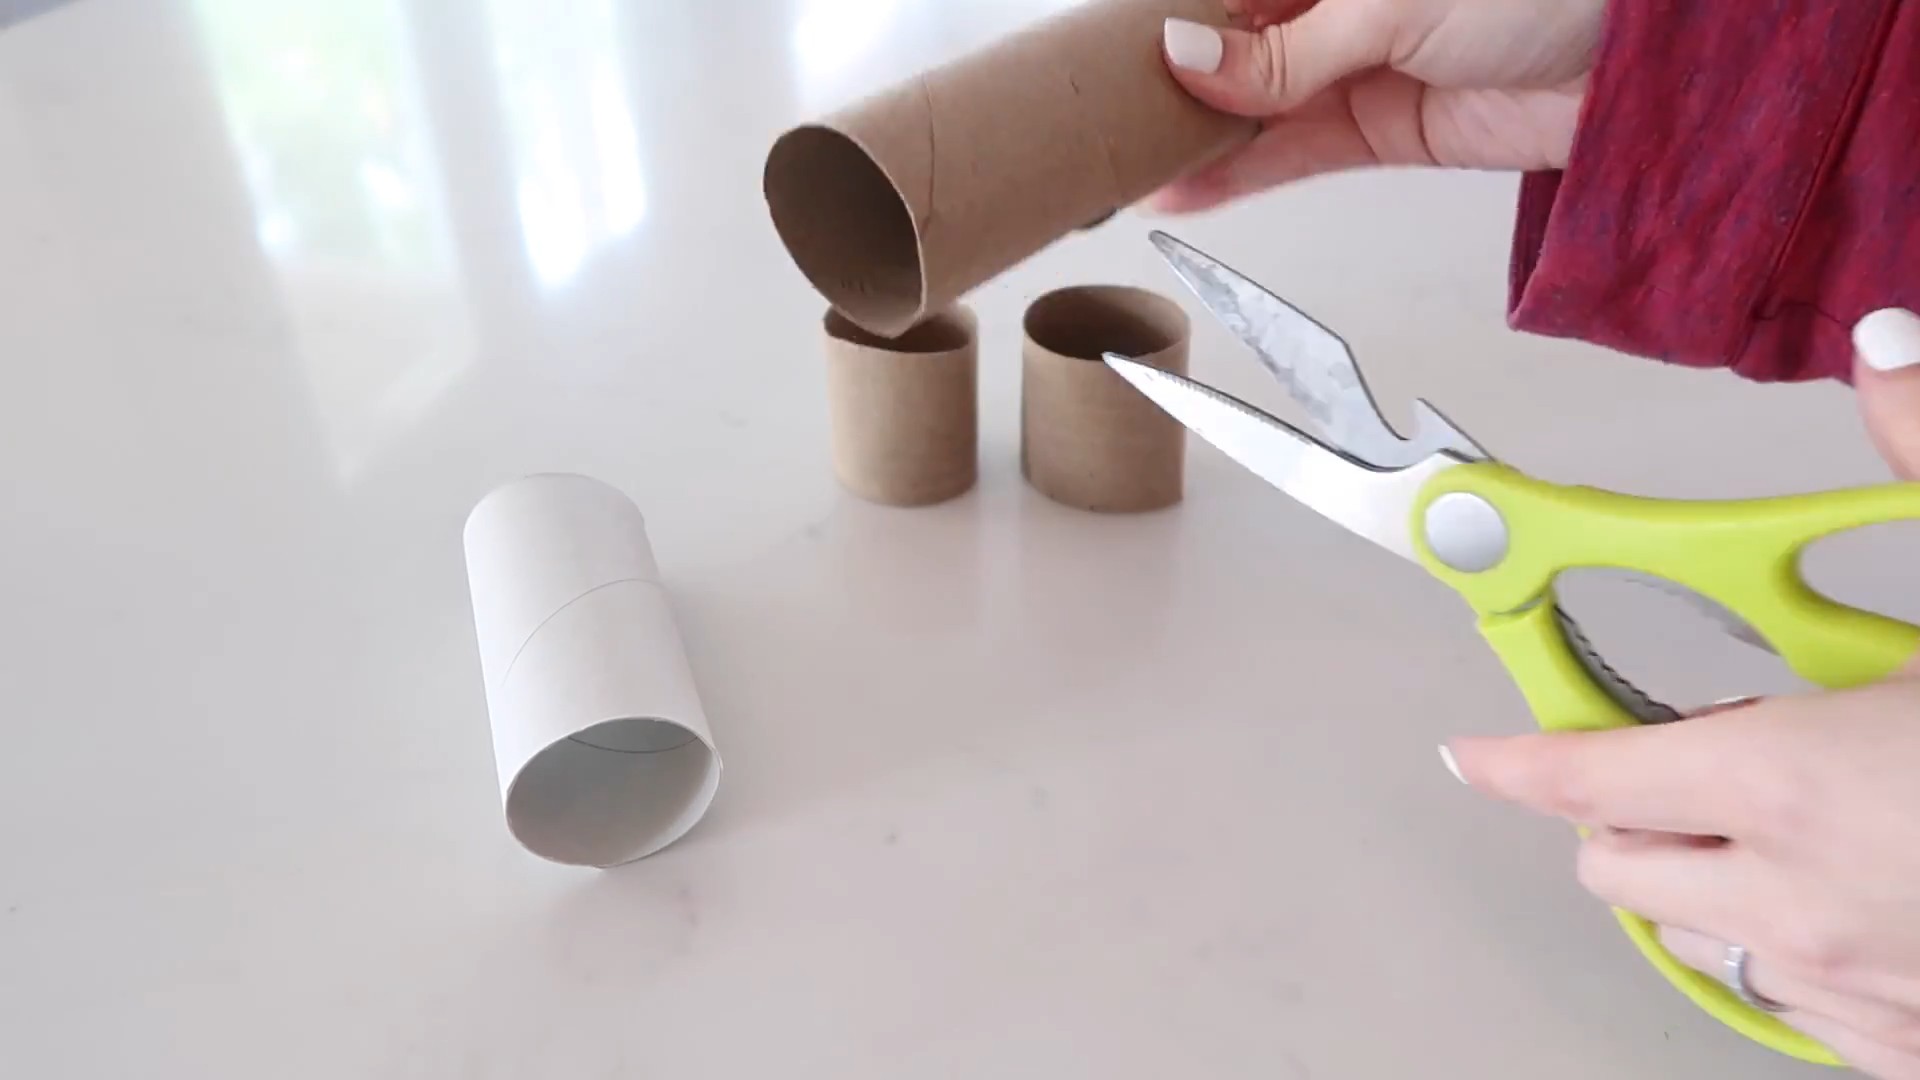
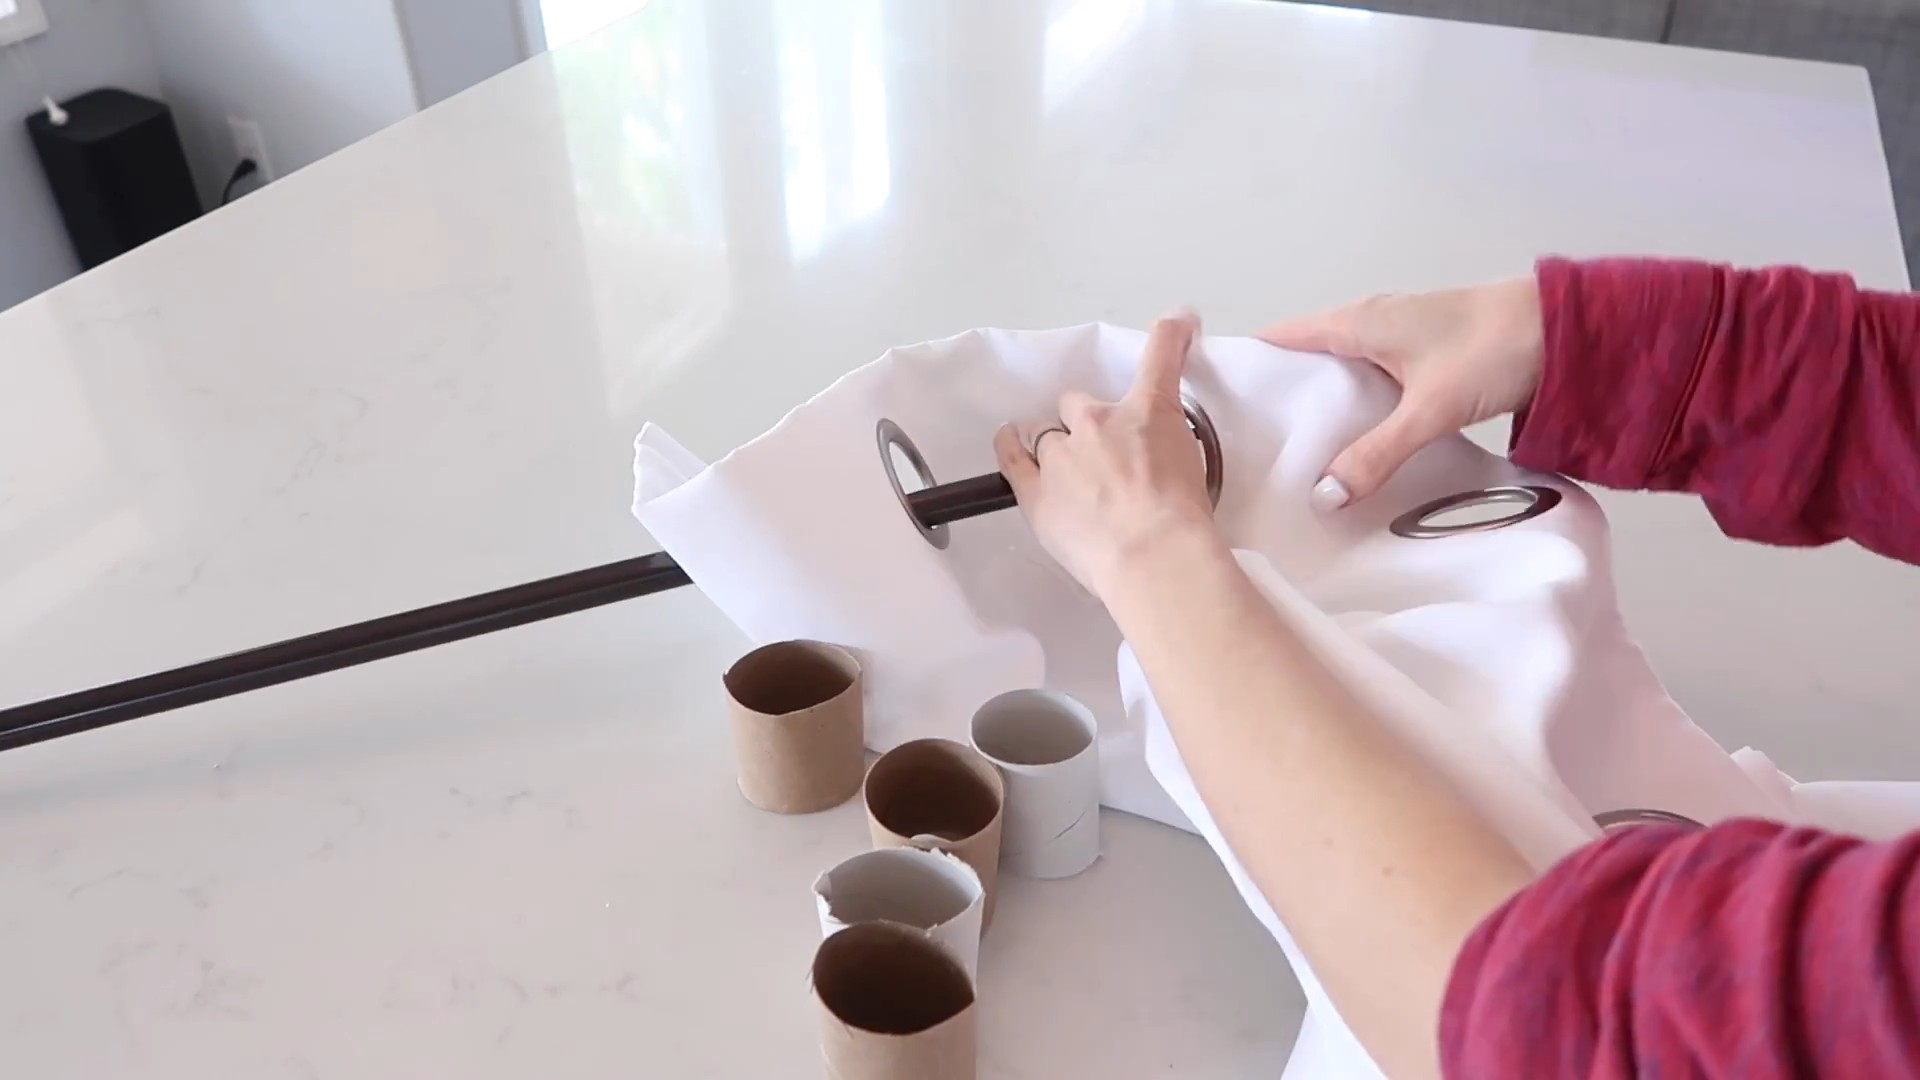
So, there you have it! This simple yet incredibly effective DIY trick is a game-changer for anyone looking to streamline their life and save money. We’ve walked you through the steps, highlighted the benefits, and hopefully, inspired you to give it a try. But why is this particular DIY hack a must-try? It’s all about empowerment and efficiency. In a world saturated with expensive gadgets and complicated solutions, this method offers a refreshing return to basics. It allows you to take control, repurpose existing materials, and create something truly useful with your own two hands.
Think about the satisfaction of knowing you’ve solved a common problem with a clever, cost-effective solution. That’s the power of DIY! And this trick, in particular, is so versatile. While we’ve focused on [Specific Application of the Home Hack, e.g., creating a phone stand from cardboard], the possibilities are truly endless.
Consider these variations to further personalize your experience:
* Material Swaps: Experiment with different materials. Instead of cardboard, try using repurposed plastic containers, scrap wood, or even sturdy fabric. Each material will offer a unique aesthetic and level of durability.
* Customization is Key: Don’t be afraid to get creative with the design. Add paint, stickers, or decorative paper to personalize your creation and make it truly your own. Think about matching it to your home decor or reflecting your personal style.
* Size Matters: Adjust the dimensions to perfectly suit your needs. Whether you need a larger version for a tablet or a smaller one for a specific gadget, tailoring the size will maximize its functionality.
* Adding Features: Consider incorporating additional features, such as a charging cable management system or a built-in storage compartment. These small additions can significantly enhance the overall usability of your DIY creation.
Ultimately, the beauty of this DIY trick lies in its adaptability. It’s a starting point, a foundation upon which you can build and innovate. We firmly believe that everyone can benefit from incorporating this simple yet powerful technique into their lives. It’s not just about saving money; it’s about fostering creativity, reducing waste, and embracing a more sustainable lifestyle.
We are confident that once you experience the convenience and satisfaction of this DIY hack, you’ll wonder how you ever lived without it. So, gather your materials, unleash your inner maker, and prepare to be amazed by the results.
Now, we want to hear from you! We encourage you to try this DIY trick and share your experiences with us. Did you encounter any challenges? Did you discover any clever variations? What did you use your creation for? Share your photos, tips, and stories in the comments section below. Let’s build a community of DIY enthusiasts and inspire each other to create, innovate, and simplify our lives, one DIY project at a time. Remember, the best home hacks and gadgets are often the ones you make yourself!
Frequently Asked Questions (FAQ)
What exactly is the benefit of doing this DIY trick instead of just buying a ready-made product?
The primary benefit is cost savings. Ready-made products, even simple ones, often come with a markup. This DIY trick allows you to repurpose materials you likely already have at home, making it virtually free. Beyond cost, there’s the satisfaction of creating something yourself, customizing it to your exact needs, and reducing waste by giving new life to discarded items. It also fosters creativity and problem-solving skills. Plus, you know exactly what materials are used, avoiding potentially harmful chemicals or unsustainable manufacturing practices.
What if I’m not very “crafty” or good at DIY projects? Is this still something I can do?
Absolutely! This DIY trick is designed to be simple and accessible to everyone, regardless of their crafting experience. The steps are straightforward, and the materials are easy to work with. Don’t worry about perfection; the goal is functionality and resourcefulness. Even if your first attempt isn’t flawless, you’ll learn something in the process, and you can always try again. Remember, practice makes perfect, and even the most experienced DIYers started somewhere. The key is to be patient, follow the instructions, and have fun with it.
What are some alternative materials I can use if I don’t have the exact materials listed in the instructions?
The beauty of this DIY trick is its adaptability. If you don’t have the exact materials, get creative with substitutions. For example, if you don’t have cardboard, you could use thick paper, plastic containers, scrap wood, or even sturdy fabric. The key is to choose a material that is relatively rigid and can be easily cut and shaped. Consider the weight of the item you’ll be supporting and choose a material that can handle the load. Don’t be afraid to experiment and see what works best for you.
How durable is this DIY creation? Will it last a long time?
The durability of your DIY creation will depend on the materials you use and how carefully you construct it. Cardboard, for example, is relatively durable but may not withstand heavy use or exposure to moisture. If you want a more durable option, consider using sturdier materials like wood or plastic. You can also reinforce the structure with glue, tape, or other fasteners. To extend the lifespan of your creation, handle it with care and avoid exposing it to extreme temperatures or humidity.
Can I customize the design to fit my specific needs or preferences?
Absolutely! Customization is one of the biggest advantages of DIY projects. Feel free to adjust the dimensions, shape, and features to perfectly suit your needs and preferences. You can add paint, stickers, or decorative paper to personalize the appearance. You can also incorporate additional features, such as a charging cable management system or a built-in storage compartment. The possibilities are endless, so let your creativity shine and create something that is truly unique and functional for you.
What if I encounter problems or difficulties while trying this DIY trick? Where can I find help?
If you encounter any problems or difficulties, don’t hesitate to seek help. You can start by re-reading the instructions carefully and watching any accompanying videos. You can also search online for tutorials or troubleshooting tips. If you’re still stuck, consider reaching out to friends or family members who have experience with DIY projects. You can also ask for help in online forums or communities dedicated to DIY and crafting. Remember, there’s a wealth of information and support available online, so don’t be afraid to ask for help when you need it. And of course, feel free to leave a comment on this article, and we’ll do our best to assist you.
Is this DIY trick environmentally friendly?
Yes, this DIY trick is inherently environmentally friendly because it encourages repurposing and reducing waste. By using materials you already have at home, you’re preventing them from ending up in landfills. You’re also reducing the demand for new products, which conserves resources and reduces pollution. To further enhance the environmental friendliness of this project, choose sustainable materials whenever possible, such as recycled cardboard or reclaimed wood.
What are some other creative uses for this DIY trick beyond the specific application mentioned in the article?
The possibilities are endless! You can use this DIY trick to create stands for tablets, e-readers, picture frames, or even small plants. You can also adapt it to create organizers for your desk, drawers, or shelves. Think about the everyday items you use and how you can create a simple, functional stand or organizer using repurposed materials. The key is to be creative and resourceful, and to think outside the box.
Leave a Comment