
Household Hacks and Tips: Ever feel like your home could use a little extra sparkle, a touch more organization, or maybe just a clever solution to a common problem? I know I do! We all crave that feeling of a well-maintained, efficient, and happy home. But let’s be honest, sometimes the solutions feel out of reach, expensive, or just plain complicated. That’s where the magic of DIY and clever hacks comes in!
For generations, resourcefulness has been a cornerstone of a thriving household. Think back to your grandparents, or even further – they knew how to mend, repurpose, and create solutions from scratch. This tradition of ingenuity is not only practical but also deeply satisfying. It connects us to a legacy of making the most of what we have.
In today’s fast-paced world, it’s easy to get caught up in consumerism, constantly buying new things instead of fixing or improving what we already own. But what if I told you that with a few simple household hacks and tips, you could save money, reduce waste, and create a more personalized and functional living space? This article is your guide to unlocking the potential of your home, one DIY project at a time. From clever cleaning solutions to ingenious storage ideas, we’ll explore a treasure trove of easy-to-implement tricks that will transform your house into a haven. Get ready to roll up your sleeves and discover the joy of DIY!
DIY Home Hacks: Making Life Easier and Saving Money!
Hey everyone! I’m so excited to share some of my favorite DIY home hacks with you. These are tried-and-true methods I’ve personally used to simplify my life, save a few bucks, and add a touch of creativity to my living space. Let’s dive in!
Unclogging Drains Naturally
Forget those harsh chemical drain cleaners! They’re bad for the environment and can even damage your pipes. Here’s a natural and effective way to unclog drains using ingredients you probably already have in your pantry.
What you’ll need:
* 1 cup baking soda
* 2 cups white vinegar
* Boiling water
Step-by-step instructions:
1. Pour Baking Soda: Carefully pour one cup of baking soda down the clogged drain. Try to get as much of it down the drain as possible.
2. Add Vinegar: Next, slowly pour two cups of white vinegar down the drain after the baking soda. You’ll notice a fizzing reaction – that’s exactly what we want!
3. Let it Fizz: Let the baking soda and vinegar mixture fizz and work its magic for about 30 minutes. This chemical reaction helps to break down the gunk and grime that’s causing the clog.
4. Flush with Boiling Water: After 30 minutes, carefully pour a pot of boiling water down the drain. The hot water will help to flush away the loosened debris.
5. Repeat if Necessary: If the drain is still clogged after the first attempt, repeat the process. For stubborn clogs, you might need to repeat it a couple of times.
Pro Tip: For preventative maintenance, I like to pour a cup of baking soda down my drains once a month, followed by vinegar and boiling water. This helps to keep things flowing smoothly and prevents clogs from forming in the first place.
Reviving Old Furniture with Chalk Paint
Don’t throw away that old dresser or side table just yet! With a little chalk paint and some elbow grease, you can give it a brand new look. Chalk paint is super forgiving and easy to work with, making it perfect for DIY beginners.
What you’ll need:
* Chalk paint (your choice of color)
* Paintbrush (a good quality brush will give you a smoother finish)
* Sandpaper (medium grit)
* Wax or sealant (to protect the paint)
* Clean cloths
Step-by-step instructions:
1. Prepare the Furniture: Start by cleaning the furniture piece thoroughly. Remove any dust, dirt, or grime. Lightly sand the surface to create a slightly rough texture for the paint to adhere to. You don’t need to sand down to bare wood, just enough to scuff the surface.
2. Apply the First Coat of Chalk Paint: Using your paintbrush, apply a thin, even coat of chalk paint to the furniture. Don’t worry if it looks a little streaky at first – chalk paint is very forgiving.
3. Let it Dry: Allow the first coat of paint to dry completely. This usually takes about 30 minutes to an hour, depending on the humidity.
4. Apply the Second Coat: Once the first coat is dry, apply a second coat of chalk paint. This will provide better coverage and a more even finish.
5. Let it Dry Again: Again, allow the second coat of paint to dry completely.
6. Distress (Optional): If you want to give your furniture a distressed look, use sandpaper to gently sand away some of the paint on the edges, corners, and raised areas. This will reveal the original finish underneath and create a vintage feel.
7. Seal the Paint: To protect the chalk paint and prevent it from chipping or scratching, you need to seal it. You can use wax or a sealant specifically designed for chalk paint. Apply the wax or sealant according to the manufacturer’s instructions.
8. Buff the Wax (if using wax): If you used wax, use a clean cloth to buff the surface of the furniture. This will create a smooth, polished finish.
Pro Tip: Experiment with different colors and distressing techniques to create a unique look for your furniture. You can also use stencils to add patterns or designs.
Making Your Own All-Purpose Cleaner
Why spend money on expensive cleaning products when you can make your own all-purpose cleaner with just a few simple ingredients? This cleaner is effective, eco-friendly, and smells amazing!
What you’ll need:
* Spray bottle
* 1 cup white vinegar
* 1 cup water
* 10-20 drops essential oil (lemon, lavender, tea tree, or your favorite scent)
Step-by-step instructions:
1. Combine Ingredients: In a spray bottle, combine one cup of white vinegar and one cup of water.
2. Add Essential Oils: Add 10-20 drops of your favorite essential oil. Lemon, lavender, and tea tree are all great options for cleaning because they have antibacterial and antiviral properties.
3. Shake Well: Shake the spray bottle well to combine all the ingredients.
4. Use as Needed: Spray the cleaner onto surfaces and wipe clean with a cloth.
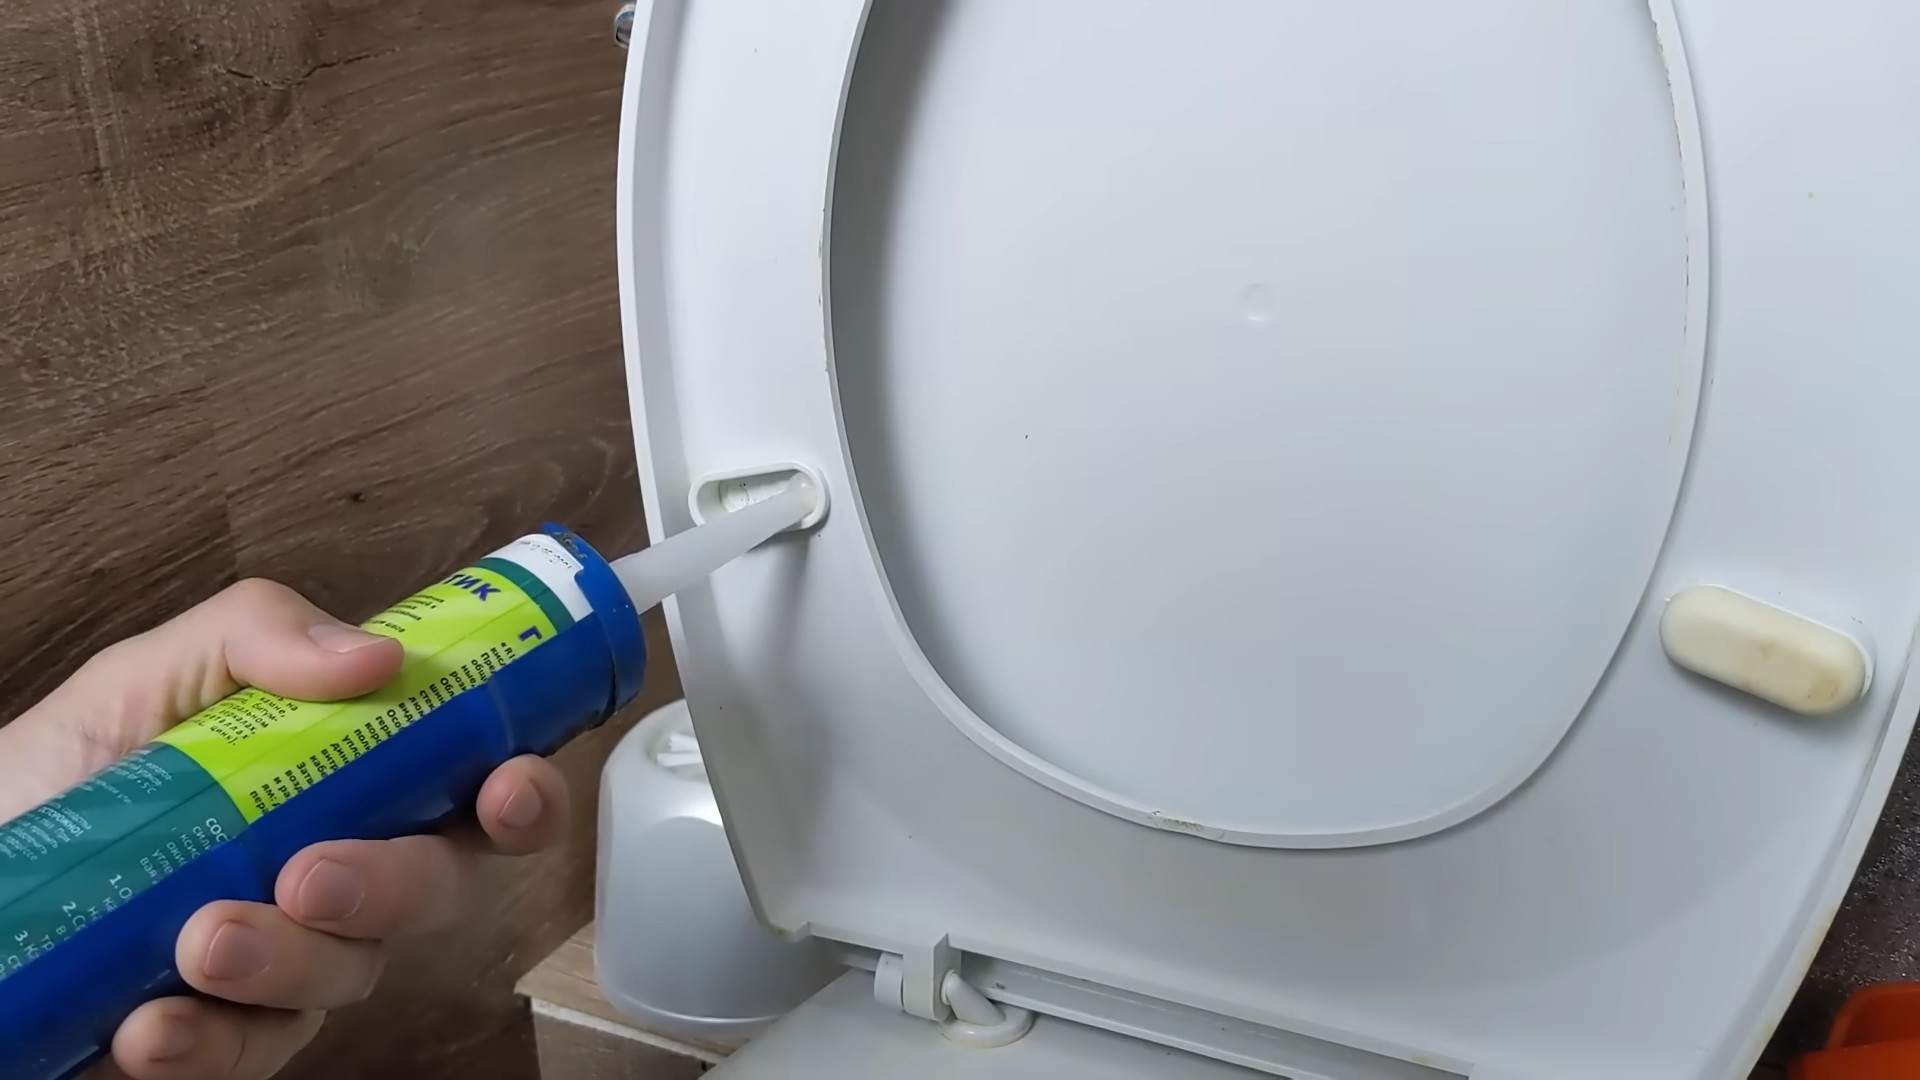
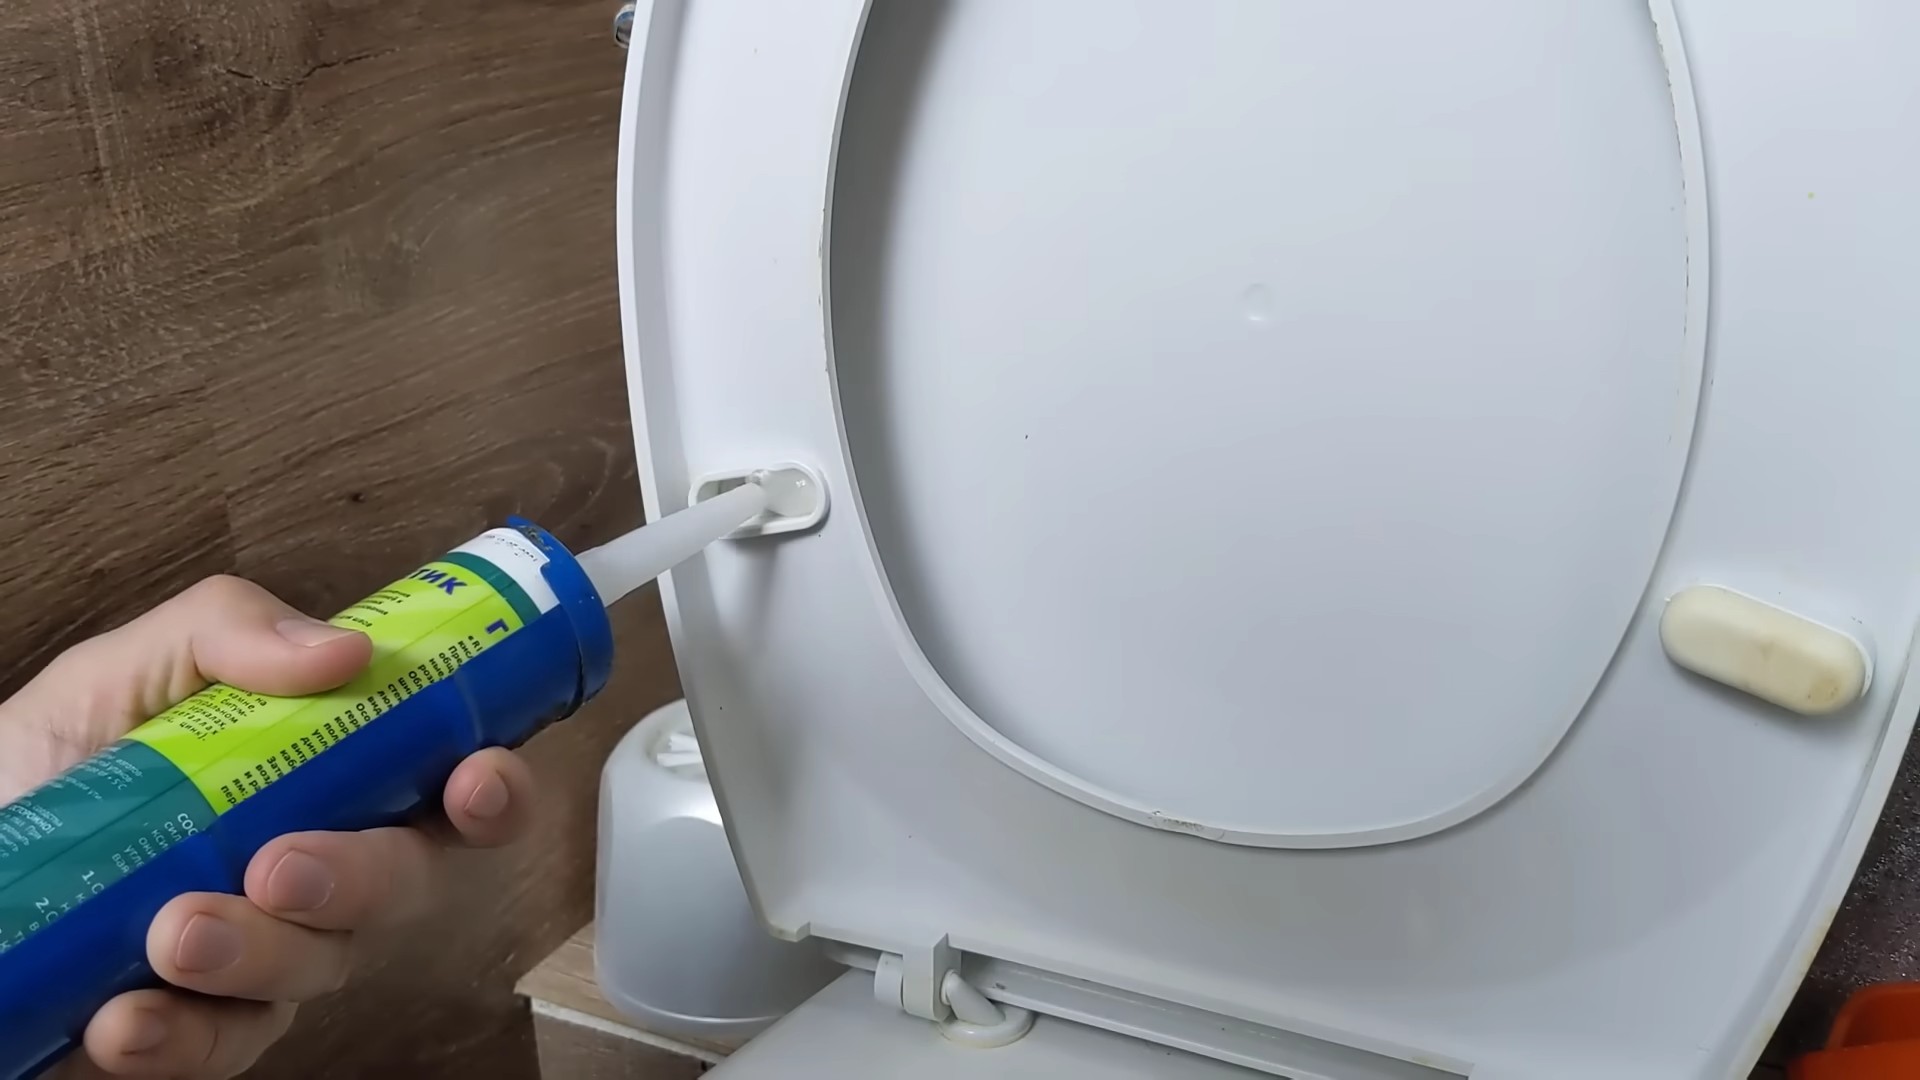
Pro Tip: This cleaner is great for cleaning countertops, sinks, toilets, and other surfaces. Avoid using it on marble or granite, as the vinegar can damage these materials.
Creating a DIY Coffee Scrub
This is one of my favorite ways to repurpose used coffee grounds! A coffee scrub is a fantastic exfoliant that can help to improve circulation, reduce cellulite, and leave your skin feeling soft and smooth.
What you’ll need:
* 1/2 cup used coffee grounds (cooled)
* 1/4 cup coconut oil (melted)
* 1/4 cup sugar (brown or white)
* A few drops of essential oil (optional, like vanilla or peppermint)
* Airtight container
Step-by-step instructions:
1. Combine Coffee Grounds and Sugar: In a bowl, combine the used coffee grounds and sugar.
2. Add Coconut Oil: Add the melted coconut oil to the coffee grounds and sugar mixture.
3. Add Essential Oil (Optional): If you’re using essential oil, add a few drops to the mixture.
4. Mix Well: Mix all the ingredients together until well combined.
5. Store in an Airtight Container: Transfer the coffee scrub to an airtight container and store it in a cool, dry place.
How to Use:
1. Wet Your Skin: In the shower or bath, wet your skin.
2. Apply the Scrub: Apply a generous amount of the coffee scrub to your skin.
3. Massage in Circular Motions: Gently massage the scrub into your skin in circular motions for a few minutes.
4. Rinse Thoroughly: Rinse your skin thoroughly with warm water.
5. Pat Dry: Pat your skin dry with a towel.
Pro Tip: Be careful when using coffee scrub in the shower, as it can make the floor slippery. You can also use this scrub on your face, but be sure to use a gentle touch.
Making Beeswax Food Wraps
Say goodbye to plastic wrap and hello to eco-friendly beeswax food wraps! These reusable wraps are a great way to keep your food fresh and reduce your plastic waste.
What you’ll need:
* Cotton fabric (organic cotton is a great choice)
* Beeswax pellets
* Pine resin (optional, for added stickiness)
* Jojoba oil (optional, for added pliability)
* Parchment paper
* Iron
* Scissors
Step-by-step instructions:
1. Prepare the Fabric: Wash and dry your cotton fabric. Cut the fabric into the desired sizes and shapes. I like to make a variety of sizes to wrap different types of food.
2. Melt the Beeswax: In a double boiler or a heat-safe bowl set over a pot of simmering water, melt the beeswax pellets. If you’re using pine resin and jojoba oil, add them to the melted beeswax and stir until combined. A good ratio is about 1 tablespoon of pine resin and 1 teaspoon of jojoba oil per cup of beeswax.
3. Layer the Fabric: Place a sheet of parchment paper on your ironing board. Place a piece of fabric on top of the parchment paper.
4. Apply the Beeswax Mixture: Using a paintbrush or your fingers (be careful, the beeswax is hot!), spread the melted beeswax mixture evenly over the fabric. Make sure to cover the entire surface of the fabric.
5. Cover with Parchment Paper: Place another sheet of parchment paper on top of the beeswax-covered fabric.
6. Iron the Fabric: Using a warm iron (
Conclusion
So, there you have it! Mastering these simple yet effective household hacks and tips can truly transform your living space and daily routines. We’ve explored a range of solutions, from tackling stubborn stains to creating natural cleaning solutions, all designed to save you time, money, and unnecessary stress. But why is embracing these DIY approaches a must-try?
Firstly, the sheer versatility of these hacks is undeniable. They address a multitude of common household challenges using readily available ingredients and tools. No more frantic trips to the store for specialized cleaners or expensive gadgets. You likely already possess the key ingredients to unlock a cleaner, more organized, and more efficient home.
Secondly, these hacks are incredibly cost-effective. By utilizing everyday items like vinegar, baking soda, and lemon juice, you can significantly reduce your spending on commercial cleaning products. This not only benefits your wallet but also minimizes your exposure to harsh chemicals, creating a healthier environment for you and your family.
Thirdly, and perhaps most importantly, these DIY solutions empower you to take control of your home environment. You’re no longer reliant on pre-packaged products with unknown ingredients. You can customize these hacks to suit your specific needs and preferences, creating personalized solutions that truly work for you.
Consider, for instance, the possibilities with our all-purpose cleaner recipe. While the basic formula is incredibly effective, you can easily adapt it by adding a few drops of your favorite essential oil for a refreshing scent. Lavender, lemon, and eucalyptus are all excellent choices that not only smell great but also possess natural antibacterial properties. Or, if you’re dealing with particularly stubborn grime, try adding a tablespoon of borax to the mixture for extra cleaning power.
Similarly, the fabric softener hack can be customized to your liking. Experiment with different essential oil blends to create a unique fragrance that lingers on your clothes. You can also adjust the amount of baking soda to achieve the desired level of softness.
The key is to experiment and find what works best for you. Don’t be afraid to tweak the recipes and adapt the techniques to suit your individual needs and preferences. This is the beauty of DIY – it’s all about creating personalized solutions that make your life easier and more enjoyable.
We strongly encourage you to try these **household hacks and tips** and experience the transformative power of DIY. Start with one or two hacks that resonate with you and gradually incorporate more into your routine. You’ll be amazed at the difference they can make.
But don’t just take our word for it! We want to hear about your experiences. Share your successes, your challenges, and your own creative adaptations in the comments section below. Let’s build a community of DIY enthusiasts who are passionate about creating cleaner, more organized, and more sustainable homes. Your insights and experiences can inspire others to embrace the power of DIY and transform their own living spaces. So, go ahead, give these hacks a try and let us know what you think! We can’t wait to hear from you.
Frequently Asked Questions (FAQs)
Q: Are these household hacks safe to use around children and pets?
A: Safety is paramount, especially when children and pets are involved. While many of these hacks utilize natural ingredients, it’s crucial to exercise caution and take necessary precautions. For instance, vinegar, while generally safe, can be irritating to the eyes and skin. Baking soda can be harmful if ingested in large quantities. Essential oils, while beneficial, can be toxic to pets if ingested or applied directly to their skin.
Always store cleaning solutions out of reach of children and pets. When using these hacks, ensure adequate ventilation and avoid direct contact with skin and eyes. If you’re concerned about potential allergies or sensitivities, test a small amount of the solution on an inconspicuous area before applying it to a larger surface.
Furthermore, research the specific essential oils you plan to use to ensure they are safe for your pets. Some essential oils, such as tea tree oil, are highly toxic to animals. If you’re unsure, consult with your veterinarian before using essential oils around your pets.
Q: How long do these DIY cleaning solutions last?
A: The shelf life of these DIY cleaning solutions varies depending on the ingredients used. Solutions containing water are more susceptible to bacterial growth and should be used within a few weeks. Solutions containing vinegar or alcohol, which act as natural preservatives, can last longer, typically up to a few months.
To maximize the shelf life of your DIY cleaning solutions, store them in airtight containers in a cool, dark place. Label each container with the date it was made so you can keep track of its age. If you notice any changes in color, odor, or consistency, discard the solution immediately.
It’s always best to make smaller batches of cleaning solutions that you can use within a reasonable timeframe. This ensures that the solutions are fresh and effective.
Q: Can I use these hacks on all surfaces?
A: Not all surfaces are created equal, and some materials are more sensitive to certain cleaning agents than others. Before using any of these hacks on a particular surface, it’s essential to test a small, inconspicuous area first to ensure it doesn’t cause any damage or discoloration.
For instance, vinegar, while an excellent cleaner, can be acidic and may damage natural stone surfaces like marble and granite. Baking soda, while generally safe, can be abrasive and may scratch delicate surfaces like glass and polished wood.
Always read the manufacturer’s instructions for cleaning specific surfaces. If you’re unsure whether a particular hack is safe to use, err on the side of caution and consult with a professional cleaner.
Q: What are some other variations I can try with these hacks?
A: The possibilities are endless when it comes to customizing these household hacks and tips! Here are a few more variations to inspire you:
* **Citrus Infused Vinegar:** Infuse vinegar with citrus peels (lemon, orange, grapefruit) for a natural, fragrant cleaner. Simply place the peels in a jar, cover with vinegar, and let it steep for a few weeks. Strain the vinegar and use it as usual.
* **DIY Laundry Detergent:** Combine washing soda, borax, and grated castile soap for a natural and effective laundry detergent.
* **Homemade Furniture Polish:** Mix olive oil and lemon juice for a natural furniture polish that will leave your wood surfaces shining.
* **Natural Air Freshener:** Simmer water on the stovetop with citrus peels, spices (cinnamon, cloves), and herbs (rosemary, thyme) for a natural and fragrant air freshener.
Q: What if I don’t have all the ingredients listed in the recipes?
A: Don’t let a missing ingredient deter you from trying these hacks! In many cases, you can substitute one ingredient for another. For instance, if you don’t have white vinegar, you can use apple cider vinegar instead. If you don’t have baking soda, you can use washing soda.
However, it’s important to understand the properties of each ingredient and choose a substitute that will provide a similar effect. If you’re unsure, do some research online or consult with a DIY expert.
In some cases, you may need to adjust the quantities of other ingredients to compensate for the missing ingredient. Experiment and see what works best for you. The beauty of DIY is that it’s all about finding creative solutions to your problems.


Leave a Comment