
Household time saving shortcuts – who doesn’t crave them? Let’s be honest, life’s a whirlwind, and finding extra minutes (or even hours!) in the day feels like striking gold. For centuries, people have sought clever ways to streamline their routines, from ancient Roman innovations in aqueducts to the modern marvels of smart home technology. But you don’t need to be an engineer or tech guru to reclaim your precious time.
I’m here to share some simple, yet incredibly effective, DIY tricks and hacks that will revolutionize your daily life. Imagine spending less time on chores and more time on the things you truly love – whether it’s pursuing a hobby, spending quality time with loved ones, or simply relaxing with a good book.
This article is packed with practical household time saving shortcuts that are easy to implement and won’t break the bank. We’ll explore everything from clever cleaning hacks to organizational tips that will transform your home into a haven of efficiency. So, ditch the overwhelm and embrace a simpler, more streamlined lifestyle. Let’s dive in and discover how to make the most of your time, starting today!
DIY Time-Saving Household Hacks: Reclaim Your Day!
Okay, let’s face it, life is busy! We all want to squeeze more out of our days, and that often means finding clever ways to cut down on household chores. I’ve compiled some of my favorite DIY time-saving hacks that have seriously changed my life. Get ready to say goodbye to endless cleaning and hello to more free time!
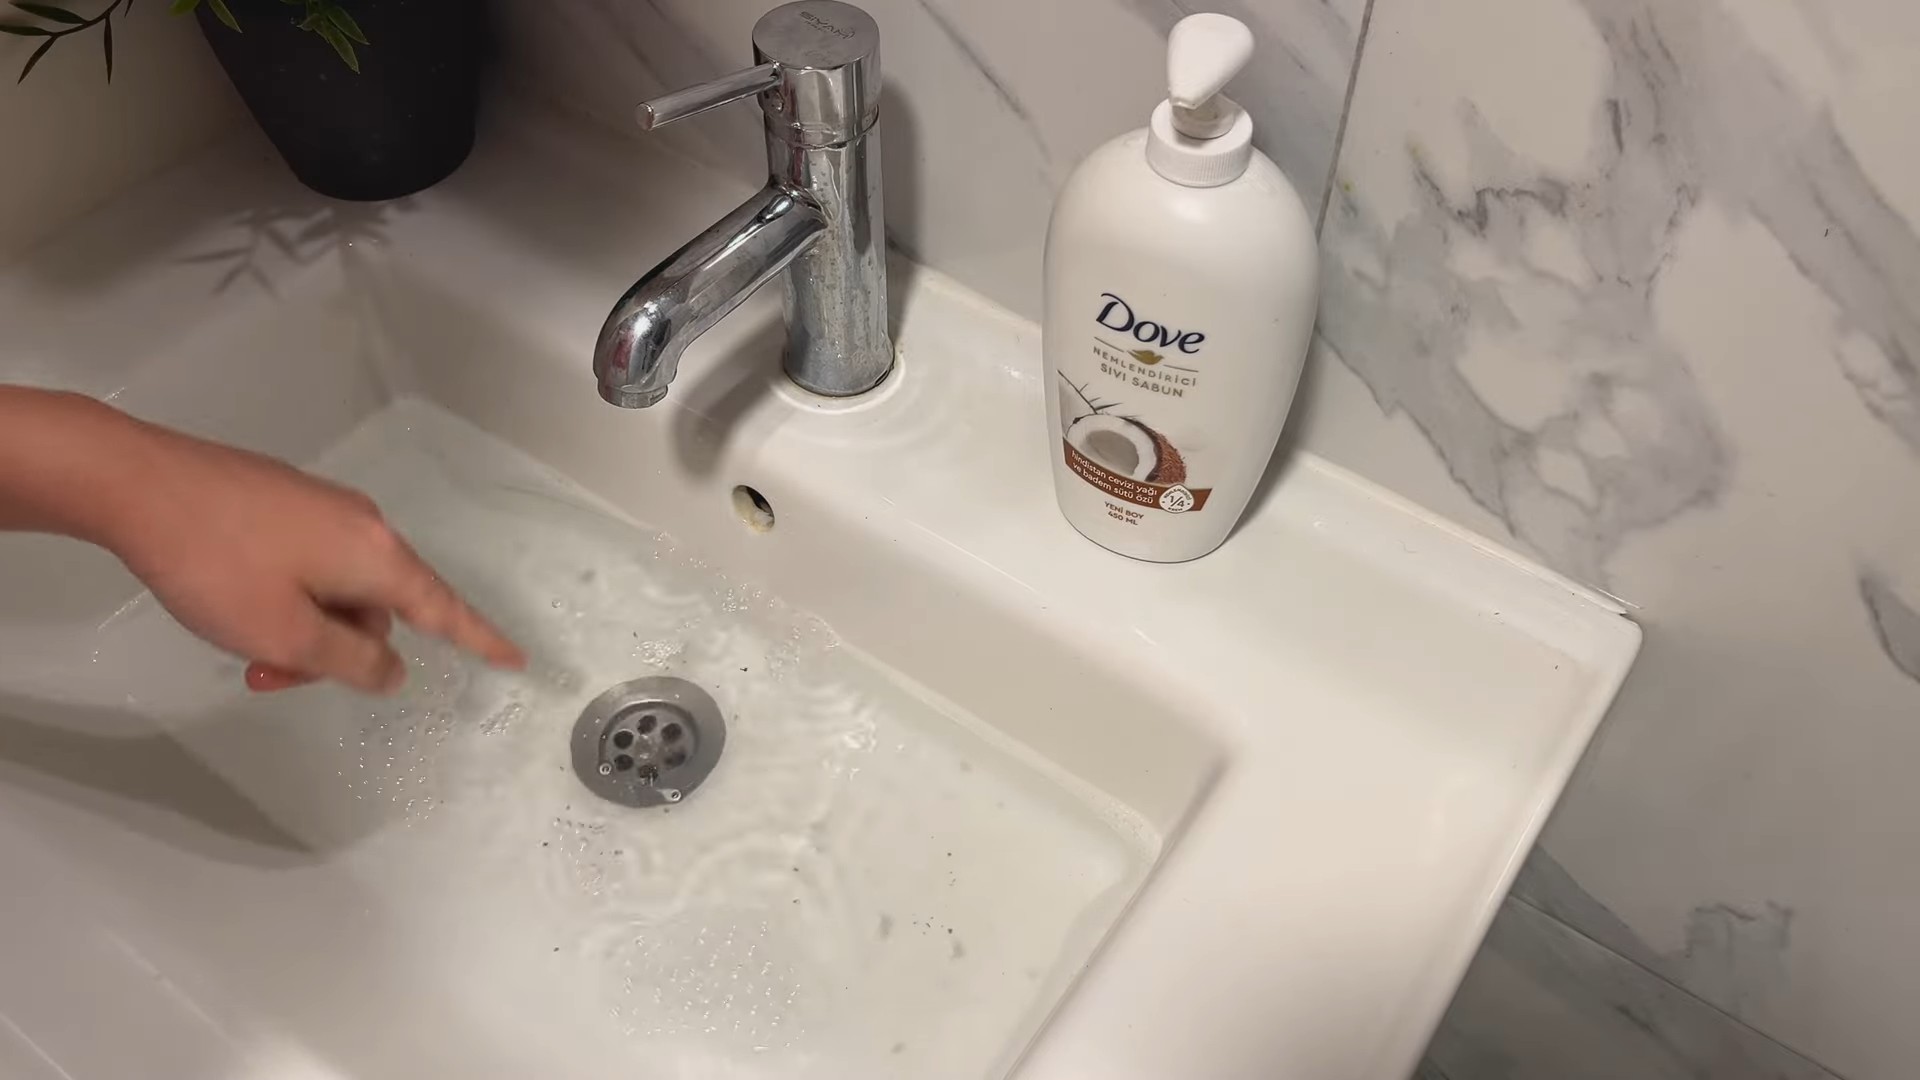
Hack 1: The Speedy Shower Cleaner
This is a game-changer, trust me. No more scrubbing for hours! This spray keeps your shower sparkling with minimal effort.
What You’ll Need:
* Spray bottle (an old cleaner bottle works great!)
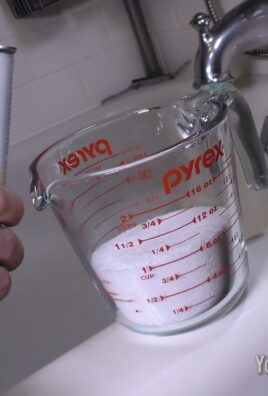
* 1 cup white vinegar
* 1 cup dish soap (Dawn works wonders)
* Sponge or squeegee
Step-by-Step Instructions:
1. Mix it Up: In your spray bottle, combine the white vinegar and dish soap. Don’t worry if it looks a little weird at first, it’ll settle.
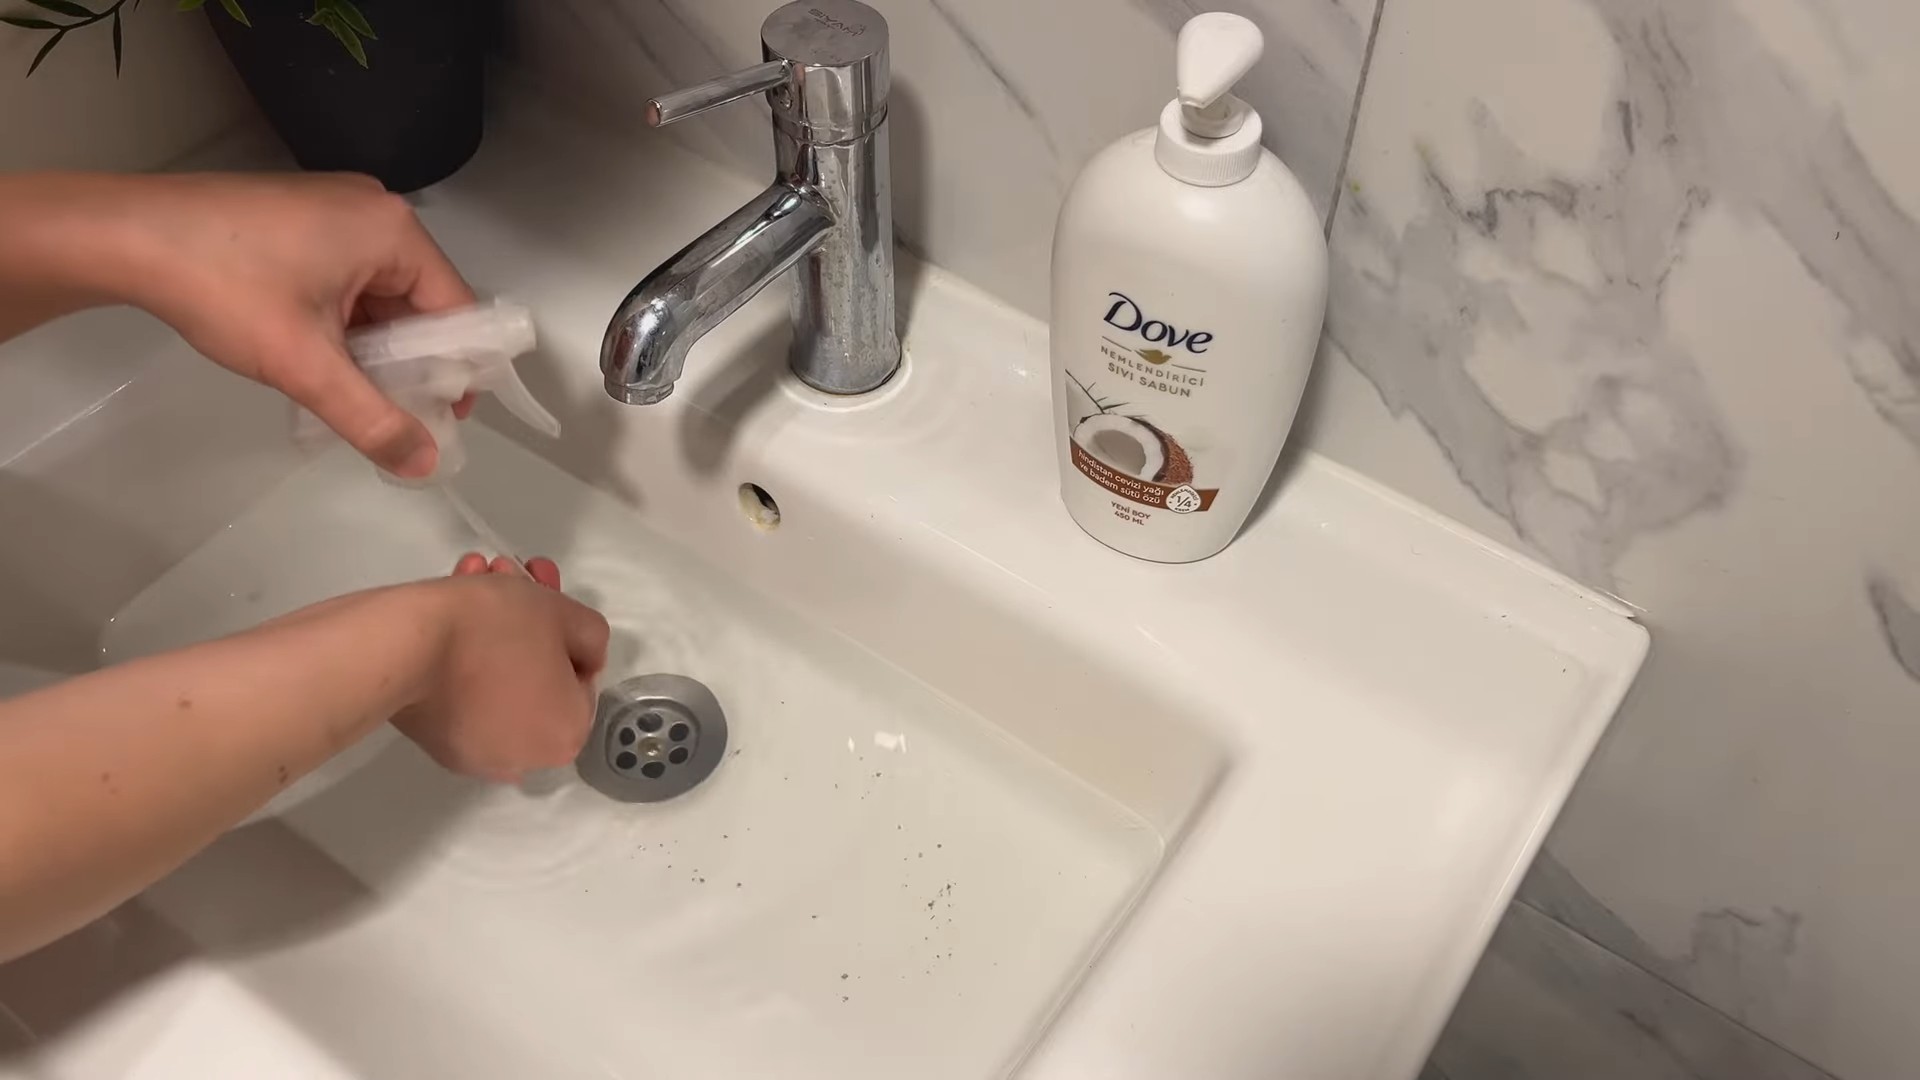
2. Spray Away: After you shower, while the shower walls are still wet, spray the mixture liberally all over the tile, glass, and shower floor.
3. Let it Sit (Briefly!): Let the solution sit for about 5-10 minutes. This gives it time to break down soap scum and grime.
4. Rinse and Shine: Rinse the shower thoroughly with hot water.
5. Squeegee (Optional): For extra sparkle, use a squeegee to remove any remaining water from the glass and tile. This helps prevent water spots.
Why this works: The vinegar cuts through hard water stains and mildew, while the dish soap dissolves grease and grime. The combination is a powerful cleaning duo!
Pro Tip: I keep a spray bottle of this mixture right in my shower so I can quickly spray it down after each use. It takes less than a minute and prevents buildup in the first place!
Hack 2: The Microwave Steam Clean
Burnt-on food in the microwave? We’ve all been there. This hack uses the power of steam to loosen the gunk, making it a breeze to wipe clean.
What You’ll Need:
* Microwave-safe bowl
* 1 cup water
* 1 tablespoon white vinegar or lemon juice
* Sponge or cloth
Step-by-Step Instructions:
1. Prepare the Solution: In the microwave-safe bowl, combine the water and vinegar (or lemon juice). The vinegar/lemon helps to deodorize and break down grease.
2. Microwave Magic: Place the bowl in the microwave and heat on high for 3-5 minutes, or until the water is boiling and the microwave is filled with steam.
3. Let it Sit (Important!): Leave the door closed for another 5-10 minutes to allow the steam to work its magic. This is crucial for loosening the grime.
4. Wipe it Down: Carefully remove the bowl (it will be hot!). Use a sponge or cloth to easily wipe away the loosened food particles. You’ll be amazed at how easily they come off!
5. Stubborn Spots: For any stubborn spots, dip your sponge or cloth in the remaining water in the bowl and scrub gently.
Why this works: The steam softens the dried-on food, making it much easier to remove without harsh scrubbing.
Pro Tip: I like to add a few drops of lemon essential oil to the water for a fresh, clean scent.
Hack 3: The Laundry Stripping Power-Up
Okay, this one is a little more involved, but it’s SO satisfying. Laundry stripping is a deep cleaning method that removes buildup from detergents, fabric softeners, minerals, and body oils that regular washing leaves behind. It’s perfect for towels, sheets, and workout clothes.
What You’ll Need:
* Bathtub or large basin
* Hot water
* 1/4 cup Borax
* 1/4 cup washing soda (sodium carbonate)
* 1/2 cup laundry detergent (powdered is best)
* Spoon or stick for stirring
Step-by-Step Instructions:
1. Fill the Tub: Fill your bathtub or basin with hot water. Make sure it’s hot enough to dissolve the powders.
2. Add the Cleaning Agents: Add the Borax, washing soda, and laundry detergent to the water.
3. Stir it Up: Stir the mixture well until all the powders are completely dissolved.
4. Submerge Your Laundry: Add your clean laundry to the water. Make sure it’s fully submerged.
5. Let it Soak (The Long Wait): Let the laundry soak for 4-6 hours, stirring occasionally. You’ll be shocked at the color of the water as the buildup releases!
6. Drain and Rinse: Drain the dirty water and rinse the laundry thoroughly with cold water until the water runs clear. This may take several rinses.
7. Wash and Dry: Wash the laundry in your washing machine without any detergent. Then, dry as usual.
Why this works: The combination of Borax, washing soda, and laundry detergent creates a powerful cleaning solution that breaks down and removes buildup that regular washing can’t reach.
Pro Tip: Don’t strip your laundry too often, as it can be harsh on fabrics. I do it every few months for my towels and sheets. Also, be prepared for some seriously gross water!
Hack 4: The Quick Dusting Solution
Dusting can feel like a never-ending chore. This simple solution makes it faster and more effective.
What You’ll Need:
* Spray bottle
* 1 cup water
* 1 tablespoon white vinegar
* 1 tablespoon olive oil
* A few drops of essential oil (optional, for scent)
* Microfiber cloth
Step-by-Step Instructions:
1. Mix the Solution: In the spray bottle, combine the water, vinegar, olive oil, and essential oil (if using).
2. Shake Well: Shake the bottle well before each use to ensure the ingredients are properly mixed.
3. Spray Lightly: Lightly spray the solution onto your microfiber cloth.
4. Dust Away: Wipe down surfaces with the damp cloth. The olive oil helps to polish and protect the surfaces, while the vinegar helps to remove dust and grime.
Why this works: The olive oil helps to trap dust and prevent it from scattering, while the vinegar helps to dissolve grime and leave surfaces sparkling.
Pro Tip: I keep a bottle of this dusting solution in my cleaning caddy so it’s always ready to go. It makes dusting so much quicker and easier!
Hack 5: The Garbage Disposal Freshener
A stinky garbage disposal can make your whole kitchen smell unpleasant. This easy hack uses natural ingredients to freshen it up.
What You’ll Need:
* Ice cube tray
* Lemon or lime peels
* White vinegar
* Water
Step-by-Step Instructions:
1. Prepare the Ice Cubes: Fill each compartment of the ice cube tray with small pieces of lemon or lime peels.
2. Add the Liquid: Pour a mixture of equal parts white vinegar and water over the lemon/lime peels in each compartment.
3. Freeze: Freeze the ice cube tray until the cubes are solid.
4. Freshen the Disposal: Drop a few of the frozen cubes into your garbage disposal and run it with cold water for about 30 seconds.
Why this works: The ice helps to scrub the disposal blades, while the lemon/lime peels and vinegar help to deodorize and freshen the disposal.
Pro Tip: I make a big batch of these ice cubes and store them in a freezer bag so I always have them on hand.
Hack 6: The Wrinkle-Release Spray
Ironing can be a huge time suck. This wrinkle-release spray is perfect for those times when you need to quickly de-wrinkle a garment.
What You’ll Need:
* Spray bottle
* 1 cup water
* 1 tablespoon white vinegar
* 1 teaspoon hair conditioner
Step-by-Step Instructions:
1. Mix the Solution: In the spray bottle, combine the water, vinegar, and hair conditioner.
2. Shake Well: Shake the bottle well before each use to ensure the ingredients are properly mixed.
3. Spray Lightly: Lightly spray the wrinkled garment with the solution.
4. Smooth and Hang: Gently smooth out the wrinkles with your hands and hang the garment to dry.
Why this works: The water helps to relax the fibers, the vinegar helps to remove odors, and the hair conditioner helps to soften the fabric and release wrinkles.
Pro Tip: This spray works best on
Conclusion
So, there you have it! This simple yet incredibly effective DIY trick for creating your own reusable cleaning wipes is a game-changer for anyone looking to streamline their cleaning routine and embrace a more sustainable lifestyle. We’ve shown you how to transform readily available materials into a powerful cleaning tool that saves you time, money, and reduces your reliance on disposable products.
But why is this DIY approach a must-try? Beyond the obvious cost savings, it’s about control. You get to choose the cleaning solution that best suits your needs and preferences. Are you sensitive to certain chemicals? No problem! Opt for a natural, plant-based cleaner. Do you need extra disinfecting power? Add a few drops of your favorite essential oil known for its antimicrobial properties. The possibilities are endless, and you’re in the driver’s seat.
Furthermore, this DIY project is incredibly versatile. Consider these variations to tailor the wipes to specific tasks:
* **For the Kitchen:** Use a solution of water, vinegar, and a few drops of lemon essential oil for a natural degreaser and deodorizer.
* **For the Bathroom:** A solution of water, rubbing alcohol, and tea tree oil can help disinfect surfaces and combat mold.
* **For Dusting:** A mixture of water, a small amount of furniture polish, and a microfiber cloth will leave your furniture sparkling.
* **For Stainless Steel:** A simple solution of water and a tiny amount of dish soap will keep your stainless steel appliances looking their best.
Don’t be afraid to experiment and find the perfect combination for your home. The key is to use a solution that is effective for the task at hand and safe for the surfaces you are cleaning.
This **household time saving shortcut** isn’t just about cleaning; it’s about making conscious choices that benefit both your home and the environment. By reducing your consumption of disposable wipes, you’re contributing to a more sustainable future.
We are confident that once you try this DIY trick, you’ll wonder how you ever lived without it. It’s a simple, effective, and eco-friendly way to keep your home clean and organized.
Now, it’s your turn! Gather your supplies, follow the easy steps outlined above, and experience the joy of creating your own reusable cleaning wipes. We encourage you to share your experiences with us in the comments below. Let us know what cleaning solutions you’ve tried, what variations you’ve discovered, and how this DIY trick has transformed your cleaning routine. We can’t wait to hear from you!
Frequently Asked Questions (FAQs)
What type of container is best for storing the DIY cleaning wipes?
The ideal container is airtight to prevent the wipes from drying out. A repurposed plastic container with a secure lid, a glass jar with a tight-fitting lid, or even a dedicated wipes container are all excellent choices. Make sure the container is clean and dry before adding the wipes and solution. Avoid containers that are prone to leaking, especially if you plan to store them on their side.
What kind of cloth should I use for the wipes?
Microfiber cloths are highly recommended due to their absorbency, durability, and lint-free nature. They are also effective at trapping dirt and grime. You can also use cotton cloths, such as old t-shirts or towels cut into squares. Just be sure to use a fabric that is absorbent and can withstand repeated washing. Avoid using paper towels, as they will disintegrate when wet.
How often should I wash the reusable wipes?
Wash the wipes after each use to prevent the buildup of bacteria and odors. You can wash them in your washing machine with your regular laundry. Use a hot water cycle and a mild detergent. Avoid using fabric softener, as it can reduce the absorbency of the cloths. Tumble dry on low heat or hang them to dry.
Can I use essential oils in the cleaning solution?
Yes, essential oils can be a great addition to your cleaning solution, adding fragrance and providing additional cleaning benefits. Some popular choices include lemon, tea tree, lavender, and eucalyptus. However, it’s important to use essential oils with caution. Always dilute them properly and avoid using them on surfaces that may be damaged by essential oils, such as wood furniture. Also, be mindful of allergies and sensitivities when choosing essential oils.
How long will the DIY cleaning wipes last?
The lifespan of the wipes depends on the type of cloth you use and how well you care for them. Microfiber cloths can last for hundreds of washes, while cotton cloths may wear out sooner. To prolong the life of your wipes, wash them regularly and avoid using harsh chemicals or bleach.
Is this DIY cleaning wipe solution safe for all surfaces?
It’s always a good idea to test the cleaning solution on a small, inconspicuous area before using it on a larger surface. This will help you ensure that the solution doesn’t damage or discolor the surface. Avoid using acidic solutions, such as vinegar, on marble or granite countertops. Also, be careful when using essential oils on wood furniture.
Can I use this DIY cleaning wipe solution to disinfect surfaces?
While the DIY cleaning wipe solution can help clean and sanitize surfaces, it may not be as effective as a dedicated disinfectant. To disinfect surfaces, you can add a small amount of rubbing alcohol or bleach to the solution. However, be sure to use these ingredients with caution and follow the manufacturer’s instructions. Always wear gloves and eye protection when using bleach.
How do I dispose of the used cleaning wipes?
Since the wipes are reusable, you don’t need to dispose of them after each use. Simply wash them and reuse them. However, if the wipes become damaged or worn out, you can dispose of them in the trash. Avoid flushing them down the toilet, as they can clog your plumbing.
What if my wipes start to smell musty?
A musty smell indicates bacterial growth. To eliminate the odor, soak the wipes in a solution of hot water and vinegar for 30 minutes before washing them. You can also add a few drops of tea tree oil to the wash cycle. Make sure the wipes are completely dry before storing them to prevent the odor from returning.
Can I make a larger batch of cleaning solution and store it for later use?
Yes, you can make a larger batch of cleaning solution and store it in an airtight container for later use. This will save you time and effort in the long run. Just be sure to label the container clearly and store it in a cool, dark place. The solution should last for several weeks.
Is this a good household time saving shortcut for busy parents?
Absolutely! This DIY cleaning wipe trick is a fantastic **household time saving shortcut**, especially for busy parents. It allows you to quickly and easily clean up messes without having to reach for disposable wipes every time. The convenience and cost savings make it a must-try for any parent looking to simplify their cleaning routine.
Leave a Comment