
Household tricks – we all crave them, don’t we? Those little nuggets of wisdom that make life just a tad easier, a bit more efficient, and a whole lot more satisfying. Imagine transforming your home into a haven of order and resourcefulness, all thanks to simple, clever hacks. From reviving tired furniture to banishing stubborn stains, the possibilities are endless!
The desire for household efficiency isn’t new. Throughout history, resourceful homemakers have passed down ingenious tips and tricks, often born out of necessity and a deep understanding of their environment. Think of the age-old remedies for cleaning and preserving, passed down through generations, each tweak and improvement a testament to human ingenuity. These aren’t just random ideas; they’re a legacy of practical problem-solving.
In today’s fast-paced world, we’re constantly seeking ways to simplify our lives. That’s where these household tricks come in. They’re not just about saving time; they’re about reclaiming control over our living spaces and reducing stress. Who wouldn’t want to learn how to declutter like a pro, repurpose everyday items, and create a more organized and functional home? I know I do! This article is packed with easy-to-implement DIY solutions that will transform your home into a well-oiled machine, leaving you with more time to enjoy the things you love.
DIY Magic: Transforming Everyday Items with Clever Household Hacks
Okay, let’s dive into some seriously cool household hacks that will make your life easier, save you money, and maybe even impress your friends! I’ve gathered some of my favorite tricks that use everyday items in unexpected ways. Get ready to be amazed!
Unclogging Drains Like a Pro (Without Harsh Chemicals!)
Forget those expensive and potentially harmful drain cleaners. This method uses ingredients you probably already have in your pantry.
- The Power Duo: Baking soda and vinegar are your best friends here.
- Boiling Water is Key: Don’t skip this step! It helps dissolve the gunk.
- Patience is a Virtue: Let the mixture sit for a while to work its magic.
- Boil Water: Start by boiling a kettle or pot of water. You’ll need a good amount, at least a few cups.
- Pour Baking Soda: Carefully pour about one cup of baking soda down the clogged drain. Try to get it as far down as possible.
- Add Vinegar: Next, pour one cup of vinegar down the drain, right after the baking soda. You’ll hear a fizzing sound – that’s the chemical reaction working to break down the clog!
- Let it Fizz: Let the baking soda and vinegar mixture sit for at least 30 minutes, or even better, overnight. This gives it ample time to dissolve the grease and grime.
- Flush with Boiling Water: After the waiting period, slowly pour the boiling water down the drain. This will help flush away the loosened debris.
- Repeat if Necessary: If the drain is still clogged, repeat the process one or two more times. For stubborn clogs, you might need to use a plunger after the baking soda and vinegar treatment.
Reviving Dull Furniture with a Simple DIY Polish
Is your wooden furniture looking a little lackluster? Don’t rush out to buy expensive polish! You can create a fantastic furniture polish with just a few ingredients.
- Olive Oil for Shine: Olive oil adds a beautiful sheen and helps protect the wood.
- Lemon Juice for Cleaning: Lemon juice acts as a natural cleaner and helps remove grime.
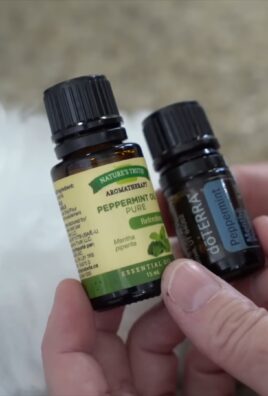
- Essential Oils (Optional): Add a few drops of your favorite essential oil for a pleasant scent. Lavender, lemon, or orange are great choices.
- Gather Your Supplies: You’ll need olive oil, lemon juice, a clean spray bottle, a soft cloth (microfiber is ideal), and optionally, a few drops of essential oil.
- Mix the Polish: In the spray bottle, combine 1/2 cup of olive oil with 1/4 cup of lemon juice. If you’re using essential oils, add 5-10 drops.
- Shake Well: Secure the lid on the spray bottle and shake vigorously to combine the ingredients.
- Test in an Inconspicuous Area: Before applying the polish to the entire piece of furniture, test it in a small, hidden area to ensure it doesn’t damage the finish.
- Spray and Wipe: Lightly spray the polish onto the furniture surface. Don’t over-saturate it.
- Buff to a Shine: Use the soft cloth to wipe the polish into the wood, buffing gently to a beautiful shine.
Making Your Own Dryer Sheets for Soft, Fresh Laundry
Commercial dryer sheets can be expensive and contain chemicals. Here’s a simple and eco-friendly alternative.
- Fabric Scraps or Old T-Shirts: Cut up old cotton t-shirts or use fabric scraps.
- White Vinegar: Vinegar acts as a natural fabric softener and helps reduce static cling.
- Essential Oils (Optional): Add a few drops of your favorite essential oil for a fresh scent.
- Prepare the Fabric: Cut the fabric into squares, approximately 6×6 inches. You’ll need several squares for each load of laundry.
- Mix the Solution: In a container, mix 1/2 cup of white vinegar with 10-15 drops of your favorite essential oil (optional).
- Soak the Fabric Squares: Dip the fabric squares into the vinegar mixture, making sure they are thoroughly saturated.
- Wring Out Excess Liquid: Wring out the excess liquid from the fabric squares. They should be damp, not dripping wet.
- Dry the Squares: Lay the fabric squares flat on a baking sheet lined with parchment paper and let them air dry completely. You can also dry them in the dryer on a low setting.
- Store the Dryer Sheets: Once the squares are dry, store them in an airtight container.
- Use in the Dryer: Add one or two dryer sheets to each load of laundry.
Cleaning Your Microwave with Lemon Power
Microwaves can get pretty gross, pretty quickly. This hack uses the power of lemon to steam clean and deodorize your microwave.
- Lemon: The star of the show! Lemon’s acidity helps loosen grime and its scent freshens the microwave.
- Water: Creates steam to help lift the dirt and food splatters.
- Microwave-Safe Bowl: Essential for heating the lemon and water mixture.
- Prepare the Lemon: Cut a lemon in half.
- Combine Lemon and Water: Place the lemon halves in a microwave-safe bowl and add about 1 cup of water.
- Microwave on High: Microwave the lemon and water mixture on high for 3-5 minutes, or until the water is boiling and the microwave is steamy.
- Let it Sit: Leave the bowl in the microwave for another 5-10 minutes. This allows the steam to loosen the grime.
- Wipe Clean: Carefully remove the bowl (it will be hot!) and use a clean cloth or sponge to wipe down the inside of the microwave. The grime should come off easily.
Removing Scratches from Wood Furniture with Walnuts
This is one of my favorite tricks! It’s amazing how well walnuts can hide scratches on wood furniture.
- Walnuts: The natural oils in walnuts help to fill in scratches and blend them with the surrounding wood.
- Soft Cloth: For buffing the area after applying the walnut.
- Find a Walnut: Grab a walnut from your pantry.
- Rub the Walnut on the Scratch: Rub the walnut kernel (the inside part) along the scratch in a back-and-forth motion. Apply gentle pressure.
- Buff the Area: After rubbing the walnut on the scratch, use a soft cloth to buff the area. This will help to blend the walnut oil with the surrounding wood and remove any excess residue.
- Repeat if Necessary: If the scratch is still visible, repeat the process until it is less noticeable.
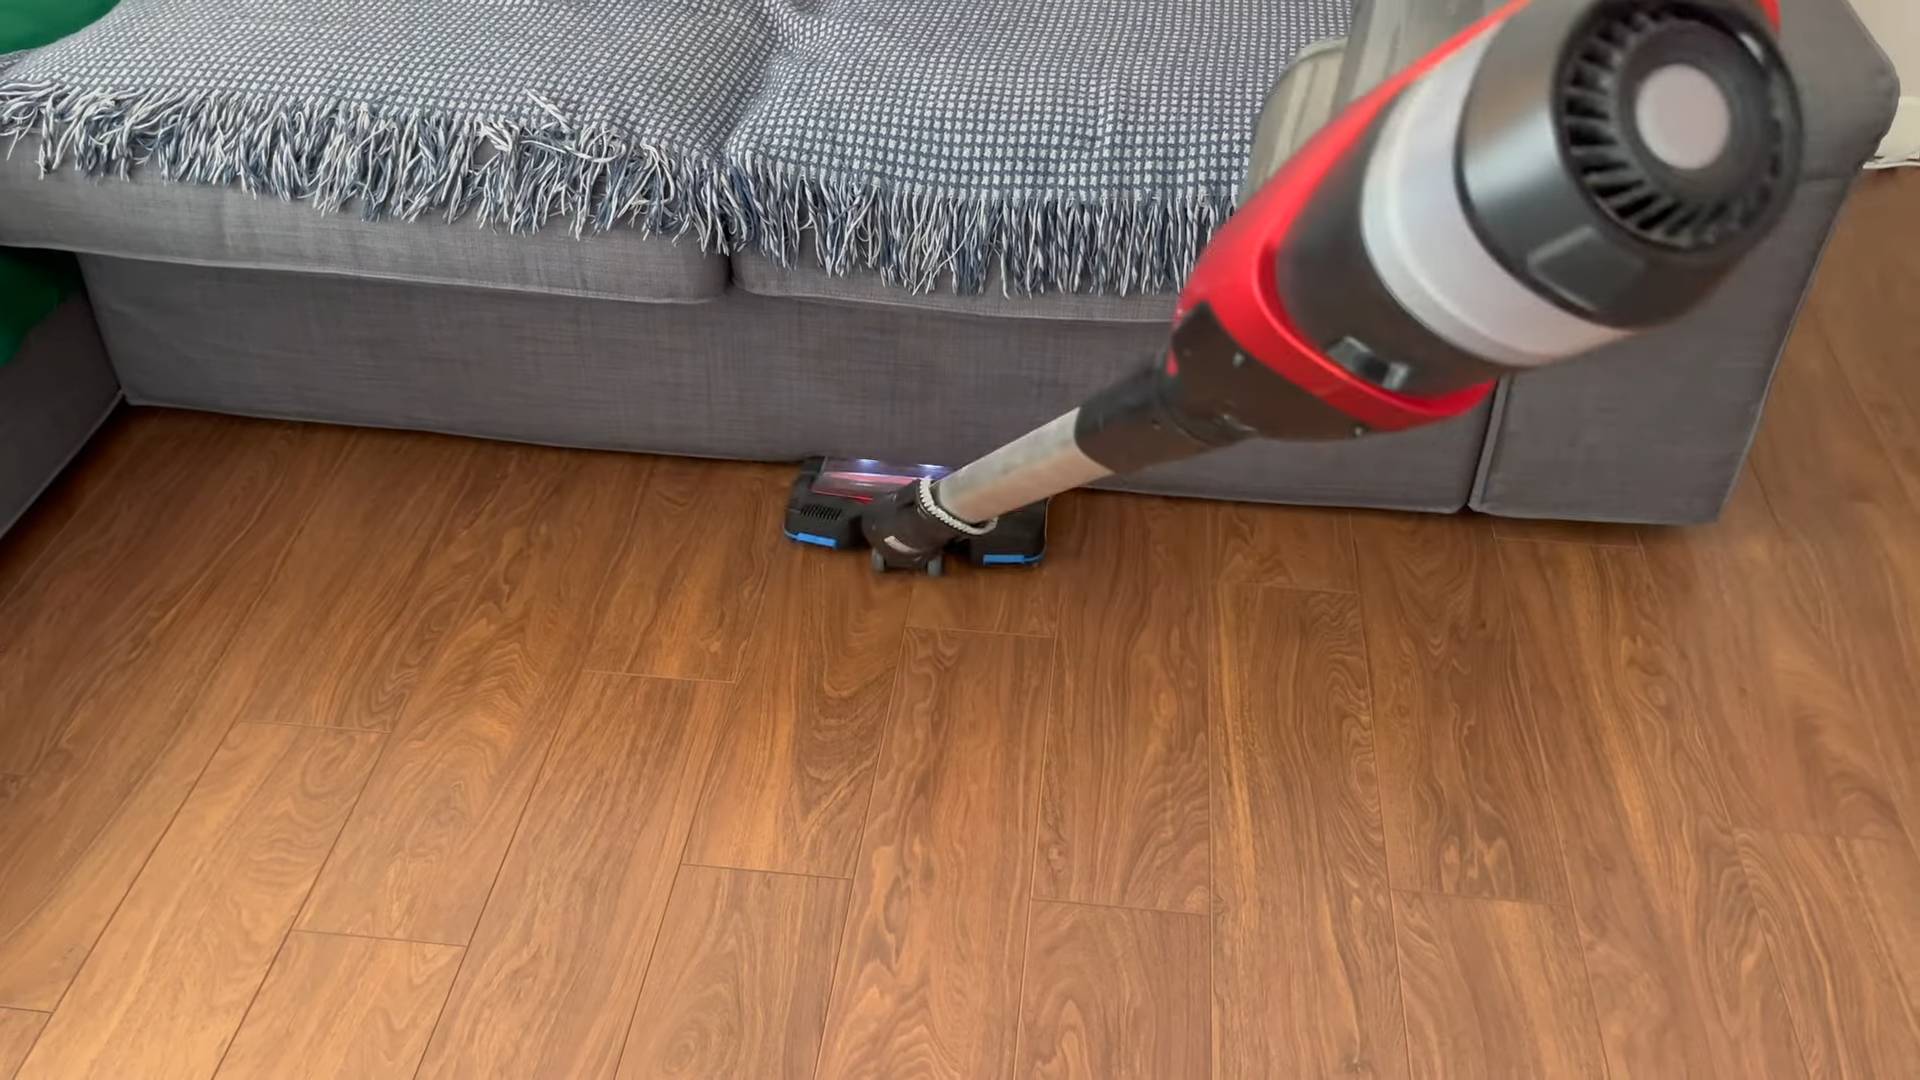
Freshening Your Mattress with Baking Soda
Mattresses can harbor dust mites and odors. This simple trick will help freshen your mattress and keep it clean.
- Baking Soda: Absorbs odors and helps to kill dust mites.
- Essential Oils (Optional): Add a few drops of your favorite essential oil for a pleasant scent. Lavender or eucalyptus are good choices.
- Vacuum Cleaner: To remove the baking soda after it has done its job.
- Strip the Bed: Remove all bedding from the mattress.
- Sprinkle Baking Soda: Generously sprinkle baking soda over the entire surface of the mattress. If you’re using essential oils, add a few drops to the baking soda before sprinkling.
- Let it Sit: Let the baking soda sit on the mattress for at least 30 minutes, or even better, for several hours. This allows the baking soda to absorb odors and kill dust mites.
- Vacuum Thoroughly: Use a vacuum cleaner with an upholstery attachment to thoroughly vacuum the entire surface of the mattress, removing all of the baking soda.
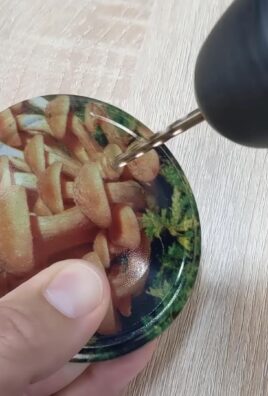
Making a DIY Air Freshener with Baking Soda and Essential Oils
Skip the store-bought air fresheners and create your own natural and customizable version.
- Baking Soda: Absorbs odors.
- Essential Oils: Provide a pleasant scent. Choose your favorite!
- Small Jar or Container: To hold the baking soda and essential oils.
- Fabric Scrap or Paper: To cover the jar and allow the scent
Conclusion
So, there you have it! This simple yet incredibly effective DIY trick is more than just a clever household hack; it’s a game-changer for anyone looking to simplify their life and save money. We’ve shown you how to transform readily available materials into something truly useful, and the best part is, it’s completely customizable to your specific needs and preferences.
Why is this a must-try? Because it empowers you to take control of your environment, reduce waste, and create solutions tailored to your unique lifestyle. In a world of mass-produced goods and disposable items, this DIY approach offers a refreshing alternative – a chance to be resourceful, creative, and environmentally conscious.
Think about the possibilities! You can adapt this technique to create organizers for your closet, storage solutions for your garage, or even decorative elements for your home. The only limit is your imagination.
Variations and Suggestions:
* Experiment with different materials: Don’t be afraid to try different types of containers, fabrics, or embellishments. The key is to find what works best for you and your aesthetic.
* Personalize your creations: Add paint, stencils, or other decorative elements to make your DIY projects truly unique.
* Consider functionality: Think about the specific purpose of your creation and design it accordingly. For example, if you’re making a storage container, ensure it’s sturdy and easy to access.
* Involve the whole family: This DIY trick is a great activity to do with kids, teaching them valuable skills and fostering creativity.
* Upcycle and repurpose: Look around your home for items that you can repurpose into something new and useful. This is a great way to reduce waste and save money.We are confident that once you try this DIY trick, you’ll be amazed at how easy and rewarding it is. It’s a fantastic way to declutter your home, save money, and express your creativity. Remember, the beauty of DIY lies in its flexibility and adaptability. Don’t be afraid to experiment and find what works best for you.
We encourage you to give this DIY trick a try and share your experience with us! Let us know what you create, what challenges you encounter, and what tips you have for others. Your feedback is invaluable and helps us improve our content and inspire others to embrace the DIY spirit. Share your photos and stories on social media using #DIYHouseholdHacks and tag us so we can see your amazing creations! We can’t wait to see what you come up with! This simple **household trick** can make a big difference.
Frequently Asked Questions (FAQ)
What if I don’t have all the materials listed?
That’s perfectly fine! The beauty of DIY is its adaptability. The materials listed are suggestions, but you can easily substitute them with what you have on hand. For example, if you don’t have a specific type of adhesive, you can try using another strong glue or even double-sided tape. If you don’t have the exact size container, adjust the measurements accordingly. The key is to be resourceful and creative with what you have available. Don’t let a lack of specific materials stop you from trying this DIY trick.
Is this DIY trick suitable for beginners?
Absolutely! This DIY trick is designed to be simple and straightforward, even for those with no prior experience in crafting or DIY projects. The instructions are clear and easy to follow, and the materials required are readily available and inexpensive. If you’re new to DIY, this is a great project to start with. It’s a fun and rewarding way to learn new skills and create something useful for your home.
How long does it take to complete this DIY trick?
The time required to complete this DIY trick will vary depending on the specific project you’re undertaking and your level of experience. However, most projects can be completed in under an hour. The preparation time is minimal, and the actual construction process is relatively quick and easy. If you’re short on time, you can break the project down into smaller steps and complete it over a few days.
Can I use this DIY trick for commercial purposes?
While this DIY trick is primarily intended for personal use, there’s no reason why you couldn’t adapt it for commercial purposes. If you’re looking to start a small business selling handmade goods, this could be a great way to get started. However, it’s important to consider factors such as material costs, production time, and pricing to ensure that your business is profitable.
How can I make this DIY trick more environmentally friendly?
There are several ways to make this DIY trick more environmentally friendly. First, try to use recycled or repurposed materials whenever possible. This could include using old containers, fabrics, or other items that you would otherwise throw away. Second, choose eco-friendly adhesives and finishes. Look for products that are water-based, non-toxic, and low in VOCs (volatile organic compounds). Third, consider the longevity of your creations. By using durable materials and constructing them carefully, you can ensure that your DIY projects will last for years to come, reducing the need for replacements.
What are some other variations of this DIY trick?
The possibilities are endless! You can adapt this DIY trick to create a wide variety of useful and decorative items for your home. For example, you could use it to make organizers for your closet, storage solutions for your garage, or even decorative elements for your living room. You could also use it to create personalized gifts for friends and family. The key is to think creatively and experiment with different materials and techniques.
What if I encounter problems while trying this DIY trick?
Don’t worry! If you encounter problems while trying this DIY trick, there are several resources available to help you. First, re-read the instructions carefully to make sure you haven’t missed any steps. Second, search online for tutorials or videos that demonstrate the technique. Third, ask for help from friends or family who have experience with DIY projects. Finally, don’t be afraid to experiment and try different approaches until you find what works best for you. Remember, the most important thing is to have fun and learn along the way.
How do I clean and maintain my DIY creations?
The cleaning and maintenance requirements for your DIY creations will depend on the materials used and the specific purpose of the item. However, in general, it’s a good idea to clean your DIY projects regularly to prevent dust and dirt from accumulating. You can use a damp cloth or a mild cleaning solution to wipe down the surfaces. Avoid using harsh chemicals or abrasive cleaners, as these can damage the materials. If your DIY project is made of fabric, you can usually wash it in the washing machine on a gentle cycle. Be sure to dry it thoroughly before storing it.
Where can I find more inspiration for DIY household hacks?
There are many online resources where you can find inspiration for DIY household hacks. Websites like Pinterest, YouTube, and Instructables are great places to start. You can also find inspiration in magazines, books, and even your own home. Look around and see what items you can repurpose or upcycle into something new and useful. Don’t be afraid to experiment and try new things. The possibilities are endless!
Leave a Comment