
Indoor Carrot Gardening: Imagine plucking fresh, vibrant carrots right from your windowsill, even when the snow is falling outside! Sounds like a dream, right? Well, it doesn’t have to be! This DIY guide unlocks the secrets to cultivating these root vegetables indoors, bringing a touch of the garden to your home year-round.
For centuries, humans have cultivated carrots, with their origins tracing back to Afghanistan. While initially grown for their aromatic leaves and seeds, the sweet, orange root we know and love today emerged through selective breeding over time. Now, we’re taking carrot cultivation a step further, bringing it indoors!
Why should you try indoor carrot gardening? Well, for starters, it’s incredibly rewarding! There’s nothing quite like the satisfaction of nurturing a plant from seed to harvest. Plus, it’s a fantastic way to enjoy fresh, organic produce without relying on grocery stores or battling unpredictable weather. Many of us are living in apartments or have limited outdoor space, making indoor gardening the perfect solution. This DIY project is also a great way to introduce children to the wonders of gardening and teach them about where their food comes from. So, grab your pots, soil, and seeds, and let’s get started on this exciting journey to grow your own delicious, homegrown carrots indoors!
Grow Your Own Carrots Indoors: A Beginner’s Guide
Hey there, fellow gardening enthusiasts! Ever dreamt of enjoying fresh, homegrown carrots even when the weather outside is frightful? Well, dream no more! I’m going to walk you through the surprisingly simple process of growing carrots indoors. It’s a fantastic way to add a touch of green to your home and enjoy the delicious taste of freshly harvested carrots year-round. Let’s get started!
What You’ll Need
Before we dive into the nitty-gritty, let’s gather our supplies. Here’s a checklist of everything you’ll need to successfully grow carrots indoors:
* A Large Container: This is crucial! Carrots need space to grow downwards. Choose a container that’s at least 12 inches deep and wide. A rectangular planter or a large pot will work perfectly.
* Well-Draining Potting Mix: Carrots thrive in loose, well-draining soil. Avoid using garden soil, as it can become compacted and hinder root growth. A mix specifically formulated for vegetables is ideal.
* Carrot Seeds: Opt for shorter, rounder carrot varieties like ‘Thumbelina,’ ‘Paris Market,’ or ‘Little Finger.’ These are better suited for container gardening.
* Grow Lights (Optional but Recommended): While a sunny windowsill can work, grow lights provide consistent and adequate light, especially during the darker months.
* Watering Can or Spray Bottle: For gentle and even watering.
* Fertilizer (Optional): A balanced liquid fertilizer can give your carrots a boost, but it’s not strictly necessary.
* Small Trowel or Hand Rake: For planting and tending to your carrots.
Choosing the Right Carrot Variety
Not all carrots are created equal, especially when it comes to indoor gardening. Long, slender varieties like ‘Nantes’ might struggle in containers. That’s why I highly recommend choosing shorter, rounder varieties. These compact carrots are perfectly happy growing in pots and won’t require as much vertical space. Plus, they’re just as delicious!
Step-by-Step Planting Guide
Alright, let’s get our hands dirty! Here’s a detailed guide to planting your carrot seeds:
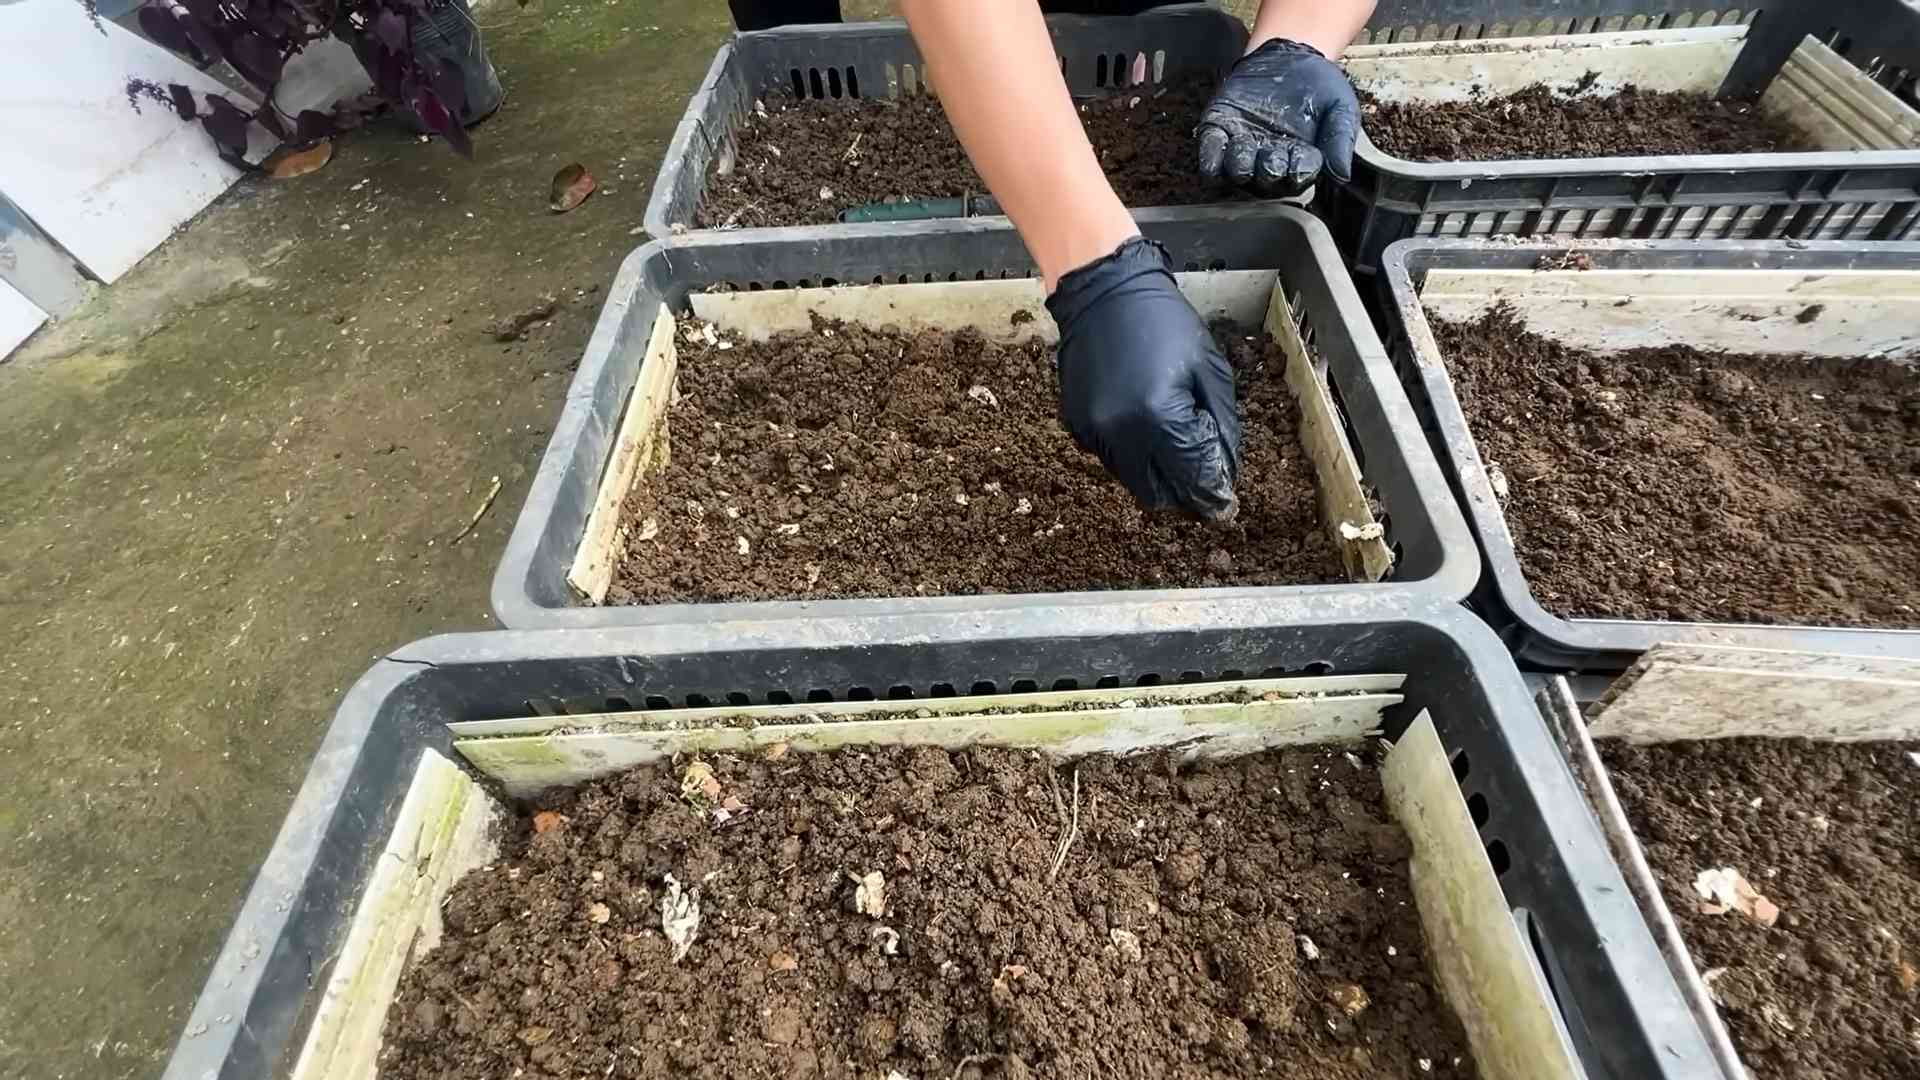
1. Prepare the Container: Fill your chosen container with the well-draining potting mix, leaving about an inch of space at the top. Gently pat down the soil to create a level surface.
2. Sow the Seeds: Carrot seeds are tiny, so handle them with care. Sprinkle the seeds evenly over the surface of the soil, spacing them about 1 inch apart. Don’t worry about being perfect; you can always thin them out later.
3. Cover the Seeds: Lightly cover the seeds with a thin layer of potting mix, about 1/4 inch deep.
4. Water Gently: Use a watering can or spray bottle to gently moisten the soil. Avoid overwatering, as this can cause the seeds to rot. The soil should be damp but not soggy.
5. Provide Light: Place the container in a sunny windowsill that receives at least 6 hours of direct sunlight per day. If you’re using grow lights, position them about 6-12 inches above the soil surface and keep them on for 14-16 hours per day.
6. Maintain Moisture: Keep the soil consistently moist but not waterlogged. Check the soil moisture regularly by sticking your finger into the soil. If the top inch feels dry, it’s time to water.
Caring for Your Indoor Carrot Garden
Once your carrot seeds have sprouted (usually within 1-3 weeks), it’s time to focus on providing the right care to help them thrive.
1. Thinning Seedlings: Once the seedlings are about 2 inches tall, it’s time to thin them out. This means removing some of the seedlings to give the remaining ones enough space to grow. Aim for a spacing of about 2-3 inches between each plant. Don’t be afraid to be ruthless; it’s better to have fewer, healthier carrots than a crowded container of stunted ones.
2. Watering: Continue to water your carrots regularly, keeping the soil consistently moist. Avoid letting the soil dry out completely, as this can stress the plants. However, also avoid overwatering, as this can lead to root rot.
3. Fertilizing (Optional): If you want to give your carrots a boost, you can fertilize them every 2-3 weeks with a balanced liquid fertilizer. Follow the instructions on the fertilizer package carefully.
4. Rotating the Container: If you’re growing your carrots on a windowsill, rotate the container regularly to ensure that all sides of the plants receive equal sunlight. This will help prevent them from leaning towards the light source.
5. Weeding: Keep an eye out for any weeds that may pop up in your container and remove them promptly. Weeds can compete with your carrots for nutrients and water.
Dealing with Common Problems
Even with the best care, you might encounter a few challenges along the way. Here are some common problems and how to address them:
* Poor Germination: If your carrot seeds aren’t germinating, it could be due to several factors, such as old seeds, dry soil, or cold temperatures. Make sure you’re using fresh seeds, keeping the soil consistently moist, and providing adequate warmth.
* Leggy Seedlings: If your seedlings are tall and spindly, it’s likely that they’re not getting enough light. Move them to a sunnier location or provide supplemental light with grow lights.
* Root Rot: Root rot is a fungal disease that can occur if the soil is consistently waterlogged. To prevent root rot, make sure you’re using well-draining potting mix and avoid overwatering. If you suspect root rot, reduce watering and consider transplanting the carrots into fresh soil.
* Pests: While indoor carrots are less susceptible to pests than outdoor carrots, they can still be affected by aphids or spider mites. If you notice any pests, try spraying them with a solution of soapy water or neem oil.
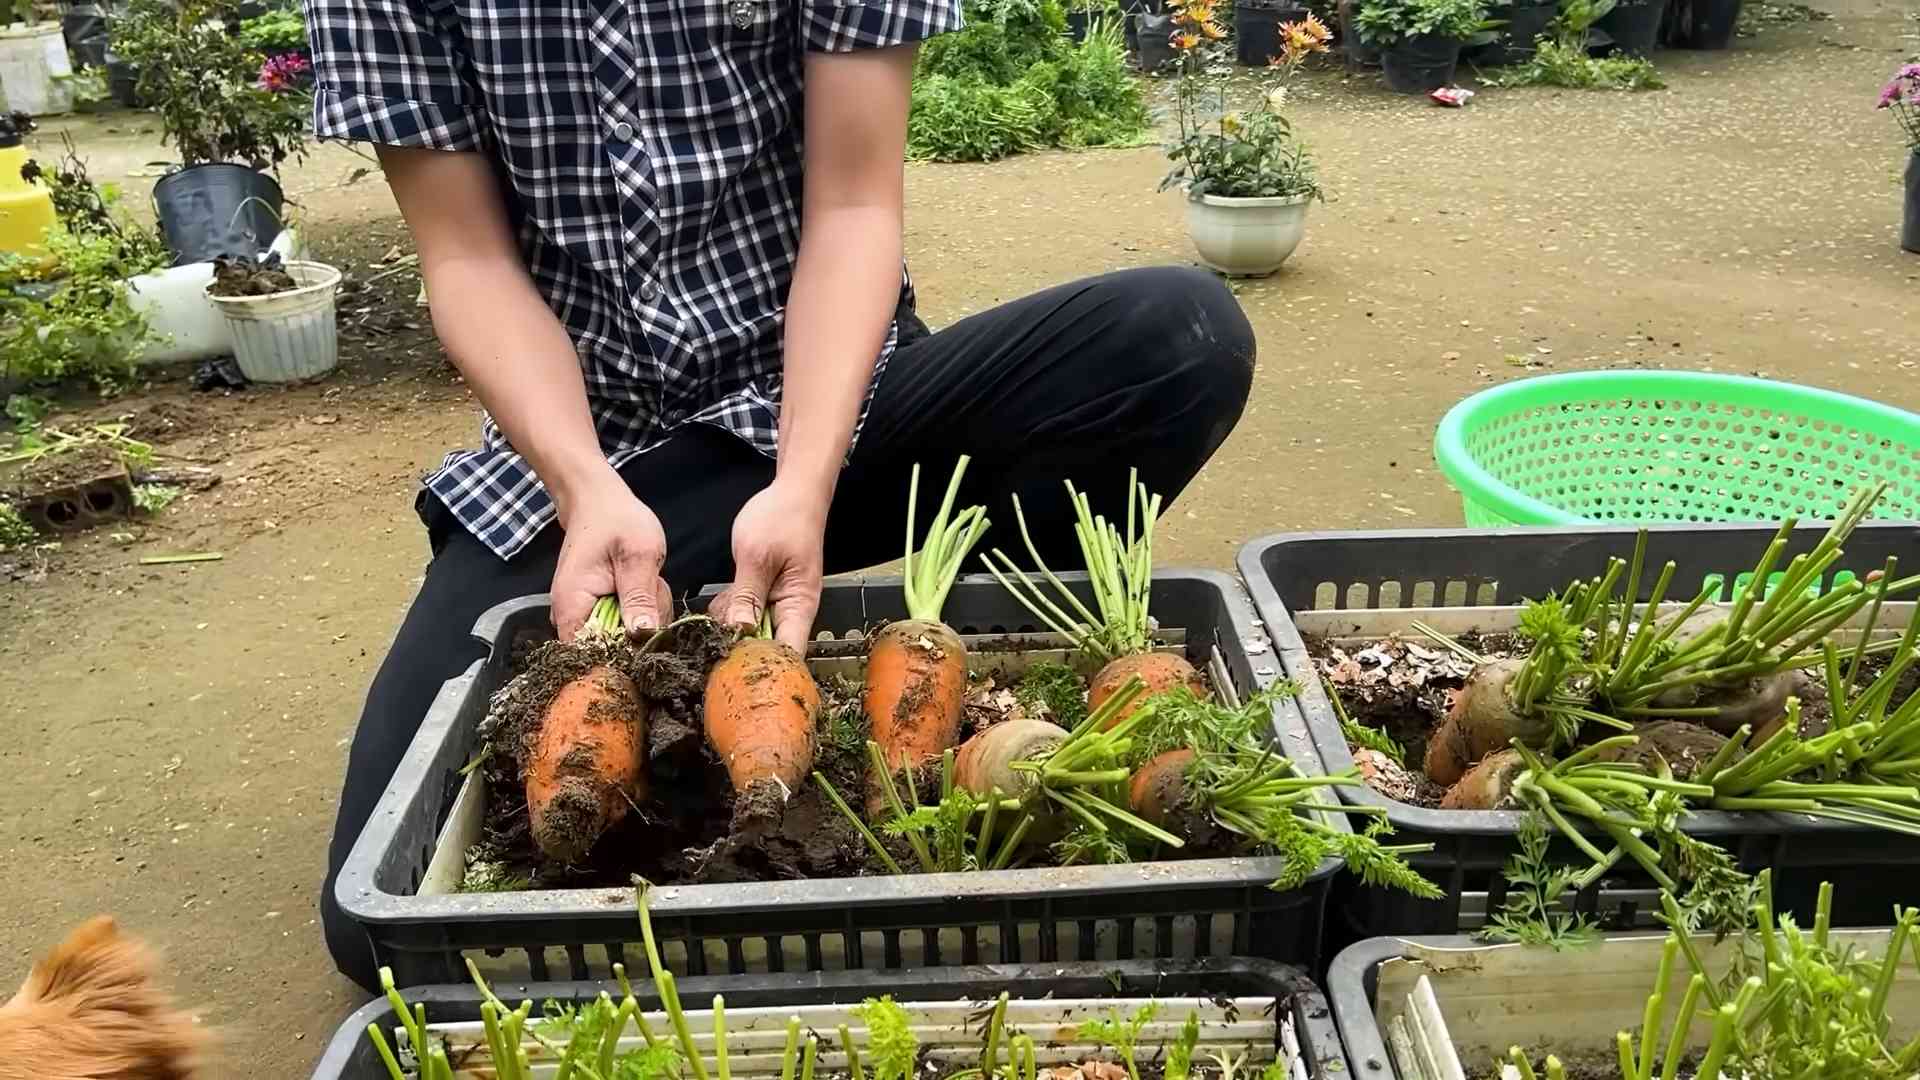
Harvesting Your Indoor Carrots
The moment you’ve been waiting for! Harvesting your homegrown carrots is incredibly rewarding.
1. Check for Maturity: Carrots are typically ready to harvest when they reach the size specified on the seed packet. For shorter varieties like ‘Thumbelina,’ this might be when they’re about 1-2 inches in diameter.
2. Gently Loosen the Soil: Before pulling the carrots, gently loosen the soil around them with a trowel or your fingers. This will make it easier to pull them out without breaking them.
3. Pull the Carrots: Grasp the base of the carrot near the soil line and gently pull upwards. If the carrot is stubborn, try wiggling it back and forth to loosen it further.
4. Enjoy Your Harvest: Once you’ve harvested your carrots, wash them thoroughly and enjoy them fresh! You can eat them raw, roast them, or add them to your favorite recipes.
Tips for Success
Here are a few extra tips to help you succeed with your indoor carrot garden:
* Choose the Right Container: I can’t stress this enough! Depth is key for carrot development.
* Use High-Quality Potting Mix: Don’t skimp on the soil. A good potting mix will provide the nutrients and drainage that your carrots need.
* Provide Adequate Light: Carrots need plenty of light to thrive. If you don’t have a sunny windowsill, invest in grow lights.
* Water Regularly: Keep the soil consistently moist but not waterlogged.
* Thin Seedlings Early: Don’t wait too long to thin out your seedlings. This will give the remaining plants enough space to grow.
* Be Patient: Carrots take time to grow. Don’t get discouraged if you don’t see results immediately.
* Successive Planting: To enjoy a continuous harvest, sow new seeds every few weeks.
Growing carrots indoors is a fun and rewarding experience. With a little bit of care and attention, you can enjoy fresh, homegrown carrots all year round. So, grab your supplies, follow these steps, and get ready to enjoy the delicious taste of your own indoor carrot garden! Happy gardening!
Conclusion
So, there you have it! Transforming your kitchen scraps into a thriving indoor carrot garden is not just a fun project; it’s a sustainable way to enjoy fresh greens, reduce waste, and connect with nature, even in the smallest of spaces. This DIY trick is a must-try for anyone looking to add a touch of green to their home, regardless of gardening experience. The satisfaction of watching those carrot tops sprout and flourish is truly rewarding.
But the fun doesn’t stop there! Feel free to experiment with different carrot varieties. Try using organic carrots for a truly homegrown experience. You can also explore different container sizes and shapes to see what works best for your space. Consider adding companion plants like basil or chives to your indoor garden for added flavor and pest control. Another variation is to use the carrot greens in different recipes. They can be added to salads, pesto, or even juiced for a healthy boost.
Don’t be afraid to get creative and personalize your indoor carrot garden!
We’ve shown you how to unlock the potential of those often-discarded carrot tops. Now, it’s your turn to bring this simple yet impactful DIY trick to life. We are confident that you’ll find the process both enjoyable and educational. The vibrant green foliage will brighten up your home, and you’ll have a constant supply of fresh carrot greens at your fingertips.
We wholeheartedly encourage you to give this indoor carrot gardening method a try. It’s an easy, affordable, and eco-friendly way to add a touch of nature to your life. Once you’ve experienced the joy of growing your own carrot greens, we’d love to hear about it! Share your experiences, tips, and photos with us in the comments below. Let’s build a community of indoor gardeners and inspire others to embrace the beauty and benefits of growing their own food, starting with this simple, effective, and rewarding DIY trick. Happy gardening!
Frequently Asked Questions (FAQs)
What kind of carrots work best for regrowing the greens?
Any type of carrot can be used to regrow the greens, but organic carrots are often preferred as they are less likely to have been treated with chemicals that could inhibit growth. However, even non-organic carrots will work just fine. The most important thing is to ensure that the carrot tops you use are fresh and haven’t started to rot. Look for carrots with a healthy, firm top.
How long does it take for the carrot greens to start growing?
You should start to see new growth within a week or two. The speed of growth will depend on factors such as temperature, light, and humidity. Warmer temperatures and plenty of sunlight will encourage faster growth. Make sure the carrot tops are kept consistently moist, but not waterlogged, to promote healthy growth.
How much sunlight do the carrot greens need?
Carrot greens thrive in bright, indirect sunlight. Avoid placing them in direct sunlight, especially during the hottest part of the day, as this can scorch the leaves. A spot near a window that receives morning or late afternoon sun is ideal. If you don’t have a sunny window, you can supplement with a grow light.
Can I actually grow full-sized carrots from the tops?
While you can regrow the greens from carrot tops, you won’t be able to grow full-sized carrots. This method focuses on growing the carrot greens, which are edible and nutritious. The carrot itself requires specific soil conditions and a longer growing season to develop properly.
What kind of container should I use for growing carrot greens?
Almost any container that can hold water will work. A shallow dish, a small bowl, or even a recycled plastic container are all suitable options. The container doesn’t need to be very deep, as you’re only growing the greens. Just make sure it’s clean and can hold enough water to keep the carrot tops moist.
How often should I change the water?
It’s best to change the water every 2-3 days to prevent the growth of bacteria and algae. This will also help to keep the carrot tops healthy and prevent them from rotting. When you change the water, gently rinse the carrot tops to remove any debris.
Are the carrot greens edible?
Yes, carrot greens are absolutely edible and quite nutritious! They have a slightly bitter, earthy flavor that can add a unique touch to salads, soups, and other dishes. They can also be used to make pesto or added to smoothies for a healthy boost.
How do I harvest the carrot greens?
Once the carrot greens have grown to a sufficient size, you can harvest them by snipping them off with scissors. Avoid cutting off all the greens at once, as this can weaken the plant. Instead, harvest a few leaves at a time, allowing the plant to continue growing.
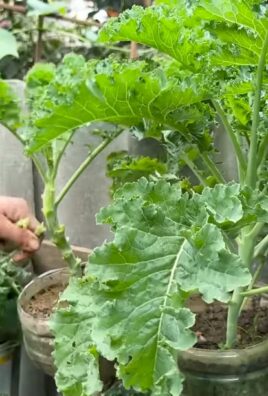
Can I plant the carrot tops in soil after they’ve sprouted in water?
Yes, you can transplant the carrot tops to soil after they’ve sprouted in water. This can help to provide them with more nutrients and support further growth. Choose a well-draining potting mix and plant the carrot tops so that the top of the carrot is just above the soil line. Water thoroughly after planting.
What if my carrot tops start to rot?
If your carrot tops start to rot, it’s likely due to overwatering or poor water quality. Remove the rotting carrot tops immediately to prevent the spread of bacteria. Make sure to change the water more frequently and avoid submerging the entire carrot top in water. If the rot persists, it’s best to start with fresh carrot tops.
Can I use fertilizer to help the carrot greens grow?
While not necessary, you can use a diluted liquid fertilizer to help the carrot greens grow. Use a balanced fertilizer and dilute it to half strength. Apply the fertilizer every few weeks, following the instructions on the fertilizer package. Be careful not to over-fertilize, as this can damage the plants.
Are there any pests or diseases that affect carrot greens grown indoors?
Carrot greens grown indoors are generally less susceptible to pests and diseases than those grown outdoors. However, they can occasionally be affected by aphids or spider mites. If you notice any pests, you can try washing them off with a strong stream of water or using an insecticidal soap.
How long will the carrot greens continue to grow?
The lifespan of the carrot greens will vary depending on the conditions and care they receive. With proper care, they can continue to grow for several weeks or even months. Eventually, the carrot tops will start to decline, and you’ll need to replace them with fresh ones.
Is this indoor carrot gardening method sustainable?
Yes, this method is highly sustainable as it utilizes kitchen scraps that would otherwise be discarded. It reduces food waste and allows you to grow your own fresh greens, reducing your reliance on store-bought produce. It’s a small but impactful way to contribute to a more sustainable lifestyle.


Leave a Comment