
Prevent Mold with Cleaning: It’s a phrase that might not spark joy, but trust me, it’s the secret weapon in keeping your home garden thriving! Have you ever noticed that disheartening white fuzz creeping across your precious seedlings or the black spots marring your beautiful blooms? That’s mold, and it’s a gardener’s worst nightmare. But don’t despair! I’m here to share some simple, effective DIY cleaning tricks that will help you keep mold at bay and ensure your green babies flourish.
For centuries, gardeners have battled mold and mildew, often relying on natural remedies passed down through generations. Think of ancient civilizations using copper tools (copper is naturally anti-fungal!) or indigenous cultures employing specific plant extracts to protect their crops. While we have access to modern solutions, the core principle remains the same: a clean environment is a healthy environment.
Why is this so crucial? Well, mold not only looks unsightly, but it can also weaken your plants, making them susceptible to diseases and pests. It can even affect the air quality in your home, posing a risk to your health. Nobody wants that! That’s why learning how to prevent mold with cleaning is an essential skill for any home gardener. In this article, I’ll walk you through easy-to-implement DIY cleaning hacks using common household items. Get ready to say goodbye to mold and hello to a vibrant, healthy garden!
DIY Mold Prevention: Your Ultimate Cleaning Guide
Hey everyone! Mold. Just the word sends shivers down my spine. It’s unsightly, smells awful, and can even be harmful to your health. But don’t despair! I’m here to share my tried-and-true DIY cleaning methods to keep that nasty mold at bay. This isn’t just about surface cleaning; it’s about creating an environment where mold simply can’t thrive. Let’s get started!
Understanding Mold and Its Triggers
Before we dive into the cleaning frenzy, let’s understand our enemy. Mold loves moisture, darkness, and organic materials. Think damp bathrooms, leaky pipes, humid basements, and even dusty corners. By controlling these factors, we can significantly reduce the risk of mold growth.
Key Mold Triggers:
* High humidity levels (above 60%)
* Poor ventilation
* Water leaks (even small ones!)
* Organic materials like wood, paper, and drywall
* Dust and dirt accumulation
Essential Cleaning Supplies for Mold Prevention
Having the right tools and cleaning solutions is half the battle. Here’s my go-to list:
* Spray bottles: For easy application of cleaning solutions.
* Microfiber cloths: These are fantastic for trapping dirt and mold spores without spreading them around.
* Scrub brushes: For tackling stubborn mold and grime.
* Sponges: For general cleaning and wiping.
* Squeegee: Essential for keeping shower walls and glass doors dry.
* White vinegar: My all-time favorite natural cleaner and mold killer.
* Baking soda: A gentle abrasive cleaner and deodorizer.
* Hydrogen peroxide: Another effective mold killer and disinfectant.
* Tea tree oil: A natural fungicide with a pleasant scent (use sparingly).
* Bleach (use with caution): For heavily soiled areas, but always dilute and ventilate well.
* Gloves: To protect your hands from harsh chemicals and mold spores.
* Mask: To avoid inhaling mold spores, especially when dealing with larger areas.
* Eye protection: Safety first!
Bathroom Mold Prevention: A Step-by-Step Guide
The bathroom is a mold magnet due to its high humidity levels. Here’s how I keep my bathroom mold-free:
Daily Maintenance
1. Ventilate, Ventilate, Ventilate: After every shower or bath, turn on the exhaust fan for at least 30 minutes. If you don’t have a fan, open a window. This is the single most important thing you can do!
2. Squeegee Shower Walls and Doors: This simple step removes excess water, preventing mold from taking hold. I keep a squeegee right in my shower for easy access.
3. Wipe Down Surfaces: Use a dry towel or microfiber cloth to wipe down wet surfaces like countertops, sinks, and shower walls.
4. Hang Up Towels Properly: Don’t leave damp towels crumpled on the floor. Hang them up to dry completely.
Weekly Deep Clean
1. Clean Shower and Tub:
* Prepare your cleaning solution: I usually mix equal parts white vinegar and water in a spray bottle. For tougher stains, I add a tablespoon of baking soda.
* Spray the shower and tub: Generously spray the solution onto all surfaces, including tiles, grout, and shower doors.
* Let it sit: Allow the solution to sit for at least 15-20 minutes to penetrate the mold and grime.
* Scrub: Use a scrub brush or sponge to scrub away any visible mold or stains. Pay extra attention to grout lines, corners, and around the drain.
* Rinse thoroughly: Rinse the shower and tub with clean water.
* Dry: Wipe down all surfaces with a clean, dry towel.
2. Clean Sink and Countertop:
* Remove items: Clear the countertop of all items like soap dispensers, toothbrushes, and makeup.
* Spray and wipe: Spray the countertop and sink with your cleaning solution (vinegar and water works great). Wipe clean with a microfiber cloth.
* Clean around the faucet: Use an old toothbrush to scrub around the faucet and drain, where mold can easily accumulate.
* Replace items: Return the items to the countertop, making sure they are clean and dry.
3. Clean Toilet:
* Flush the toilet: This clears out any debris.
* Apply cleaner: Use a toilet bowl cleaner or a mixture of baking soda and vinegar.
* Scrub: Scrub the bowl thoroughly with a toilet brush.
* Let it sit: Allow the cleaner to sit for a few minutes.
* Flush again: Flush the toilet to rinse away the cleaner.
* Wipe down the exterior: Wipe down the exterior of the toilet with a disinfectant wipe or a cleaning solution.
4. Clean Grout:
* Make a paste: Mix baking soda with a little water to create a thick paste.
* Apply the paste: Apply the paste to the grout lines.
* Let it sit: Allow the paste to sit for at least 30 minutes.
* Scrub: Use a grout brush or an old toothbrush to scrub the grout lines.
* Rinse: Rinse the grout lines with clean water.
* Dry: Wipe dry with a clean cloth.
5. Clean Shower Curtain or Door:
* Shower curtain: If your shower curtain is machine-washable, toss it in the washing machine with a cup of vinegar. If not, scrub it with a mixture of vinegar and water.
* Shower door: Spray the shower door with a mixture of vinegar and water. Let it sit for a few minutes, then scrub with a sponge or brush. Rinse thoroughly and dry with a squeegee.
Monthly Mold Check
1. Inspect for Leaks: Check under sinks, around toilets, and along shower walls for any signs of leaks. Even small leaks can lead to mold growth.
2. Check Ventilation: Make sure your exhaust fan is working properly and that vents are not blocked.
3. Clean Showerhead: Mineral buildup in showerheads can create a breeding ground for mold. Soak your showerhead in a bag filled with vinegar overnight to remove buildup.
Kitchen Mold Prevention: Keeping Food Prep Areas Clean
The kitchen, with its food spills and moisture, is another prime location for mold. Here’s how I keep my kitchen mold-free:
Daily Maintenance
1. Wipe Up Spills Immediately: Don’t let spills sit on countertops or floors. Wipe them up as soon as they happen.
2. Wash Dishes Regularly: Don’t let dirty dishes pile up in the sink. Wash them promptly to prevent food particles from attracting mold.
3. Empty Trash Regularly: Empty the trash can frequently, especially if it contains food scraps.
4. Ventilate While Cooking: Use the range hood or open a window while cooking to reduce moisture buildup.
Weekly Deep Clean
1. Clean Countertops and Backsplash:
* Clear the countertops: Remove all items from the countertops.
* Spray and wipe: Spray the countertops and backsplash with a cleaning solution (vinegar and water or a commercial kitchen cleaner). Wipe clean with a microfiber cloth.
* Clean around appliances: Pay special attention to cleaning around appliances like the stove, microwave, and coffee maker.
* Replace items: Return the items to the countertops, making sure they are clean and dry.
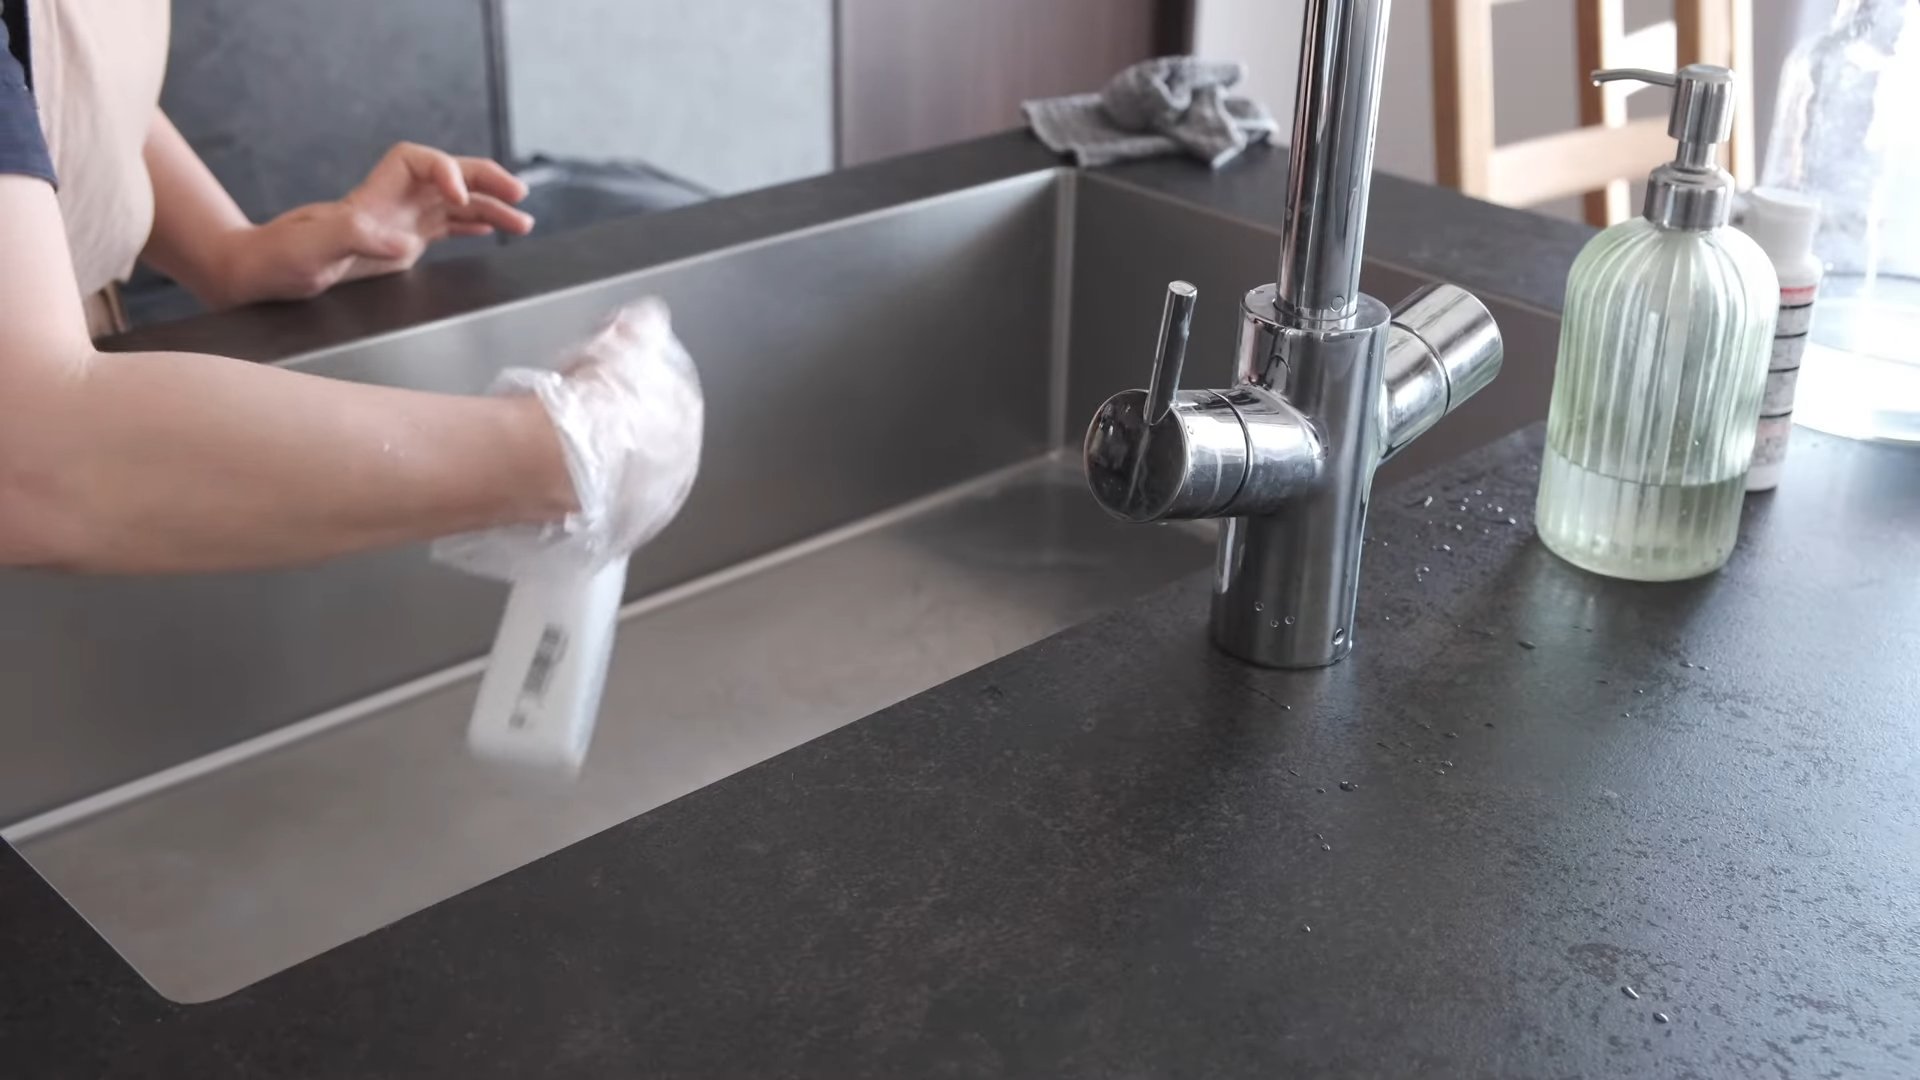
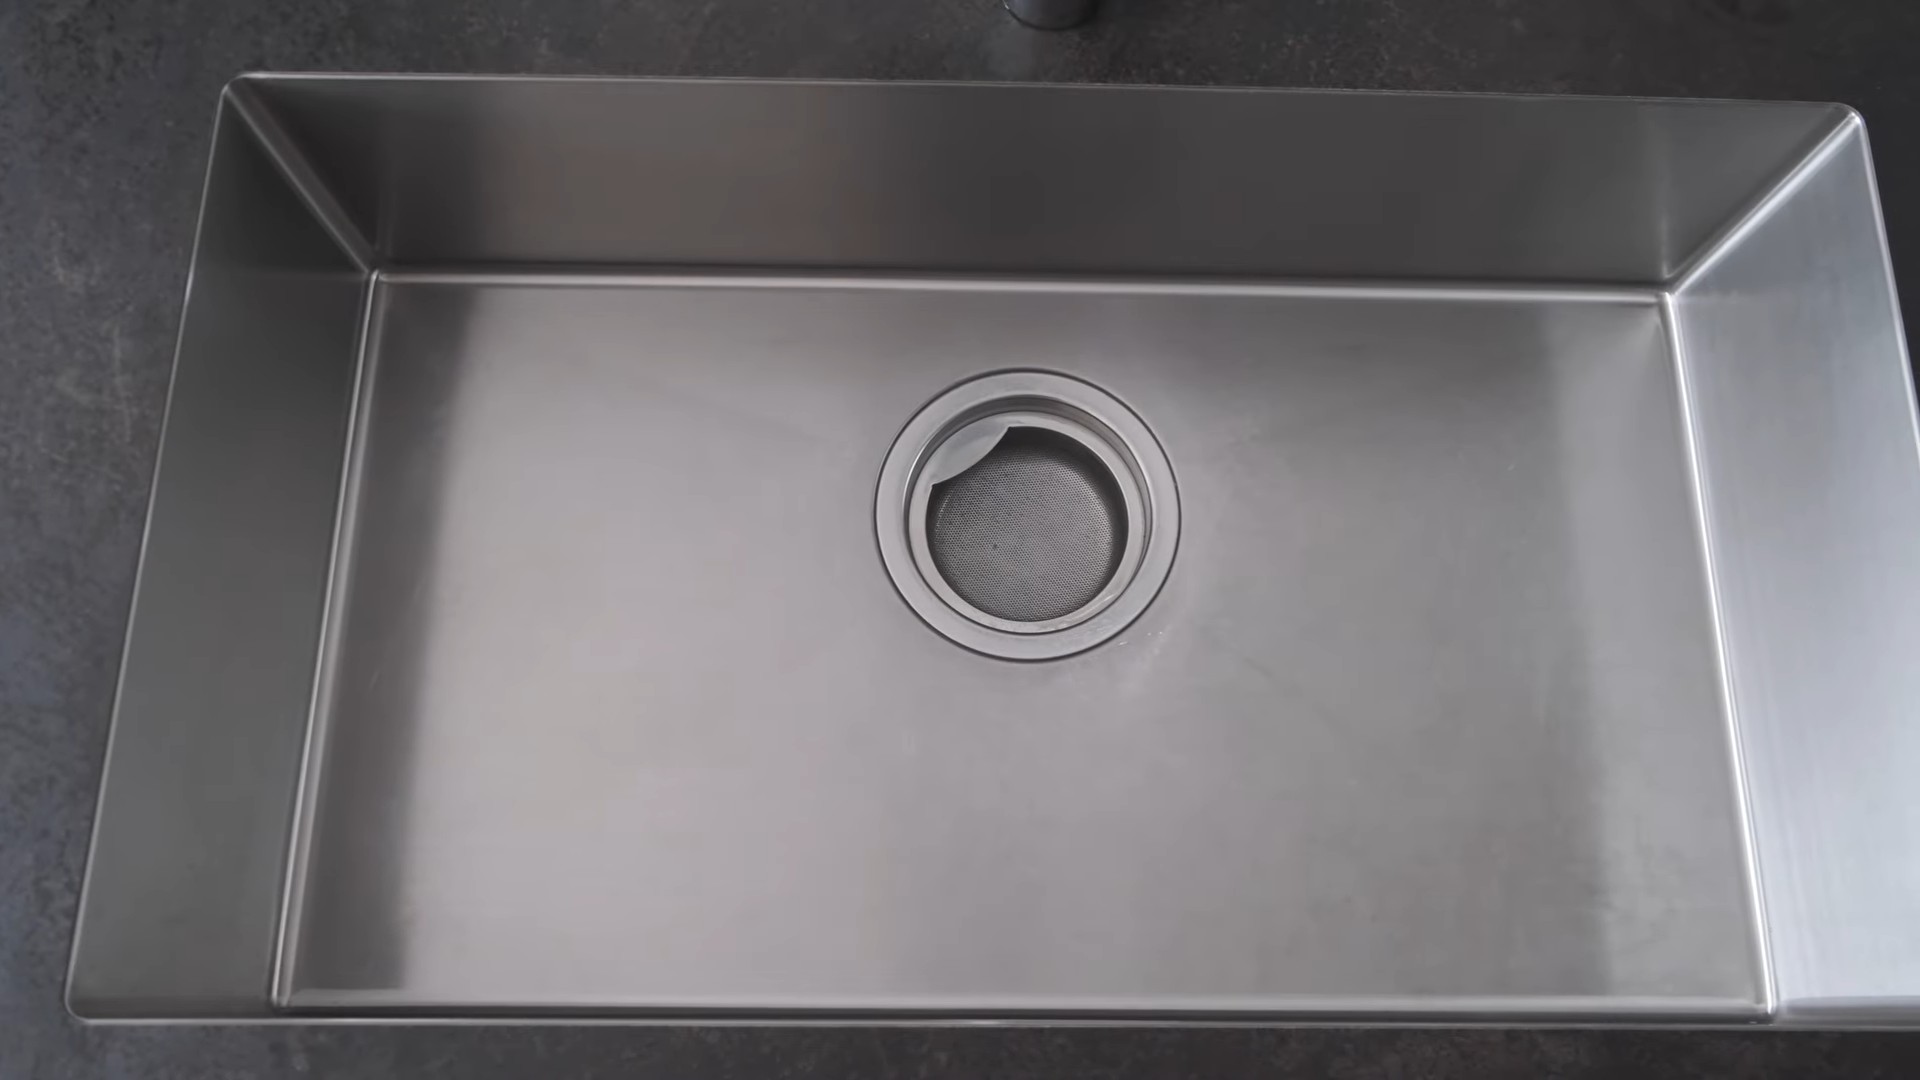
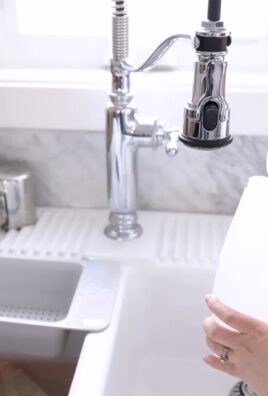
2. Clean Sink and Faucet:
* Remove food particles: Remove any food particles from the sink and drain.
* Scrub the sink: Scrub the sink with a sponge and a cleaning solution.
* Clean around the faucet: Use an old toothbrush to scrub around the faucet and drain.
* Rinse thoroughly: Rinse the sink with clean water.
* Dry: Wipe the sink dry with a clean cloth.
3. Clean Refrigerator:
* Remove food: Remove all food from the refrigerator.
* Discard expired items: Discard any expired or spoiled food.
* Wipe down shelves and drawers: Wipe down the shelves and drawers with a cleaning solution (baking soda and water works well).
* Clean the interior walls: Wipe down the interior walls of the refrigerator with a cleaning solution.
* Replace food: Return the food to the refrigerator, making sure to organize it properly.
Conclusion
So, there you have it! A simple, effective, and budget-friendly way to keep mold at bay in your home. This DIY cleaning trick isn’t just about saving money; it’s about taking control of your indoor environment and creating a healthier living space for you and your family. We’ve armed you with the knowledge and the method to proactively prevent mold with cleaning, a task often overlooked but incredibly important.
Why is this a must-try? Because mold isn’t just unsightly; it can trigger allergies, exacerbate respiratory problems, and even damage your property over time. Store-bought mold removers can be harsh, expensive, and often contain chemicals you’d rather not introduce into your home. Our DIY solution offers a gentler, more sustainable approach, using ingredients you likely already have in your pantry.
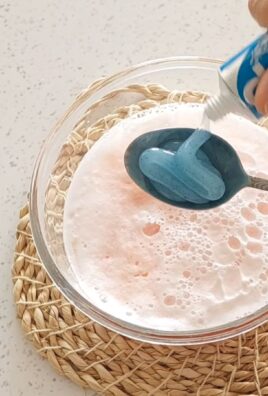
But don’t stop there! Feel free to experiment and adapt this method to suit your specific needs and preferences. For instance, if you’re dealing with a particularly stubborn mold issue, you could increase the concentration of vinegar or hydrogen peroxide in your solution. Adding a few drops of tea tree oil or clove oil can also boost the antifungal properties and leave a pleasant scent. Remember to always test any new solution in an inconspicuous area first to ensure it doesn’t damage the surface.
Another variation you might consider is using baking soda as a gentle abrasive cleaner in conjunction with the vinegar solution. Simply sprinkle baking soda onto the affected area, spray with the vinegar solution, let it fizz for a few minutes, and then scrub gently with a brush. This can be particularly effective for removing mold stains from grout or other porous surfaces.
For those sensitive to the smell of vinegar, adding a few drops of your favorite essential oil, like lavender or lemon, can help mask the odor. Just be sure to choose an essential oil that is safe for use around children and pets.
The key to success with this DIY mold prevention method is consistency. Make it a part of your regular cleaning routine, especially in areas prone to moisture, such as bathrooms, kitchens, and basements. A little preventative maintenance can go a long way in keeping mold at bay and protecting your home and health.
We’re confident that you’ll find this DIY cleaning trick to be a valuable addition to your cleaning arsenal. It’s easy, affordable, and effective. But don’t just take our word for it – try it out for yourself! We encourage you to put this method to the test and see the difference it can make in your home.
And most importantly, we want to hear about your experience! Share your results, tips, and variations in the comments below. Let us know what worked best for you, what challenges you encountered, and any creative solutions you came up with. By sharing our experiences, we can all learn from each other and create a healthier, mold-free living environment. So go ahead, give it a try, and let us know what you think! Your feedback is invaluable and helps us continue to provide you with the best DIY cleaning solutions. Remember, a clean home is a happy home, and a mold-free home is a healthy home. Start preventing mold with cleaning today!
Frequently Asked Questions (FAQ)
What exactly causes mold to grow in my home?
Mold thrives in damp, humid environments. Common causes include leaky pipes, poor ventilation, condensation, and water damage from floods or spills. Mold spores are everywhere, but they only grow when they find a suitable environment with moisture and a food source (like drywall, wood, or fabric).
Is all mold dangerous?
Not all mold is equally dangerous, but all mold should be addressed. Some types of mold are allergenic, meaning they can trigger allergic reactions in sensitive individuals. Other types of mold are toxigenic, meaning they can produce toxins that can be harmful to human health. It’s best to err on the side of caution and remove any mold growth you find in your home.
How often should I use this DIY cleaning solution to prevent mold?
The frequency depends on the humidity levels and moisture exposure in your home. In high-humidity areas like bathrooms and basements, you may want to use the solution weekly. In drier areas, monthly applications may suffice. The key is to be proactive and monitor for any signs of mold growth.
Can I use bleach instead of vinegar or hydrogen peroxide?
While bleach can kill mold, it’s not always the best option. Bleach only kills surface mold and doesn’t penetrate porous materials to kill the roots. It can also be harmful to your health and the environment. Vinegar and hydrogen peroxide are generally safer and more effective alternatives for preventing mold with cleaning.
What if the mold keeps coming back after I clean it?
If mold keeps returning, it indicates an underlying moisture problem that needs to be addressed. Check for leaky pipes, poor ventilation, or other sources of moisture. You may need to repair leaks, improve ventilation, or dehumidify the area to prevent mold from recurring. If the problem is severe, consider consulting a professional mold remediation specialist.
Is this DIY cleaning solution safe for all surfaces?
While vinegar and hydrogen peroxide are generally safe, it’s always best to test the solution in an inconspicuous area first to ensure it doesn’t damage the surface. Avoid using vinegar on natural stone surfaces like marble or granite, as it can etch the stone.
Can I use this solution on fabric or upholstery?
Yes, you can use this solution on fabric or upholstery, but be sure to test it in a hidden area first to ensure it doesn’t cause discoloration or damage. Use a spray bottle to lightly mist the affected area, and then blot with a clean cloth. Avoid saturating the fabric, as this can lead to further moisture problems.
What safety precautions should I take when using this DIY cleaning solution?
Always wear gloves and eye protection when using any cleaning solution, including this DIY mixture. Ensure adequate ventilation in the area you’re cleaning. Avoid mixing vinegar and bleach, as this can create toxic fumes. Keep the solution out of reach of children and pets.
How do I know if I have a serious mold problem that requires professional help?
If you have extensive mold growth (more than 10 square feet), if you’re experiencing health problems related to mold exposure, or if you can’t identify and address the source of the moisture, it’s best to consult a professional mold remediation specialist. They have the expertise and equipment to safely and effectively remove mold and prevent it from recurring.
What are some other tips for preventing mold growth in my home?
In addition to using this DIY cleaning solution, here are some other tips for preventing mold growth:
* Maintain good ventilation in your home, especially in bathrooms and kitchens.
* Use exhaust fans when showering or cooking.
* Fix any leaks promptly.
* Keep humidity levels below 60%.
* Clean up spills immediately.
* Dry wet items thoroughly.
* Consider using a dehumidifier in damp areas.
* Regularly inspect your home for signs of mold growth.
* Ensure proper drainage around your home’s foundation.
* Clean gutters regularly to prevent water buildup.
By following these tips and incorporating this DIY cleaning solution into your routine, you can effectively prevent mold with cleaning and create a healthier, more comfortable living environment.
Leave a Comment